Hootshack She-Shed
The She-Shed
My she-shed was the inspiration behind Hootshack. The project first started as a typical garden shed, but quickly transpired to a cozy little She-Shed and the creation of my blog. There’s too much information in between for this one post, so let’s just get to the she-shed for now.
*This post contains affiliate links which means I could earn a small commission if you purchase something using one of the links. This is at no cost to you!
So, the she-shed was supposed to be about 4’ x 6’, but after much debating, aka convincing Jake that it needed to be larger, “we” settled on 12’ x 8’. She sheds are all the rage right now and I thought it would be a good way to fill up a large amount of space in our yard while also creating a quiet place for us to relax.
I never really have a set plan, things just tend to come together as projects go along. I really wanted shiplap, but the costs were just more than we wanted to spend. We talked to a guy at our local lumber yard and he said that the tongue and groove would work, as long as we put a really good primer and a couple of layers of paint.
When we first started to build our own shed, I didn’t plan to start this blog. I wish I had taken more pictures along the way so I apologize for the quick fast-forward. There’s still so much to be done and I have to admit, I’m ‘just a tad’ over budget, but who wants to talk about that right now, right?!
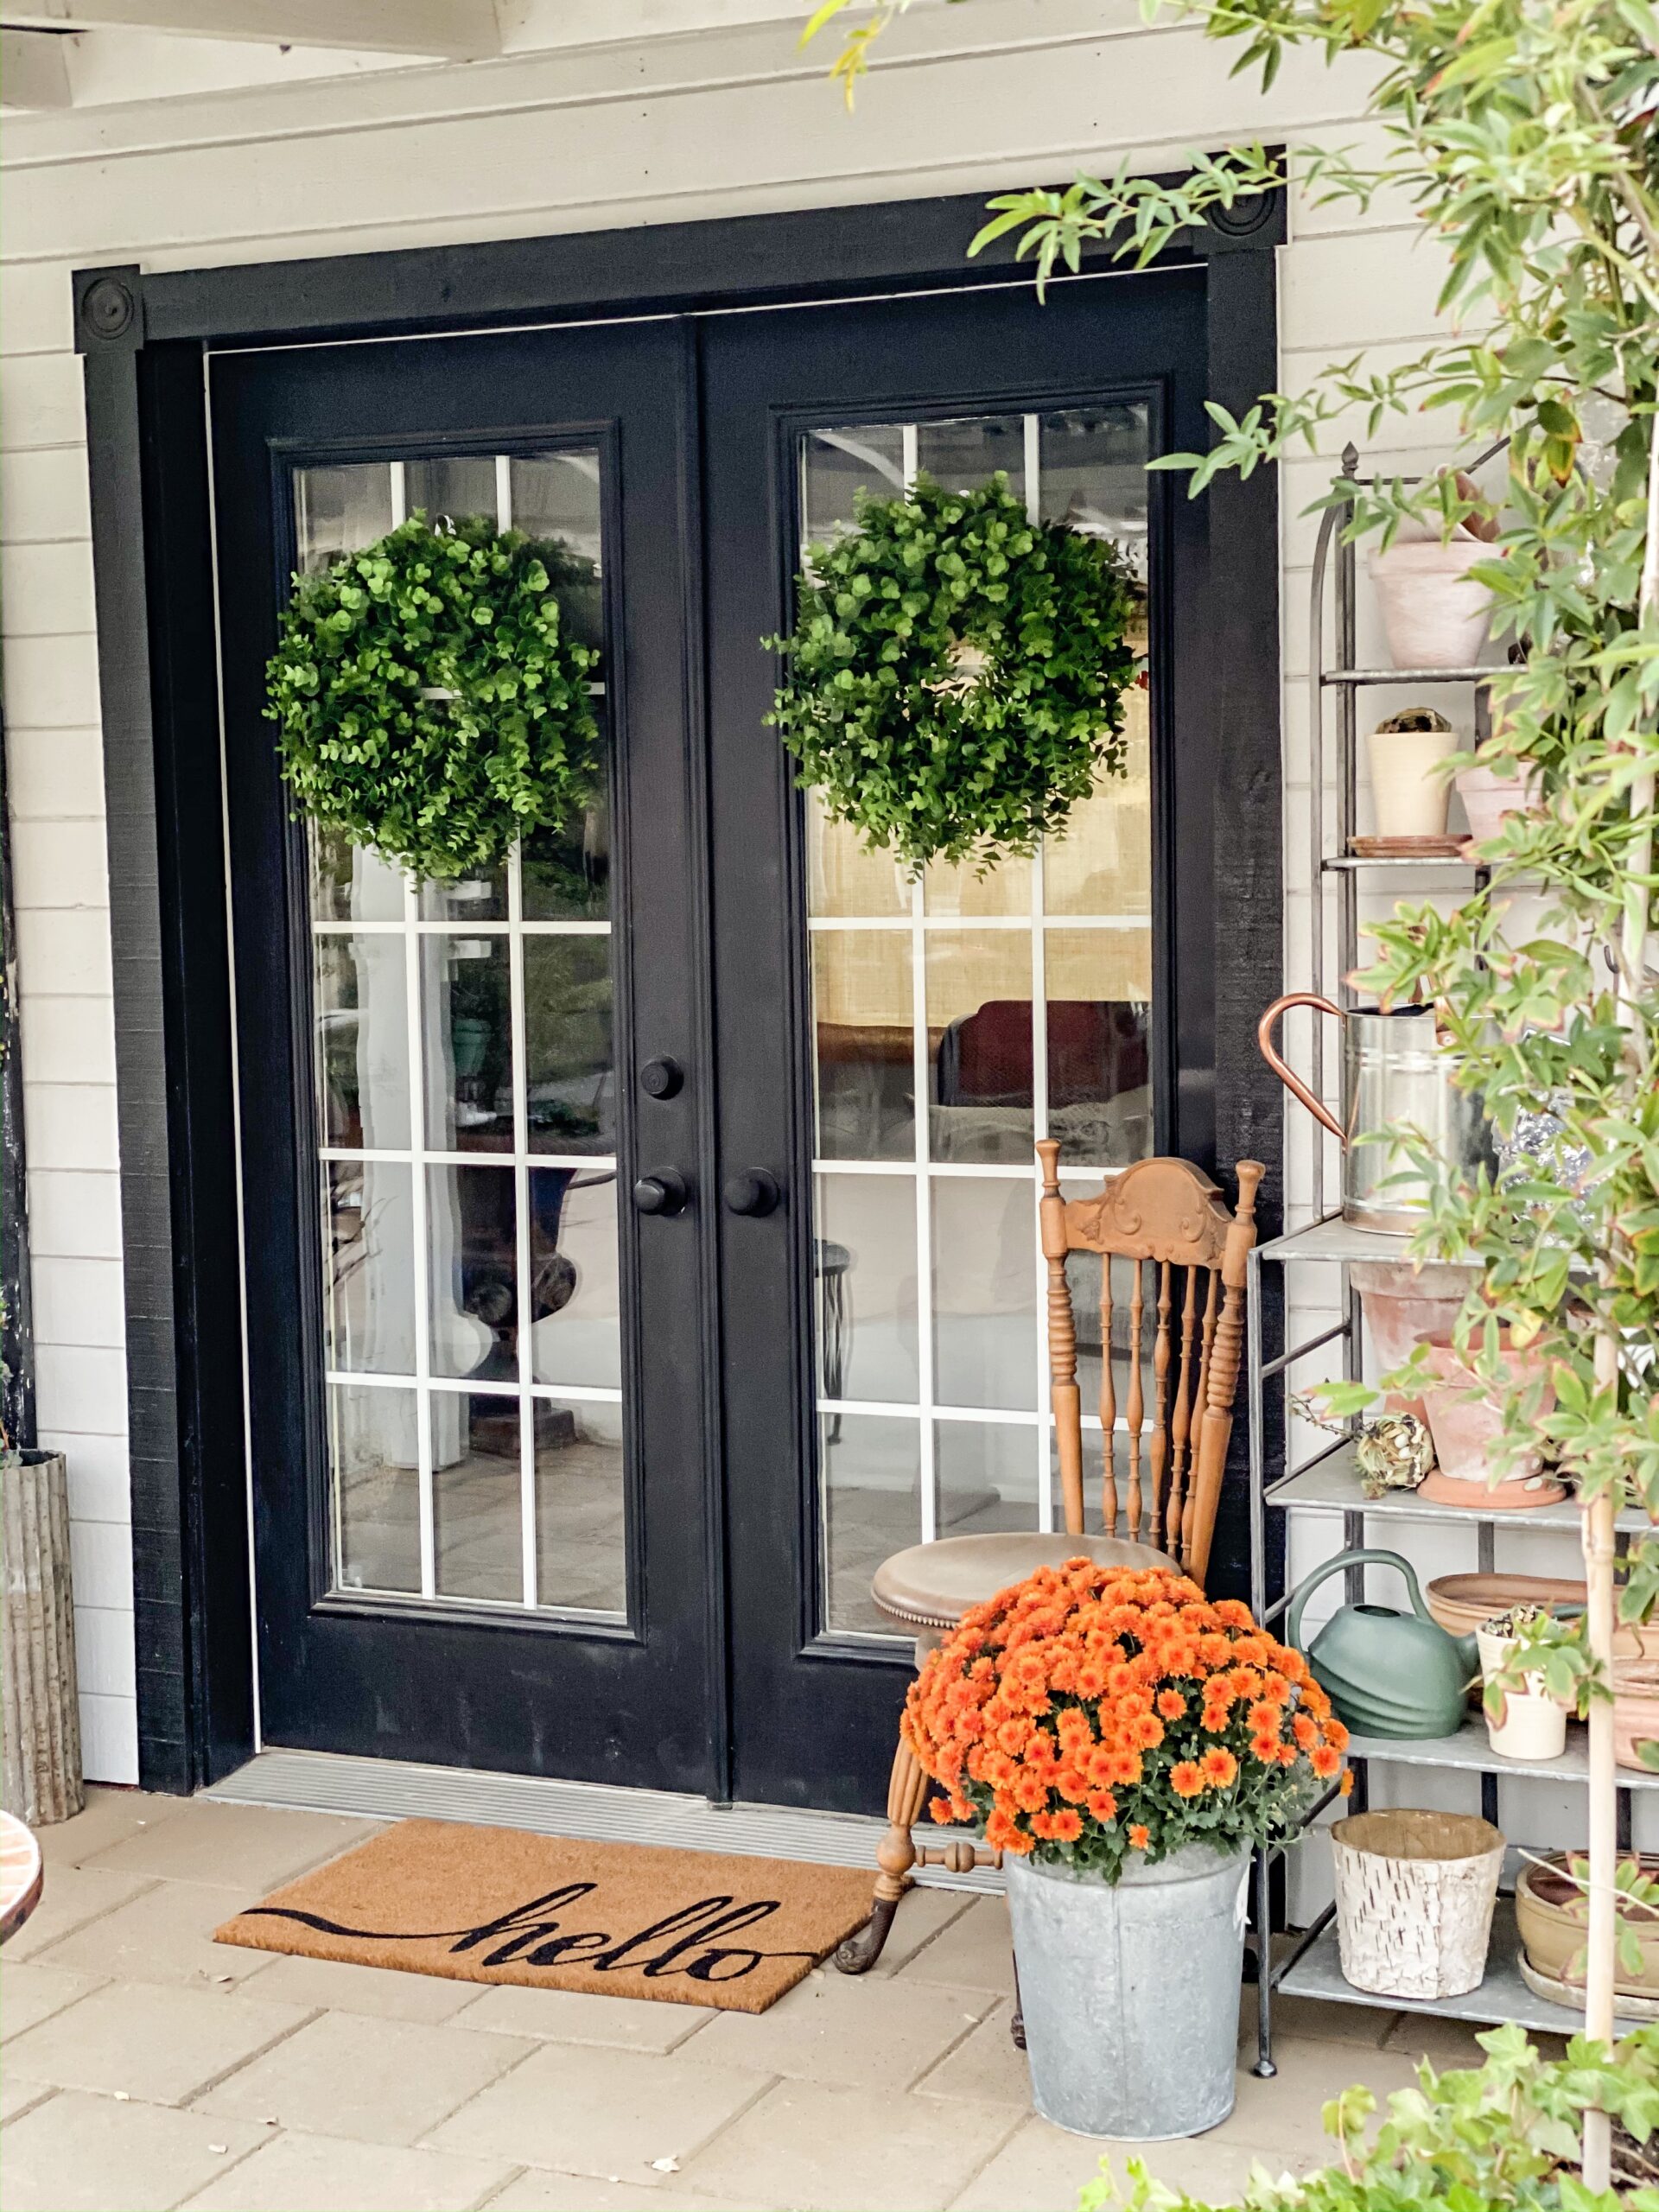
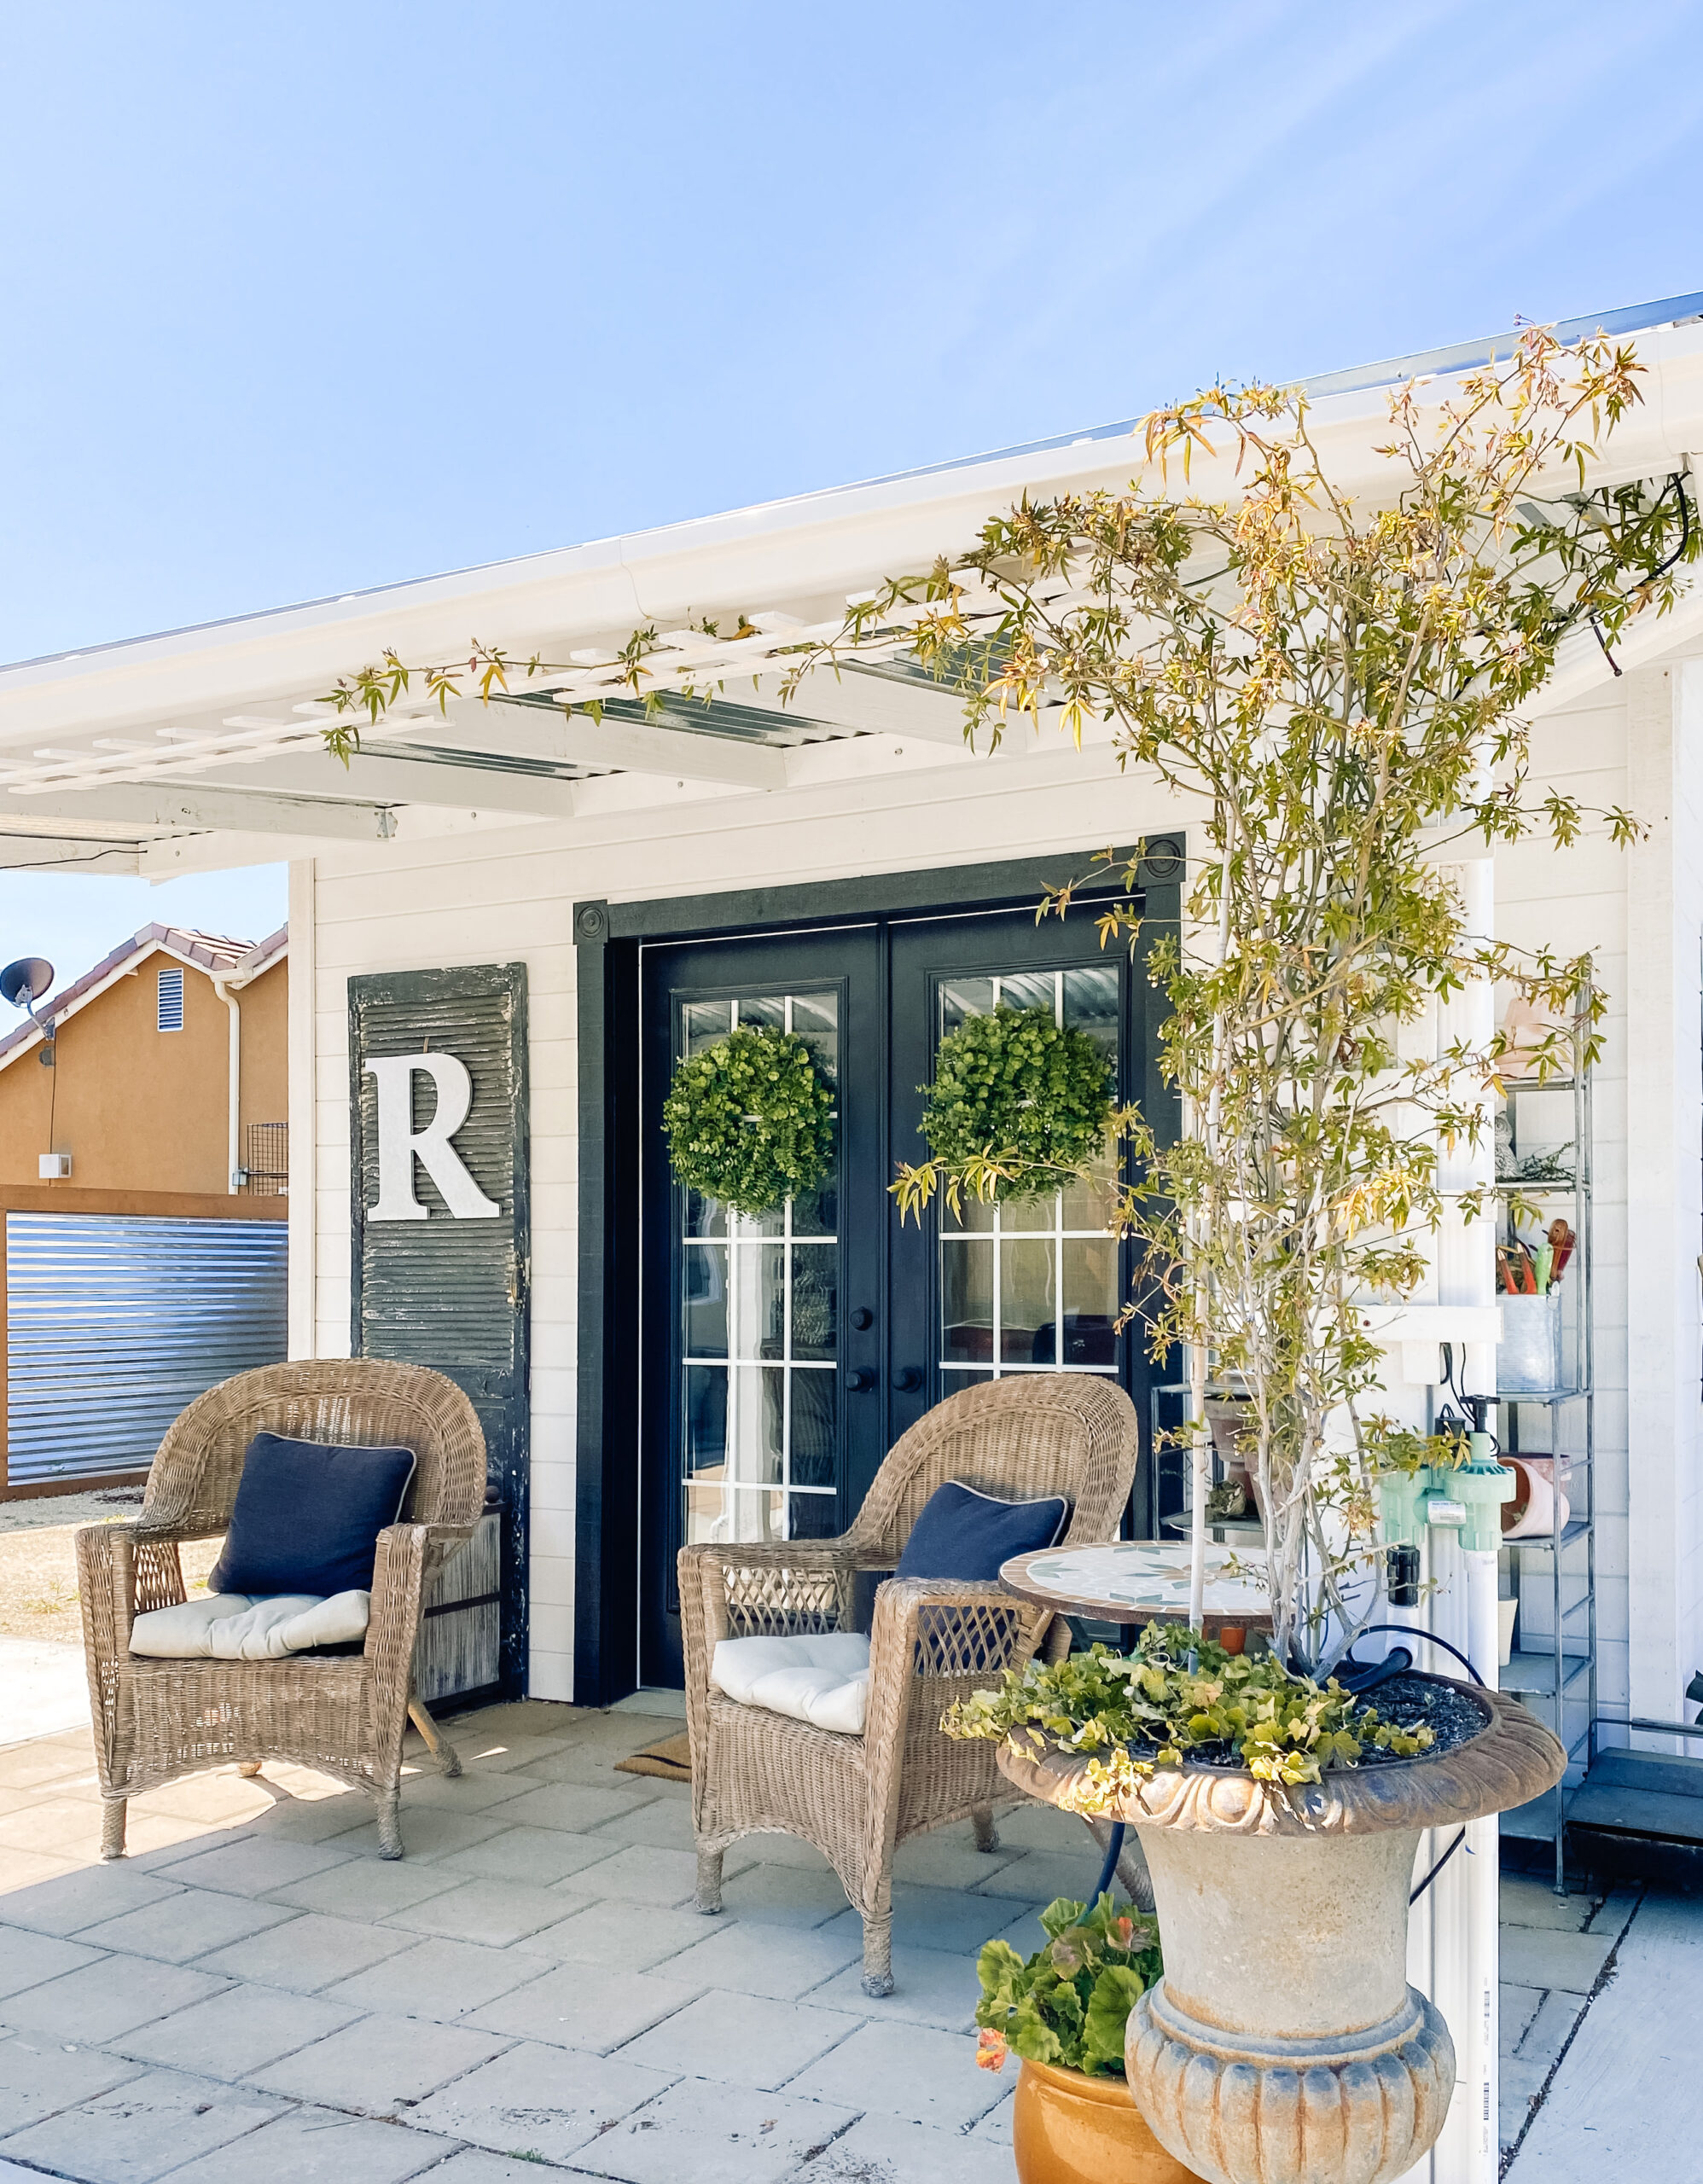
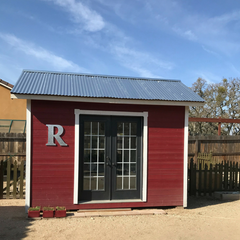
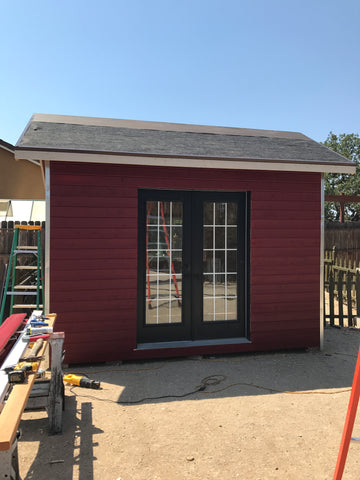
I did luck out with some great used items. The French doors were originally a greenish color with brass door knobs, circa 1980. I got them for $100! I painted the outside jet black and the inside stark white. I really love black, red and white together. The garden fence will eventually be painted black as well. Yes, black! I purchased new doorknobs, and I’m pretty sure they cost more than the doors themselves. Oops (eyelashes fluttering – sorry Jake).
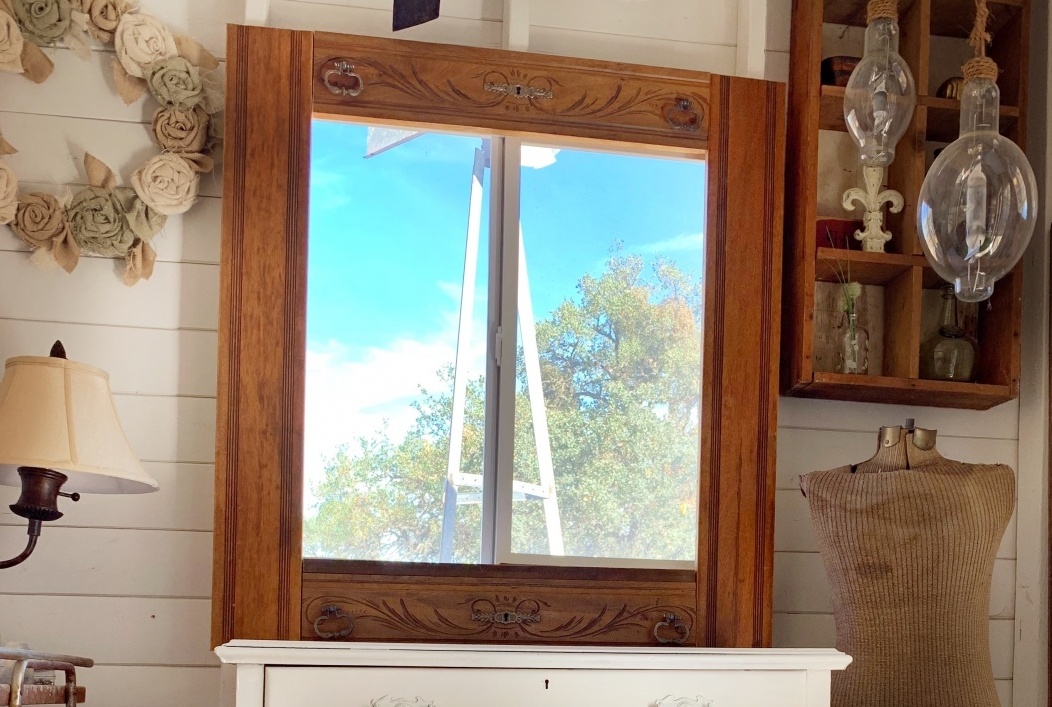
We were shopping at Lowe’s and found the back window that looks into my vegetable garden in the clearance section. I guess someone custom ordered it and then didn’t take it. Lucky me! Another $100 find. So I guess that’s only two good deals…. The rest is history and let’s still not talk about that. 😉
We debated on the roof for quite awhile. We almost did black asphalt shingles but they’ve never been my favorite. I really love the corrugated tin we chose, even though it’s probably not the best style to complement the style of our house. We’re still working on exterior touch-ups and some trim pieces but the outside is close to done
More projects you’ll be reading about soon are:
- inside painting
- flooring
- covered porch
- side window awning
- wreaths for the door
- garden fence
- window coverings
- indoor decor (cha-ching)
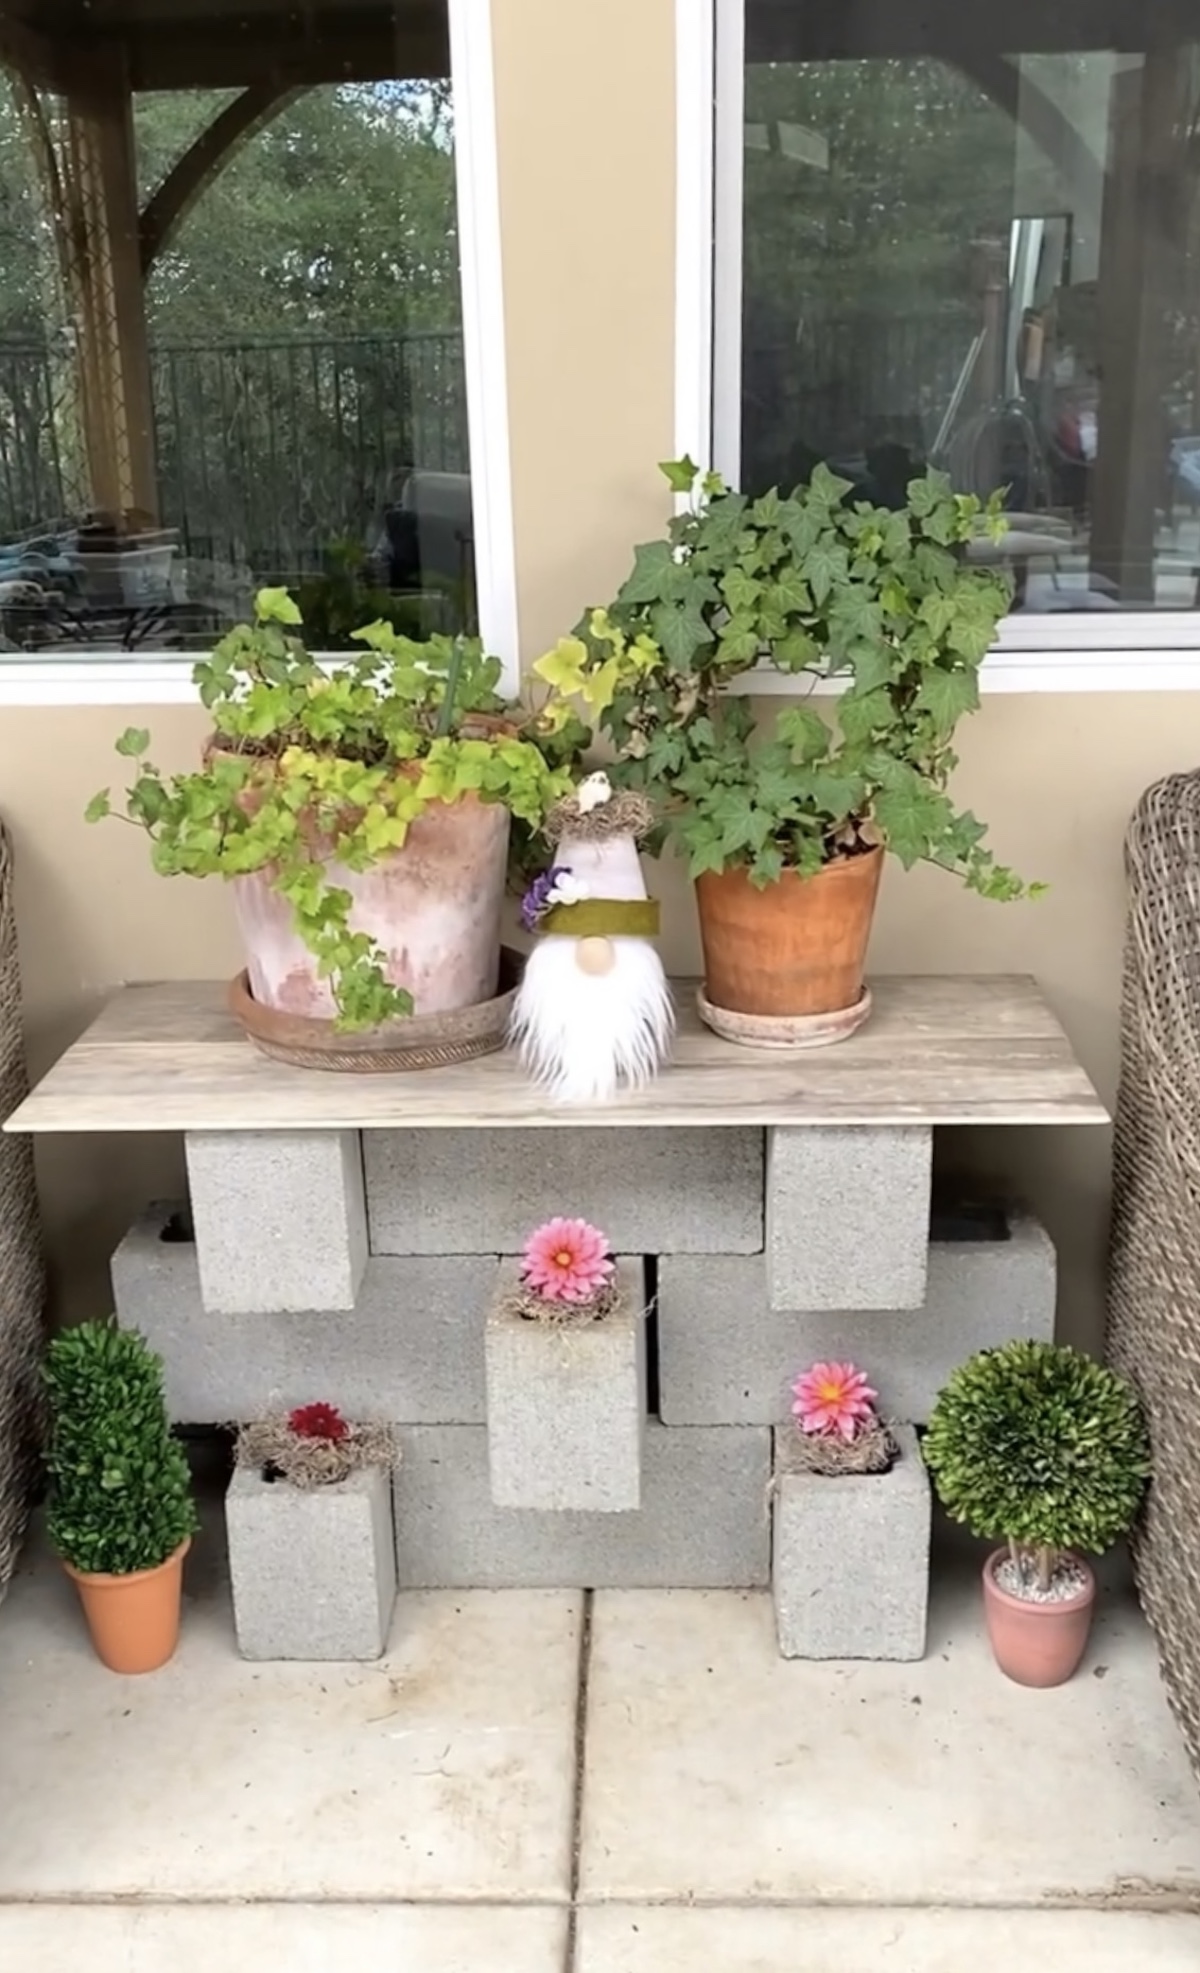
Enjoy this little collage of the progress so far. I hope you’ll keep following along! I apologize for the blurry pics, I haven’t mastered that yet, but I’m working on it!

This is the space before the shed
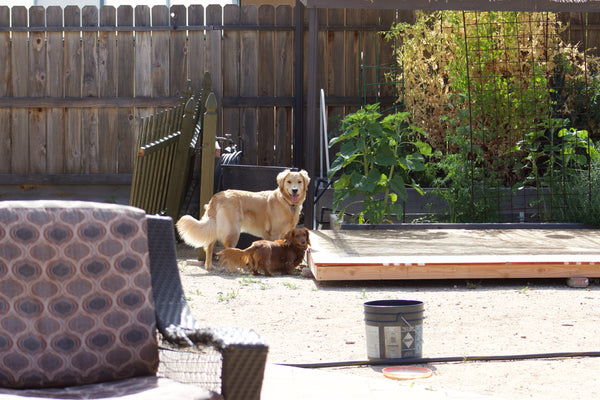
Garden fence down, she shed foundation going in – Ryder and Deano performing the site inspection
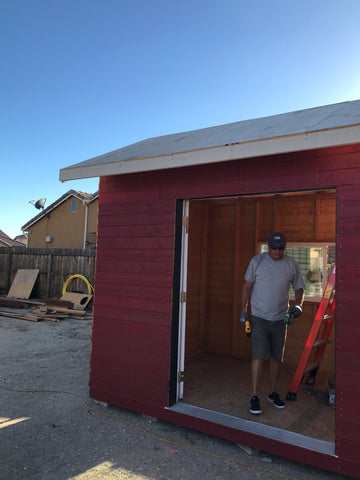
Jake working hard
Getting ready for the roof
Featured in this post, Ryder the Golden Retriever and Bali the German Sheperd, oh, and me. The pups are cousins.

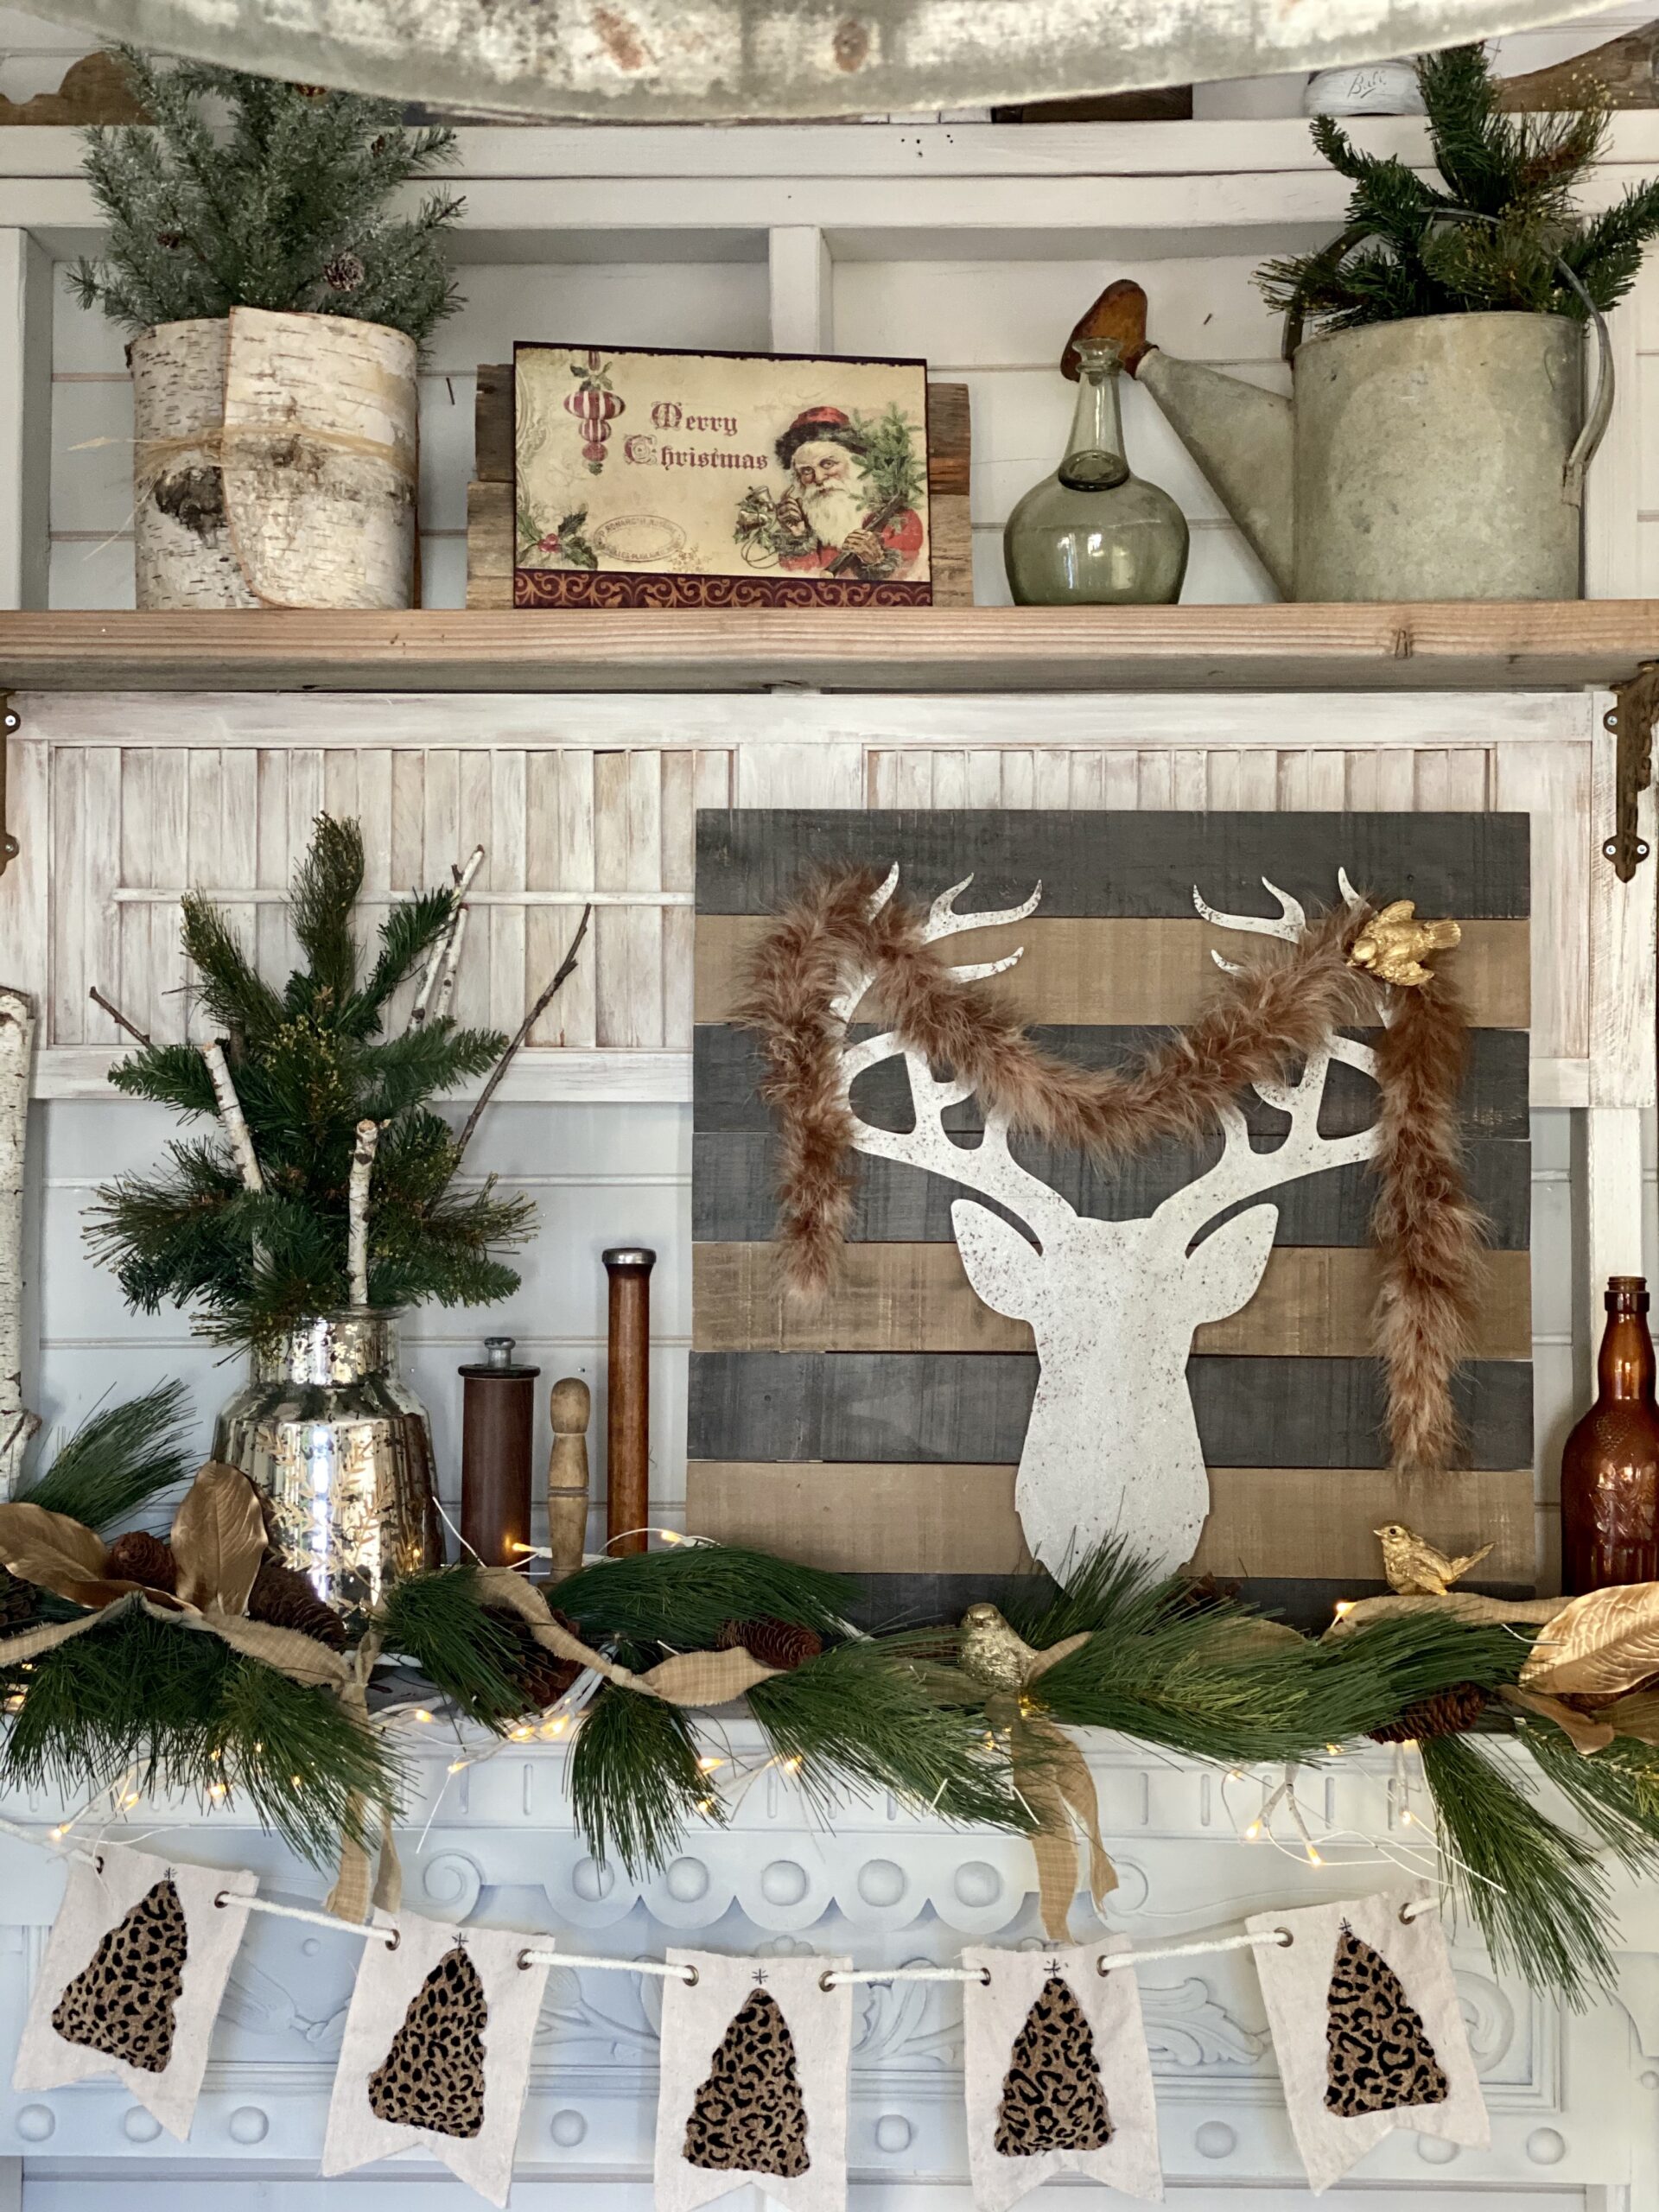
Since writing this post, I’ve made several changes to the she shed. You can see my progress for Spring, Fall, and Christmas.
Happy crafting,
Denise