Easy Fall Garland DIY

This Easy Fall Garland DIY is one of the quickest (and cheapest!) DIY’s I’ve done. I did a little aging to soften the colors of the felt and I’ll show you how.
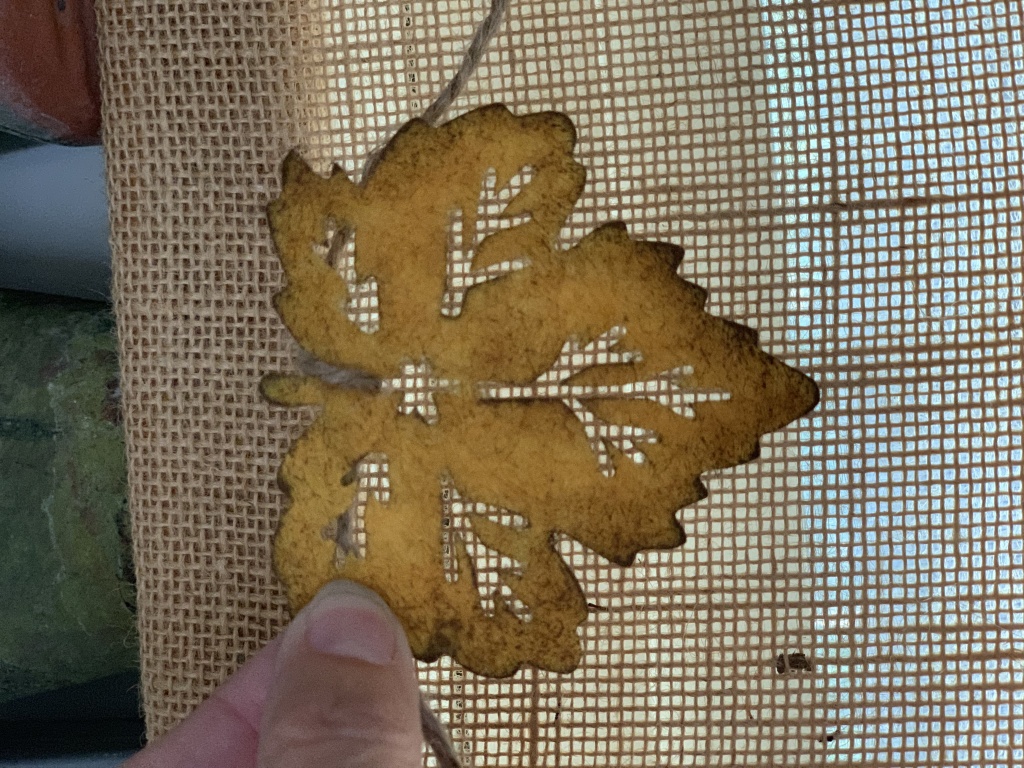
Leaves for the Easy Fall Garland DIY
I got my leaves at Dollar Tree, but you can also cut felt leaves with a Cricut or cut simple, felt leaves by hand. During the right season, you can find felt leaves at Hobby Lobby. Here are some other felt leaves on Amazon.
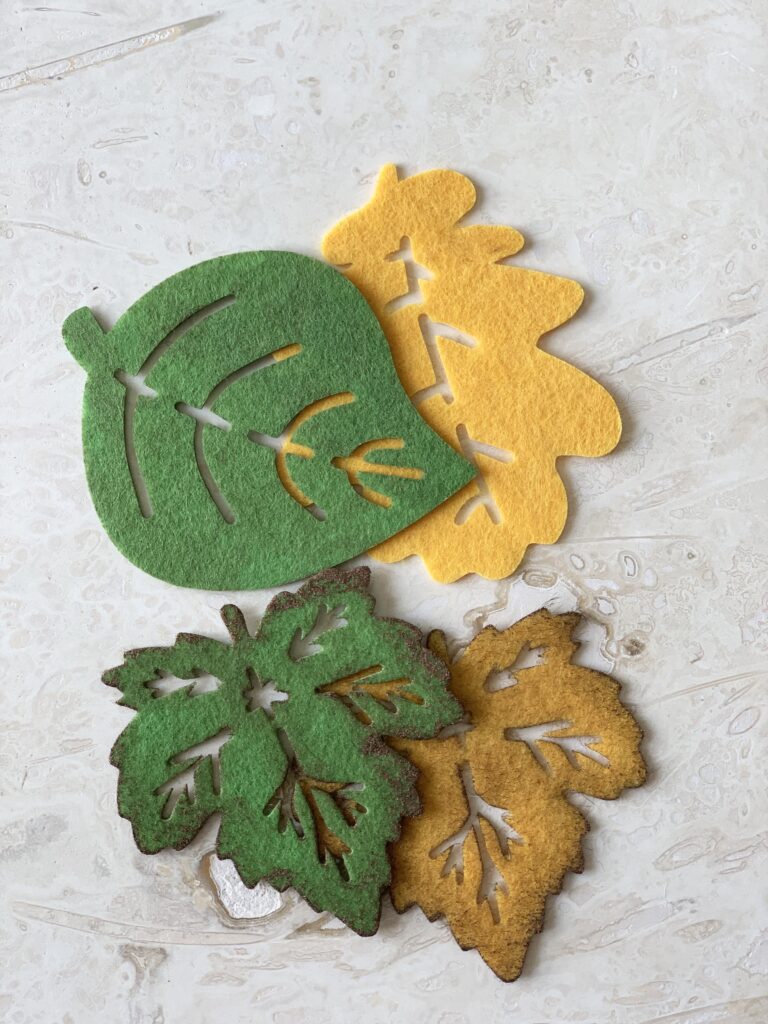
Painting the Felt Leaves
I purchased the felt leaves at Dollar Tree. The colors were a little bright for me so I took some copper craft paint and mixed it on a plate with a little water and painted the leaves. Brown paint would work as well. I painted the edges a little darker to create some shading and then rubbed the centers with paint that was more watered down. After the leaves were dry, I tied them on to jute twine. That’s it!
Where to Hang Your Fall Garland
You can hang the garland on a mantel or over a window to make your home decor more festive for the fall season. I also like to drape mine through a fall table centerpiece or even decorate a coffee station. You can also hang a fall garland over an entry door.

Even if you have to buy the craft paint and the twine, this DIY should be less than $10. I had the paint and the twine so mine was only $1. Yay! Thanks again for stopping by Hootshack. Please leave a comment below so I know you’ve stopped by for a visit!
Before you rush off, be sure to check out my other Fall Shed Decor. I’ve also made some cute sweater pumpkins and sock pumpkins that are incredibly easy fall crafts to make.
Happy crafting,
Denise