How To Make Cloth Pumpkins
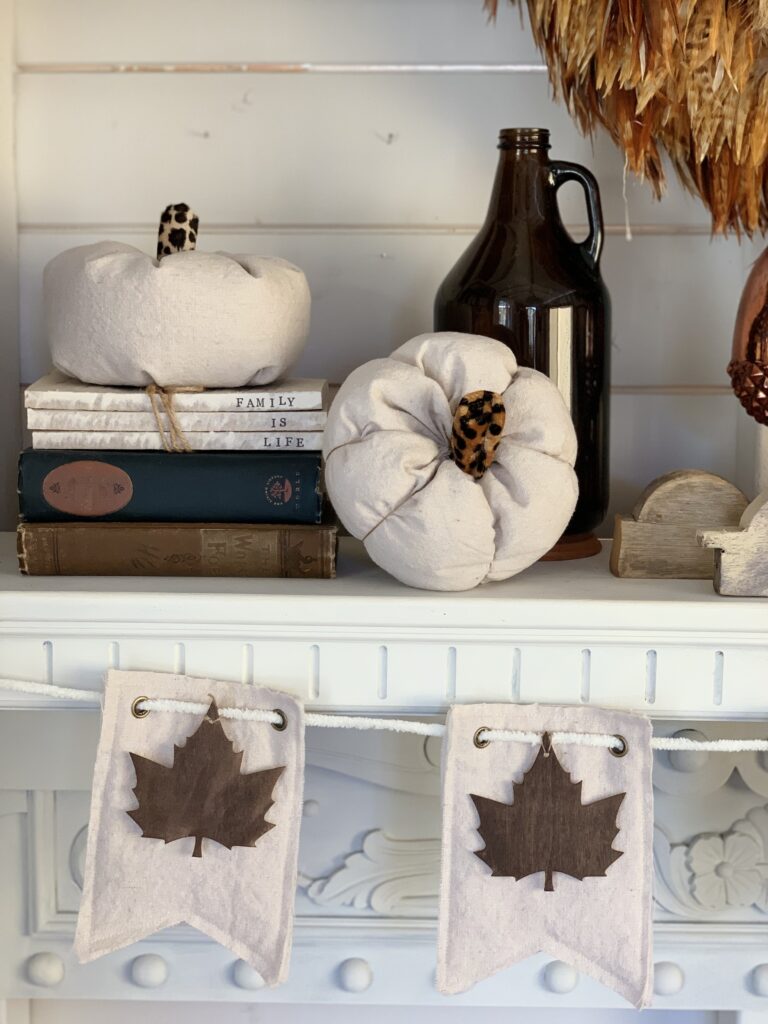
Drop cloth pumpkins are an inexpensive project that you can use over and over in your Halloween and fall decor. I love the simple, crisp white pumpkins because they literally go with everything! Making cloth pumpkins is easy and can be done with a sewing machine or without.
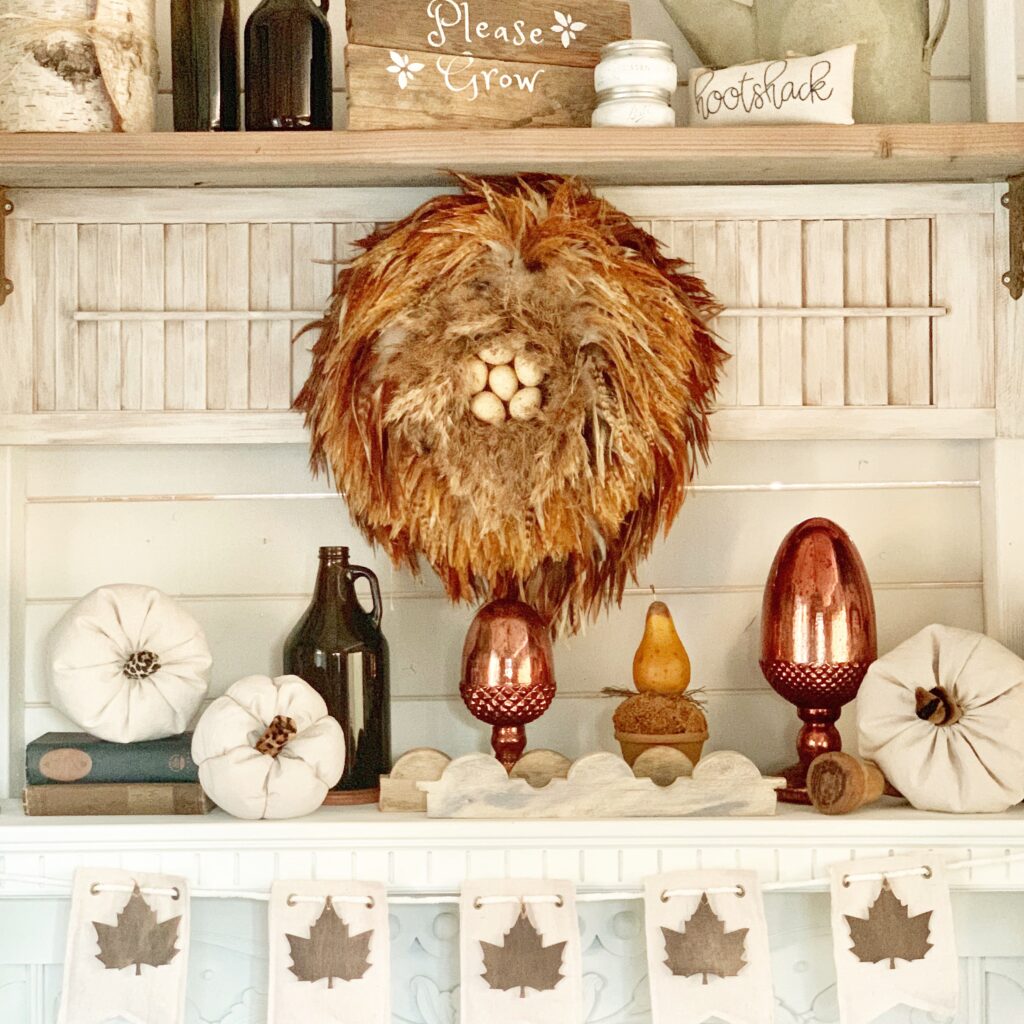
Cloth Pumpkin Supplies:
- Drop cloth or other fabric
- Needle and thread (or a sewing machine if you have one)
- Stuffing – I use polyfill but you can even use old clothes or linens
- Stem – I used animal print fabric but you can use a stick, a real stem, or a faux flower. Get creative!
- Glue gun or fabric glue
- Embroidery floss or twine (optional)
- Measuring tape
- Scissors or rotary cutter, ruler, and mat (a rotary cutter, ruler, and mat give you the straightest edge, but they are not necessary)
Instructions:
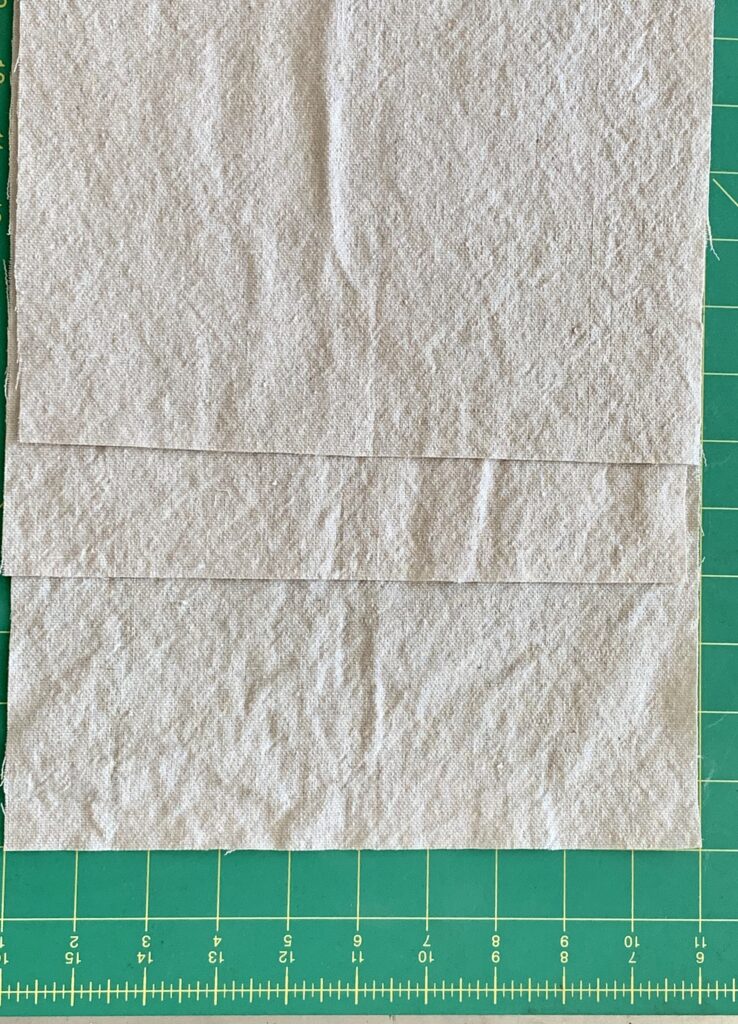
- Measure your drop cloth and cut all of the pieces at one time. I made three pumpkins and my pieces were 10″ x 21″, 10″ x 23″, and 10″ x 26″. You’ll notice that all of my pumpkins are the same height, but each one is fatter. If you want them at different heights, you’ll have to adjust accordingly by adding to the 10″ measurement with each larger size. I hope that makes sense!
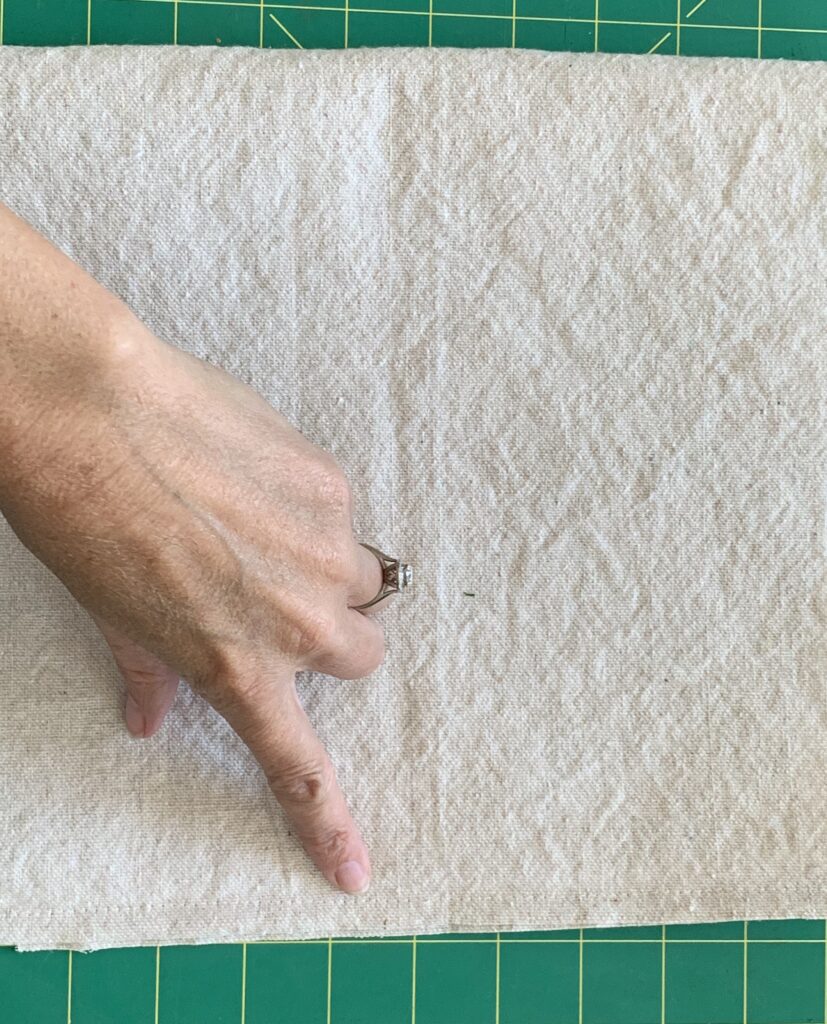
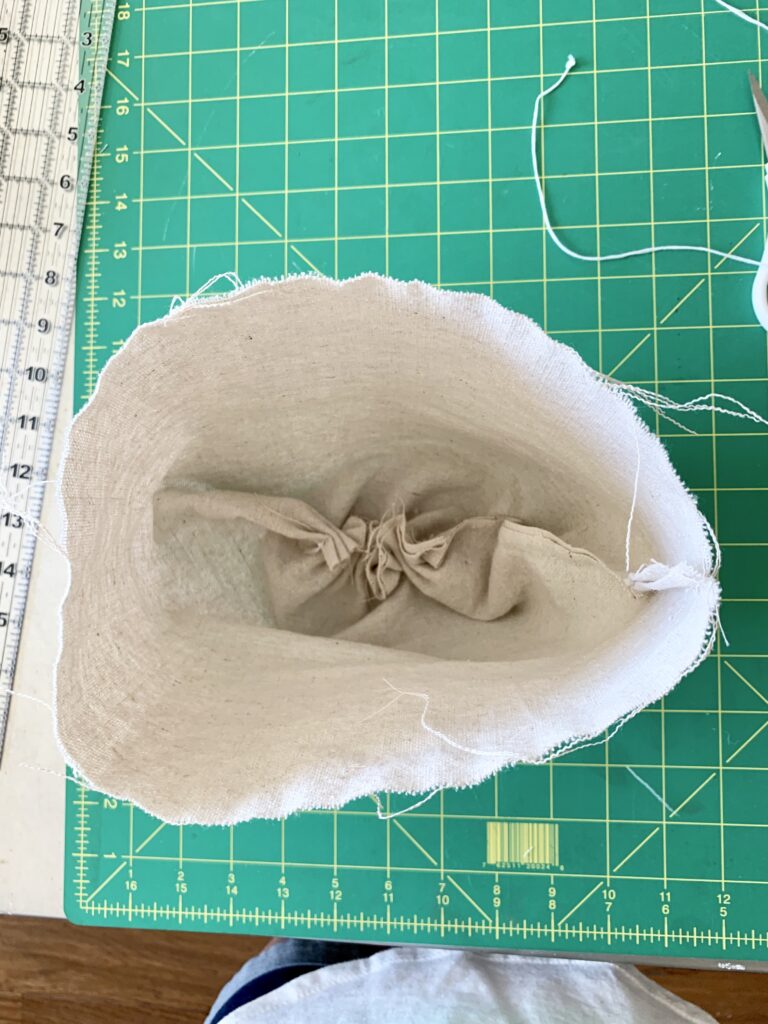
- Fold the first piece in half and sew up the side. (See picture below) . If you folded it long and skinny, it’s the wrong way. 😉 You’ll knot the thread at the beginning and at the end. You now have the two sides formed. One is on the fold and the other side is where you just sewed.
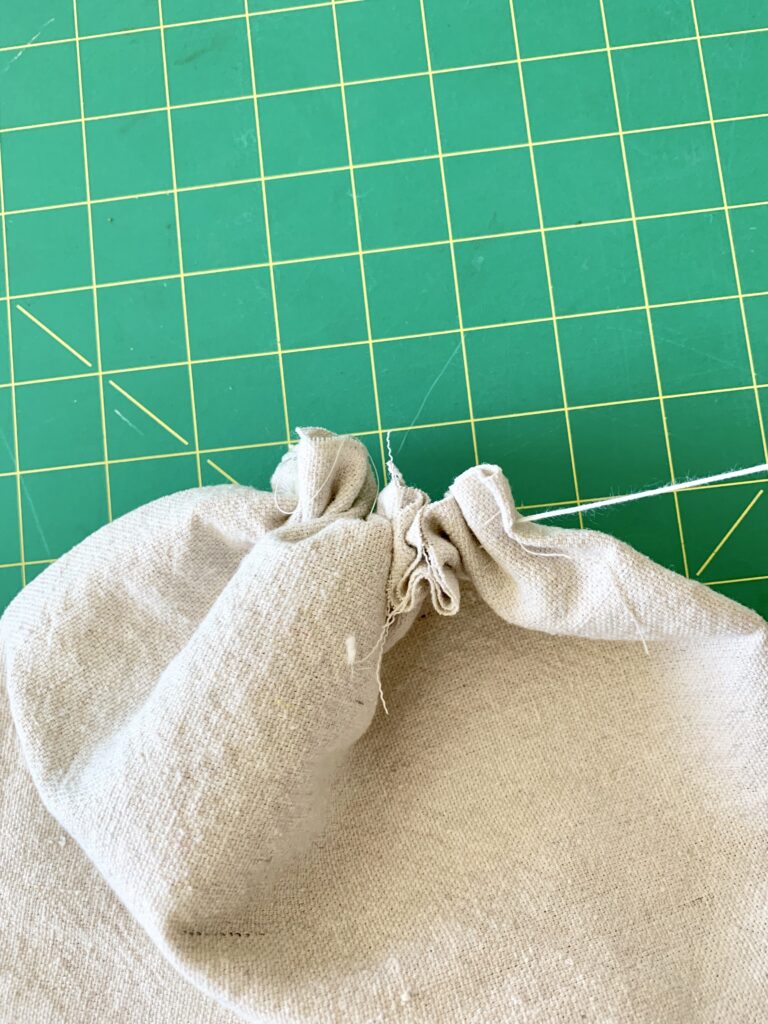
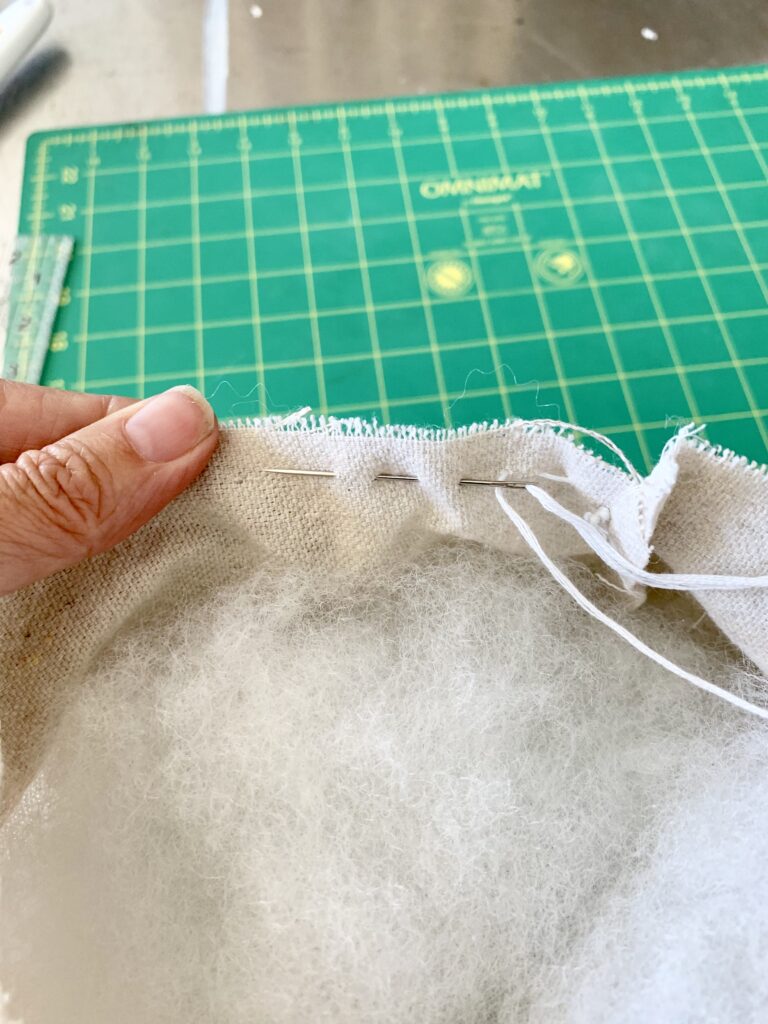
- Sew along the bottom using a gathering stitch and pull it tight and tie a knot. This creates the bottom of the pumpkin.
- Turn your work so the gathering stitch is inside.
- Stuff the pumpkin with polyfill.
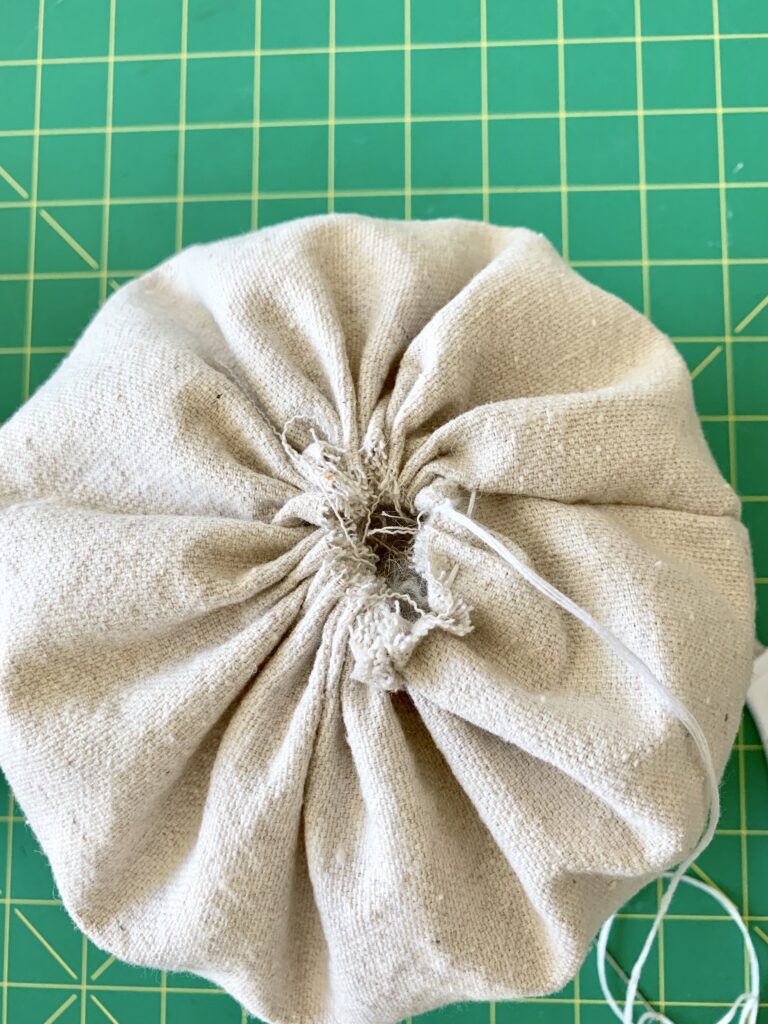
- Sew the top shut with another gathering stitch and tie it with another knot.
- Create sections on the pumpkin if you’d like. I used embroidery floss to sew up through the bottom to the top and back down a few times.
- Add a stem. I rolled velvet animal print fabrics for these but you can also use a stick or something else. Just shove it in the hole in the top and secure it with either hot glue or a needle and thread. Glue is easier if you have a glue gun.
All of the images are available for you below. If you have any questions, please feel free to leave a comment at the end of this post!
I missed getting a photo of the rolled stem but I think that’s pretty easy. Just fold the fabric in half so there are no edges showing then roll up the fabric and stuff it in the middle.
You can also use a stick if that’s easier. The fabric I used was a thick, soft, velvet upholstery fabric. If you like the look of the twine that makes the “sections” of the pumpkin, just use the thread and sew up through the bottom of the pumpkin and out the top and create the sections.
I hope you enjoyed this Easy Drop Cloth Pumpkin DIY. Please be sure also to check out my Velvet and Fabric Pumpkin DIY where I used a slightly different technique.
Happy crafting,
Denise

I absolutely LOVE this. Thanks for sharing your amazing projects with us.
You make the project look so easy to do and I love the fabric you used for the stems.
Thank you!