Pallet Wood Tool Caddy DIY
Sunday was a busy day. I prepared dinner for 25 people, cleaned my entire house, decorated for a graduation party, and created a Pallet Wood Tool Caddy DIY, all by 3 pm. I wish you had seen me running around like crazy, whipping things into random closets, scrubbing like a madwoman, and racing to the hardware store to finish a project that I had procrastinated doing when I had weeks to prepare.
In May, I joined a new DIY Blog Challenge where a group of DIY bloggers pick a new theme each month and create something new. This is my first month and the theme chosen was Father’s Day. I thought this was going to be an easy one for me, but I actually had a hard time trying to think of something that I could make that a dad would use.
When it comes to gifting, I always feel like I need to choose something practical that someone will use. I rarely pick something just for fun and I don’t know what’s made me that way.
My bobblehead statue of Dwight Schrute on my desk that my kids bought me is clearly not practical, but it’s one of my favorites and it makes me laugh every time I look at it. (Please give Dwight a shout-out in the comments if you know who he is!) Not something I needed, but something I still love!
I saw a lot of cute projects to make with your kids, but since my last one graduated from high school, that didn’t seem appropriate at this time in my life.
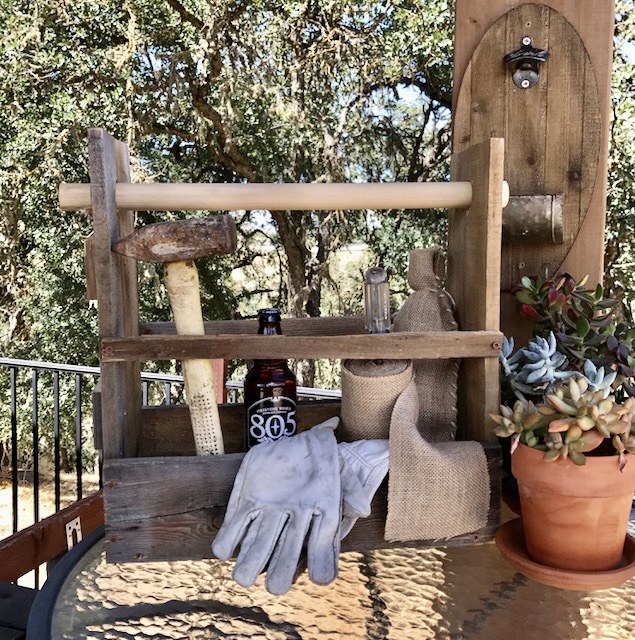
I decided to make a DIY Pallet Wood Tool Caddy that could be used to tote around some of the essential tools while working in the yard. I already had a pile of pallet wood scraps that were pre-cut, so all I had to buy was a piece of closet dowel and a set of closet dowel hardware. I did cut a few square pieces that I used to hold the pallet pieces together. You can see how I did it in this picture.
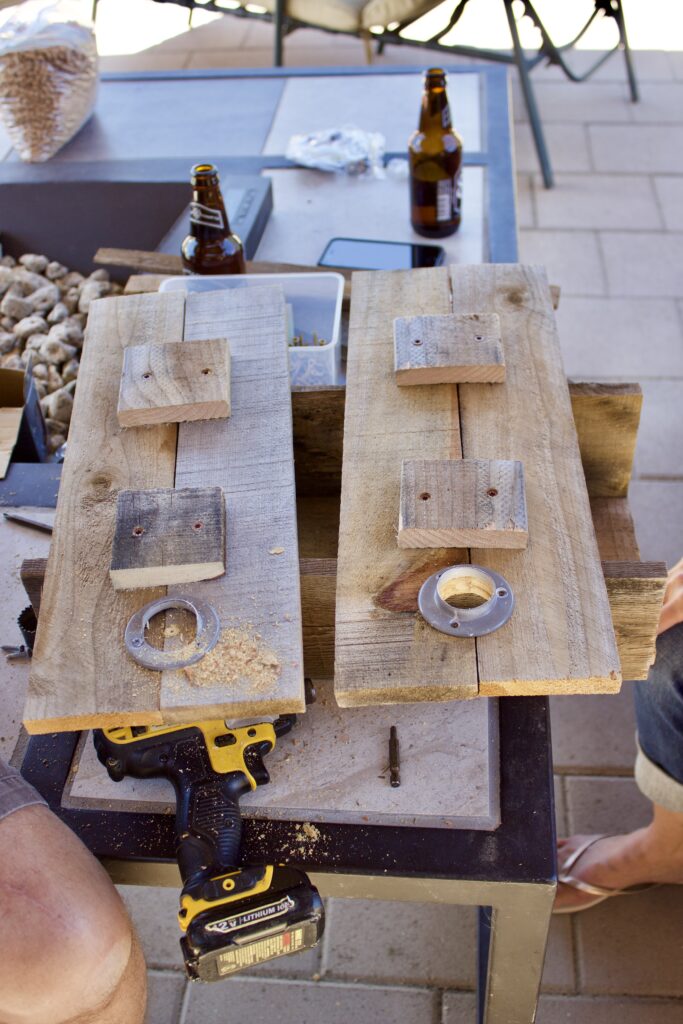
The closet dowel hardware was used to hold the two pieces together at the top so that I could drill the hole for the dowel and not have the two pieces of board separate. I didn’t want to spend a lot of money on this project so I bought white, metal hardware and spray painted them gray.
It would have looked great with the galvanized pieces I found, but they were about $7/each. If you’re going to resell these, it may be worth it to spend a little more in order to achieve a more authentic look.
Since I was pressed for time, I tried using wet tea bags to tarnish the closet dowel a bit. It worked a little but if I had more time, I would have spent a little longer and roughed up the dowel a bit so it looked older like the pallet wood.
I don’t have a lot of patience for pulling out all of the nails from pallets, so this DIY Pallet Wood Tool Caddy was made using pieces that we cut out of pallets with a Skill saw. I saved some pieces that split and that’s what I used for the upper railing pieces.
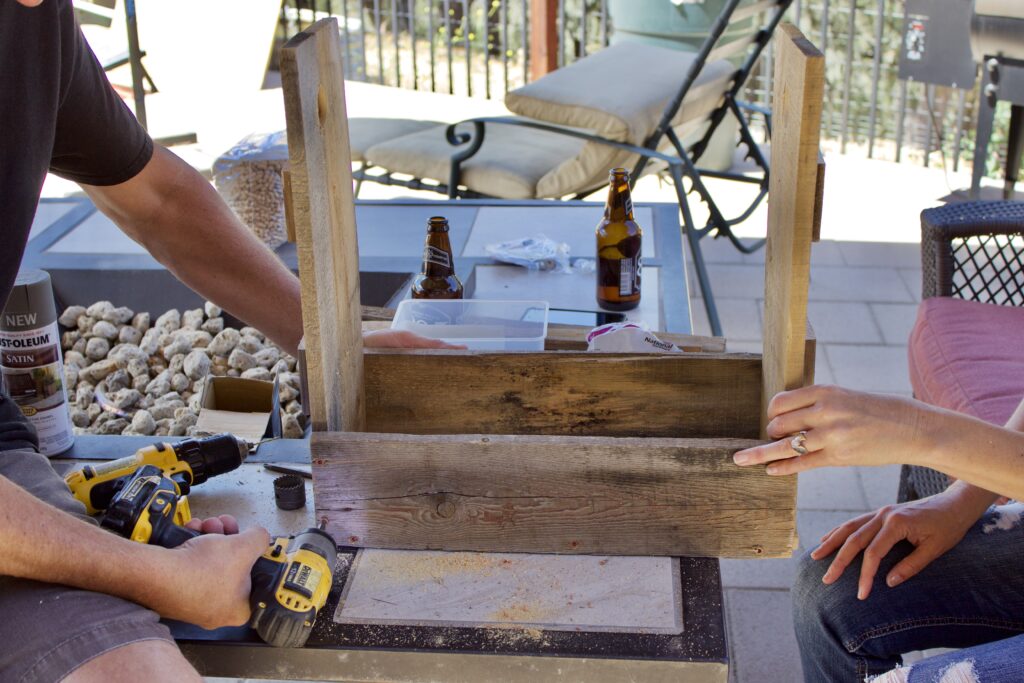
Because the wood was already cut, this project took less than an hour from start to finish. Pre-drilling the holes for all of the screws took the longest. This is necessary because the pallet wood is so hard that the screws will split the wood if you don’t pre-drill the holes.
It may be hard to tell from the picture, but I drilled a hole through the closet dowel on both ends and ran a bolt through them so the handle wouldn’t slip out.
I hope you enjoyed this Pallet Wood Tool Caddy DIY project. I have to admit, this little gem is going in my new She-Shed that my husband and I are in the process of building. I’m really looking forward to my she-shed reveal post. I’m hoping it will be done in the next couple of weeks. In case you’re wondering, the She-Shed is the woman’s answer to the Man Cave!
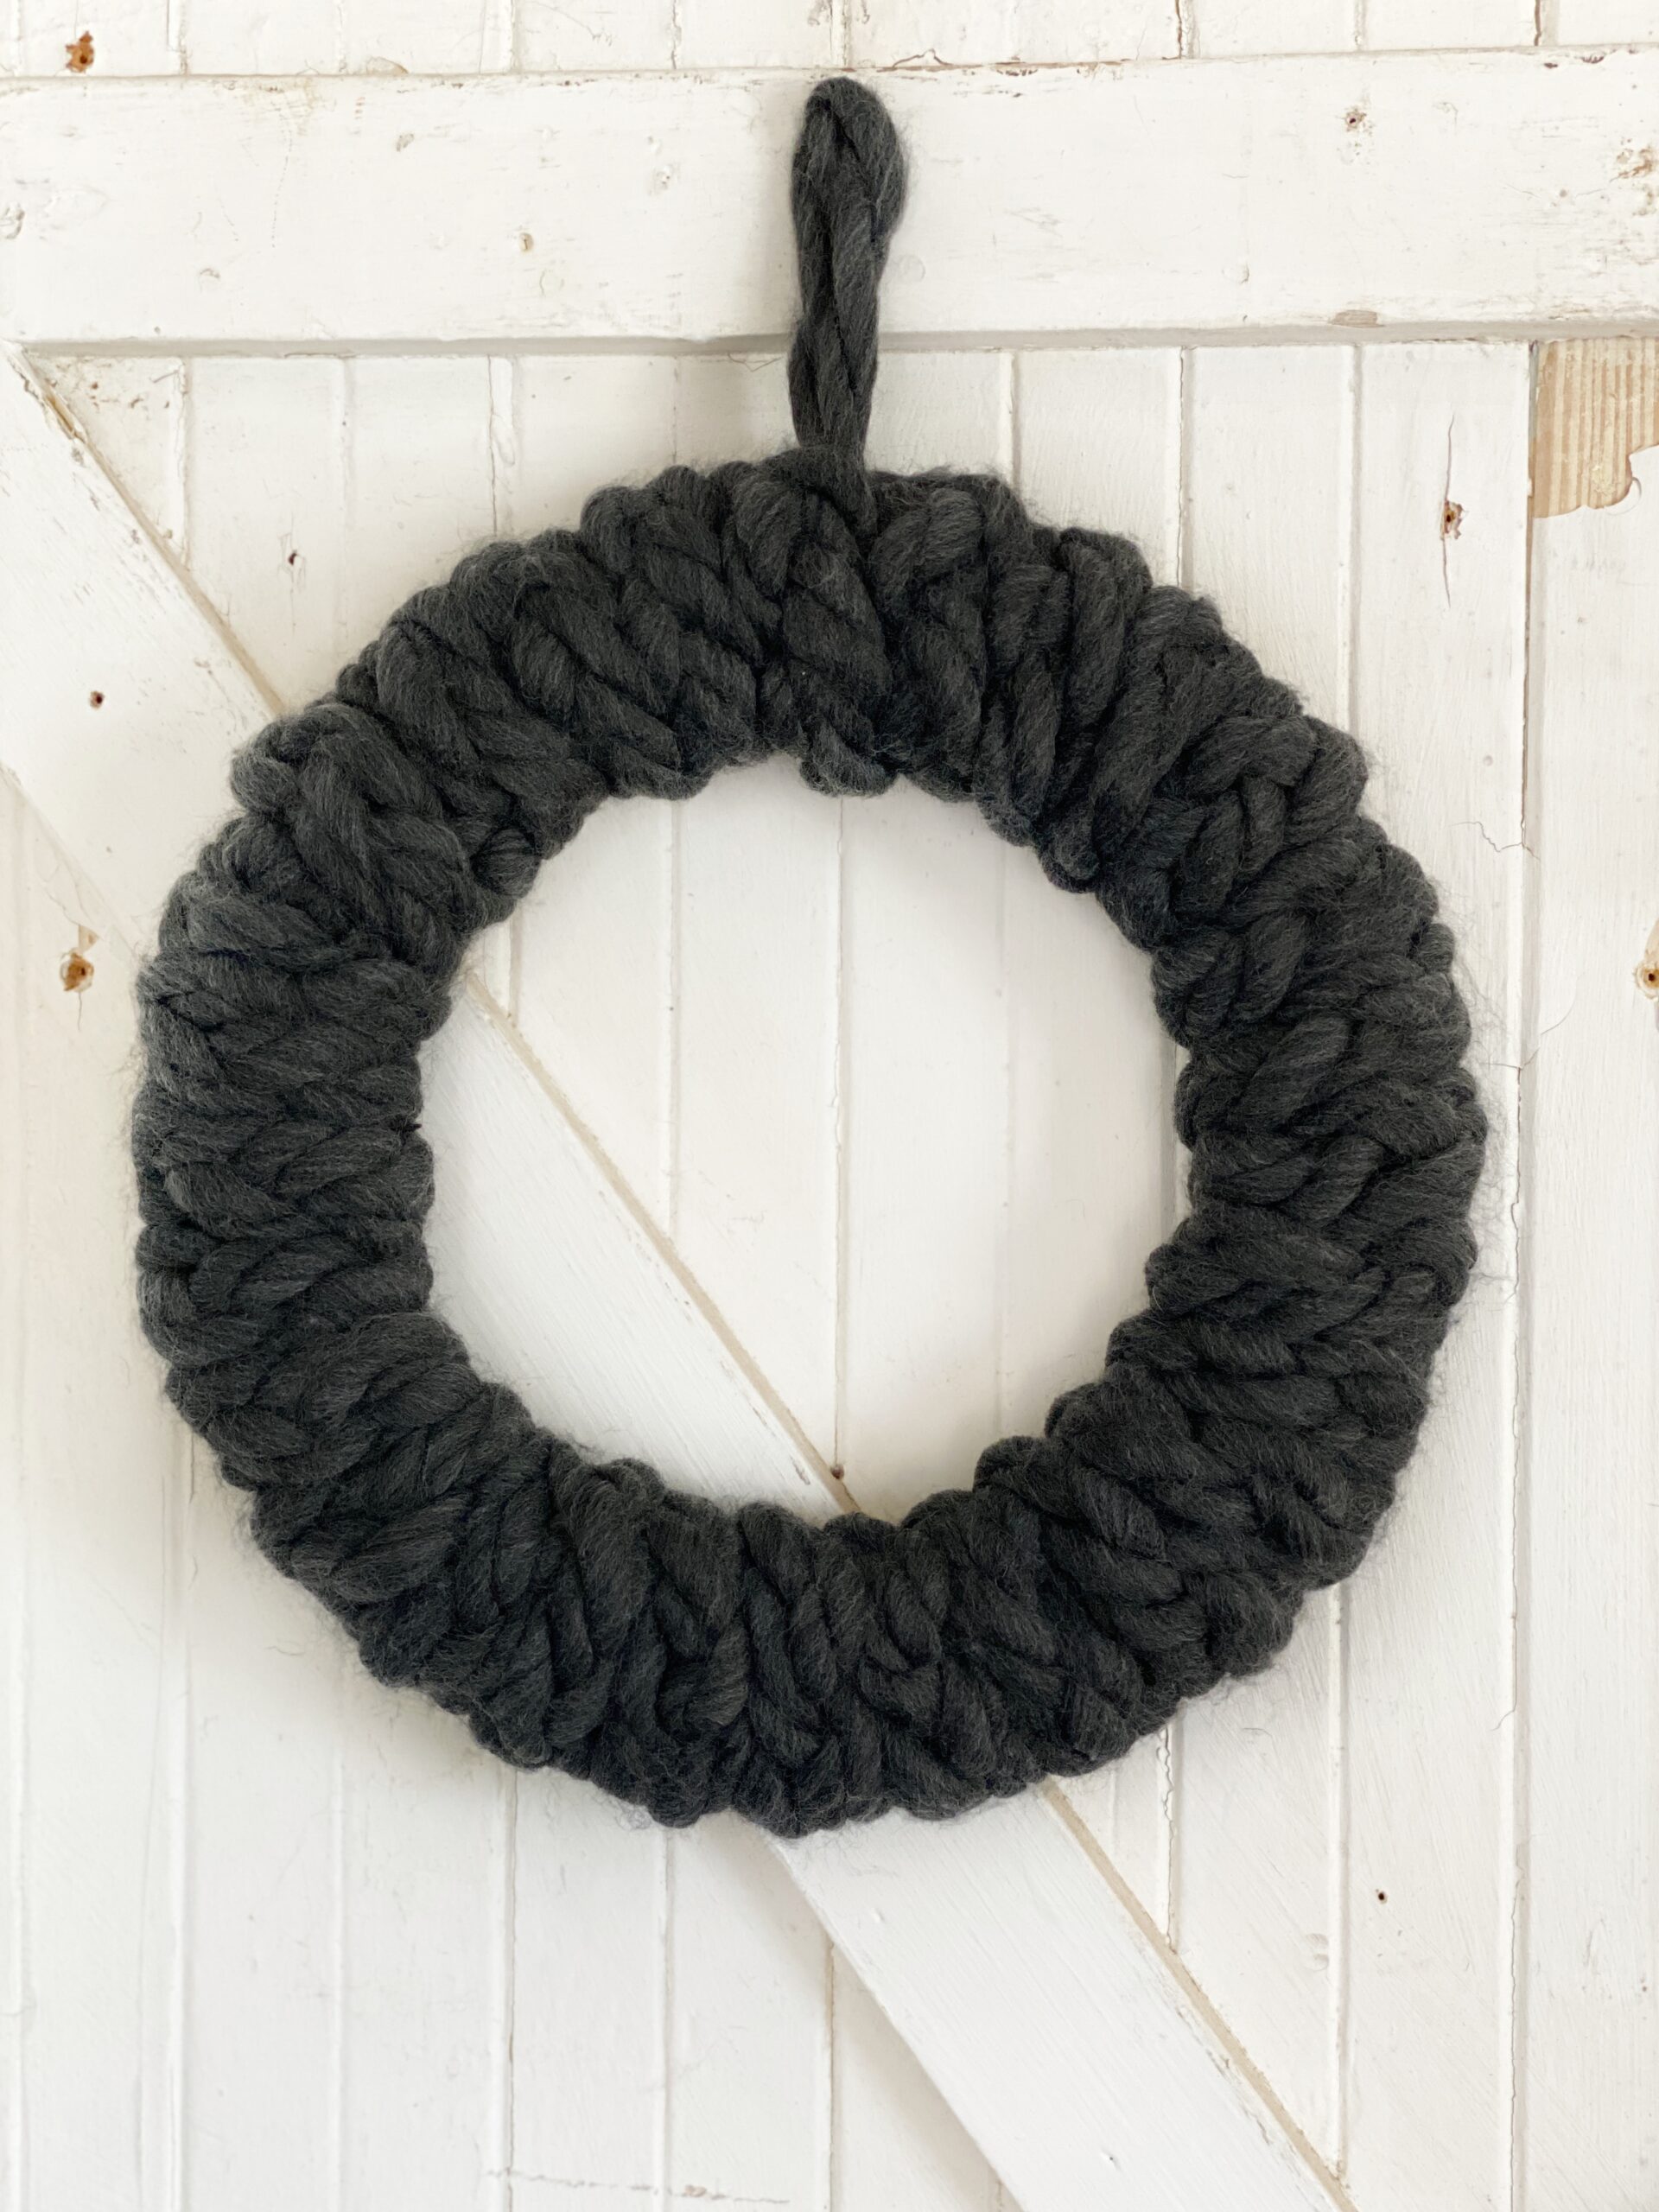
Before you go, I’d love to show you some of the she shed projects I’ve been working on. I made a simple Wagon Wheel Wreath that can be put together in around 10 minutes. I made another DIY wood bead wreath for our guest bedroom that I’m in love with.
Happy crafting,
Denise