How To Make Christmas Trees With Quilt Batting
This post contains affiliate links which means that at no cost to you, I may earn a commission if you purchase using one of my links. For more information view my full disclosures.
~
I love to make cone-shaped trees and I came up with this idea on a whim. I was digging through my craft stash looking for new materials to make some trees and I created this DIY cone Christmas tree. Come learn how to make Christmas trees with quilt batting!
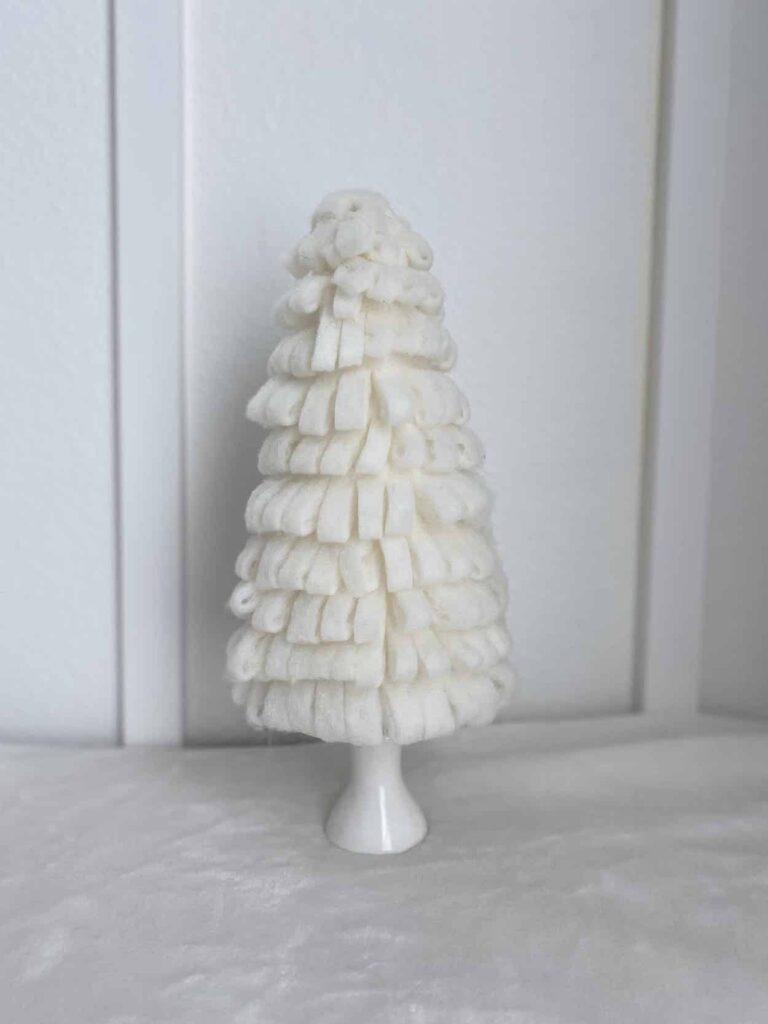
I’ve been spending way too much time looking at best-selling craft supplies lately and my mind is spinning with new ideas. This weekend I came up with this fun Christmas craft. The trees are quite simple to make but they look so luxurious and plush. You can make one in just a few minutes. I made mine for Christmas but it could be used any time of year!
Supplies For A Cone Tree Made With Quilt Batting
- quilt batting – I used polyester but cotton would be so pretty, too!
- A cone – either styrofoam or paper mache (or make one out of cardstock)
- Hot glue gun
- Scissors
How To Make The Cone Christmas Tree With Quilt Batting
Start by getting a rough measurement of the bottom of your cone. Cut a long 3-inch strip of batting by the length you need to go all the way around the bottom of your cone. Fold the strip in half lengthwise and put a bead of hot glue only along one long edge. Just a thin strip of glue on the outer edge will do.
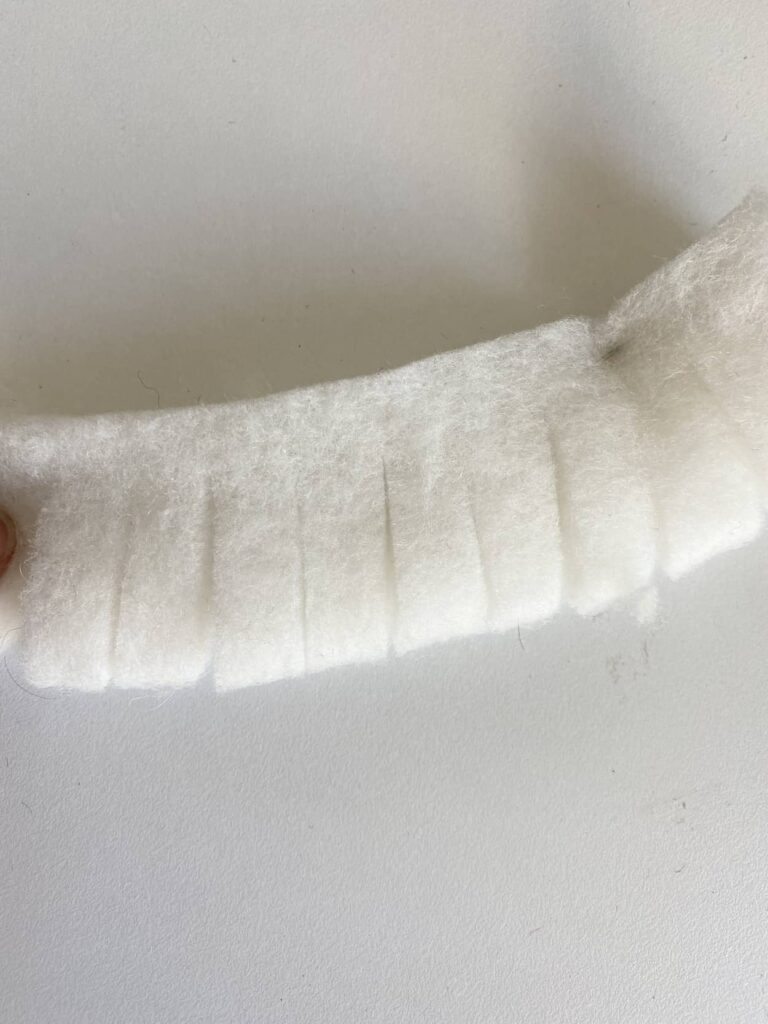
Cut slits in the fold side, but not all the way through. When you’re done gluing the strip, you’re ready to attach the first layer.
Glue the first layer on the bottom of the cone and cut off the excess. You will barely see where the two pieces meet.
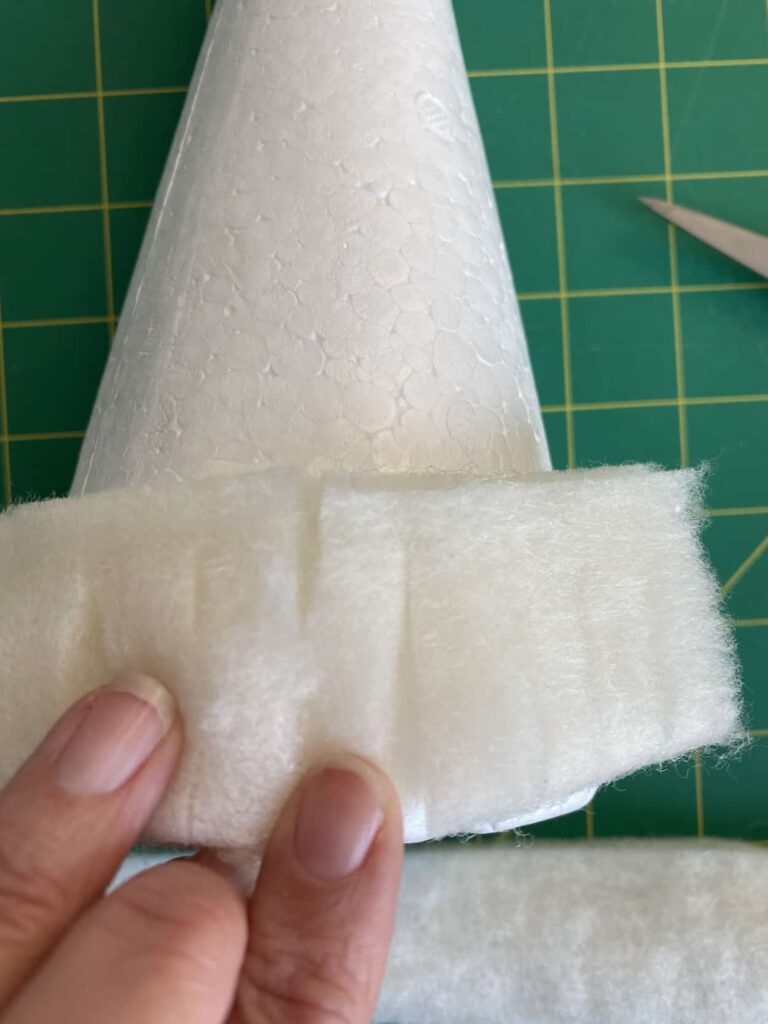
Measure your next layer and just repeat these steps until you get to the top. Each strip will continue to get a bit shorter as you go.
Making The Top of The DIY Cone Tree With Quilt Batting
When I got to the top, I cut a small circle out of the quilt batting. A held it over the top and pointed my glue gun underneath in a few spots to glue it down. You could make a decorative top if you’d like, but I loved the monotone look.
Tree Stand Ideas For Cone Trees
I have used so many different things for cone tree stands. Look around your house and you’ll find several. You can turn a terra cotta pot upside down, turn a candle holder upside down, use a vintage spool, or even a vintage egg cup. I also love mini cupcake stands as well!
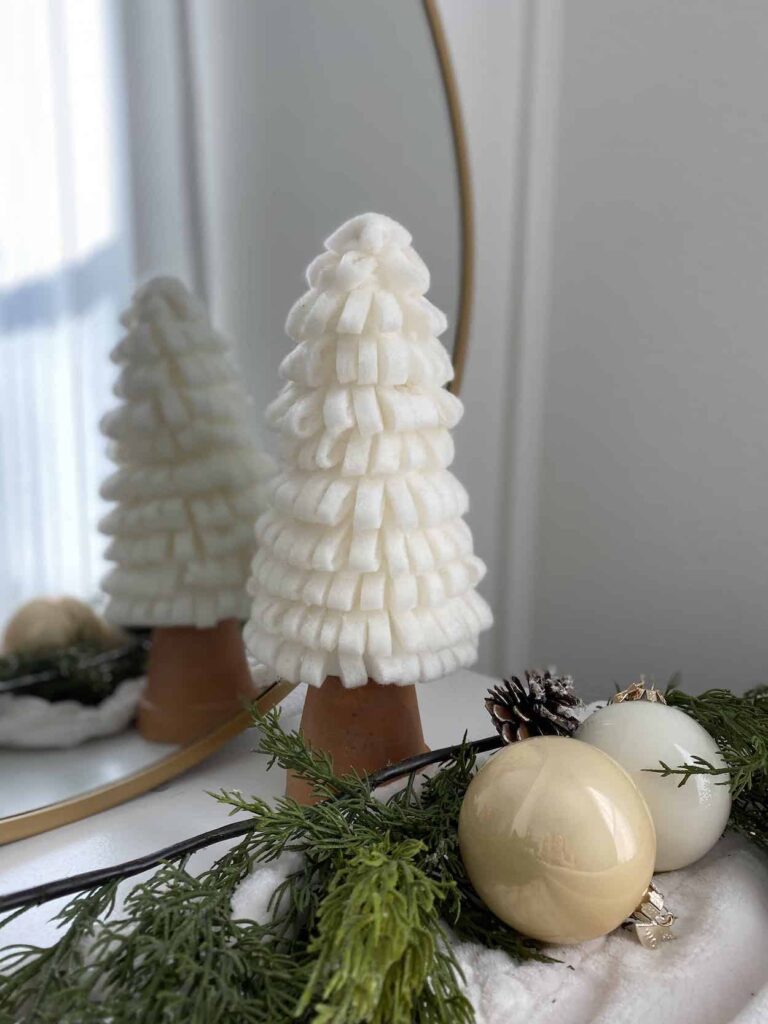
I hope you loved these DIY trees with quilt batting. I have an entire post about making DIY Cone Christmas trees. Be sure to check out the others that I’ve made. Let me know if you make one!
There are so many amazing crafts to make at Christmas time so I thought I’d share some friends with you. Be sure to check out their blogs and see their Christmas projects as well! I want to thank Tip for hosting this fun Christmas challenge.
Decorate and More with Tip – Christmas Lantern Vignette
Patina and Paint – Dollar Tree Santa Makeover
Blue Sky at Home – How to Decorate Dollar Tree Candles for Christmas
The House House – DIY Driftwood Christmas Tree
Blessings By Me – Cardboard Christmas Trees
Purple Hues and Me – DIY Chunky Glitter Glue Ornaments
Sweet Southern Grace – DIY Dried Orange Garland
LeCultivateur – DIY Painted Nutcrackers
xoxo,
Denise



Denise, what a pretty way to make a Christmas tree. I love the soft, snowy look of it. Would never have thought to use batting ! Merry Christmas.
Thank you so much 🙂
Denise I love these trees! I have left over batting just sitting in my closet. I can’t wait to try this craft out. Thanks so much for sharing!
Your tree turned out so pretty!
This is really cute!
Denise, I love your tree and appreciate the step-by-step tutorial. I am going to try to make me some before the season ends. Thanks for sharing.
This is so pretty! Love this idea 🙂