DIY Fabric And Velvet Pumpkins
This post contains affiliate links which means that at no cost to you, I may earn a commission if you purchase using one of my links. For more information view my full disclosures.
~
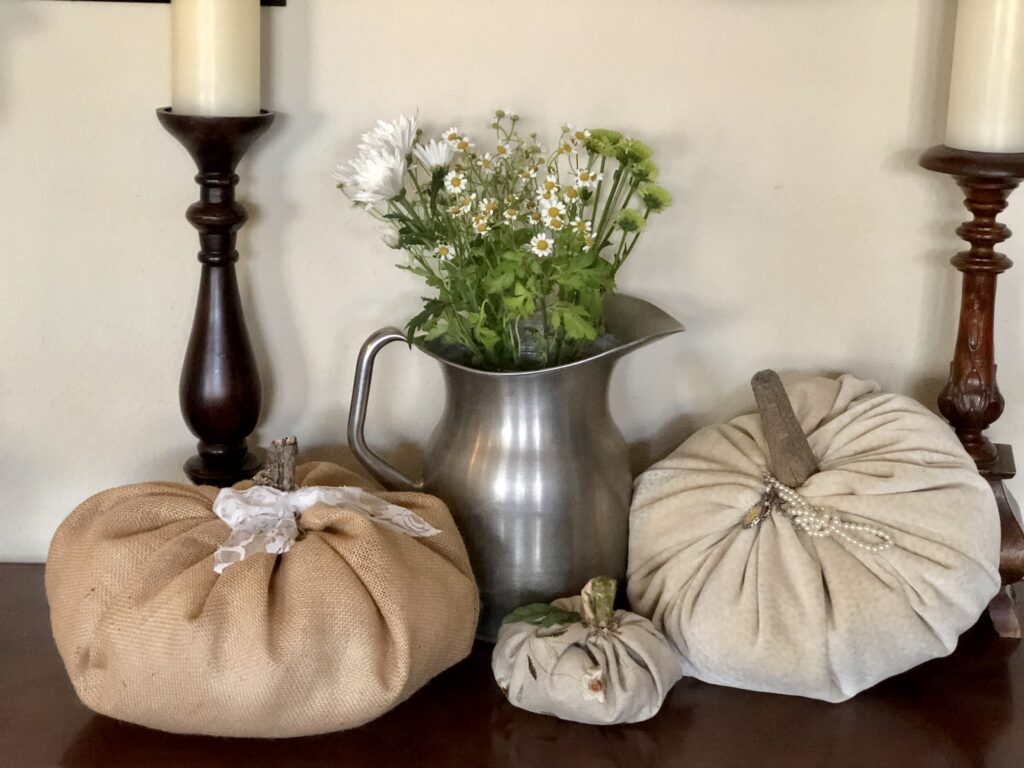
I love to make DIY fabric and velvet pumpkins for the fall season. They’re so easy to make and you can decorate them using all sorts of creative things from vintage finds to items you find outdoors.
How To Make Fabric Pumpkins
Fall is in the air and I honestly couldn’t be more excited! It has been one hot summer here in Paso Robles and I’m so ready for the heat to subside. It’s only going to be about 85 degrees today and while that may still seem hot to you, it’s the first day we’ve had under 90 in over 50 straight days. I’m convinced that decorating for fall is what finally made the temps go down, so next year I’ll try this a little earlier 😉
My mom stopped by this week and brought me a stack of fabric swatches that she’d saved from our old furniture store. You know the ones you look through while you’re trying to choose a fabric for your new couch? Our store closed over ten years ago and she still had the swatches. Lucky for me, mom hangs on to everything!
I like a DIY that I can complete pretty quickly. I have a short attention span and I like instant gratification. I don’t ever see myself being a quilter or a knitter like my mom. Patience is something she didn’t pass along to me. I decided to make these quick and easy fabric pumpkins to add to my fall decor.
Before I get started, I wanted to say that I’ve read several tutorials on how to make perfect-shaped pumpkins. Personally, I like things that look more homemade and less store-bought, but that’s just me! This method makes every single one look a little unique, and I love that! I also can’t thread a sewing machine, so I did this all by hand 🙂
Things I used to make fabric pumpkins:
- fabric
- stuffing (like polyester fiberfill)
- needle and thread – embroidery floss or heavy-duty thread
- a stem
- fabric glue or a hot glue gun
- embellishments (optional)
First, I’ll talk about the basic steps I followed and then I’ll get into some great ideas for things to use that you may already have in your house! This is the most fun part for me, so make sure you read all the way to the bottom!
- I start by taking a square, or rectangular, piece of fabric and folding it in half. I cut the two loose corners off of one side, then on the other side, to create something that resembles a circle or an oval.
- Some of you are going to be specific about how to get a perfect circle, but it’s really not necessary. Just get it pretty close to a circle shape. If you’re really OCD, you can use a plate, platter, or any round shape to trace on the back side of the fabric to get a perfect circle. Pumpkins aren’t perfect so don’t stress about this part!
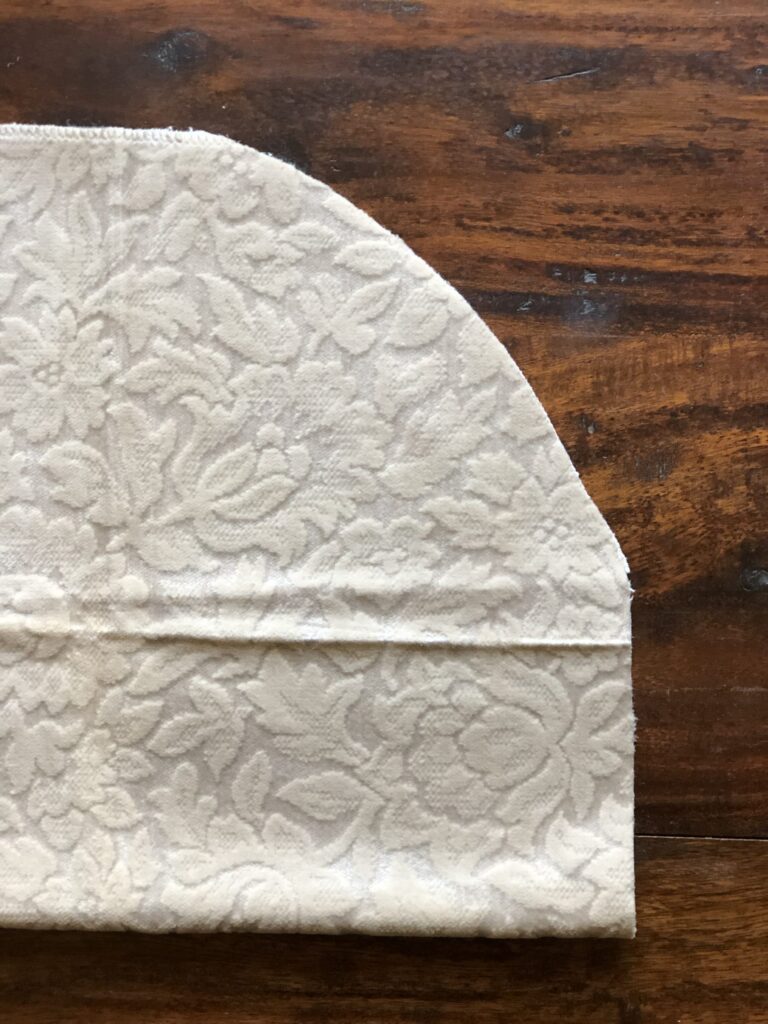
First Set Of Corners Cut
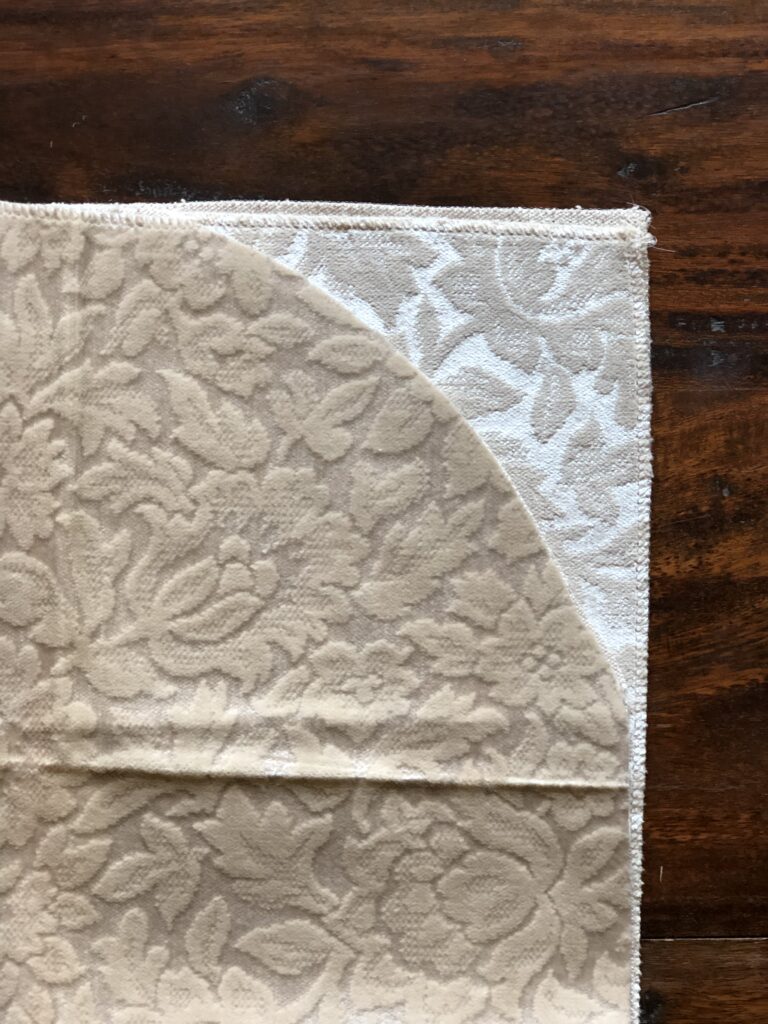
Fold The First Cut Corners Over So You Have A Guide For The Second Set Of Corners 😉
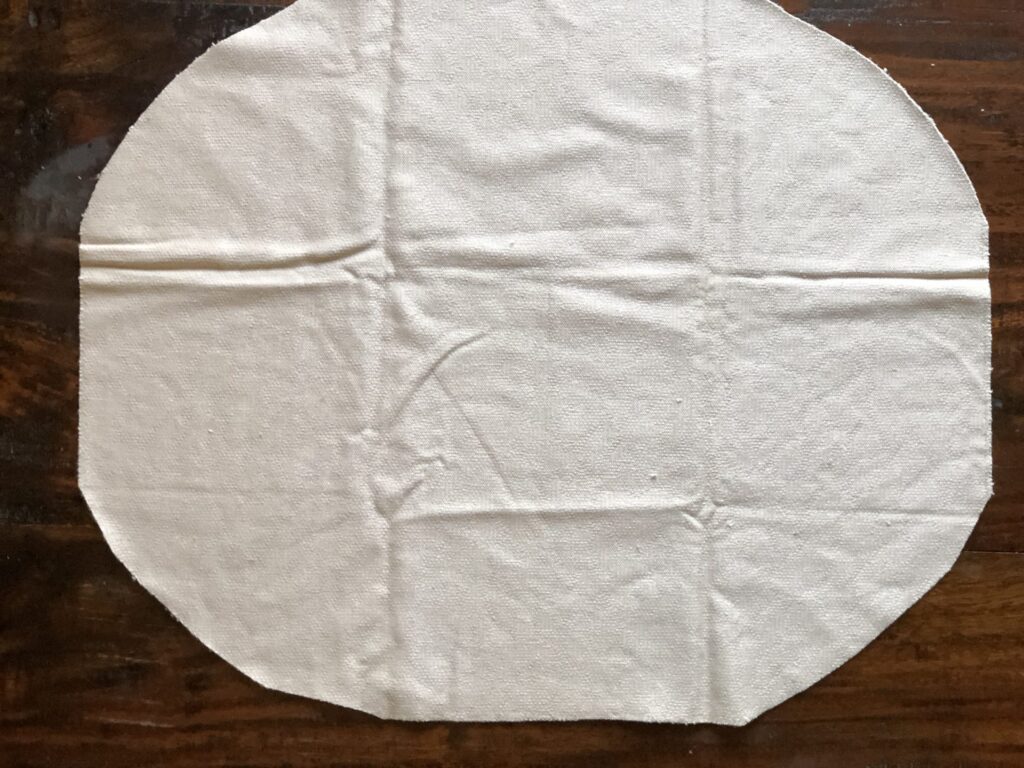
Not even close to a circle on this one but it will work!
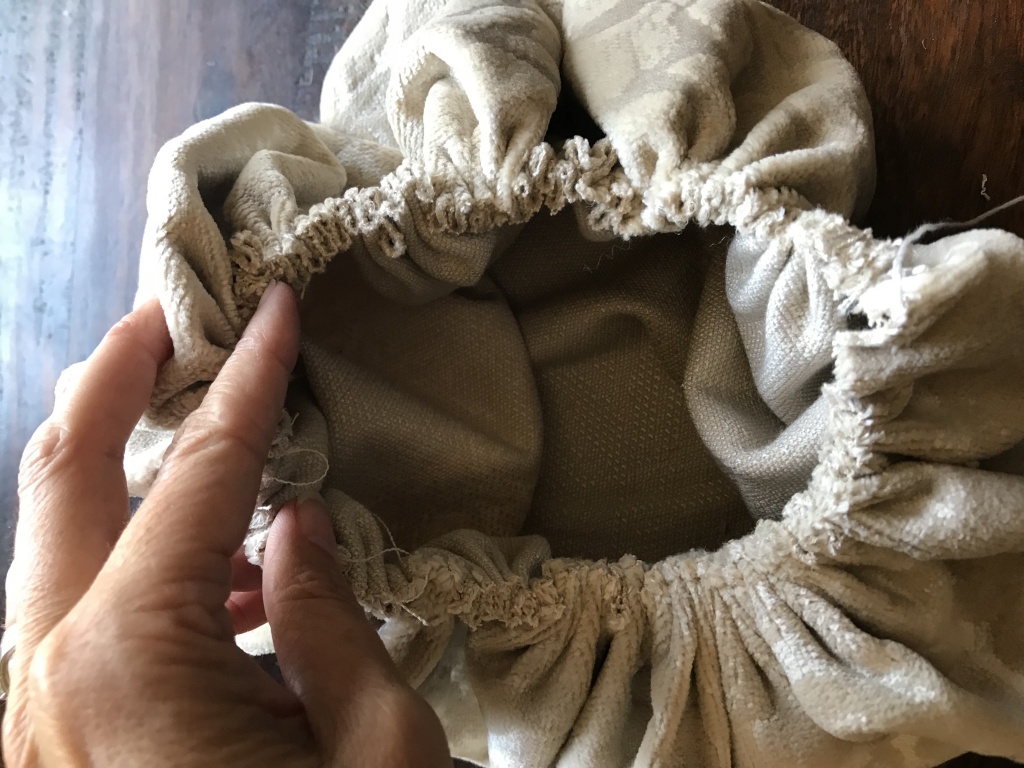
With the needle and thread, I knot the end of the thread and create a single running stitch all the way around the edge of the fabric, about 1/4 inch or so from the edge. If my fabric is a really loose weave, like burlap, I use a larger edge so I don’t rip the edges on the next step. (if I’m doing a large pumpkin, I don’t wait until I get all the way around to start bunching the fabric on the thread. I bunch as I go.)
Once I’ve made it all the way around, without removing the needle, I pull the circle together until I have a small opening. I’m basically just cinching the fabric tightly together by working it down the thread. I make sure it’s large enough to stuff the batting in.
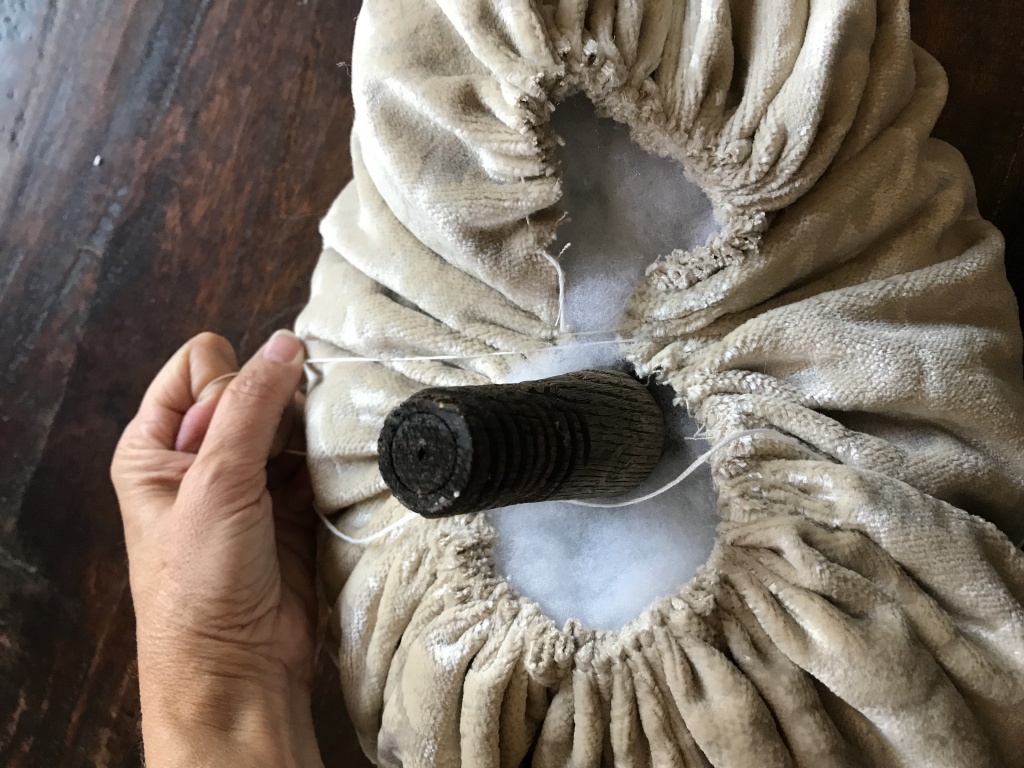
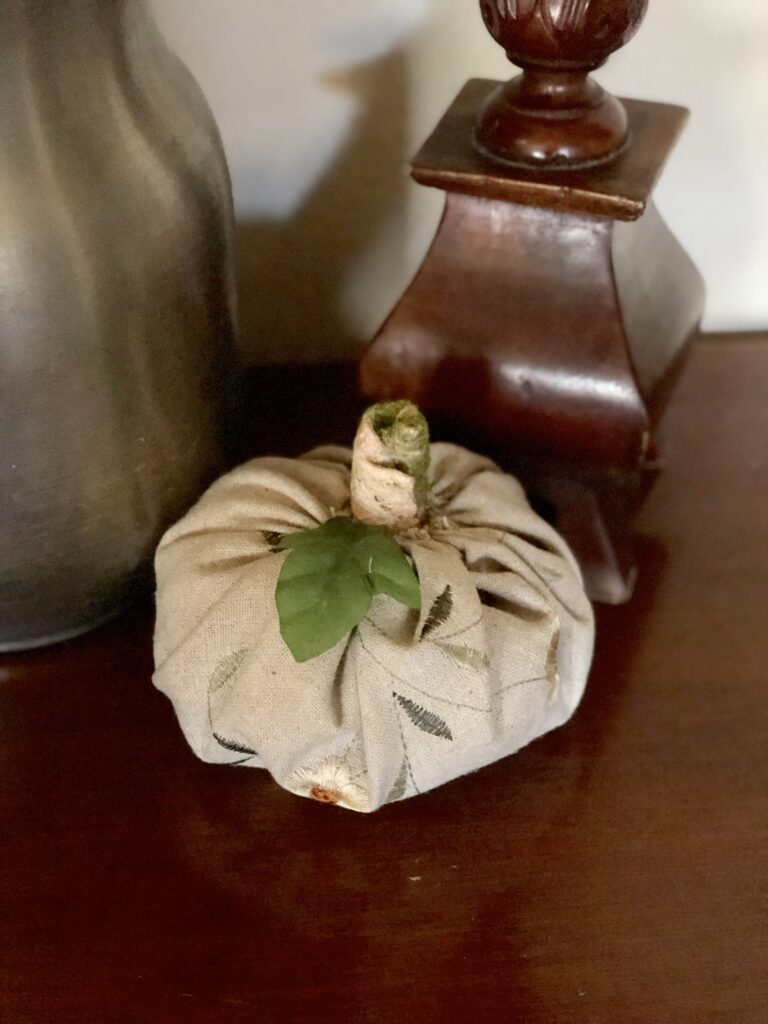
Once I get the amount of batting I want inside, I add the stem and then pull the thread tight around the stem.
If I decide to add embellishments, I add them now. I add things like rope or twine to make the little curly-cue pieces so I can tuck them in with the stem. Loose embellishments like charms or necklaces may need to be sewn on. I’ll get to this in a bit.
I secure the stem and embellishments by carefully poking the end of the hot glue gun into a couple of places and adding small dots of glue where they won’t show. Fabric glue works, too, but it takes a little longer to dry.
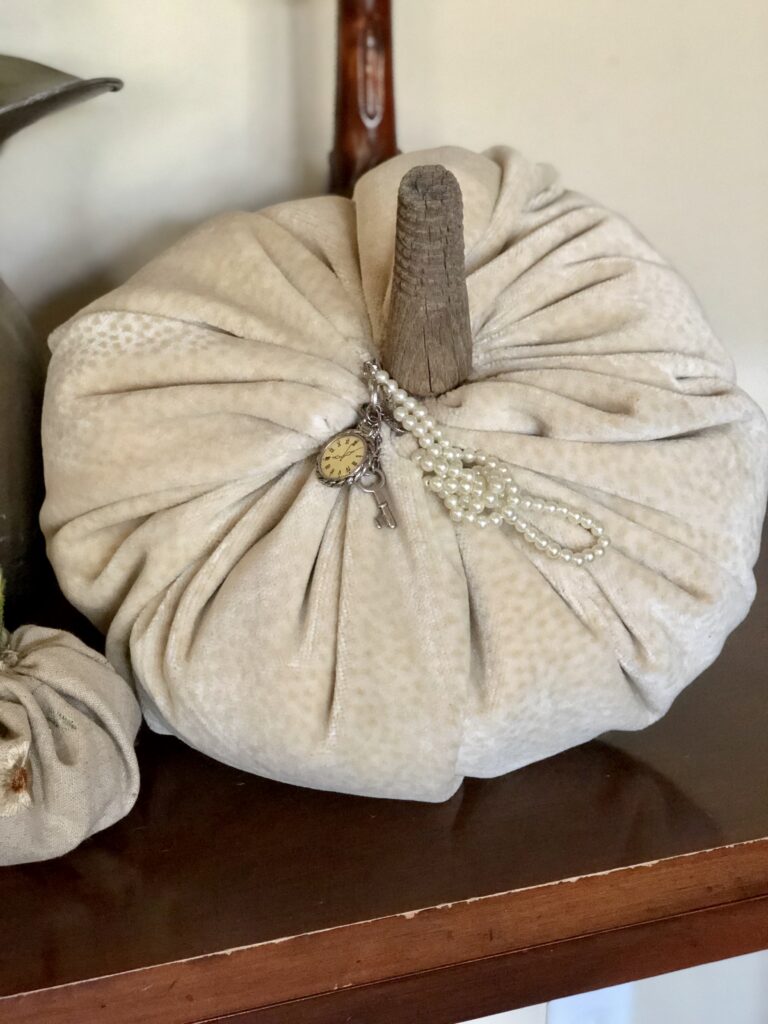
If I’m making larger pumpkins, like my cream-colored velvet one, you’ll notice that after making the running stitch and pulling it as tight as I can, the opening is still about the size of a softball.
After I place the stem in the center of the filler, I start closing up the softball size hole into a smaller hole. I do this by sewing one side of the fabric to the other several times until I get it sewn tightly around the stem and then secure it with glue.
Before I get everything sewn super tight, I add any twigs, twine, etc. if I want to add curly-cue parts to the stem. I secure them with glue.
So those are the basic steps, now let’s talk about some different things you can use to make your pumpkins!
Fabric – Burlap, velvet, cotton, old shower curtains, drapery panels, old bedsheets, blankets, t-shirts, jeans…. Anything fabric will work so I’m sure you have something to get started.
Stuffing – I find cheap bags of fiberfill but you can also take the stuffing out of an old pillow you aren’t using. I’ve heard of people stuffing them with old t-shirts or any of the items I listed under “Fabric”.
Stems – If you’re lucky enough to get your hands on real pumpkin stems, they look great. I don’t usually have access to them, so I use a number of different things. Bark ribbon, old dowels, spindles, small table legs, rolled burlap, and pieces of tree branches just to name a few.
Embellishments – This is another area to get creative. I raided a box of old jewelry I had. I used charms from old charm bracelets and necklaces and strands of cheap pearls. I would imagine that any yard sale or thrift store could be a gold mine to find cheap items that can be repurposed. Hey Mom! If you’re reading this, I’m sure you have a secret stash for me!

I could go on forever about different things you can use. These pumpkins are so fun and easy to make. I hope you’ll share some of your favorites in the comments below. I love to get new ideas. If you’d like to learn how to make sweater pumpkins or sock pumpkins I’ve linked two posts for you to enjoy. Happy pumpkin-making, my friends!
Happy crafting,
Denise