DIY Burlap Bubble Wreaths
This post contains affiliate links which means that at no cost to you, I may earn a commission if you purchase using one of my links. For more information view my full disclosures.
~
DIY Burlap Bubble Wreaths or so easy to make! They make so many different colors of burlap ribbon these days so you’re bound to find a color that’s perfect for your decor. I created this video a while back to show you the process. I’m not a good video maker and my make-shift phone holder was shaking a bit so sorry about that!
DIY Burlap Bubble Wreath Supplies
- Wire Wreath Frame
- Burlap Ribbon
- Optional items for decoration like flowers, twigs or bird nests
How To Make A Burlap Bubble Wreath Video
How To Make A DIY Burlap Bubble Wreath
Pull the burlap ribbon up from the back to create a loop in the inner section, pull another loop up in the middle section, and then the outer section. Use your fingers to make each loop the same size.
Bunch the three loops over and twist the ribbon on the back a couple of times and repeat the process of making the loops. The more times you do this in one segment of the wreath, the more full it will be. I only did this twice per section but try it with four per section and you’ll get more bubbles.
It gets a little harder to work with when you add additional sections but a little patience will pay off if you want a full bubble wreath.
What Size Burlap Ribbon Is Best?
To get fullness when making your burlap bubble wreath, I recommend a 4″ – 5″ burlap ribbon. You don’t need to use a wired ribbon for this, just a regular burlap ribbon will work. You can find it online or at Walmart, Michael’s crafts, or Hobby Lobby.
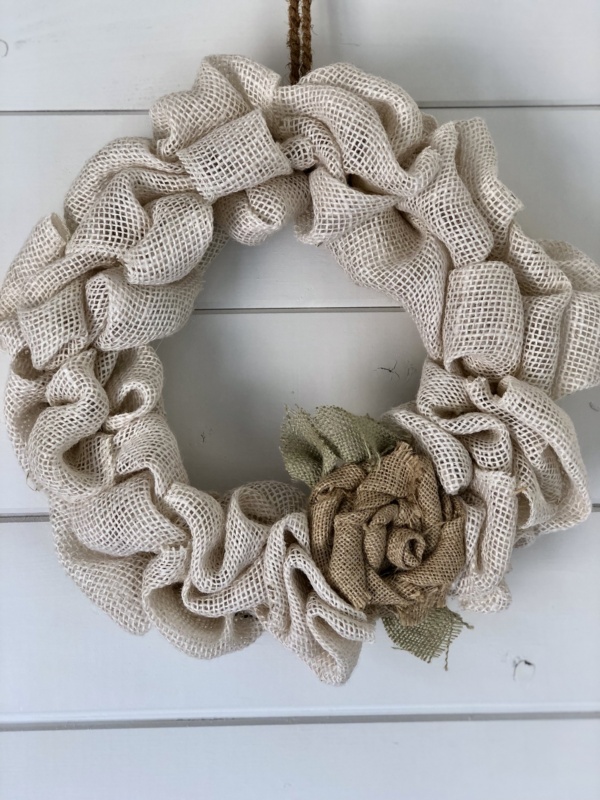
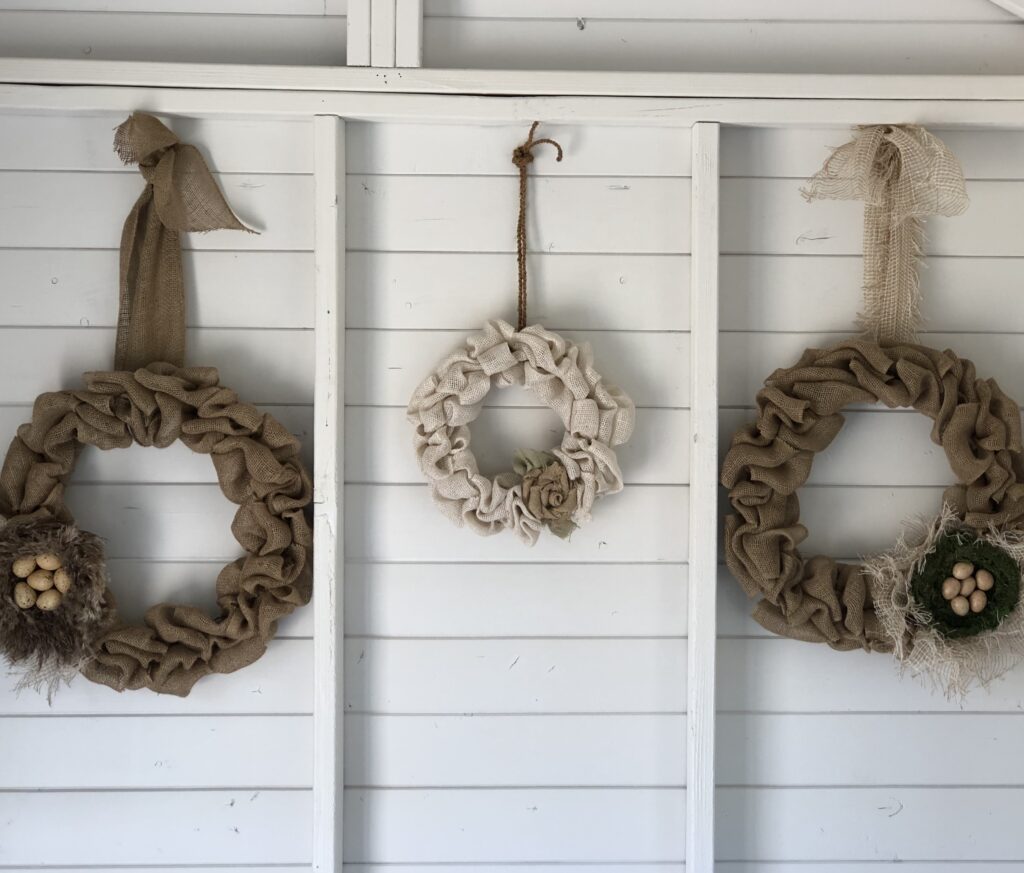
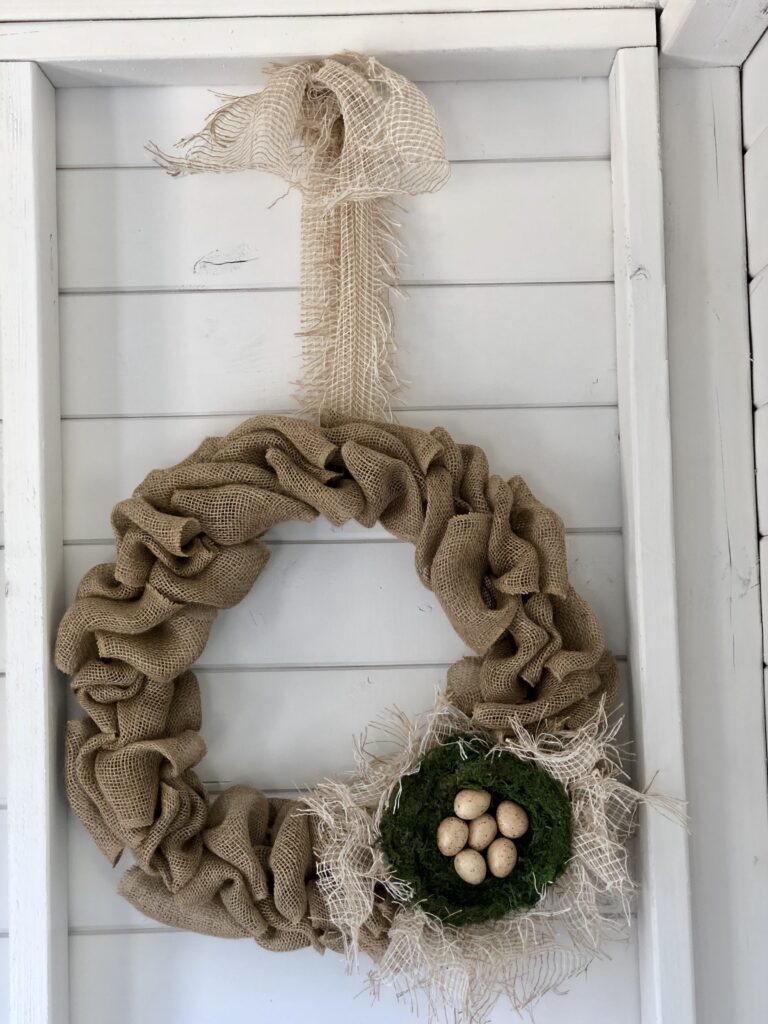
I hope the video helped you and that you enjoy making these simple burlap bubble wreaths. You should also check out my Rustic Burlap Flower Wreath if you love burlap as much as I do!
