
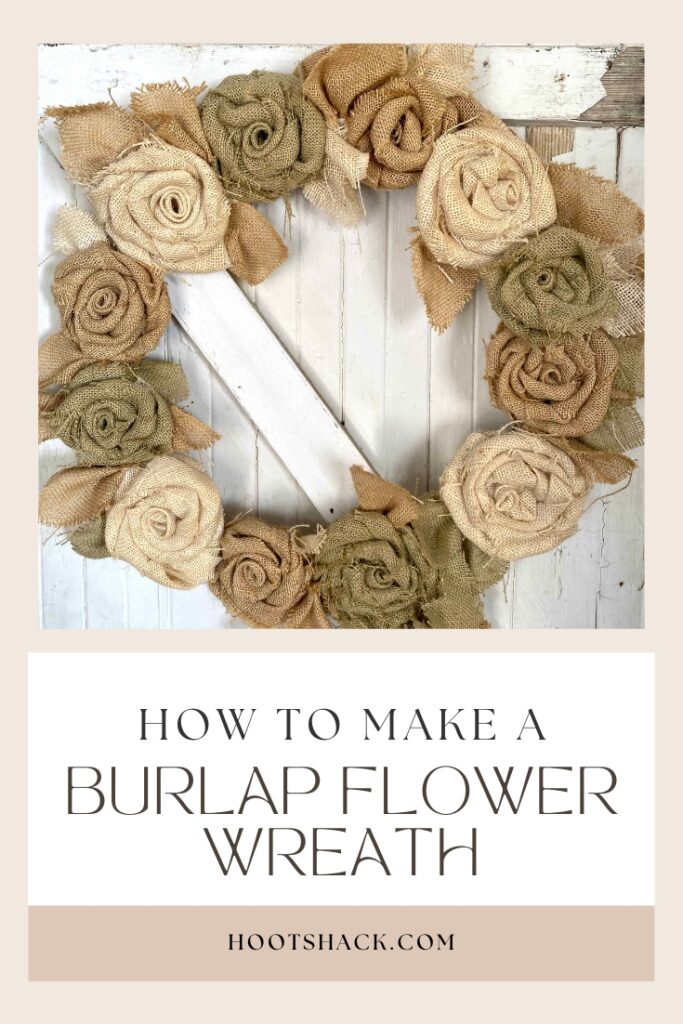
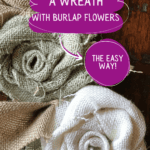
How To Make A Burlap Flower Wreath
This post contains affiliate links which means that at no cost to you, I may earn a commission if you purchase using one of my links. For more information view my full disclosures.
~
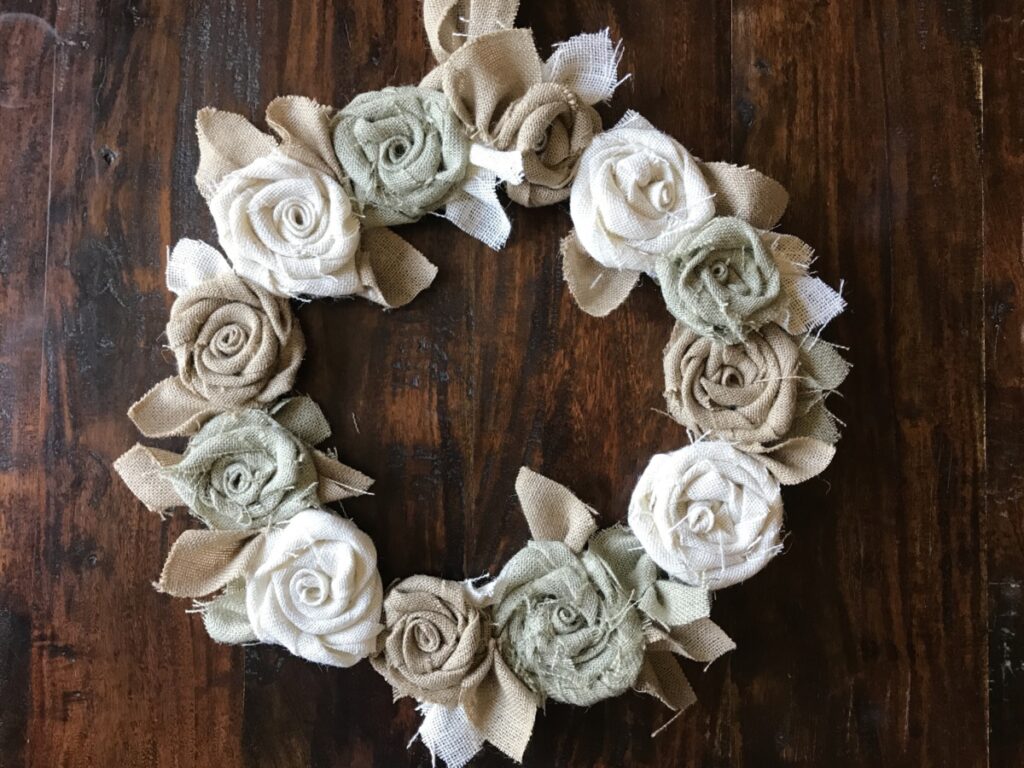
Burlap is one of my favorite fabrics to work with so today I want to show you how to make a burlap flower wreath. It can be made with burlap ribbon or burlap fabric. This is a very easy craft project to make. Let me show you how!
How To Make A Burlap Flower Wreath Supplies
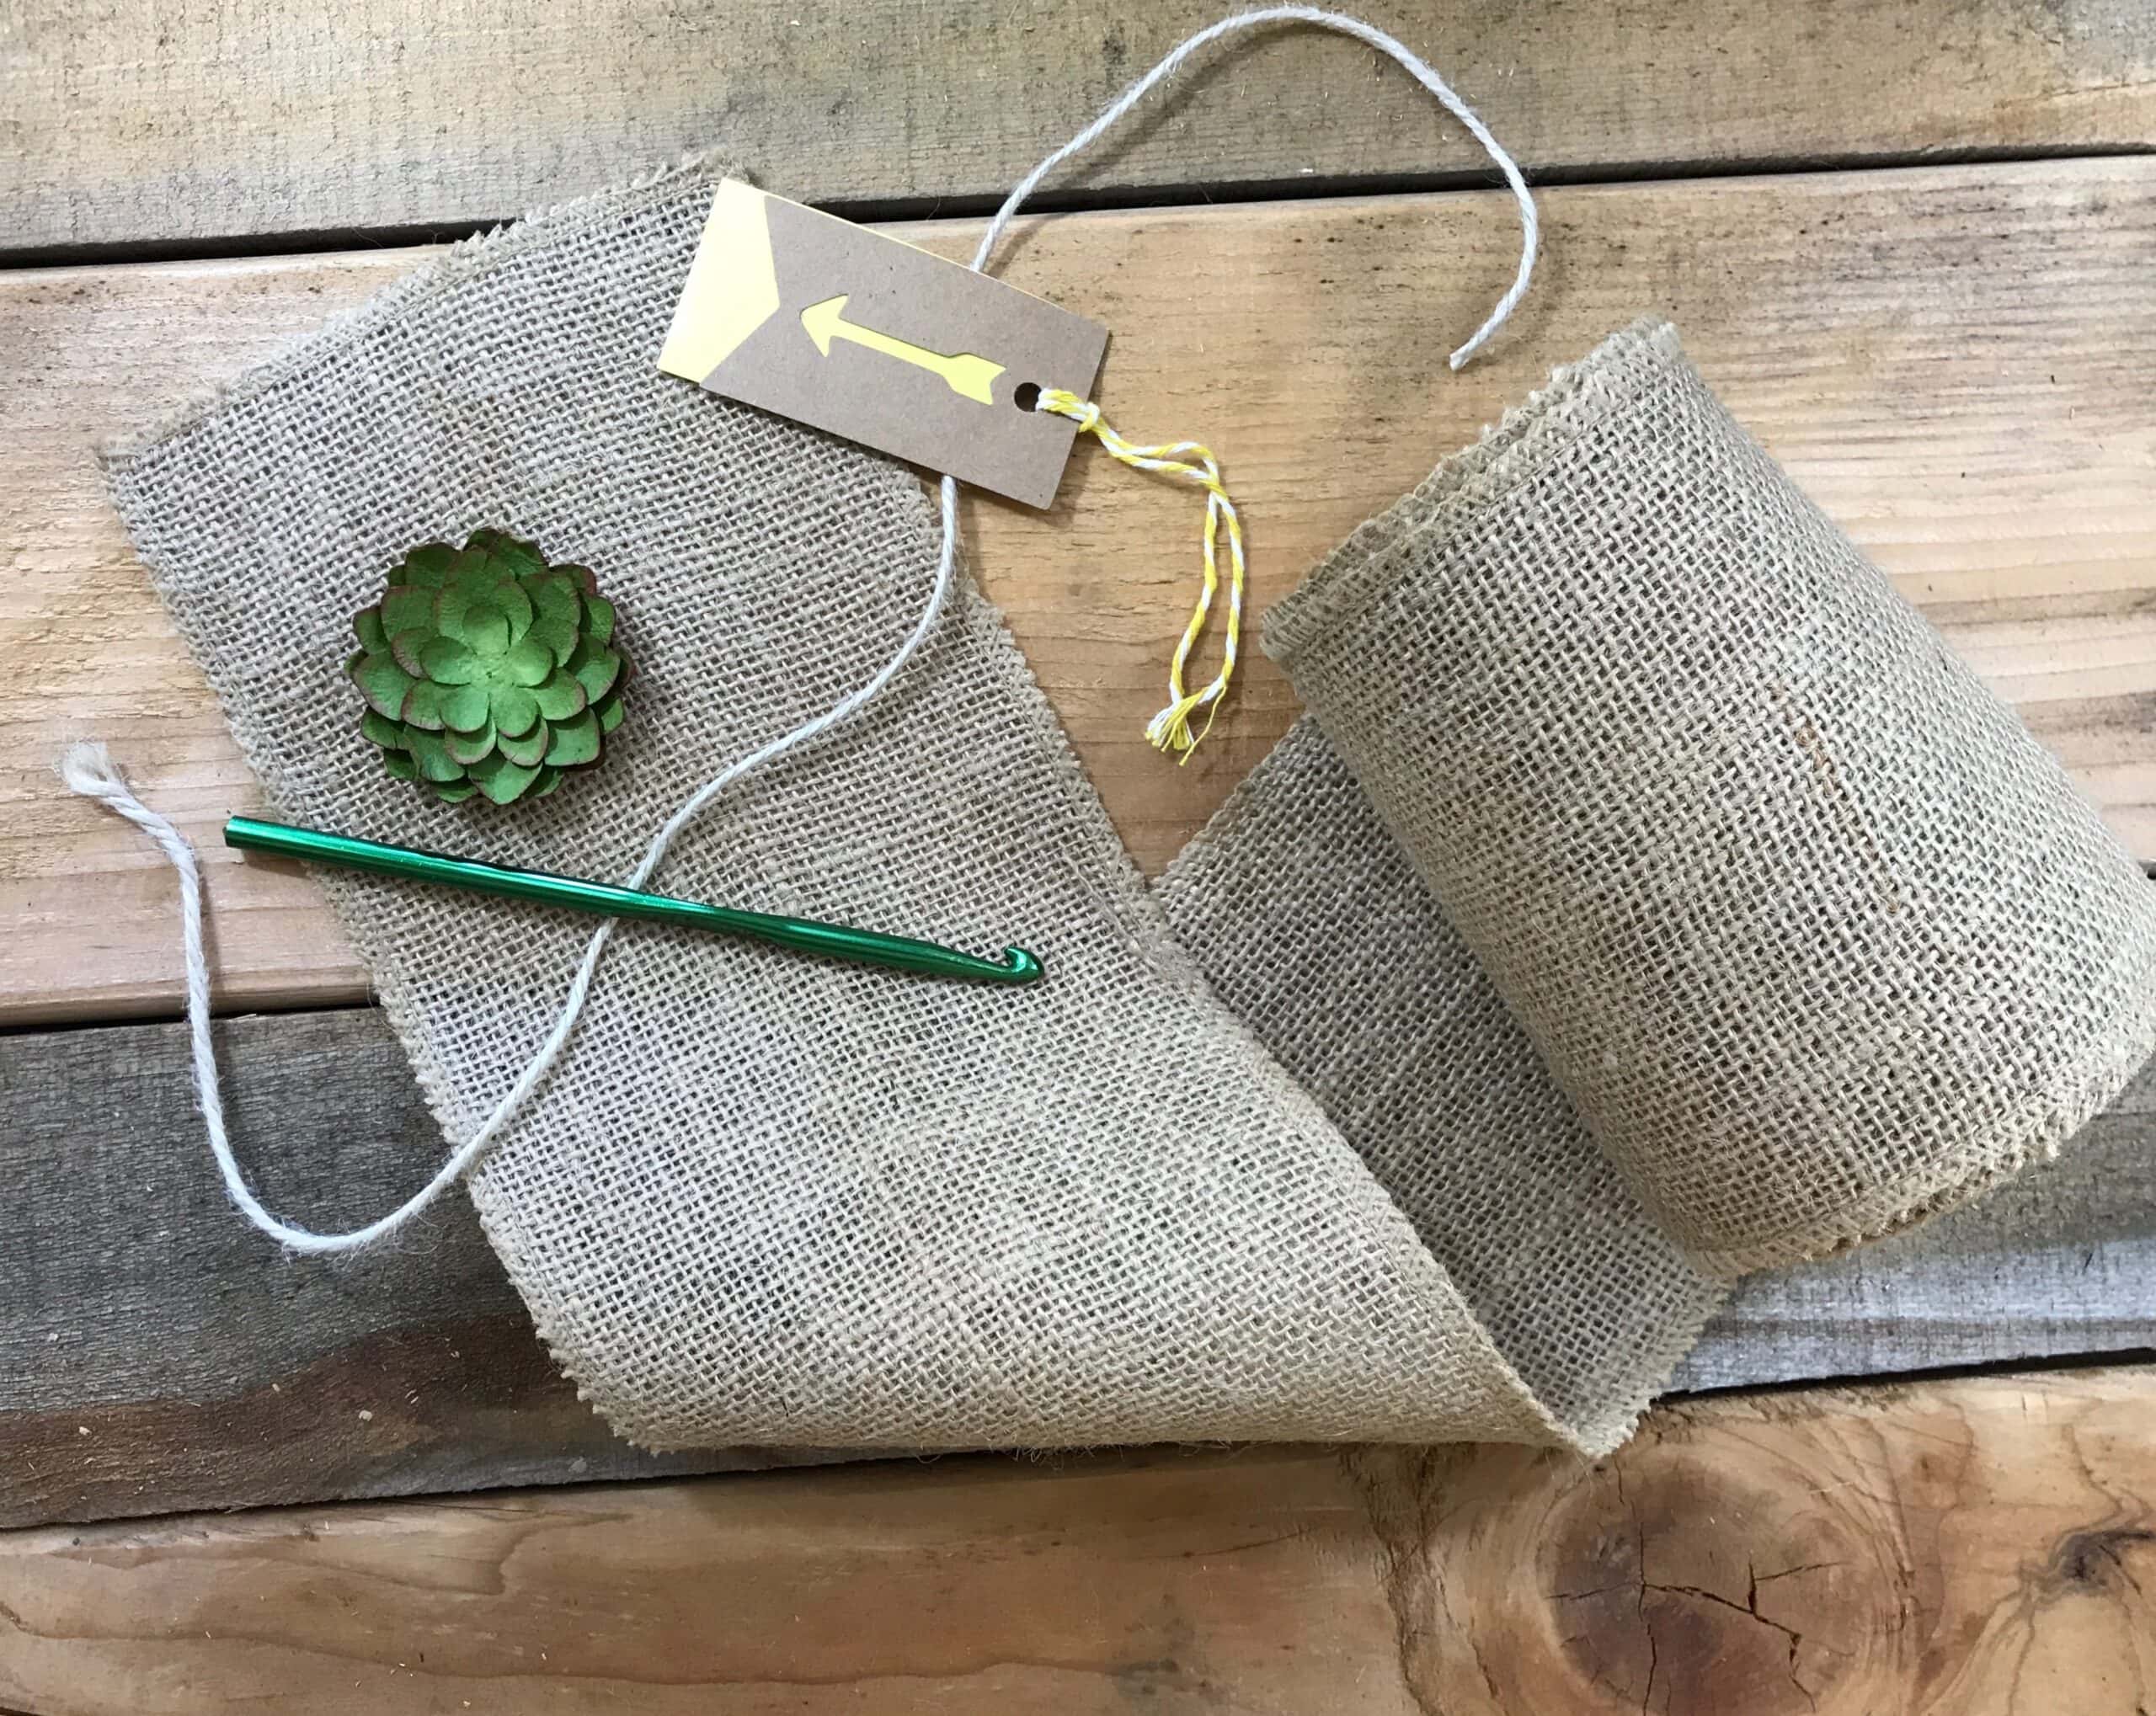
These are these supplies you’ll need to make a burlap flower wreath DIY.
- A wreath frame (I used this frame)
- Burlap fabric or burlap ribbon (cut list below), sage green burlap, white burlap (colors optional)
- Hot glue gun
- Scissors
Burlap Flower Wreath DIY Tutorial
When I made this burlap wreath with flowers, I used burlap fabric. You can see in the photos that this gives the burlap roses a more rustic look.
If you don’t like the loose fibers, you may want to use burlap ribbon instead. I also have a great article showing how to make different burlap flowers if you’d like to incorporate more than one style.
My finished wreath measures about 20″ to the outside of the roses, not including the leafy pieces sticking out. You can make yours any size you want.
Mine took 12 rosettes to complete plus I needed extra for the leaves. It took about 1 1/2 yards total to make it. Here is the cut list I used:
Cutting List
- (4) 3″ x 48″ strips of each color – 12 total
- (4) 4″ squares of each color – used to glue the rosettes onto – 12 total
- (16) more 4″ squares to make the leaves – cut into triangles to make 32 leaves – give or take a few 😉
- 1 strip of burlap for the ribbon – you can use a ribbon of any kind.
- a stapler – yep, I stapled my leaves together and it worked great!
- scissors
- If you care what the back looks like, you’ll need extra burlap to pre-wrap the wreath before beginning. I also recommend securing the ribbon for hanging prior to gluing the rosettes on.
Before starting, please read the entire tutorial and watch the instructional video. It will make your life a lot easier! Warning, I’m not a good video maker.
Step-by-step Instructions
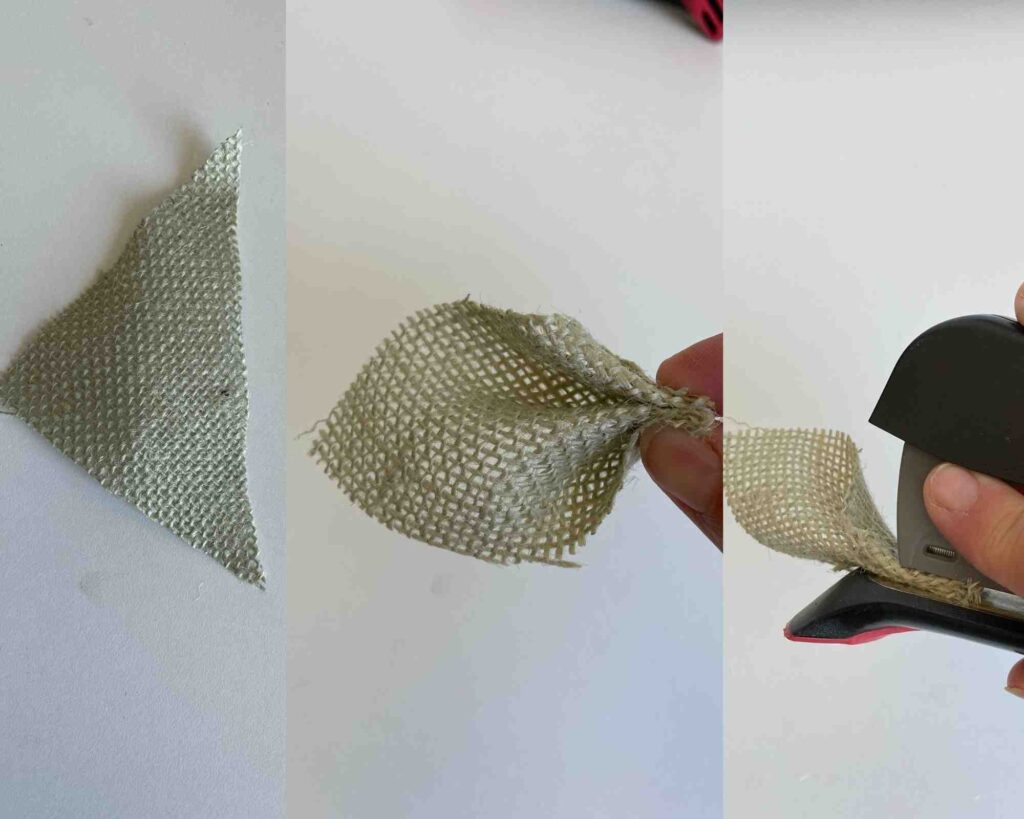
How To Make Easy Burlap Leaves
I made all of the leaves first and had them set aside. I took a triangle piece and accordion folded the long side together using about 1″ folds and stapled the folds together. (You can sew them or glue them but the stapler worked fine for me.).
Have the leaves handy because you’ll need them right next to you when you’re done making each rosette.
How To Make Burlap Flowers
To make the burlap roses, I had my glue gun hot and ready and had one of the 4″ squares ready to go and sitting on an old ceramic plate for gluing everything together at the end.
The glue will leak through the burlap and with this method, I never had to touch the glue. Fold one of the long strips in half so it’s 1 1/2″ wide by 48 ” long.
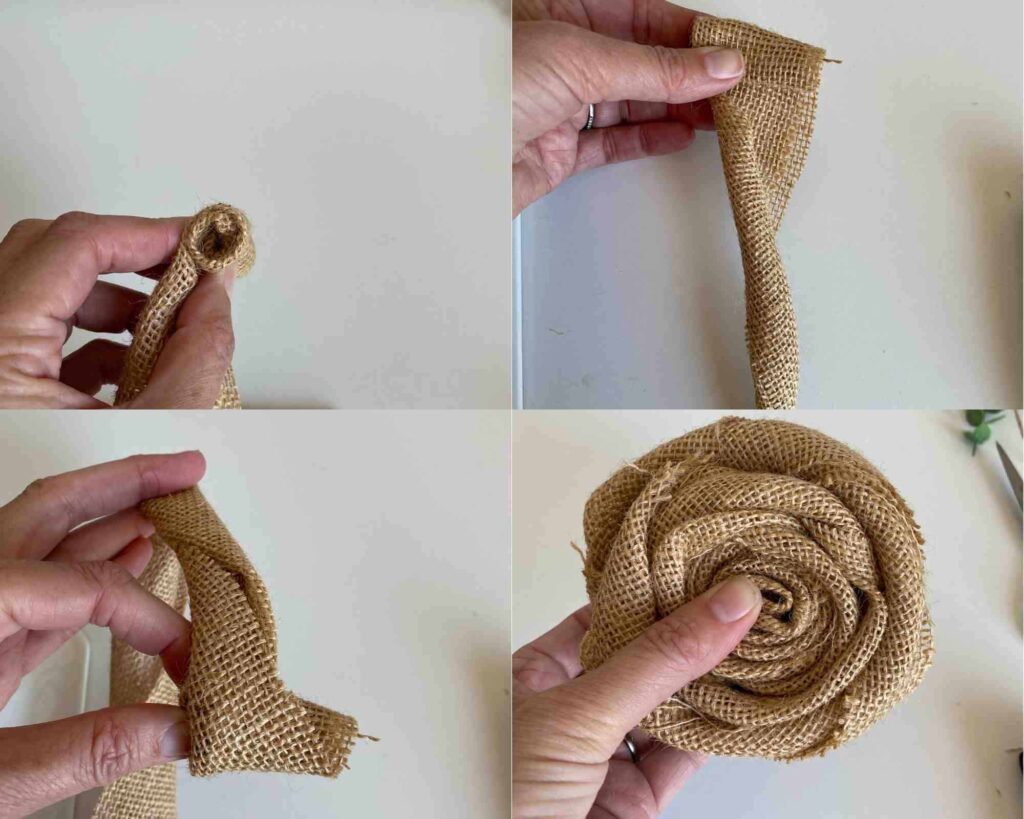
With the fold side on your left, roll it towards you for just a couple of rolls to start the center and hold that together in your left hand.
Now take your right hand and start twisting the burlap towards your left hand and begin wrapping the burlap up and around the rolled part.
Keep doing that until you reach the end and then tuck the end under the back. You’ll have to hold all of this securely in one hand while you grab two leaves and tuck them behind the rosette where you want them to go.
Grab your glue gun and begin covering the 4 ” square with glue in a round circle pattern leaving the corners without any glue.
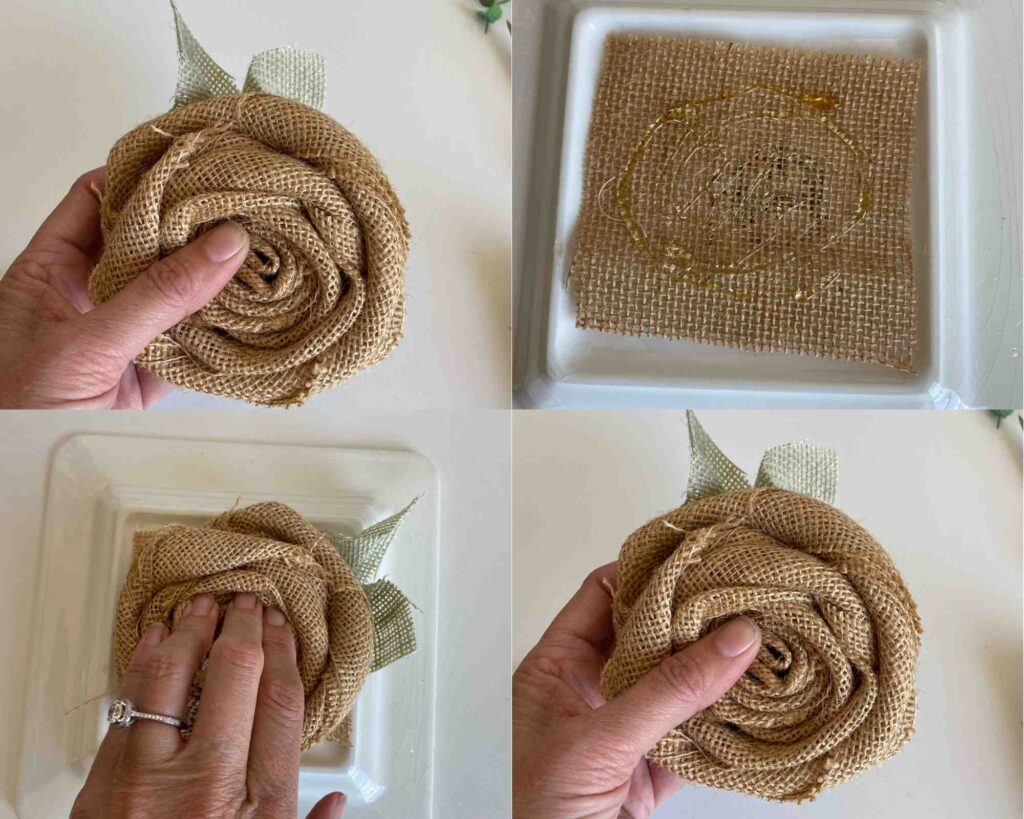
The idea is that the rosette and leaves will need to be entirely glued down onto the square with the leaves.
Almost the entire square, with the exception of the outer corners, will be covered with glue.
Lay the rosette and leaves onto the square so that the square is on the back. Be careful, the glue is HOT!
Using the four corners of the square, pull up the corners that don’t have glue to make the glue stick to the rosette. You can pick the entire thing up by the front of the flower so you’re not touching the glue.
Begin pressing the back on the plate or whatever surface you use to get the rosette firmly stuck to the square.
Finishing Touches
Use scissors to cut the excess points from the square off. Use the point of your glue gun and stick it into random places inside the folds of the rose to further hold things in place.
I made 12 rosettes with leaves. Take the rosettes and lay them in a circular pattern to get them the way you want and then begin gluing them onto your wreath frame.
If you find it easier, you can wrap your frame in burlap before gluing the flowers. I just put glue on the frame itself and then stuck the flowers on.
Use leftover leaves and find spots on your wreath that need filler. Tuck them into those spots and secure them using your glue gun.
I hope you enjoy making your Rustic Burlap Flower Wreath. This may sound hard, but after I made my first rosette, the rest all came together taking only about 2 – 3 minutes each.
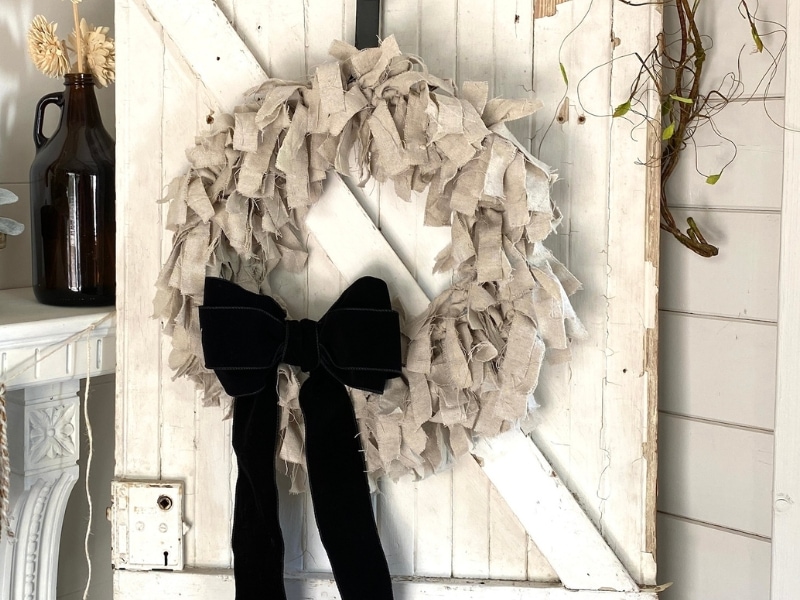
Now that you have all of this burlap, don’t forget to read about how to make a burlap bow, and also check out these cute burlap trees. I also made some taller burlap Christmas trees as well.
Happy crafting,
Denise
One Comment