
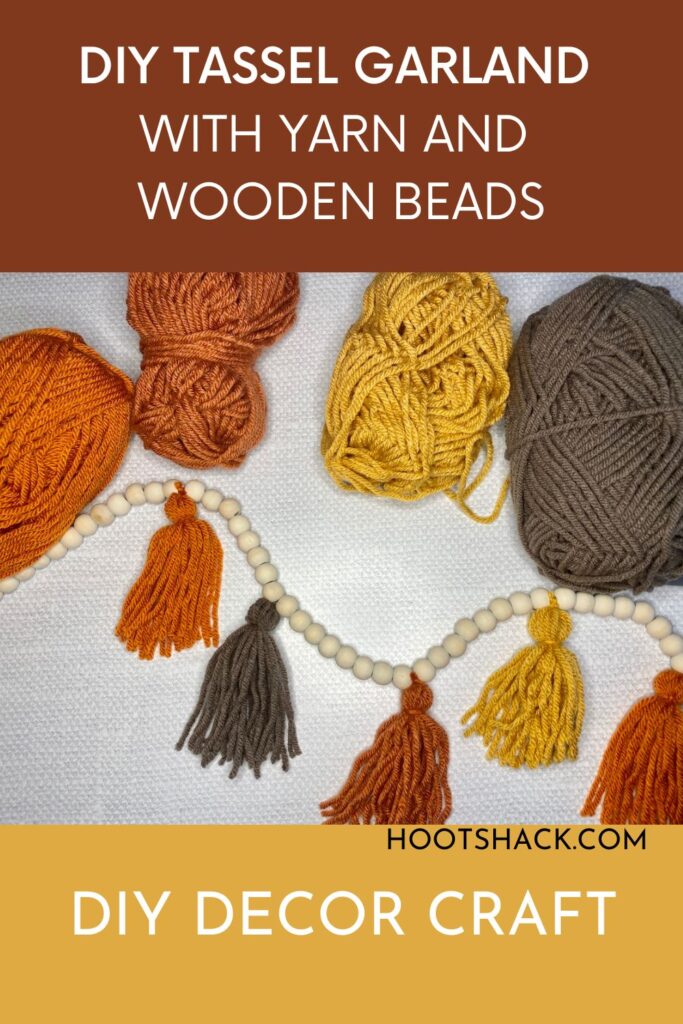
DIY Tassel Garland With Yarn & Wooden Beads
You’re going to love this DIY tassel garland with yarn and wooden beads. It’s a pretty, budget-friendly craft project and it looks so good hanging in your home. Use any color yarn to create this cutie!
If you’ve been here before, you know that I love pretty craft projects that don’t break the bank. Making your own crafts gives you the freedom to create something in your own unique colors and to put a special twist on things.
I found all of the supplies for the DIY tassel garland at Dollar Tree, but I’ll also link the supplies from additional sources since Dollar Tree is constantly changing its inventory and well, not everyone has one nearby.
I hope you enjoy this tutorial on how to make a wood bead garland with tassels.
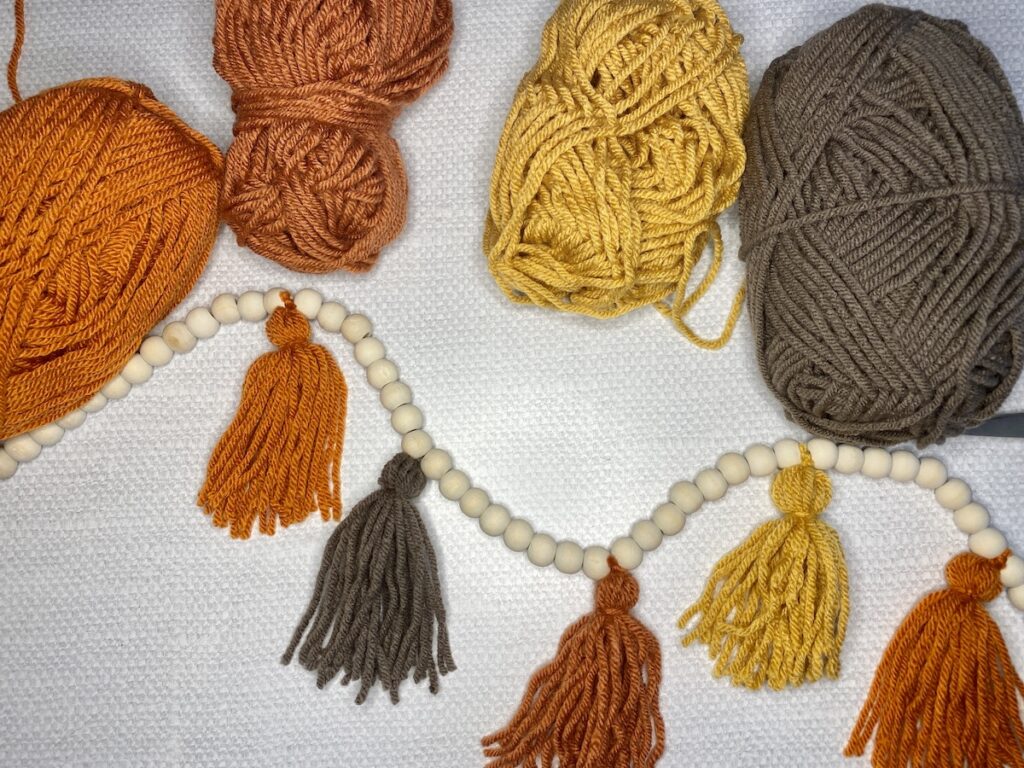
DIY Tassel Garland Supplies
The supplies can be purchased at various craft stores like Michael’s, Dollar Tree, Walmart or Hobby Lobby.
- yarn (I love this variety pack of yarn because I can make all kinds of projects with the colors)
- wooden beads kit or a prestrung wooden bead garland from Dollar Tree or anywhere else
- Scissors
- A 4 x 4 piece of cardstock or cardboard to use as a template (unless you want your tassels longer, then make it 4 x whatever length you want)
How To Make A Tassel Garland
To make the DIY tassels follow the step-by-step instructions below for how to make a tassel garland with yarn:
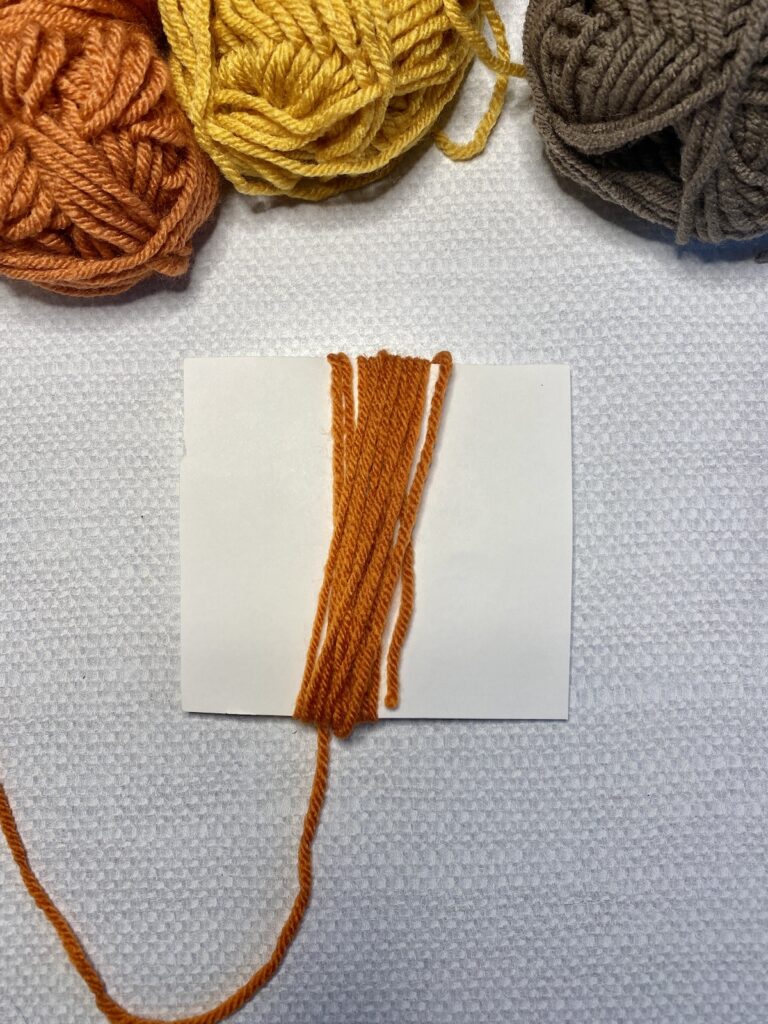
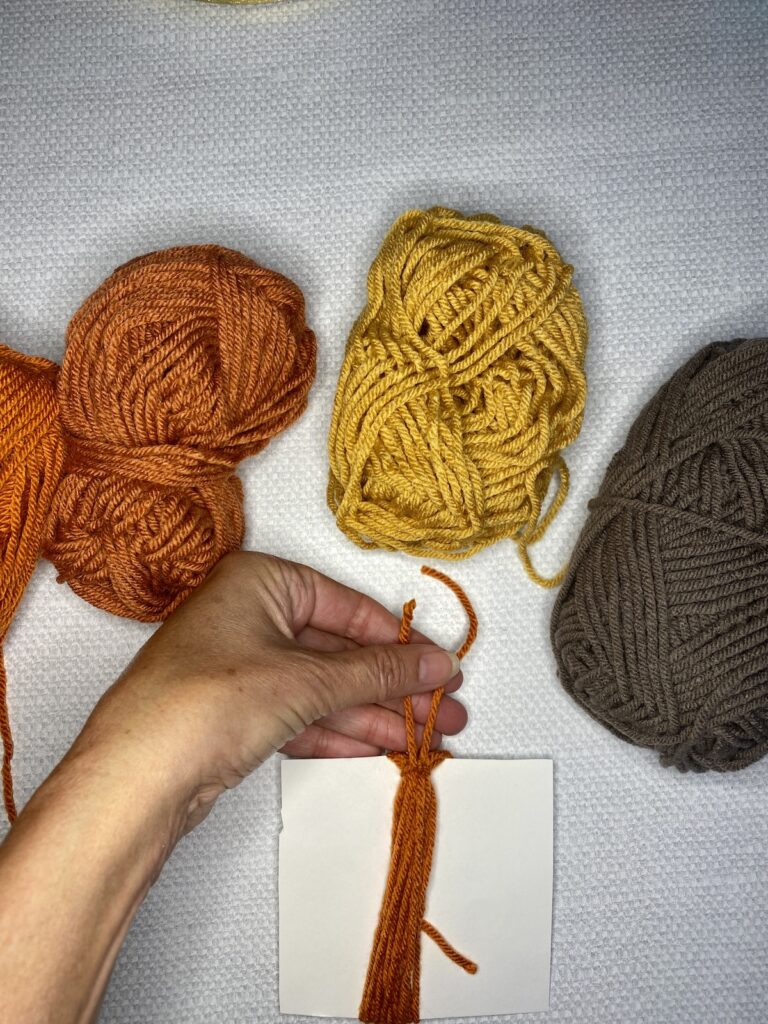
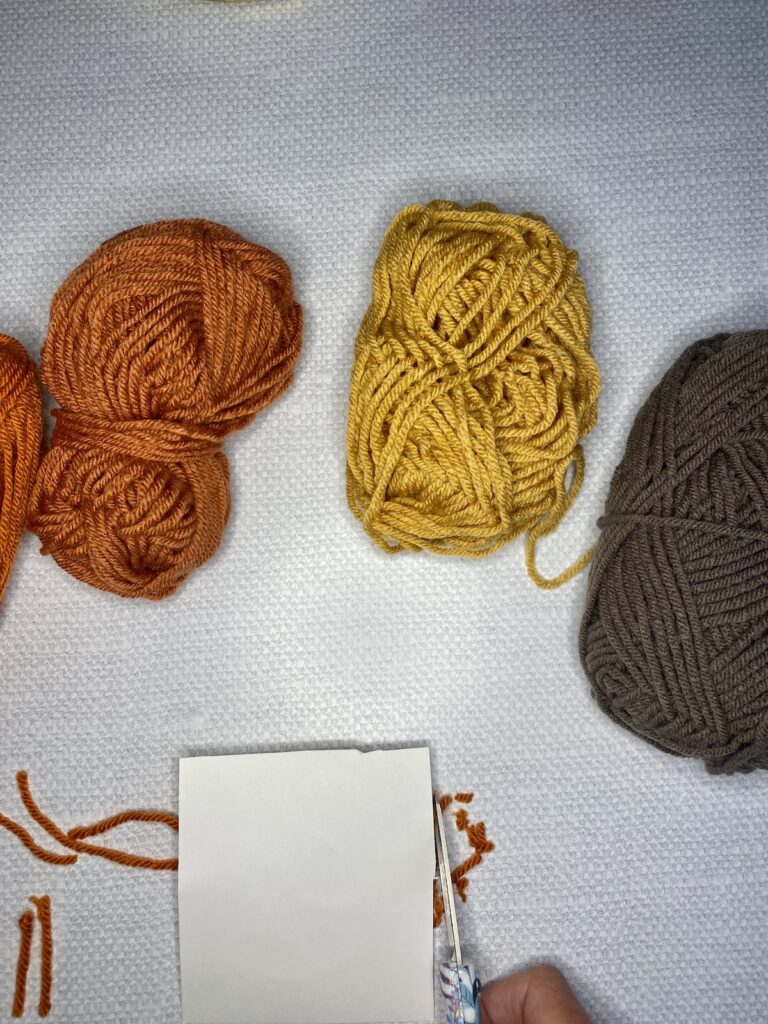
- Cut a template that is 4″ x 4″. I used cardstock but you can use cardboard.
- Wrap the yarn around the template about 15 times. You can wrap more times if you want the tassels thicker.
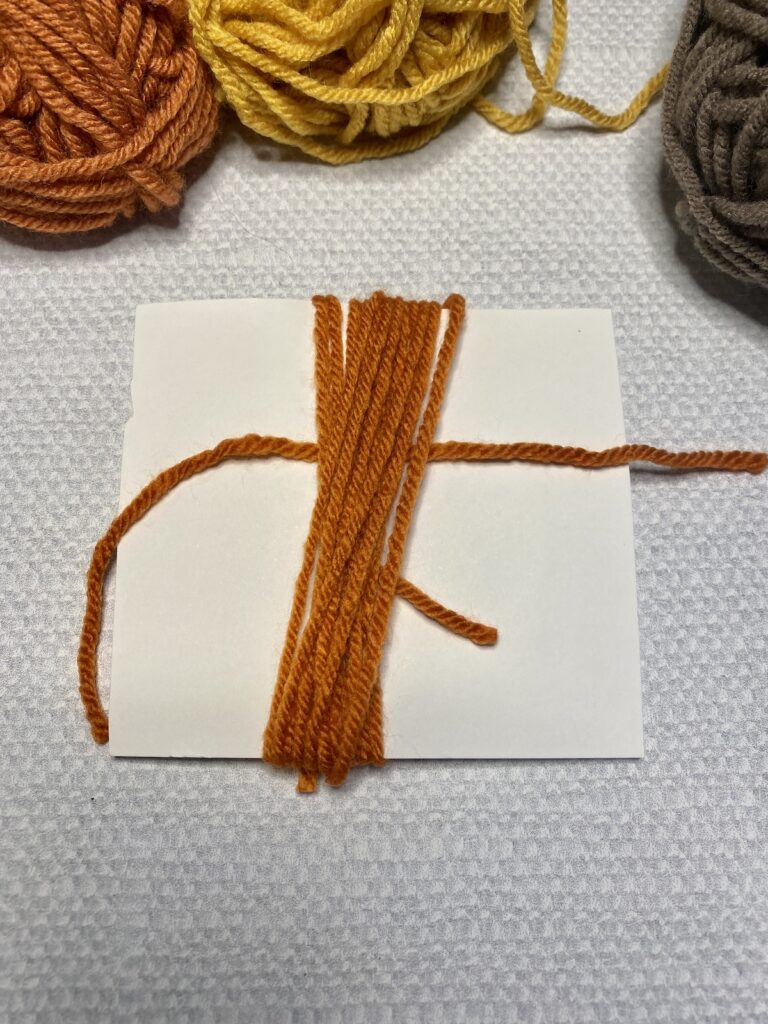
- Slide a 5″ piece of yarn in between the template and the top wraps.
- Slide that piece to the top of the template and tie a knot tightly around the loops. Don’t cut off the strings.
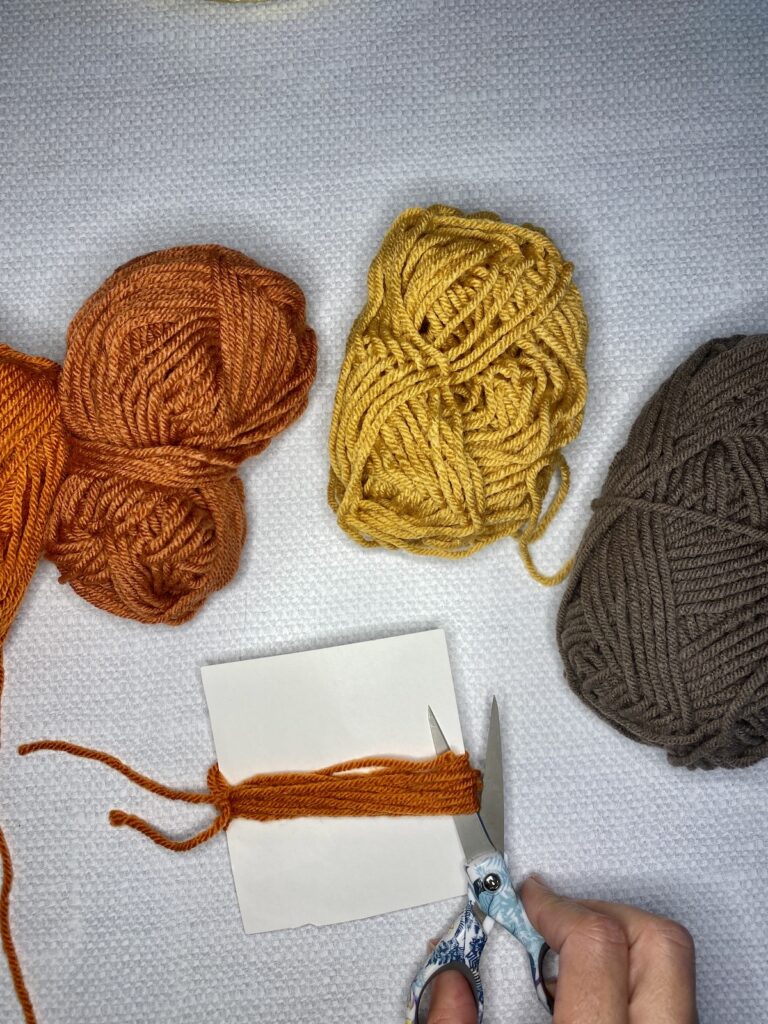
- Slide your scissors into the bottom edge of the template and cut through the loops of yarn.
- Lay the tassel on top of another 5″ piece of yarn and tie the tassel off at the top about 1/2″ or so down.
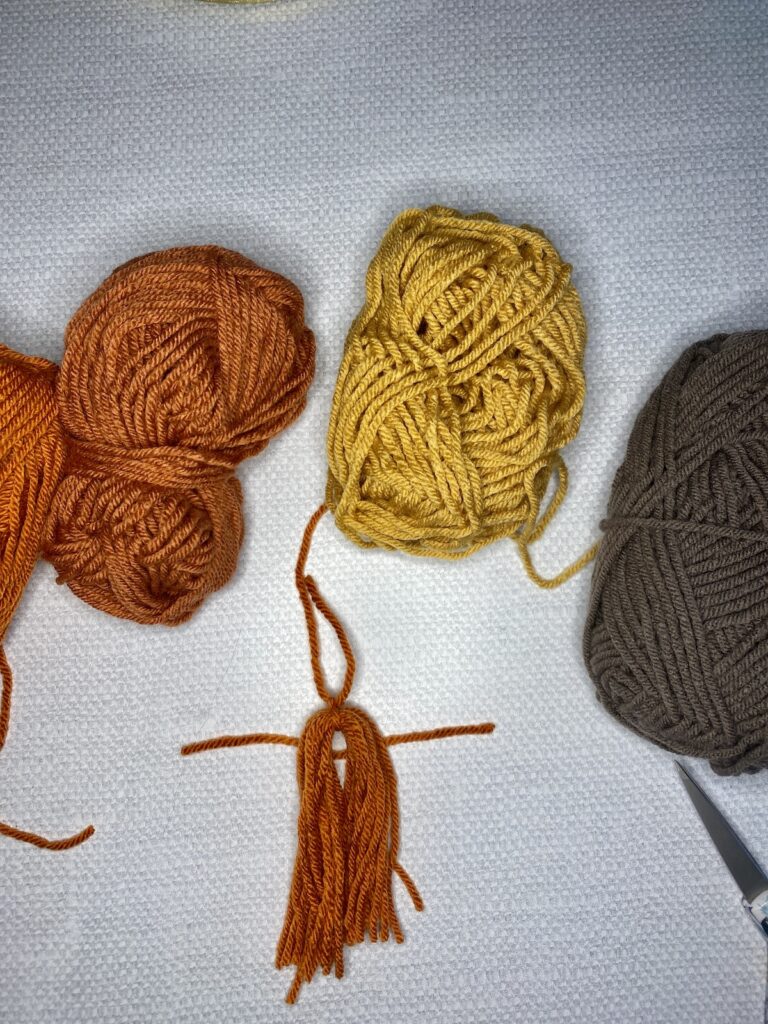
- Straighten the tassel and use your template to lay along the bottom and cut the yarn strands off straight.
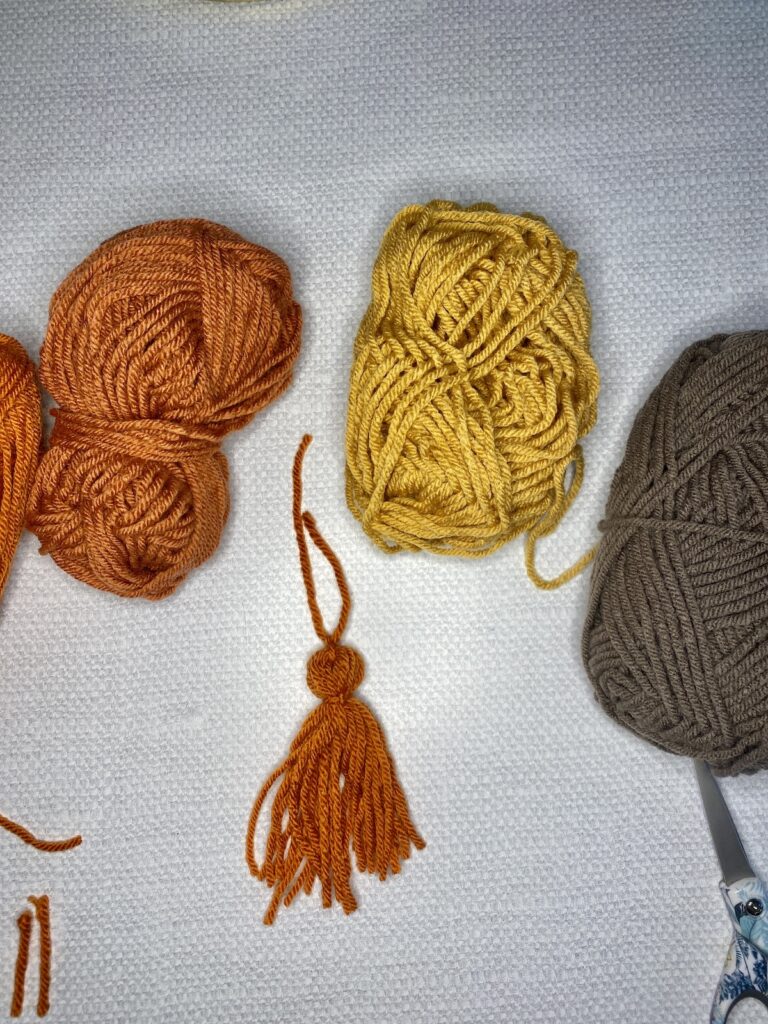
- Make all of your tassels and set them aside.
- Find the middle of your wooden bead garland and tie the first tassel between two beads and tie a tight knot. Trim the ends off close to the knot. Don’t cut the knot!
- I counted 8 beads and then tied another tassel. Continue tieing tassels every 8 beads until the garland is complete.
- Hang your garland on the mantel, a mirror, a hutch, or just on a wall as decoration.

How to Make A Wooden Bead Garland
I think this is pretty self-explanatory, but you will use twine to string the beads on until you reach the desired length. As a tip, you can use a small piece of tape around the end of the twine to create a needle to assist with getting the twine through the beads.
DIY Tassel Garland Yarn
I linked the type of yarn I used above but you can use thicker or thinner yarn depending on the look and fullness that you want. I’ve seen very thin yarn used, almost like string, but you would need to wrap it quite a bit more times to get a full tassel. If you use thicker yarn, you might be able to get by with wrapping ten times instead of 15.
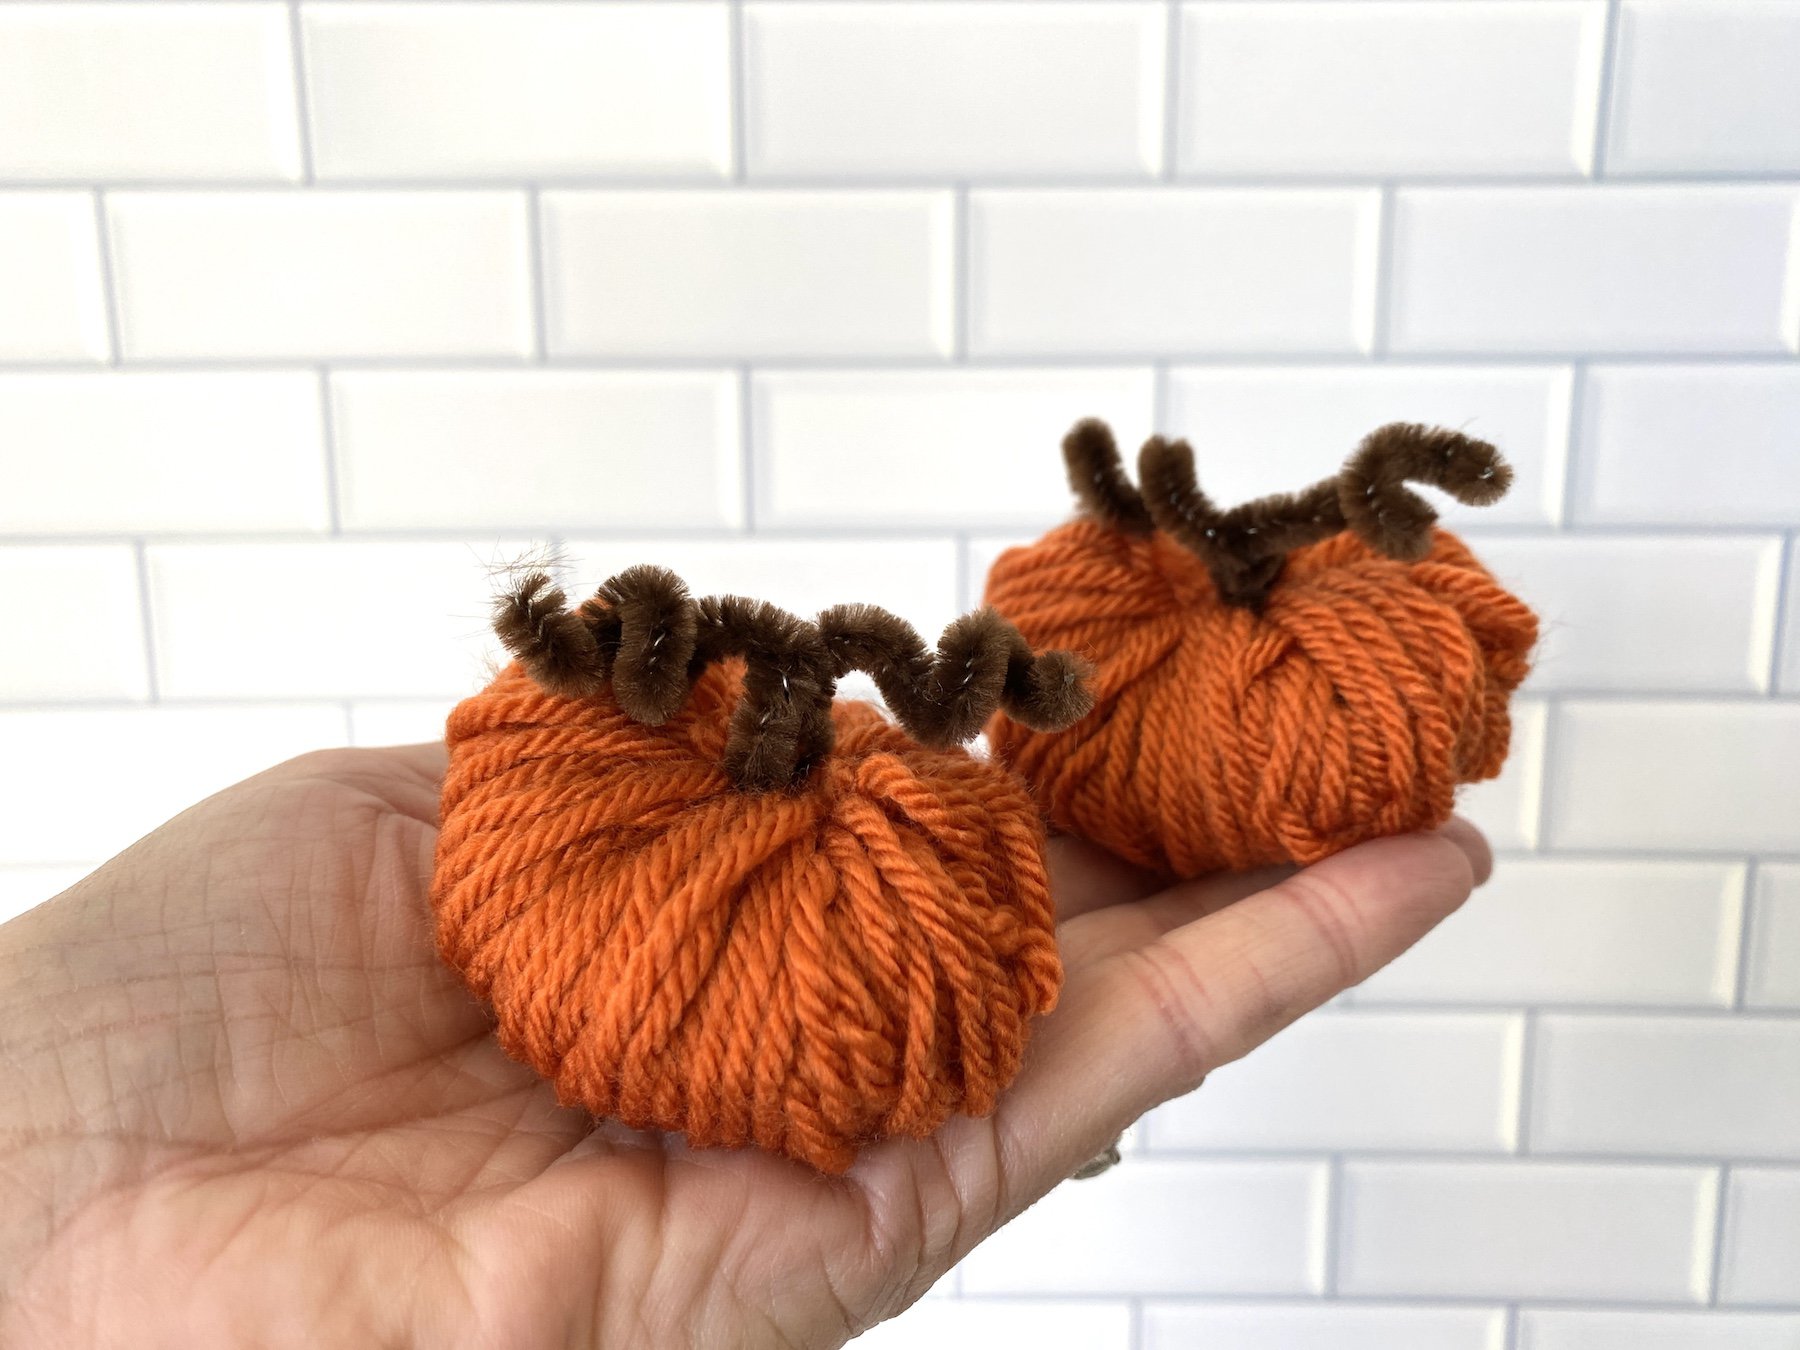
I used fall colors but this garland can be made using any color. Choose the colors that fit your particular decor or party them. These DIY tassel garlands would be beautiful for birthday party decorations or to decorate a nursery.
I hope you’ve enjoyed learning how to make a tassel garland with yarn. Since you may already have fall colors, be sure to check out these other fun projects I made with yarn this year. I made these cute yarn gnomes and also some yarn gnome witches.
Happy crafting,
Denise


Such a great project to spruce up your decor. I’m loving the colors you selected.
Adding the tassels takes it to a whole new level. It looks lovely, Denise.