How To Make A Pom Pom Garland
This post contains affiliate links which means that at no cost to you, I may earn a commission if you purchase using one of my links. For more information view my full disclosures.
~
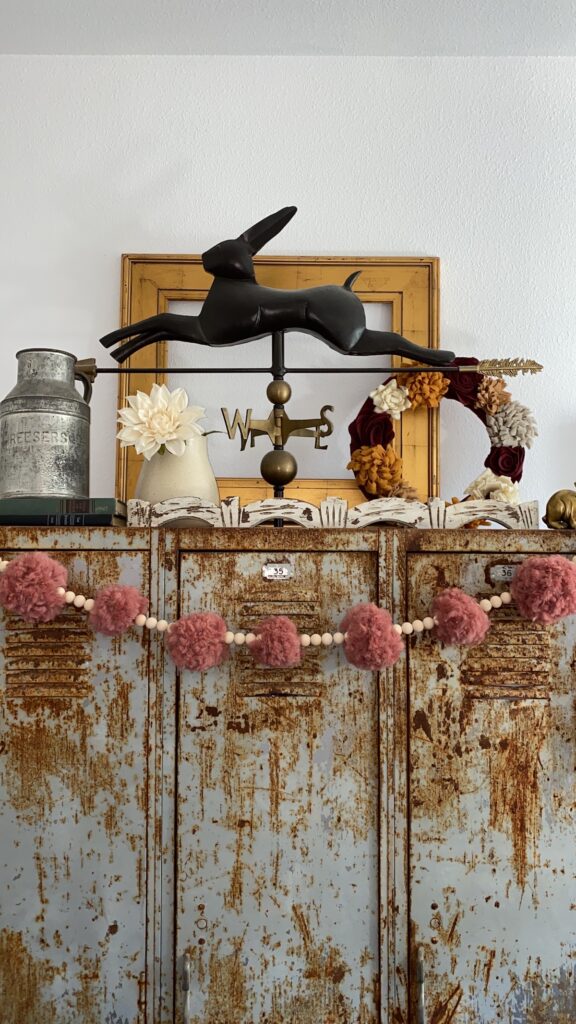
Learn how to make a pom pom garland with this easy step-by-step tutorial. Make a pom pom garland in any size or color to fit your home decor.
In this tutorial, I’ll be demonstrating how to use a pom pom maker but I also have two posts on my blog about how to make pom poms (I love them that much!). One shows you how to make pom poms with things you have at home and another is how to make pom poms with my favorite pom pom maker. It’s the same pom pom maker shown here in this post, but this is just a faster method.
I prefer a pom pom make over any other method because it’s quicker, uses less yarn, and is the easiest for creating perfect pom poms every time.
I’m a huge fan of this pom pom maker set. It has four sizes so you can make DIY pom pom garlands in several sizes, or mix the sizes together for lots of texture. I’m using the largest pom pom maker for this tutorial.
DIY Pom Pom Garland Supplies
- Fluffy yarn – The amount of yarn you’ll need will depend on the actual yarn you choose and the size of the pom pom.
- Pom pom maker set – It’s worth the small investment! It wastes less yarn and makes perfect pom poms every time!
- Yarn or twine for hanging
- Sharp scissors
What kind of yarn makes fluffy pom poms?
Look under each picture in this post to find a link to the exact yarn I used for the particular project. You can use almost any kind of yarn. If you use thinner, basic yarn, it will take more yarn to make the pom poms. Blanket yarn has not worked well for me. It sheds too much when cut. I like to pick a more heavily weighted yarn that has a fluffy look to it.
How much yarn do you need to make a pom pom garland?
That’s been a popular question and it will entirely depend on how long your garland is and how full you make it. If you space the poms poms further apart with string showing in between, you’re going to use a lot less yarn than if you cluster the pom poms together to make a super full pom pom garland.
Making The Pom Poms (Video Below) Using A Clover Pom Pom Maker
Fold out the two arms on one side of the pom pom maker and hold them flush. For these pom poms pictured, I used 3 pieces of yarn cut at 6′ each and wrapped all three strands at one time using the largest pom pom maker. Hold the first set of 3 yarn strands onto the end with your thumb. There’s no need to tie them on, as you wrap the yarn, it will hold itself in place.
Keep the yarn strands side by side so they aren’t twisted, and wrap around the two arms towards the center. Go back and forth from one side to the other until you run out of yarn. Fold that side in. Flip the pom pom maker over and repeat this process on the other side.

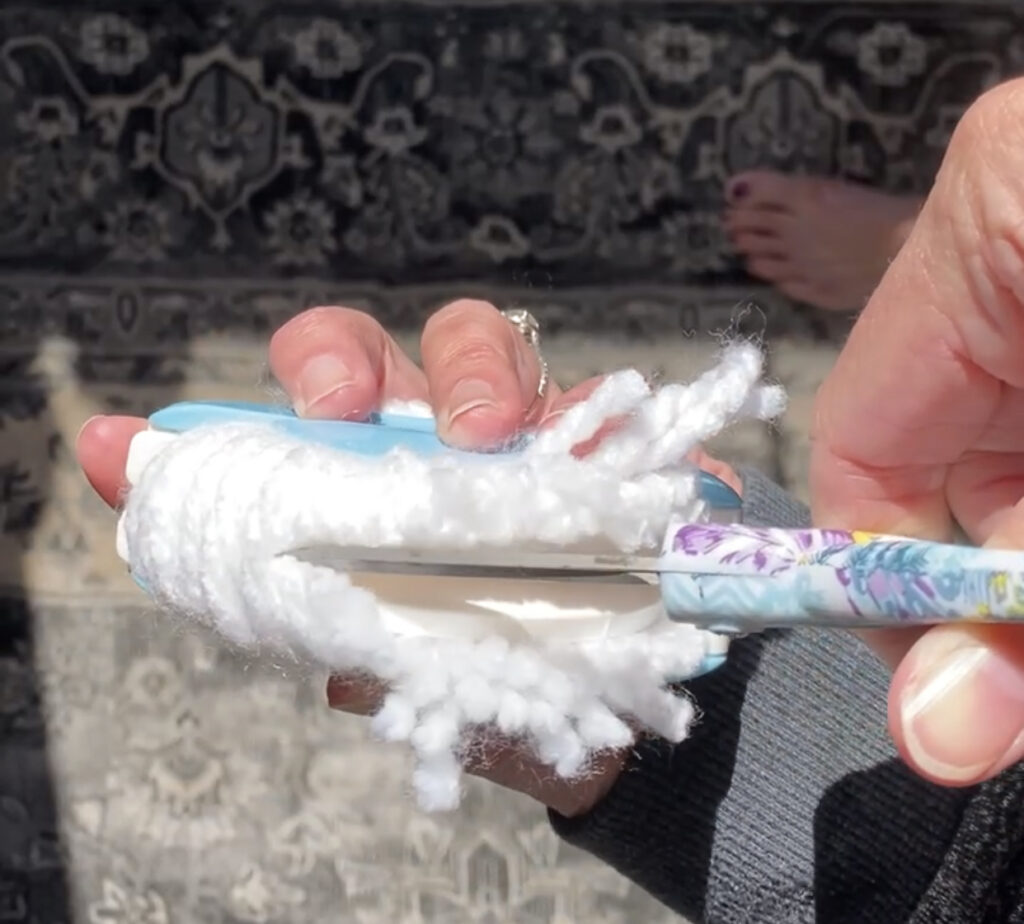
Now you have a fluffy donut-looking thing. Take your scissors and snip through the center of the donut using the grooves in the pom pom maker. Don’t let the pom pom maker pop apart. Flip the donut over and repeat the process.
Don’t worry about stray pieces being longer. We’ll take care of those in a minute. Hold everything together and use your 8″ piece of yarn to slide in the groves of the pom pom maker and pull tight. Sometimes it even makes a clicking noise. Tie the first part of a knot and pull down very tightly. Tie one more time to complete the knot.

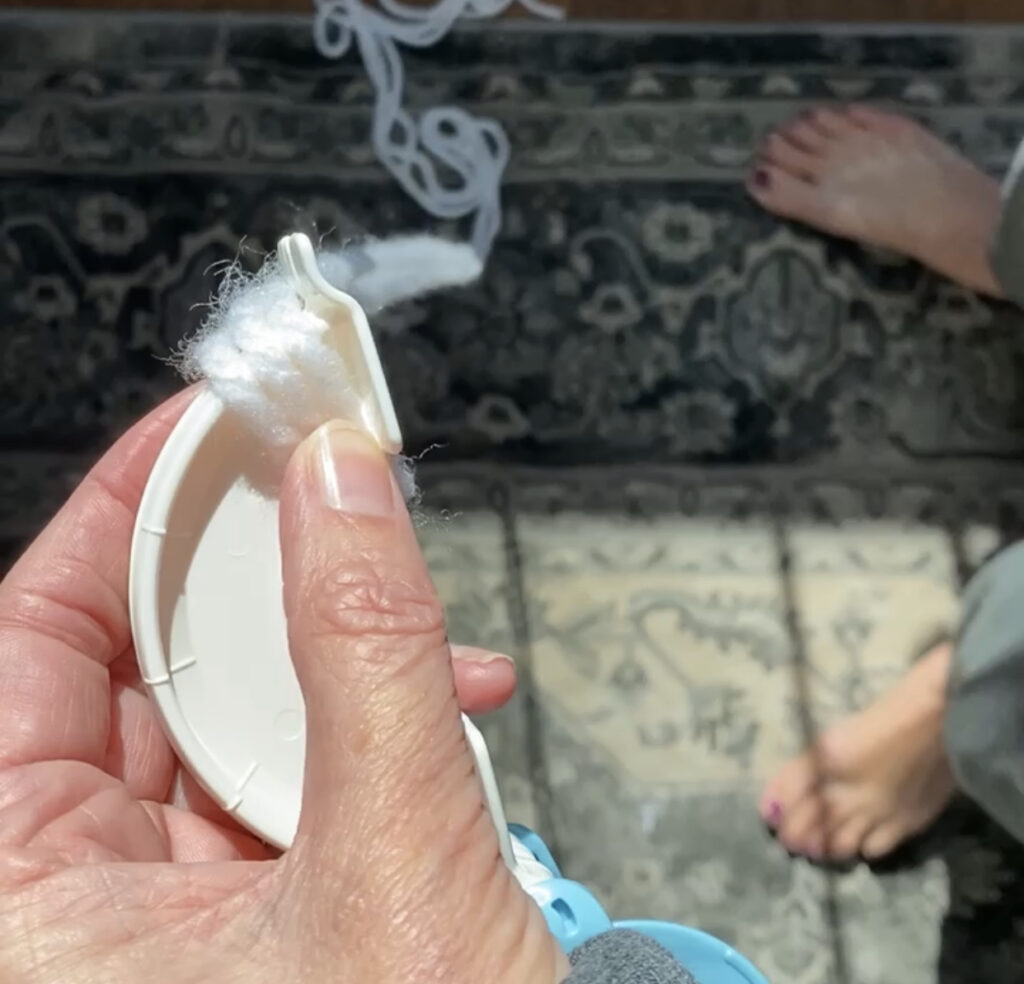
Pull one set of arms out and then the other set. Grip the colorful round plastic pieces and pull them apart to release the pom pom. Hold the pom pom by the long pieces you used for tying and give the pom pom a shake to fluff it out.
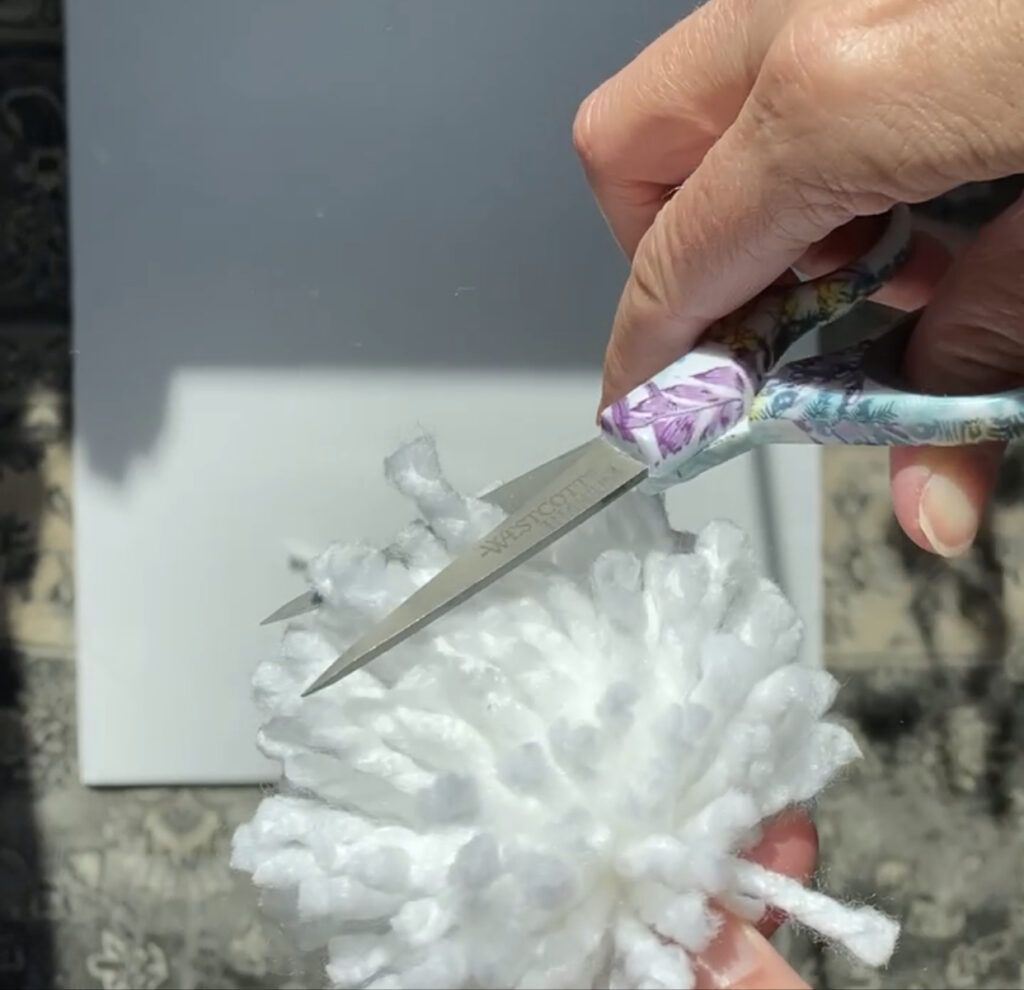
Hold the pom pom over a trash can and snip away stray pieces until the pom pom is nice and round. Don’t cut off the long pieces. You’ll use those to tie the pom poms to your yarn or twine when assembling the garland. “Oops, I already cut them off”. No problem, use a crochet hook to fish your twine through the center of the pom pom. 😉
I am not the best video maker so give it a like for me. It was hard to stay in the center of the camera!
How to String Pom Poms to Make a Garland
It’s easy to assemble a pom pom garland. After you’re done making all of your pom poms, measure out a piece of yarn, ribbon or twine that fits your mantel, picture frame, Christmas tree or buffet (wherever you’re going to use your pom pom garland). Start tying your first pom pom on, beginning in the center of the yarn or twine.
If you’re going to space the pom poms apart, measure the space you want between each one and tie additional pom poms to your yarn or twine. As a tip when I space pom poms widely apart, I take the center pom pom then fold the twine in half and tie additional pom poms side by side so they are spaced apart evenly. I hope that makes sense.
To make a more full garland, tie the pom poms close together and tie some to the front and some to the back of the twine. Once you get several tied on, you can hang the garland and then find places that need more and tie more pom poms on. You can usually slide them to get them closer together if necessary. Be sure to leave some long tails on the ends for attaching to your mantel, tree, etc.
How To Make A Pom Pom Garland For Every Season
I like to use the largest pom pom maker to make my neutral garland and then use the smaller ones to make seasonal colored pom pom garlands and then layer two or more pom pom garlands together. This allows me to keep my big, full garland up year round and quickly add color when necessary.
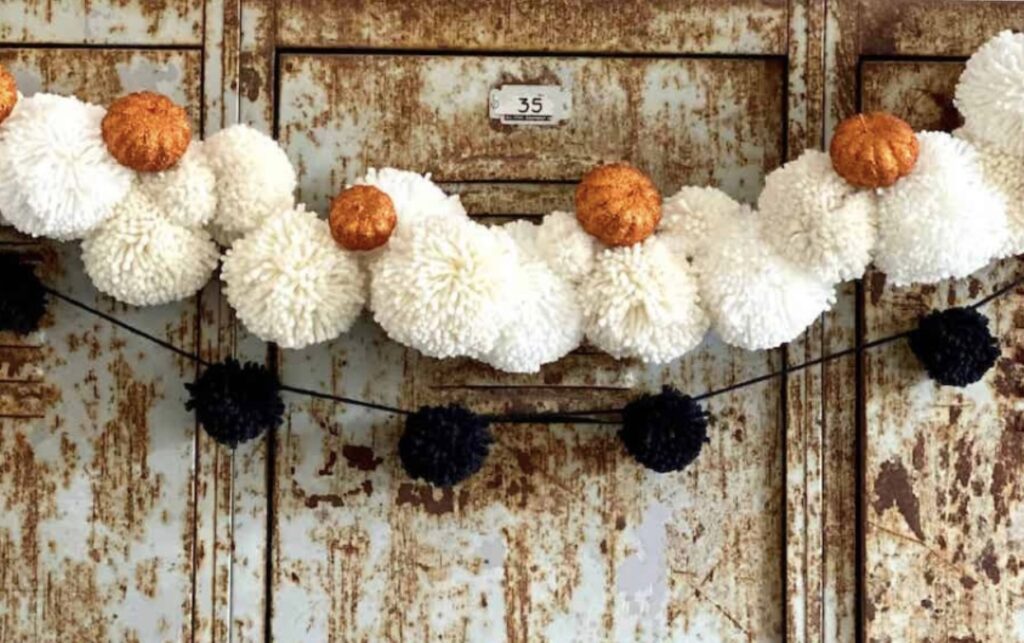
For Halloween, I hung two pom pom garlands together. I was able to remove the black garland and use the neutral garland for fall. You can add all sorts of things to pom pom garlands to get a different look for every season. I added small glitter pumpkins to my DIY Halloween pom pom garland. (Pictured above.)
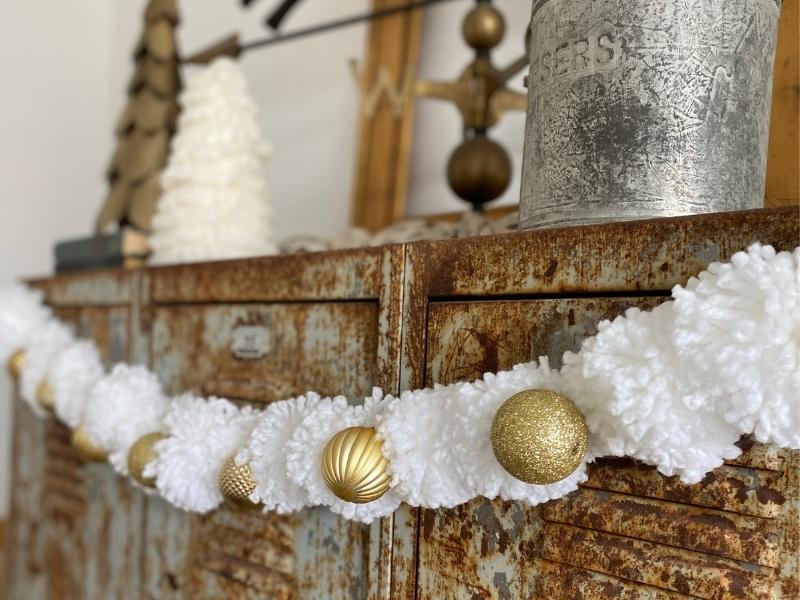
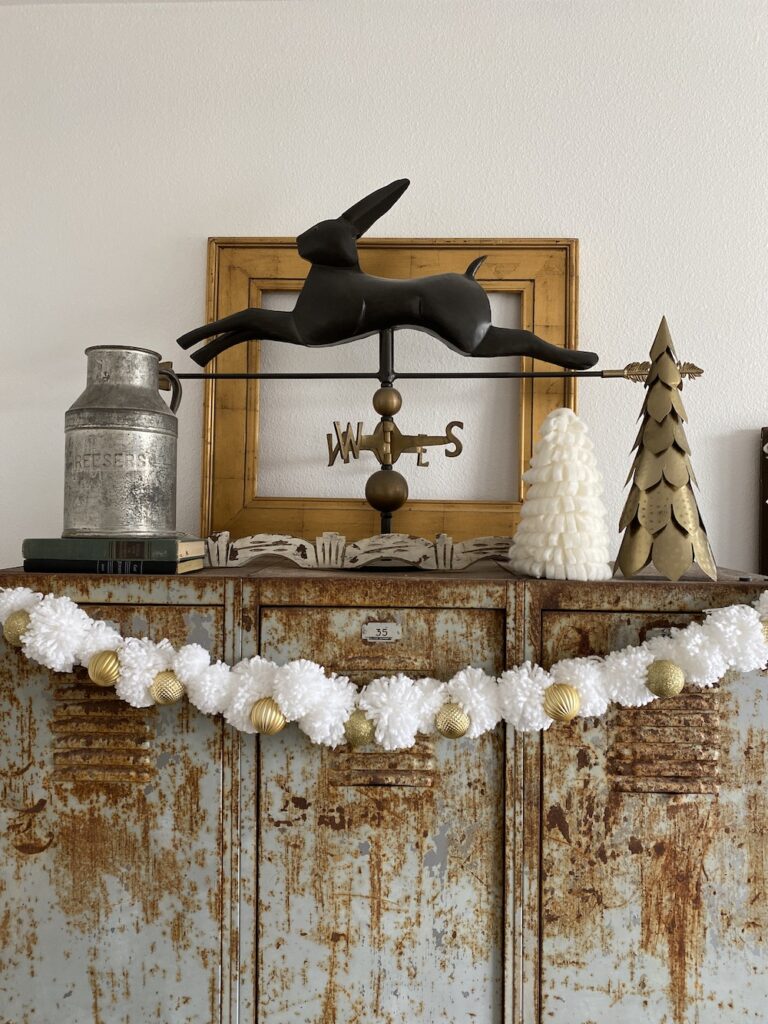
To make a DIY Christmas pom pom garland , I used small plastic ornaments to make the garland more festive. I found gold ornaments at Dollar Tree.
When you’re making a very full garland, you can tie seasonal colors in using bows instead of knots so they are easily removable. Just tuck the bows inside and you won’t even see them.
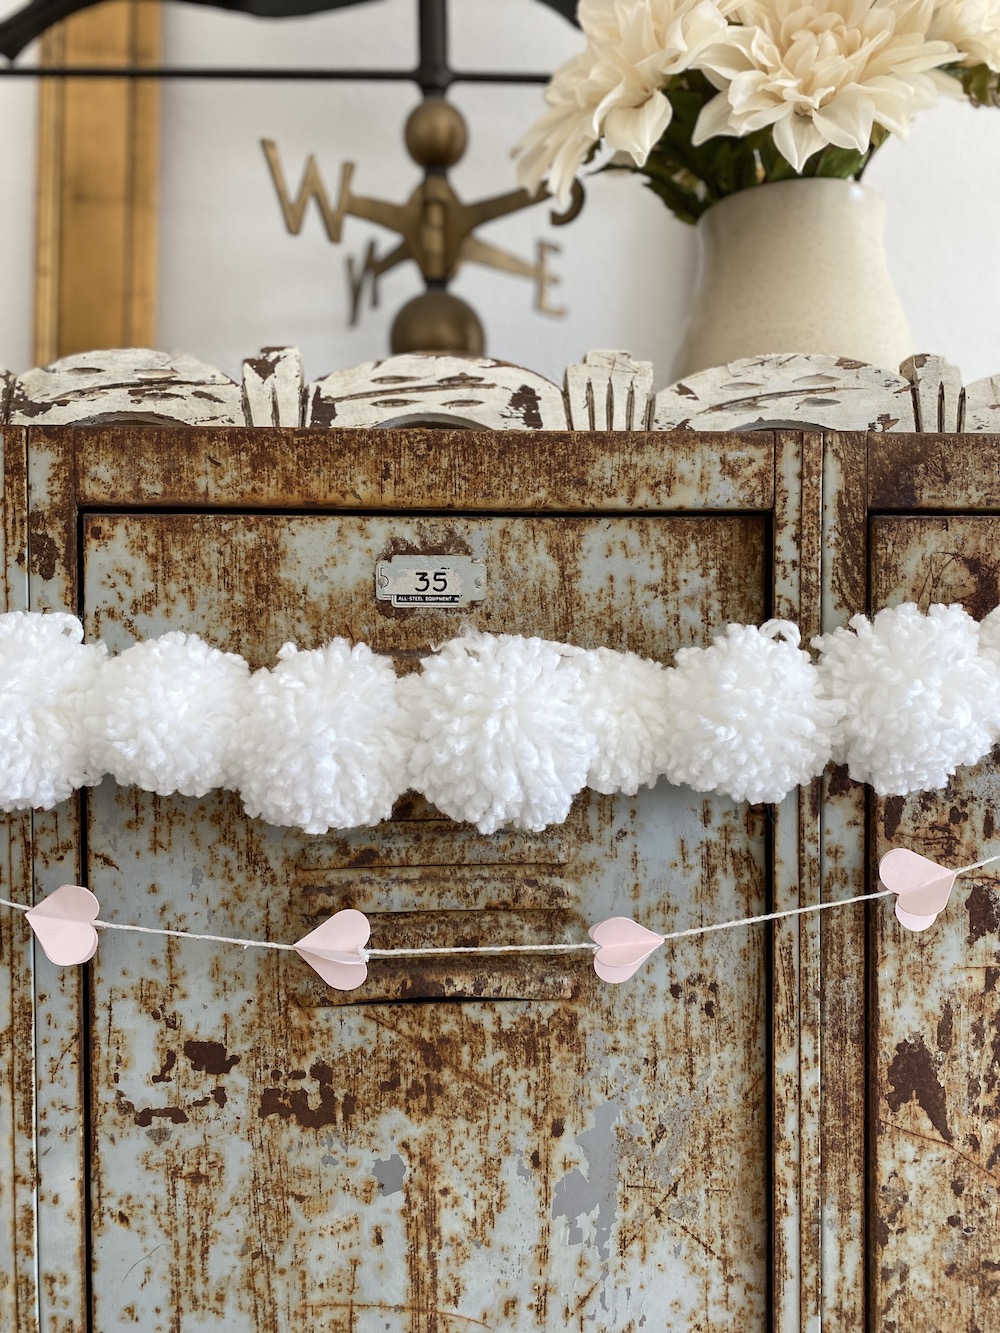
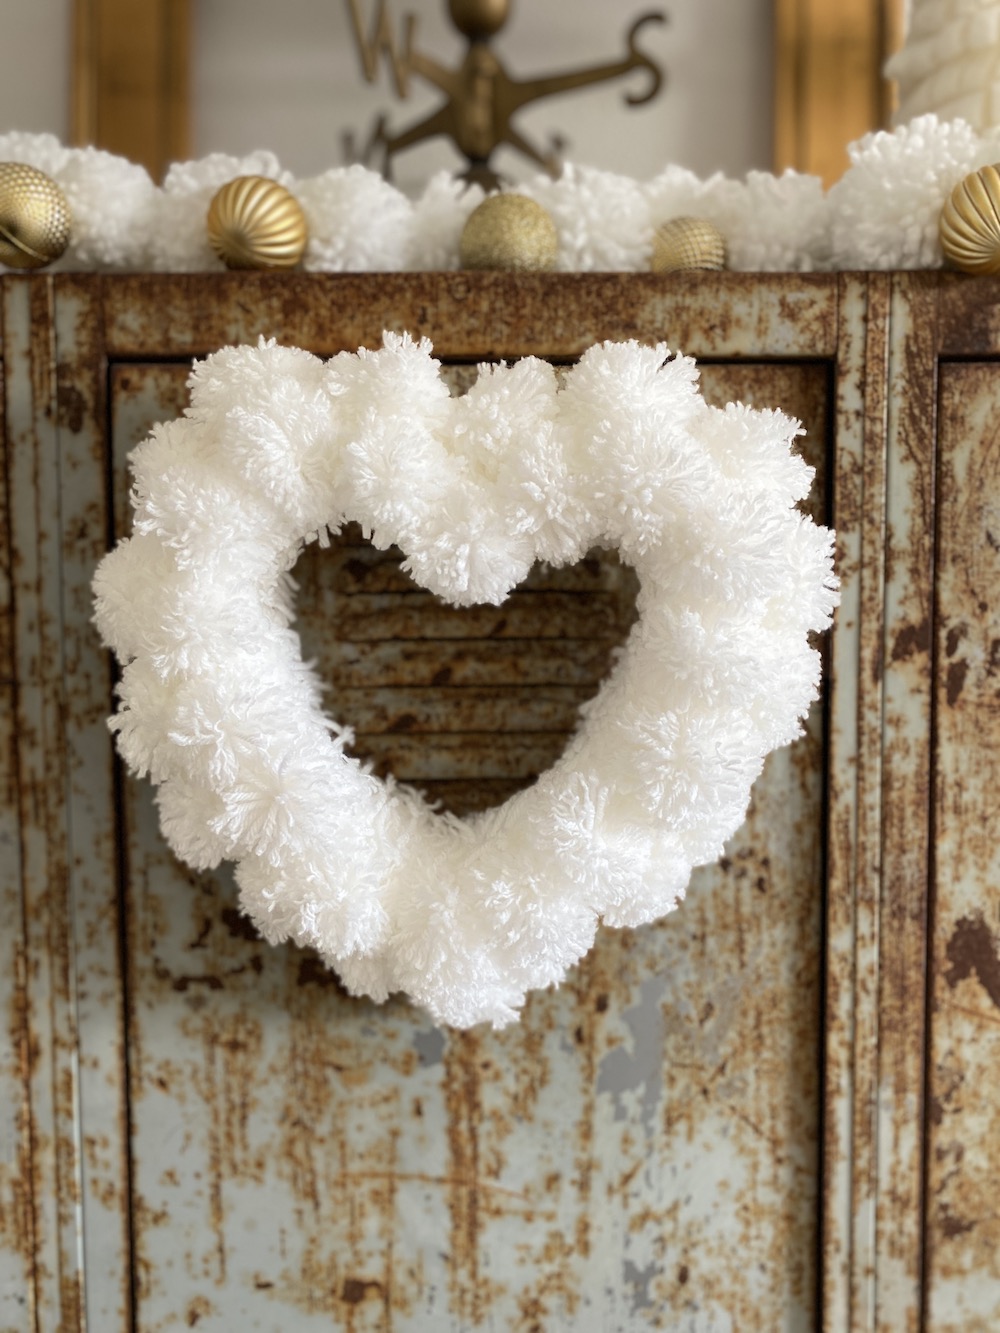
For the pom poms pictured above, I used this chunky yarn. Start by separating the two strands that are wrapped together. Once the pom pom is made, use your fingers to separate the chunky yarn until it’s super fluffy. LOVE this yarn!
I hope you enjoyed learning how to make a pom pom garland DIY with me. Please pin our favorite image for later!
xoxo,
Denise
Related Search Terms: How to make a pom-pom garland, how to make a pompom garland, DIY pompom garland, DIY pom-pom garland, pom-pom garland DIY, pompom garland DIY.