
Clover Pom Pom Maker Instructions and Tutorial
This post contains affiliate links which means that at no cost to you, I may earn a commission if you purchase using one of my links. For more information view my full disclosures.
~
In this Clover Pom Pom Maker Instructions and Tutorial, you’ll get tips and tricks for making perfect pom poms every time! Let’s make some pom poms!
There are several different pom pom makers on the market, but this is a Clover Pom Pom Maker tutorial and instructions.
If you’ve purchased the Clover pom pom maker you’re probably doing the same thing as me and searching “How to use the Clover pom pom maker”! Seriously, the instructions on the package are terrible at best.
How To Use Clover Pom Pom Maker
I created the step-by-step Clover Pom Pom Maker instructions so you can see how easy it is to use. I save a lot of yarn when using the pom pom maker over any other methods that I’ve tried.
How To Make Pom Poms – How To Use The Clover Pom Pom Maker Instructions and Tutorial
- First, cut a piece of yarn to use for tying and have it ready for the end. You can set it aside for now. The length of this yarn will depend on if you’re going to tie your pom pom to something or not. I used about a 10″ piece because I would rather have more than necessary than cut it too short.
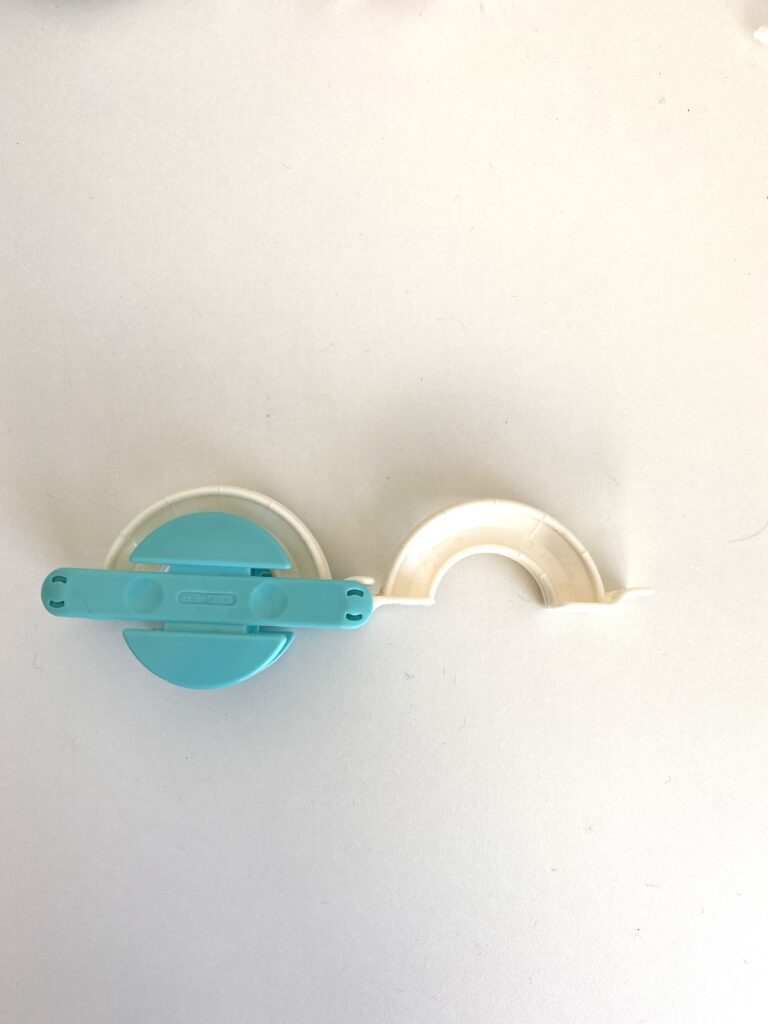
2. Pull out the two arms on one side of the maker and line them up so they’re flush. The two white arms that were once on the bottom are pulled out and lined up with the outer arch facing up pictured on the right side. The second set of arms is still folded in on the left like below.
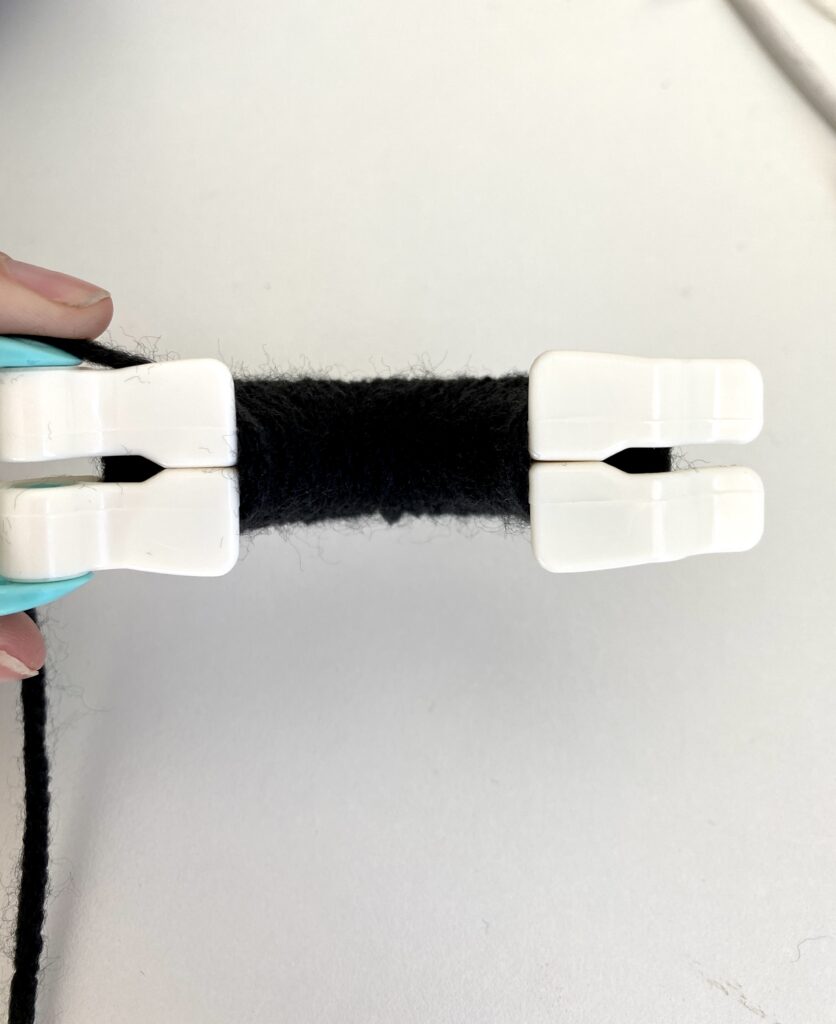
3. Start on the outside tip and hold your yarn in place (don’t tie a knot, use the yarn to hold itself in place as you wrap) and begin wrapping the yarn with reasonable tension around both arms and make one row with closely wrapped yarn until you reach the center of the maker. You’ll want most of the white portion covered.

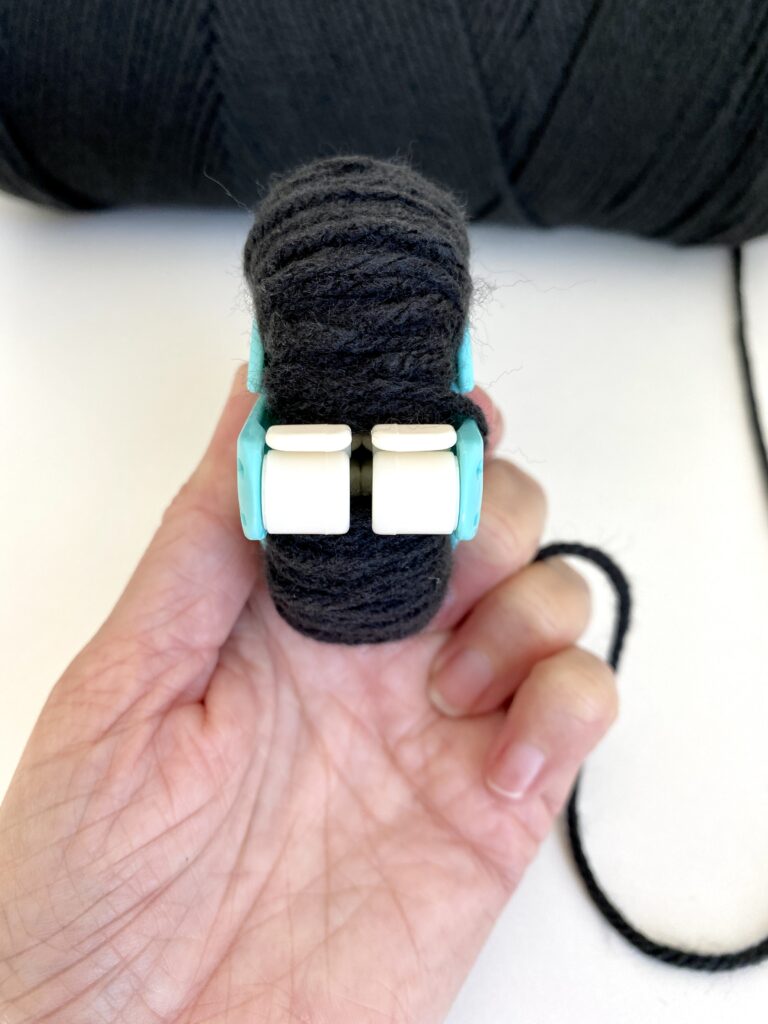
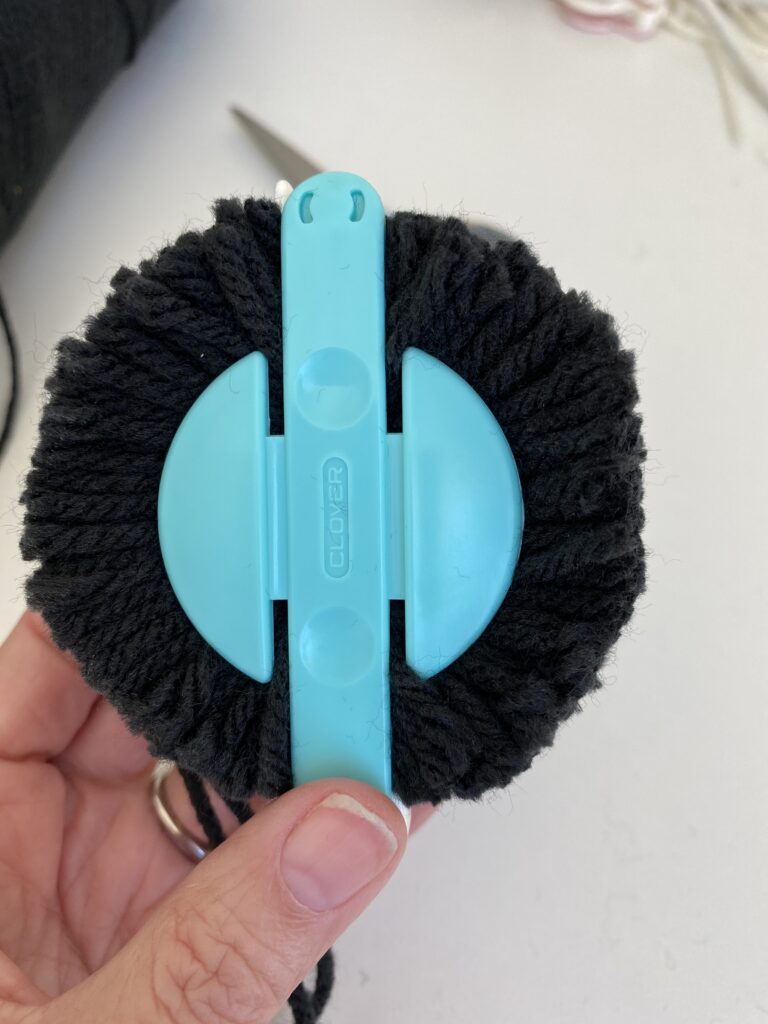
If you turn the maker over, you’ll see two square cleats. Always keep your yarn under those.
4. Once you reach the center of the maker, work your way back in the other direction and cover any areas that you missed the first time. Remember, the cleats need to stay fully visible. No yarn should be over them.
The idea is to keep everything even in thickness and as rounded as possible. How many times you go back and forth depends on the thickness of the yarn and the size you’re making. Keep wrapping until the yarn on the bottom side is not quite straight across. Leave a bit of an arch underneath. This is how you get a fluffy pom pom.
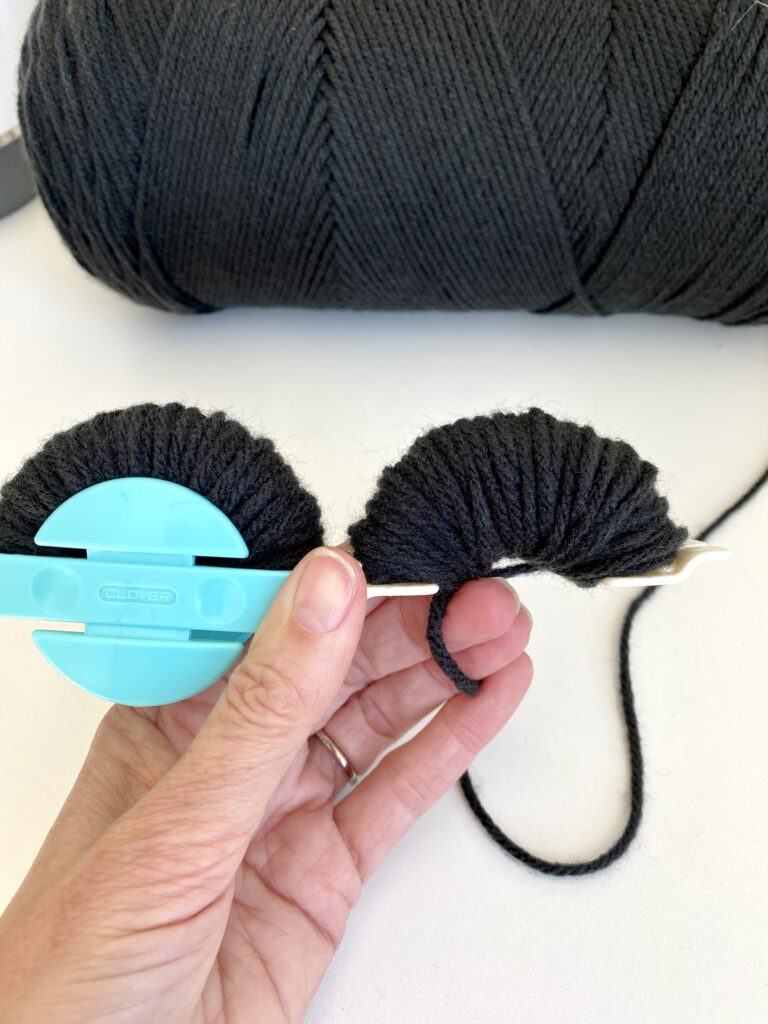
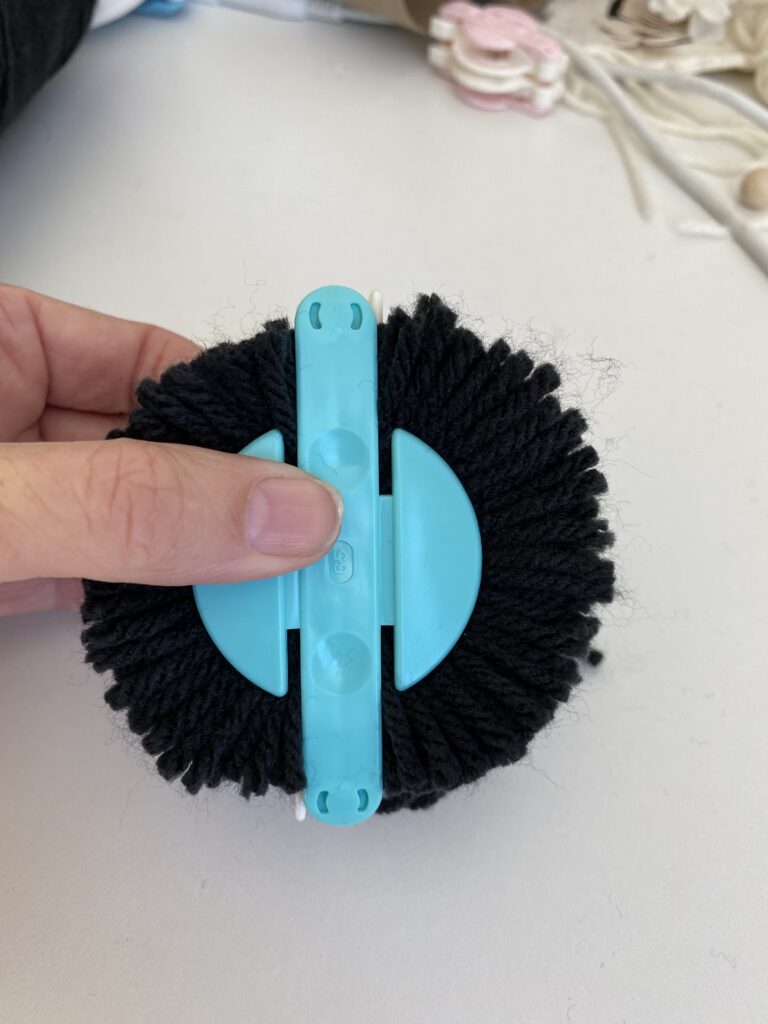
5. When you get that side of the half-circle wrapped, make sure you end where you started on the outside tip and fold it in but DON’T cut the yarn. The pom pom might be a little fat, but just fold it in tight. Hold that side in, turn the maker over, and fold the other set of arms out.
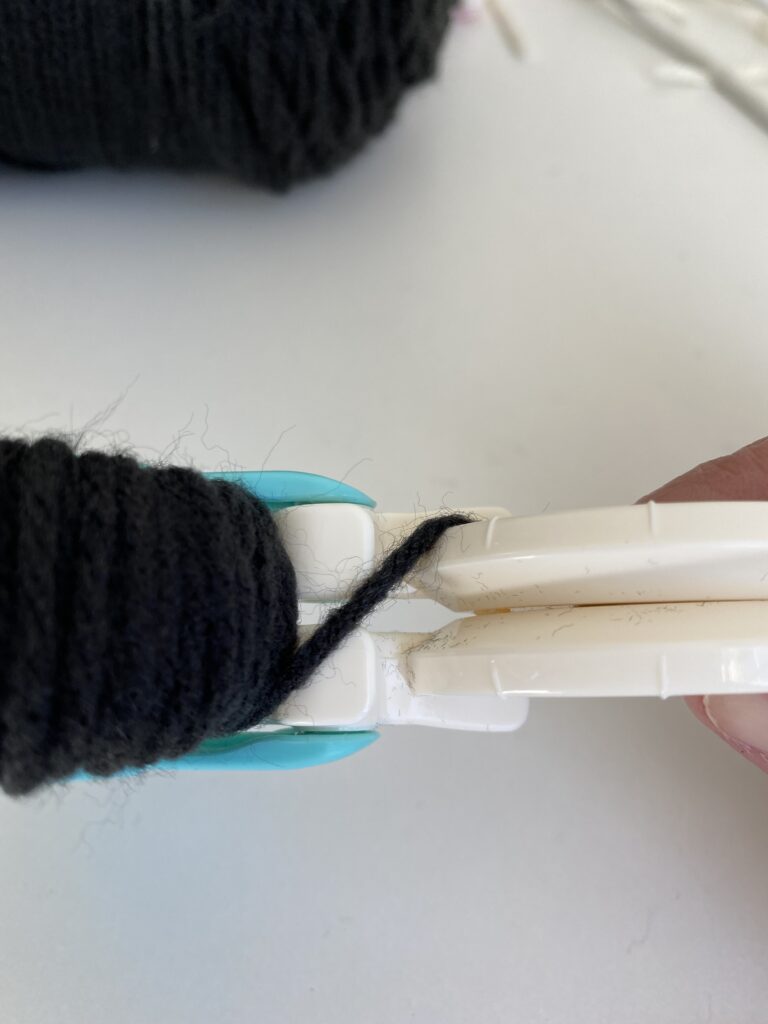
Just pull the yarn to the other side and this time start wrapping from the inner portion and work your way out to the other side. Yes, you are really going to just pull the yarn across like the picture. 😉
Watch the cleats again! Wrap these two arms until you get them the same size as the first side. Don’t worry about that piece that is stretched across. It gets clipped later. When you’re done wrapping the second side, fold it in as well.
If you’re not quite sure if both sides are even, you can fold the second side in to check and then fold it back out to remove some from the second side or add more.
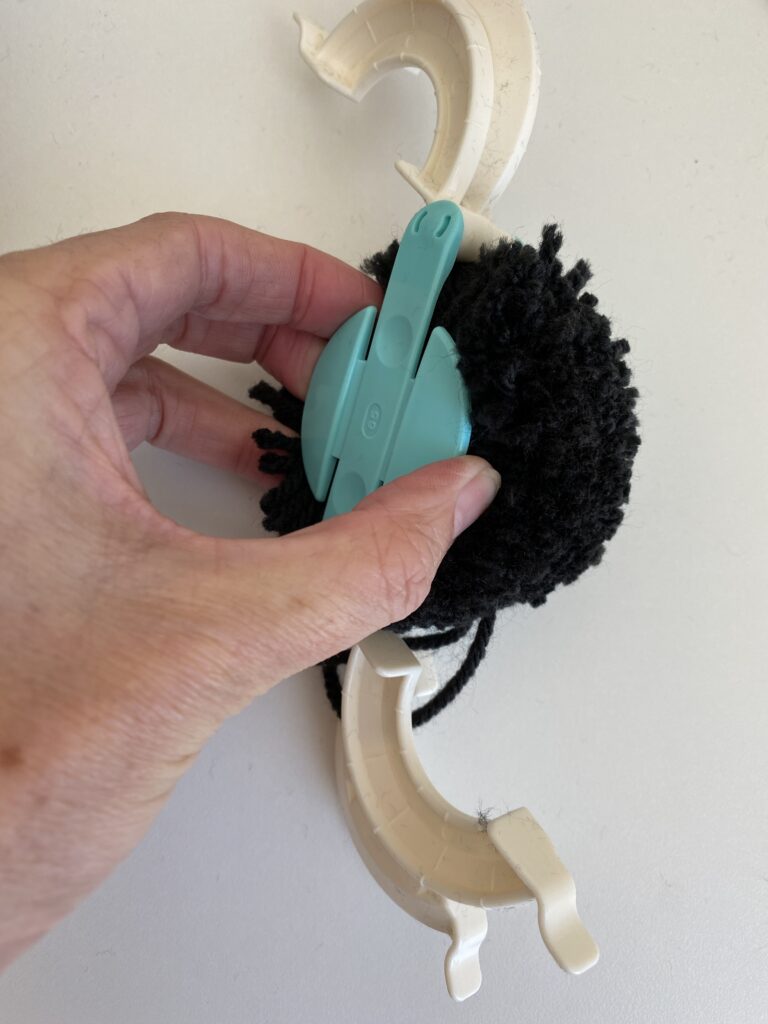
6. Hold the wrapped arms together and turn the donut shape on its side and use the grooves in the maker to slide your scissors through all of the loops and cut them. Don’t let the arms pom apart.
Sharp scissors work best. Make sure there is no thread left in any of the grooves and be sure the thread that connected the two sides together during the wrapping stage is also clipped. Remember, don’t let things pop apart. You have to hold the wrapped arms together.
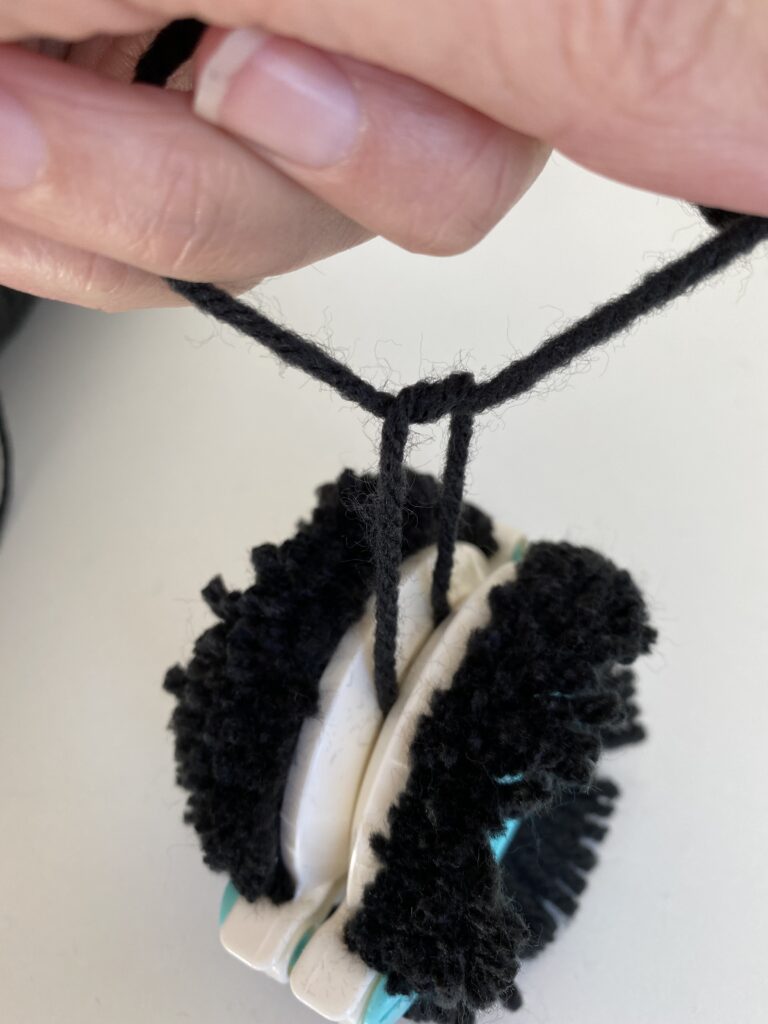
7. Take that first 10″ piece that you cut in the very first step and slide it between the grooves you used for cutting and pull them tight.
It will almost make a clicking noise as you pull it tight to tie the knot. Use quite a bit of tension until you pull tightly around the center of the pom pom. Tie a knot. Some people go back around to the other side and tie another knot.
Once it’s tied off, use your fingers to brush each side of the pom pom out flat. See below how some pieces are a little longer. Time for a haircut!
8. Stand over a trashcan and carefully trim the edges so that everything looks like a nice round circle on one side, flip the pom pom over and do the same thing on the other side.
Don’t cut the long pieces that you’ll use to tie your pom pom onto your project. Just hold them out of the way. If you’re not going to be tying them onto something, they get clipped along with everything else.
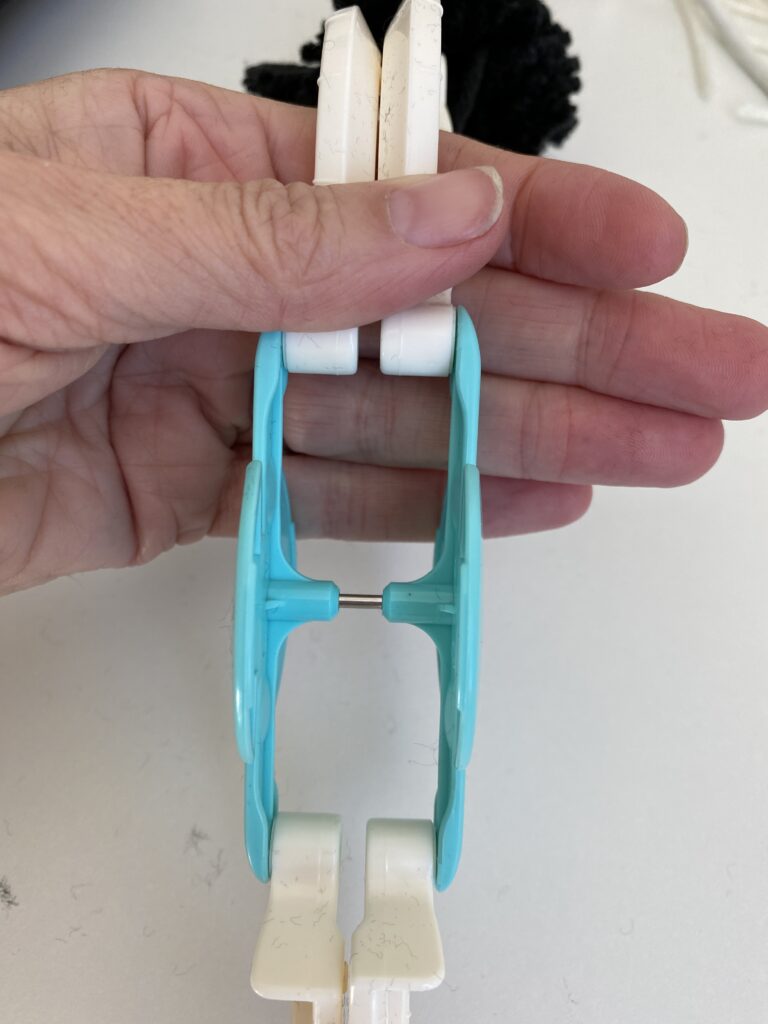
9. Now you can unfold all four arms of the maker, one at a time. Pull the maker apart by holding the colorful circles in the center and pulling out. I could only hold one side while taking a picture but here’s where you grab to pull.
10. Remove your pom pom and put the maker back together and set it aside for the next one. Don’t force it back together too much, a bit of the pin will still be showing.
Hold the two long pieces of yarn out of the way and finish trimming any stray pieces and you’re done! Once you’ve made a couple, it will get so much easier.
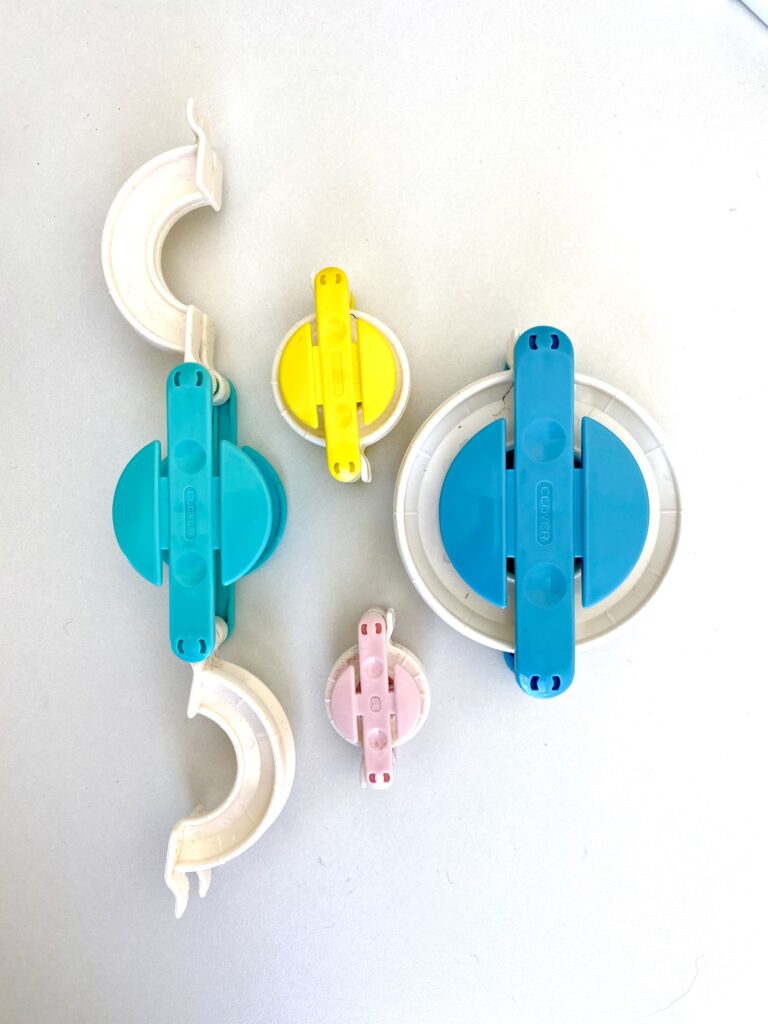
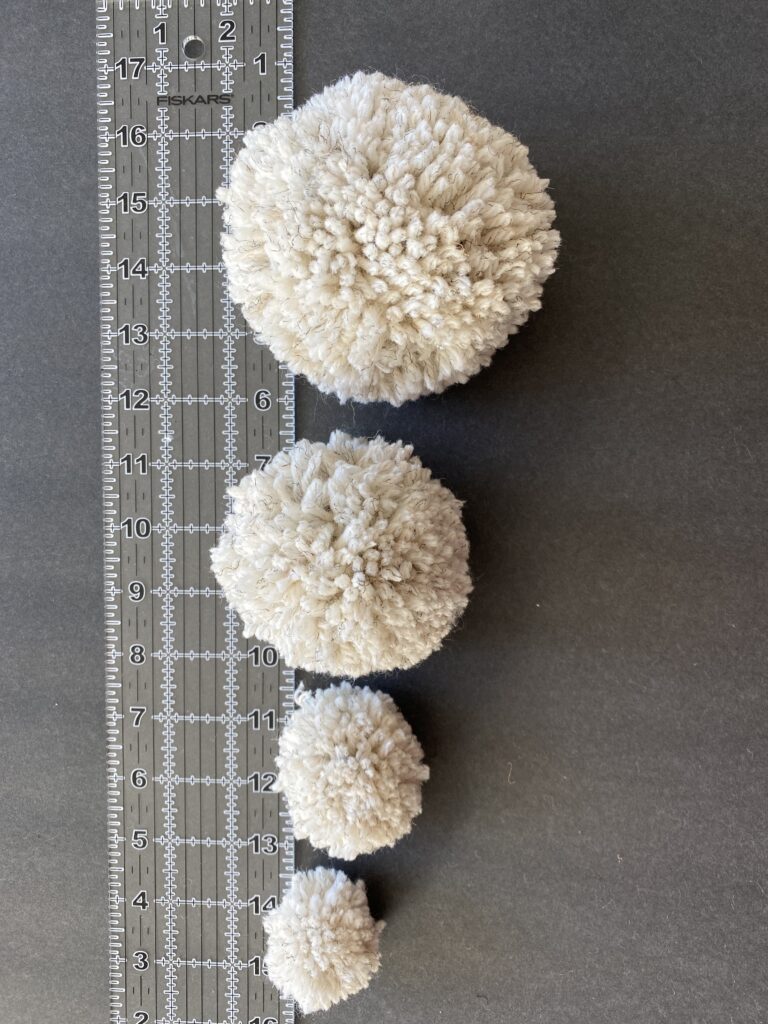
I bought this Clover Pom Pom Maker set. I made one of each size using the same yarn so you can see how big they turn out. (pictured below) This is the best pom pom maker set and I’ve had so much fun using it.
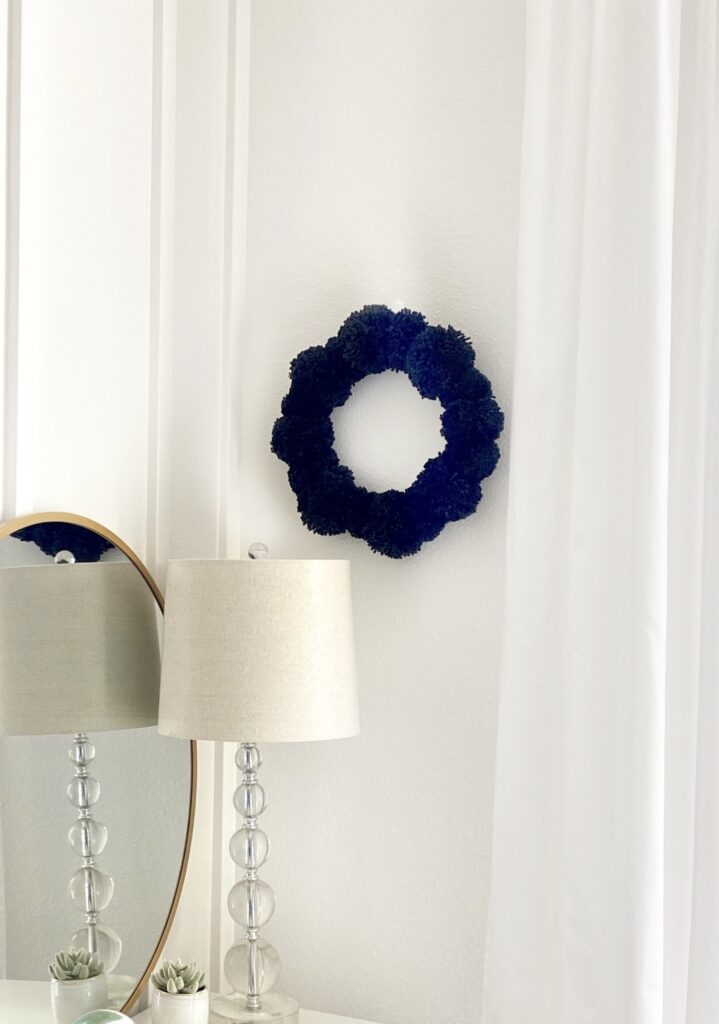
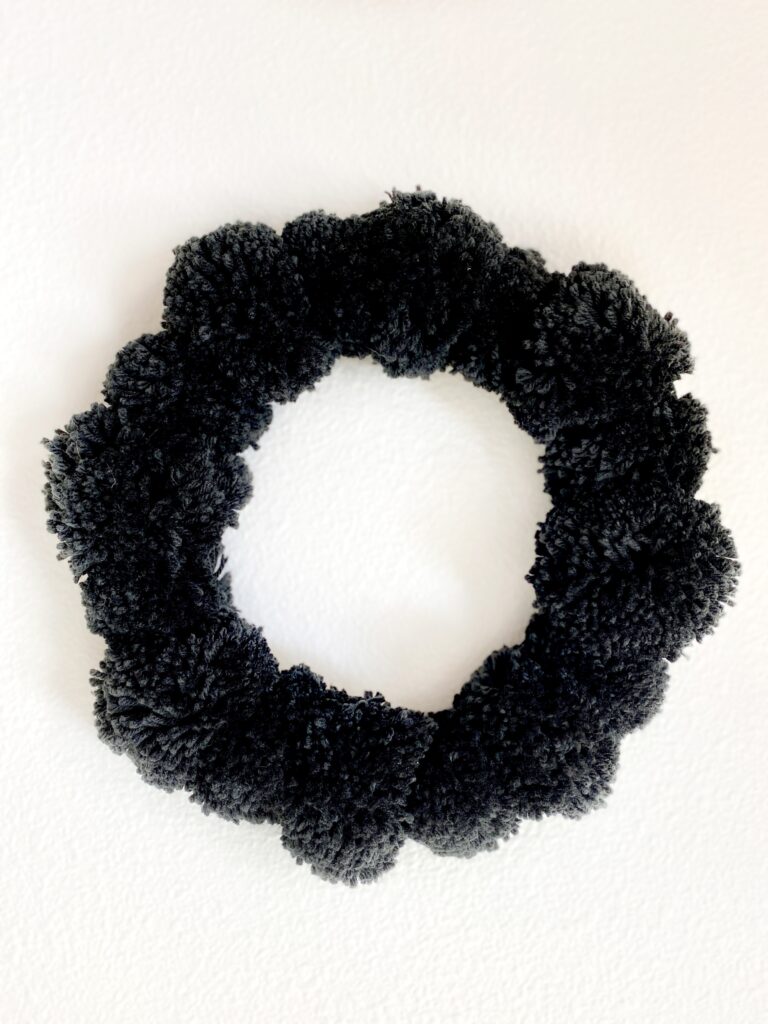
I found that using the Clover Pom Pom Maker wasted way less yarn than the other methods I’ve tried and there was hardly any trimming necessary. I made a black pom pom wreath with mine.
If you’d like to take a look at my Easy DIY Pom Pom Wreath post, you’ll see how I made pom poms using empty toilet paper tubes and just my fingers. Although both methods worked great, I did learn that using a pom pom maker wastes a lot less yarn and actually saves money in the long run.
You might also like my Halloween Pom Pom garland where I’ve used different sizes to complete a cute Halloween look.
You’ll learn more crafting techniques by following my Pinterest account. I post more images and projects there.
Happy crafting,
Denise


Hi,
I use waxed linen thread to tie the Poms. You get a strong tight pull with it which makes the Poms fuller and fluffier.
That’s a great idea. I’ll have to try that with the fall colors I’m working on. Thank you!
Great tutorial. It looks like a fun project.