Yarn Ghost Garland DIY
You’re going to love this easy yarn ghost garland DIY for your Halloween party decorations. The best part is, once you know how to make yarn ghosts, you can use them to make cute DIY Halloween ornaments, too!
This DIY is so easy to make that it can be used as a DIY Halloween craft for kids or teens, as long as they can safely use a pair of scissors. I’m nowhere near those ages, and I love making them, too.
How To Make Yarn Ghosts
To make ghosts with yarn, you’re going to use the same basic steps for making a yarn tassel. I like to find a book to use for wrapping the yarn, but I’ve also made them with a piece of cardstock or cardboard.
If you use a book, choose one that is about the same length as you want your finished ghosts. If you use cardstock or cardboard, cut your template to the length you want.
You can use basic yarn to make the ghosts, but using thick white yarn will be quicker when making larger ghosts.
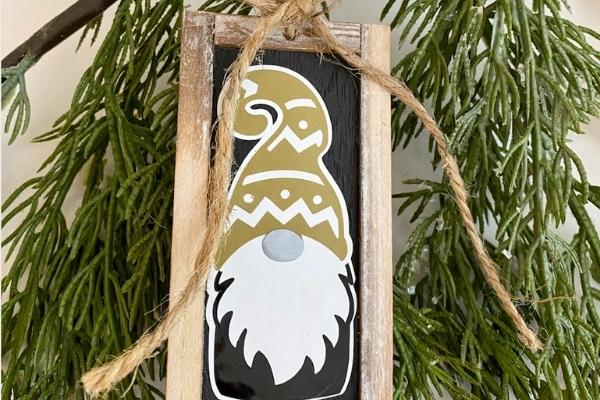
You may also like making yarn gnomes for fall or Chrismtas.
Step-by-step Instructions
Here are the step-by-step instructions for making yarn ghosts. Note that for the larger ghosts, I insert a styrofoam ball inside the tassel!
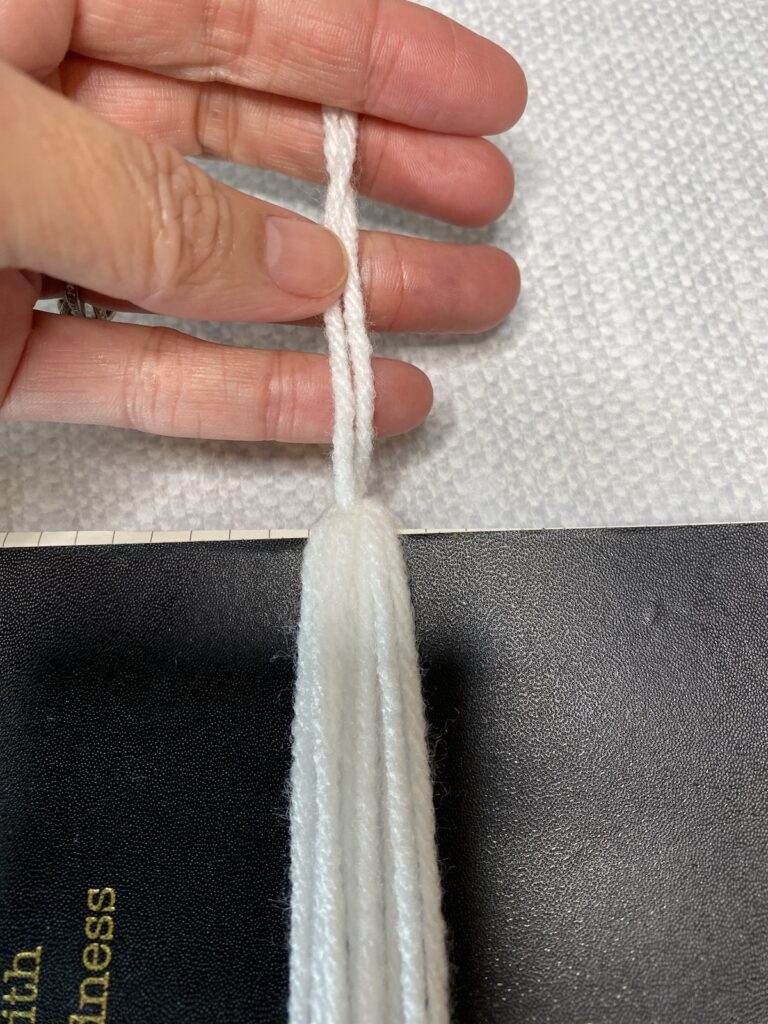
- Wrap your book or template with yarn. For small ghost tassels, wrap about 15 times with standard white yarn. For the larger ones, wrap about 40 times with thick white yarn. If you use standard white yarn for the large ghosts you will need to wrap more.
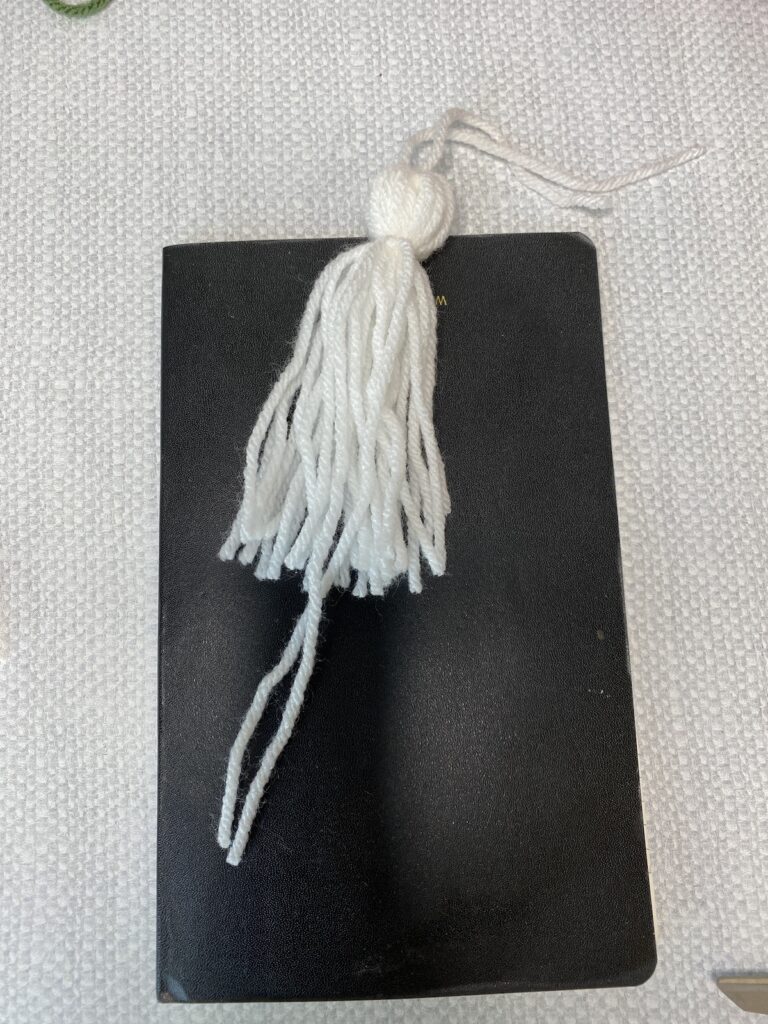
- Slide a 10″ piece of yarn under the wraps then slide it to the top and tie the loops tightly together. Don’t cut off the ends of the piece you used to tie. You can use that to tie the ghosts to a garland or make a knot at the top to make an ornament.
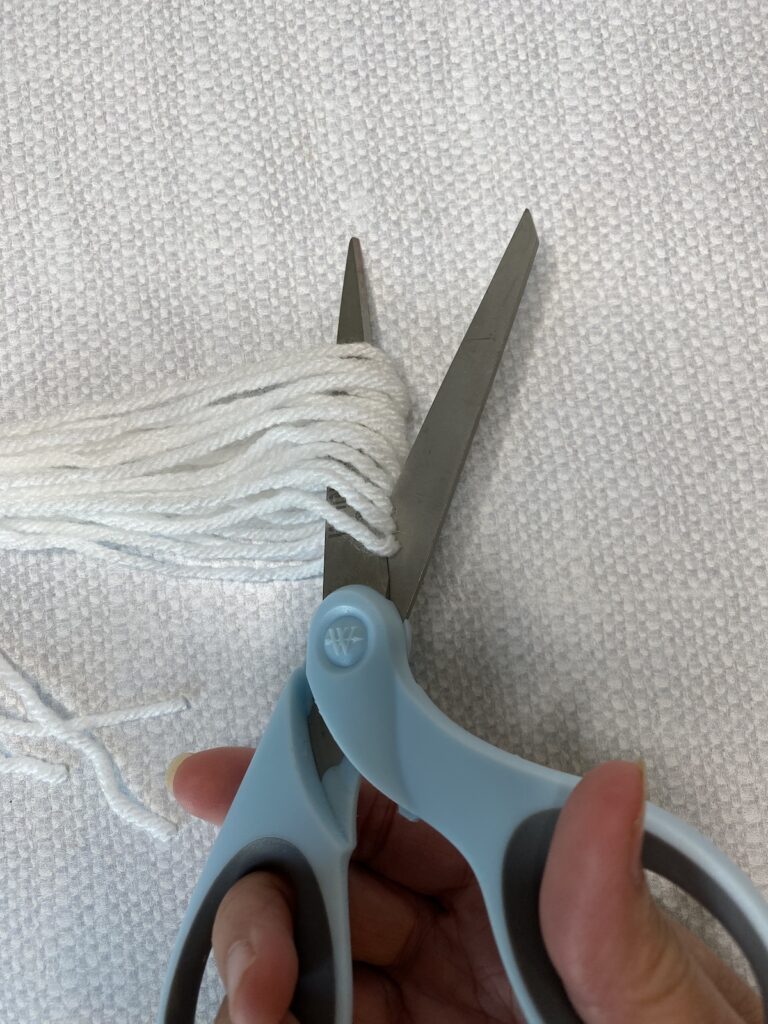
- Cut through all of the loops at the bottom of the book or template.
- If you’re using a styrofoam ball, hide it in the center of the yarn at the top then wrap the yarn around the ball and tie it off with another piece of yarn. I’m not sure how long your ghosts are going to be, but when I cut the piece of yarn for tying, I make it long enough so that I can tie off the top of the ghost head and have the strands fit in with the rest of the tassel. Did that make sense? If you’re not using a ball, just skip the step of inserting the ball.
- You can trim the bottom if you want the bottom to be perfectly straight but random lengths at the bottom are also cute for a ghost.
- Cut felt pieces to make eyes and add a mouth (if you want one). I used a paper punch to make eyes for my larger ghosts.
- Tie the ghosts to a piece of yarn or twine to finish your DIY yarn ghost garland!

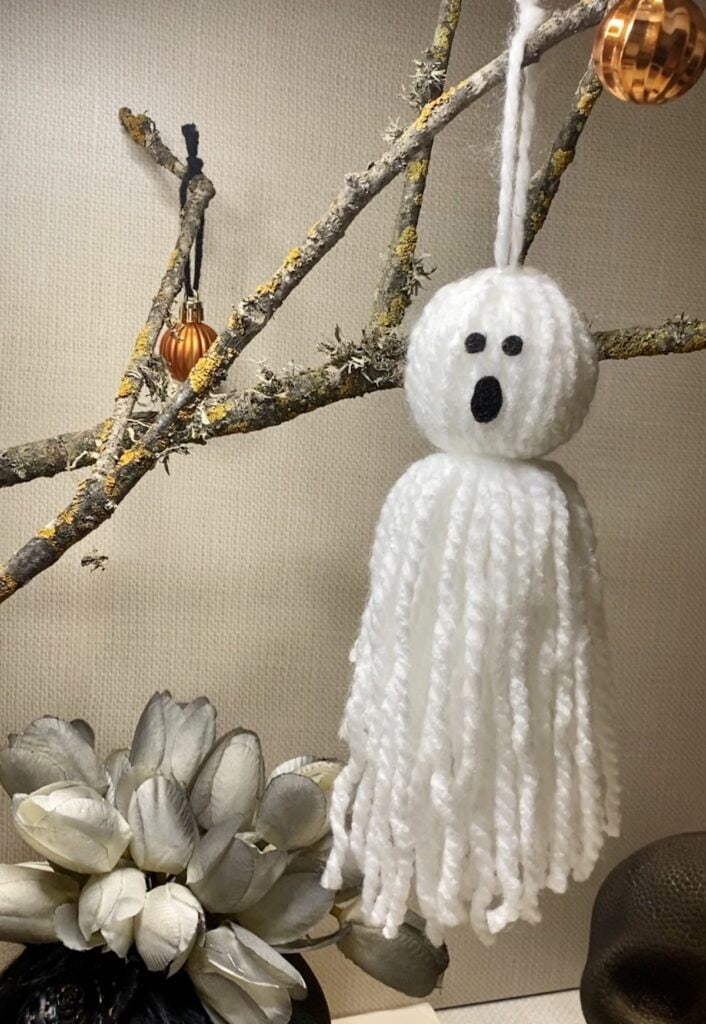
As an alternative to a garland, I gathered tree branches and put them in a glass vase with some moss in it. I hung the ghosts from the tree along with some miniature Halloween ornaments.
For another cute and easy DIY Halloween decoration, be sure to check out my other easy DIY Halloween crafts! My Halloween Pom Pom Garland is one of my most popular posts!
Happy crafting,
Denise