
How To Make Paintbrush Gnomes Ornaments
This post contains affiliate links which means that at no cost to you, I may earn a commission if you purchase using one of my links. For more information view my full disclosures.
~
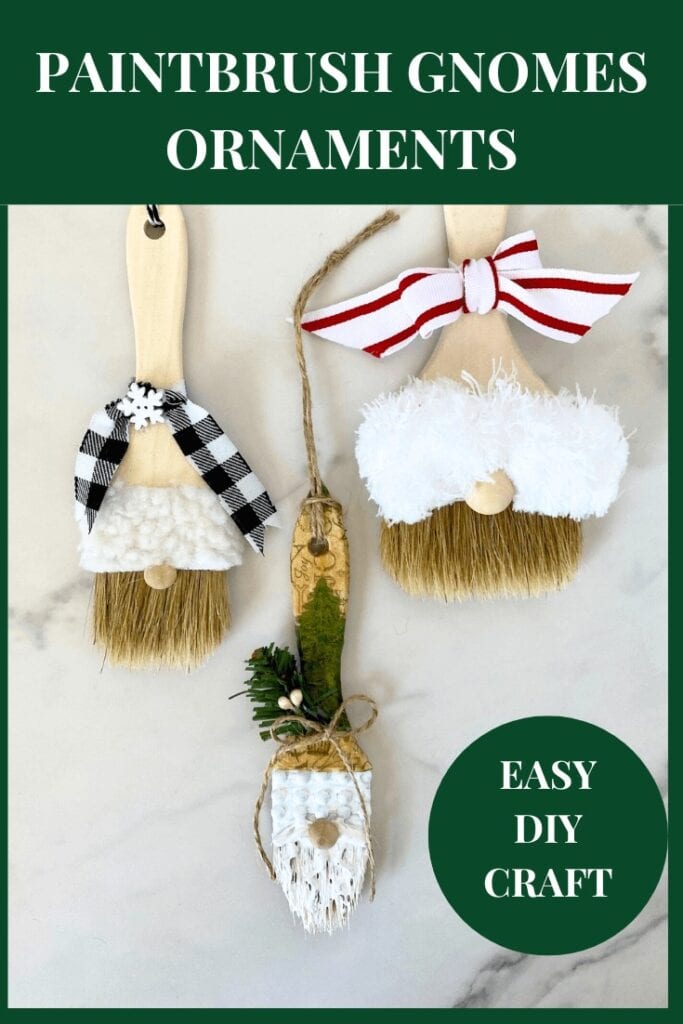
Today I want to show you how to make paintbrush gnomes ornaments for your Christmas tree or any other holiday. They are a super quick craft to make and I love that you can personalize them with any colors or theme to fit your holiday decor.
Read more: How To Make Paintbrush Gnomes Ornaments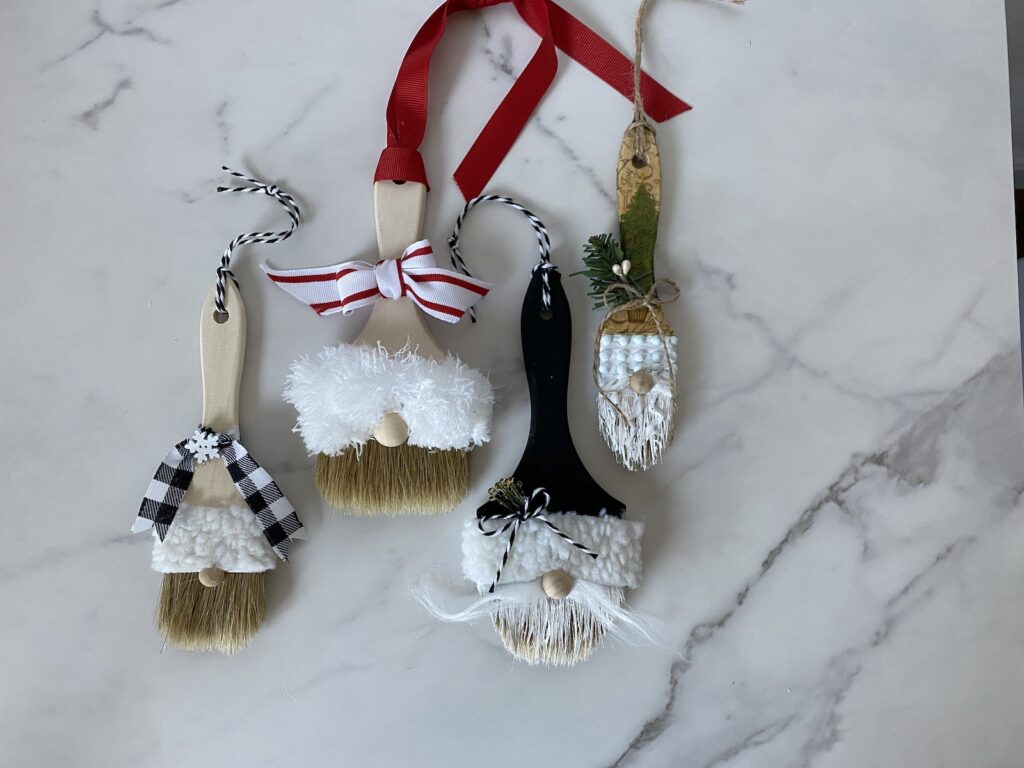
Gnome paintbrush ornaments are super cute and fun to make. The possibilities are endless for what you can do to decorate them. You can create any look that you’d like.
Paintbrush gnome ornaments can also be made for other holidays like Valentine’s Day or Easter.
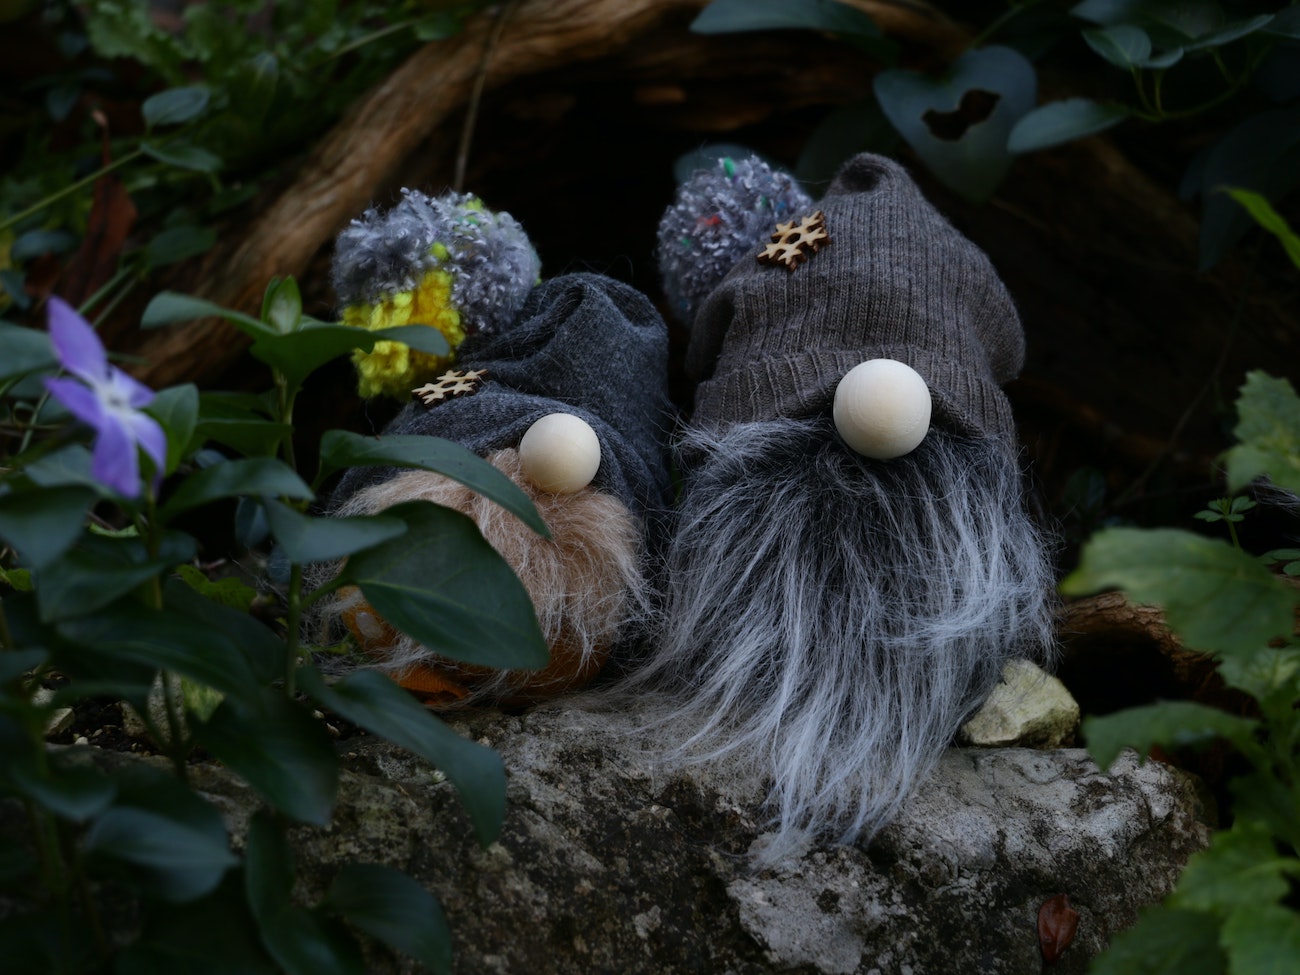
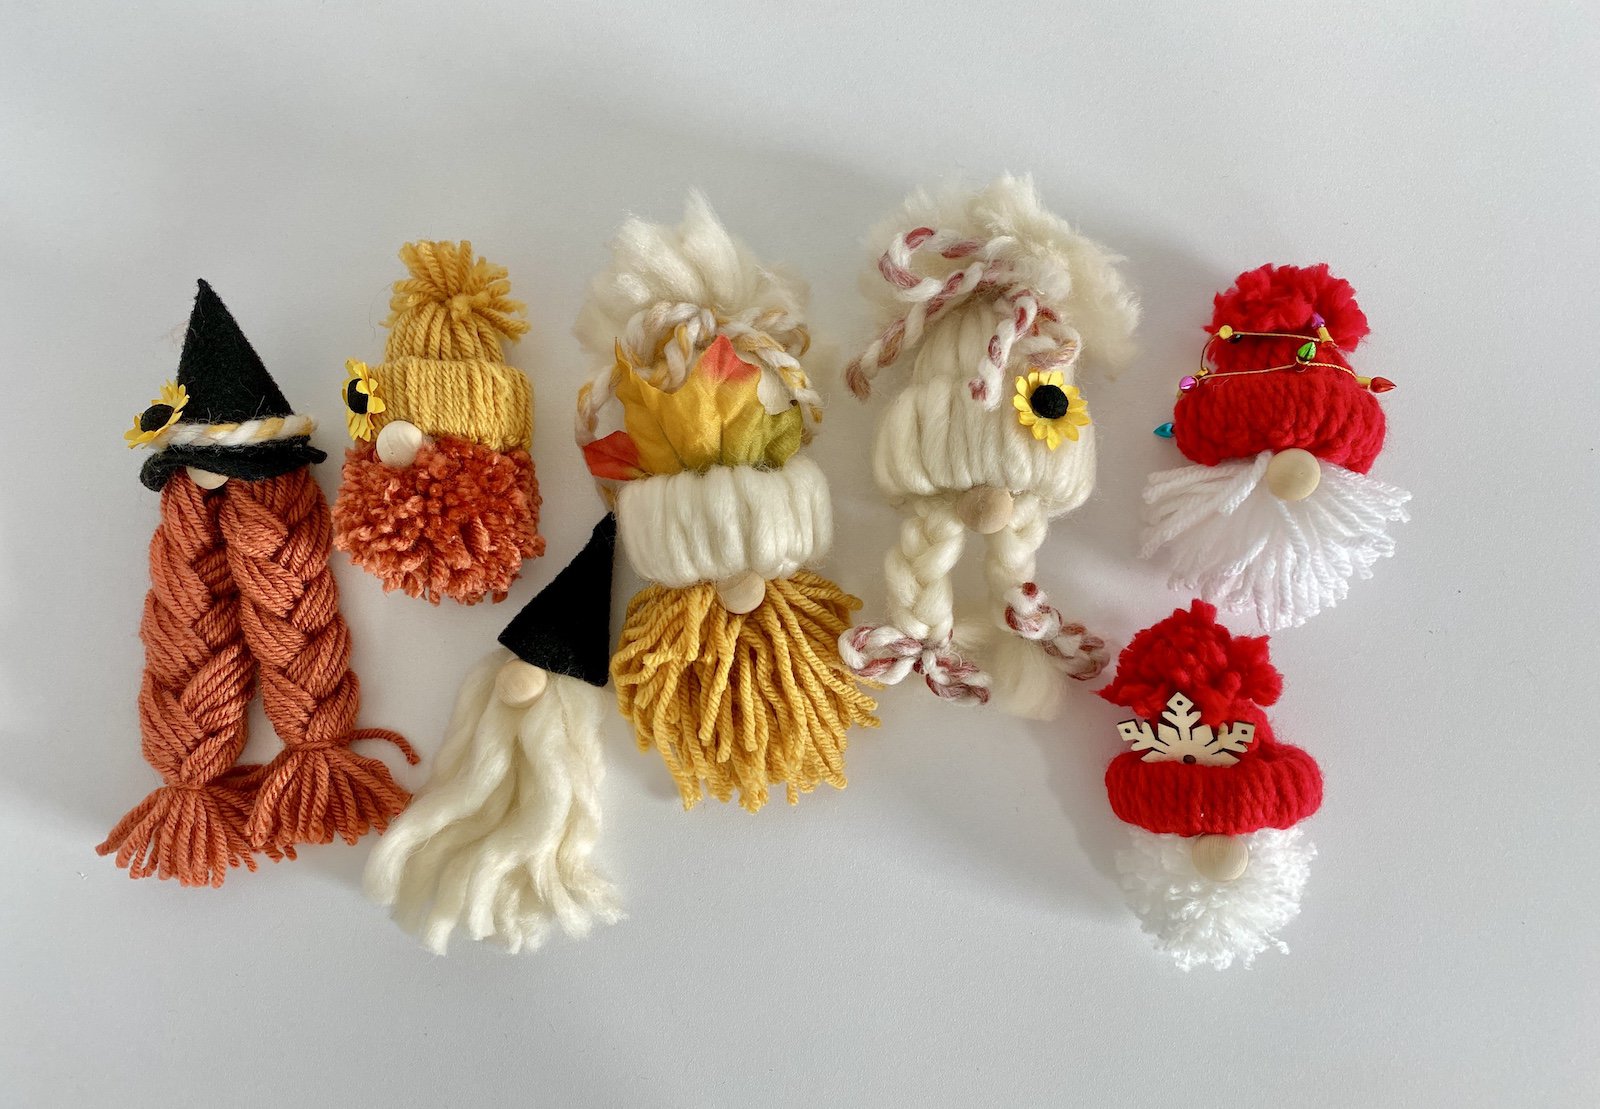
I love making gnomes. Be sure to check out my adorable yarn gnomes and also these unique rope gnomes.
❤ Be sure to check out my favorite Gnome Making Supplies!
Don’t forget to Pin this for later!
Materials and Supplies You’ll Need
- Paint brushes (I used a variety pack of chip wood brushes)
- Scissors
- Paint
- Hot glue gun or other craft glue
- Ribbon and/or twine
- Holiday decorations
- Napkin and Mod Podge (Optional)
- Fur for the brim of the hat like micro-fleece or a dollar tree duster replacement
Paint Brushes
I found paintbrushes at Dollar Tree, but the handles were black and the ends were slanted. I like chip wood brushes because the handles are neutral and the tips are flat across the bottom. I found chip wood brushes at Walmart for a good price.
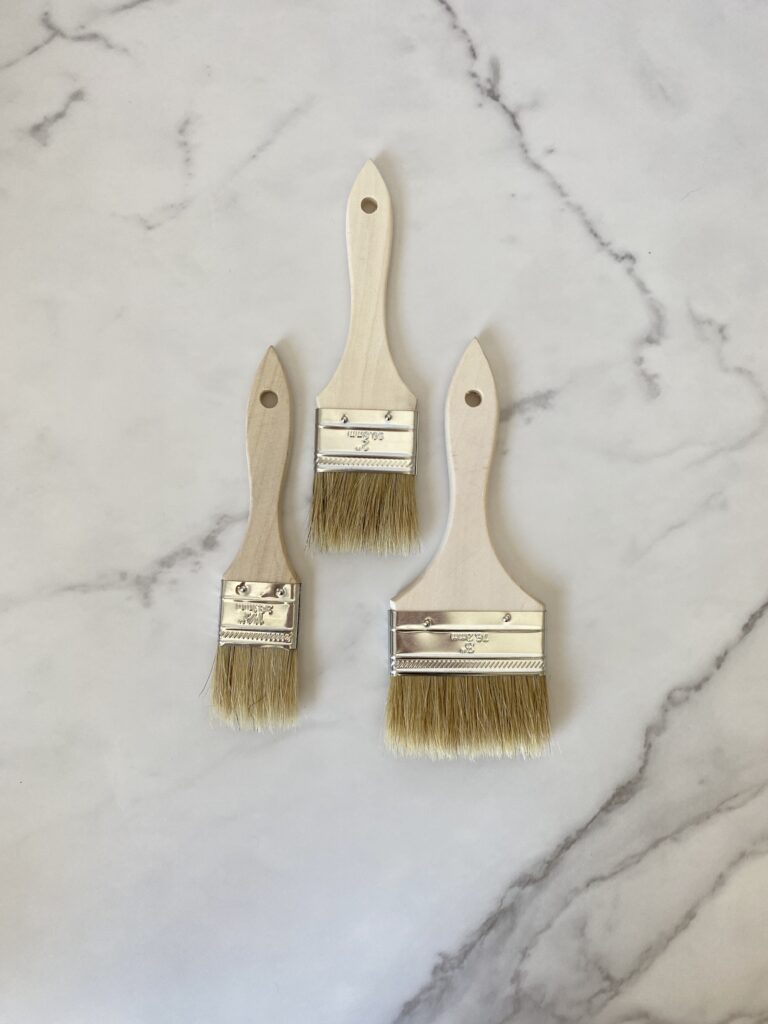
The chip wood brushes are very inexpensive. I bought a variety pack with different sizes but you can also buy all one size. The variety pack has two small paint brush sizes, 2 medium and 2 large.
I found mine at Walmart but you will also find them at Lowes’ or Home Depot. Your paintbrushes may have words on one side of the handle so be sure to face that to the back. You can probably sand the words off if you’d like.
Paint
Painting the handles is optional but is a fun way to add some color if you like things more colorful. Regular acrylic craft paint works fine.
When painting the brushes (aka the beard), use a little bit of paint at a time and layer it on, allowing it to dry a bit in between.
Napkin and Mod Podge
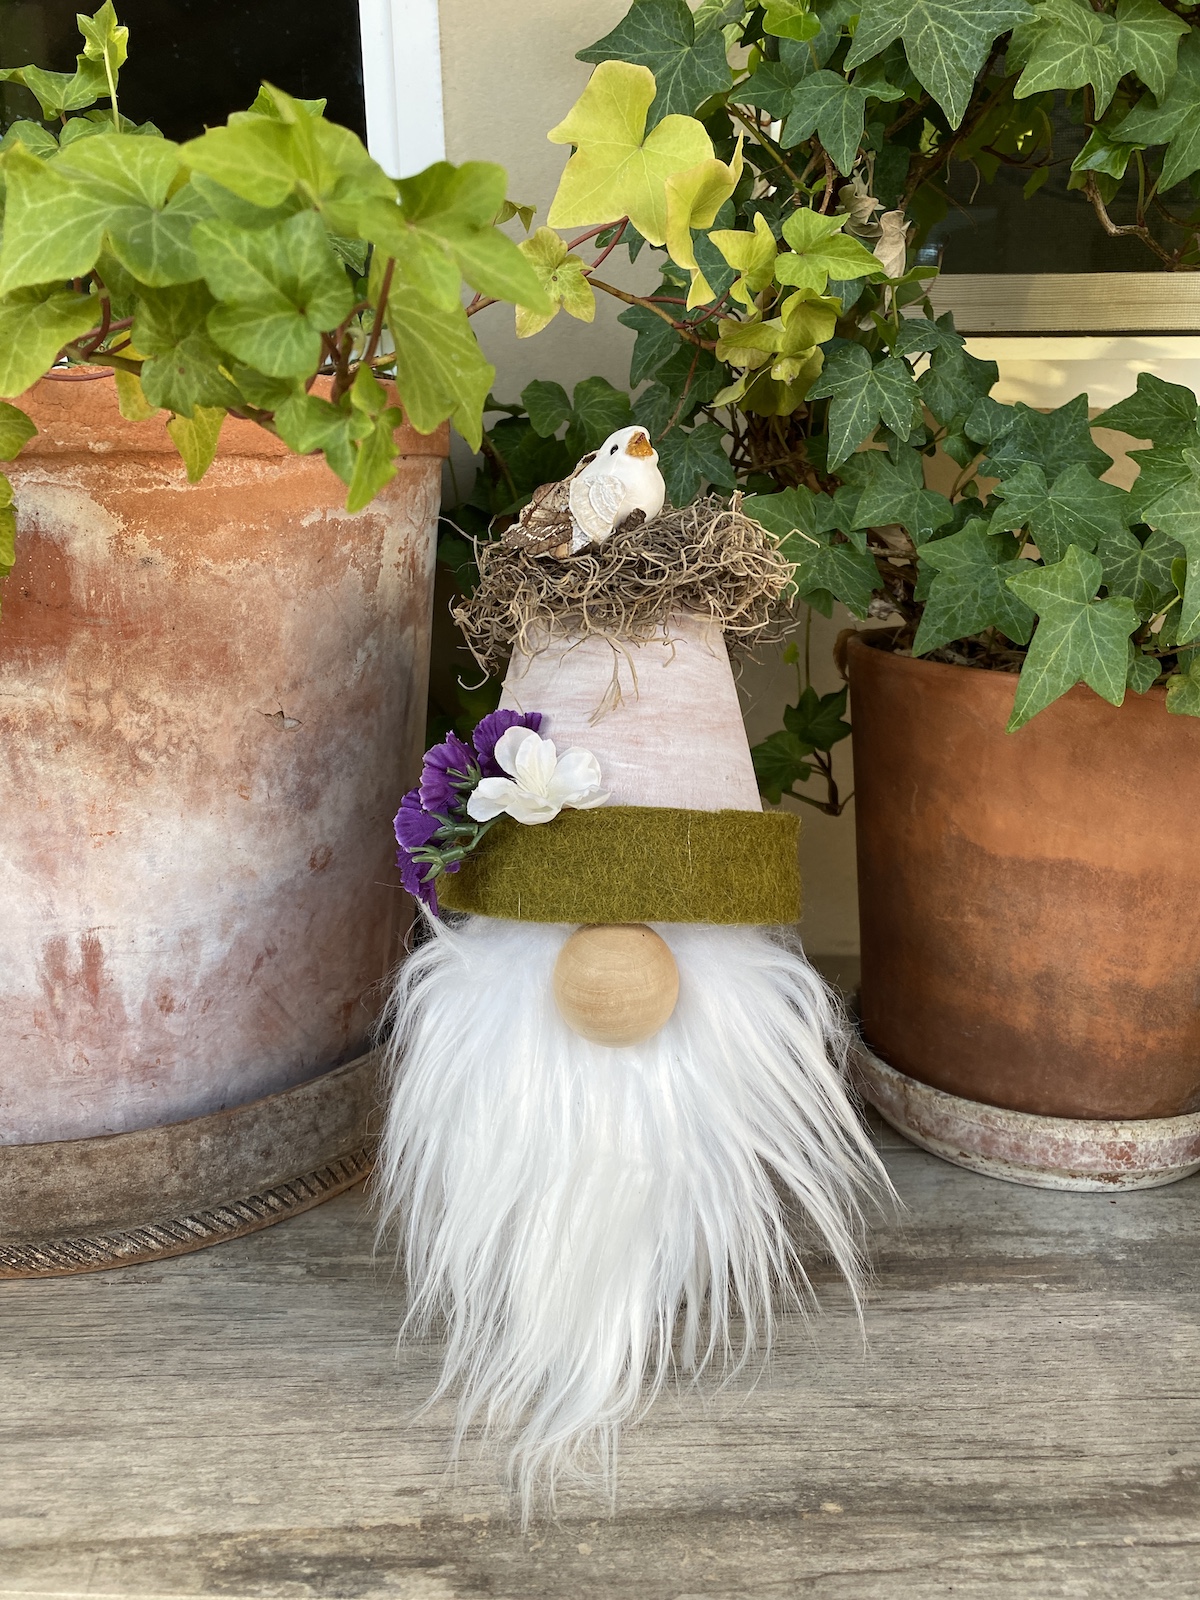
As a variation, I used Mod Podge and a holiday napkin to cover one of the handles. Fabric can also be used.

For the gnome above, I used sticky dots to create a pattern for the hat brim. I cut greenery from a garland I already had.
Hot Glue Glue
I used a hot glue gun to attach all of the decorations and the nose. I also used it to draw lines in the beard and a mustache on one to give it a little more detail.
Twine and Ribbon
A particularly loved using the baker’s twine. I found a small pack of it at Dollar Tree, but here is a multi-pack of baker’s twine from Amazon since not everyone has a Dollar store nearby.
Hat Brims / Faux Fur
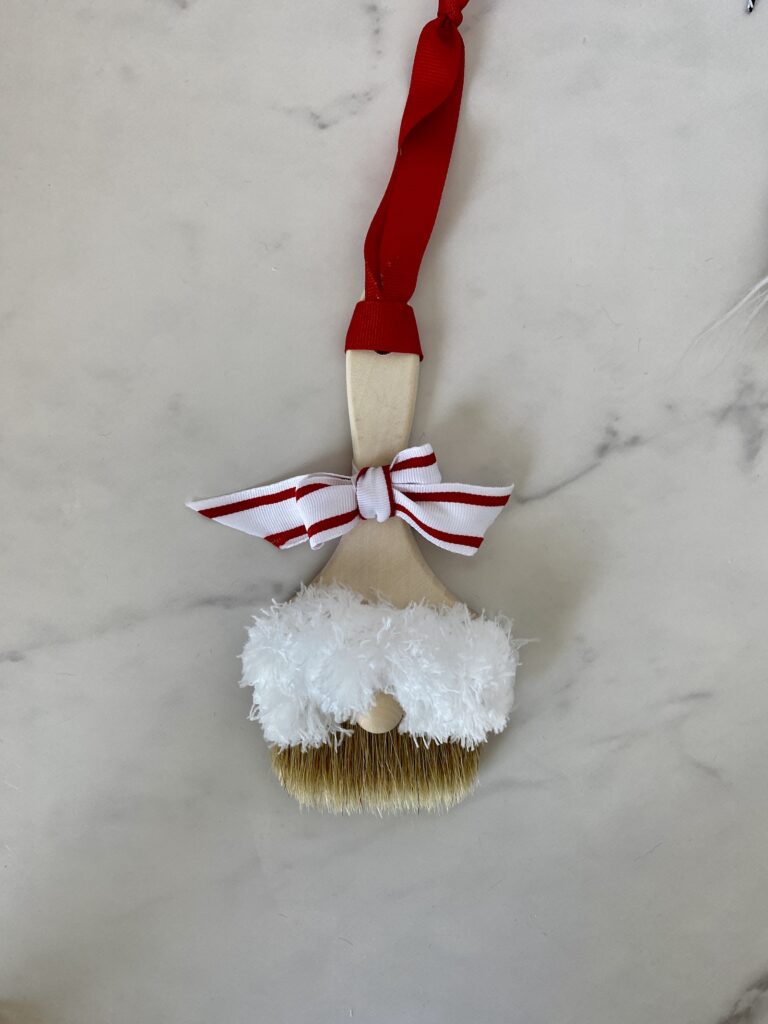
For the hat brims, I tried several things to give you different options. I used a scrap piece of microfleece for one, and a piece of a Dollar Tree replacement duster head for another.
Don’t stretch the fur when you glue it to the metal piece. Just add some glue and shape around the nose then press the rest flat.
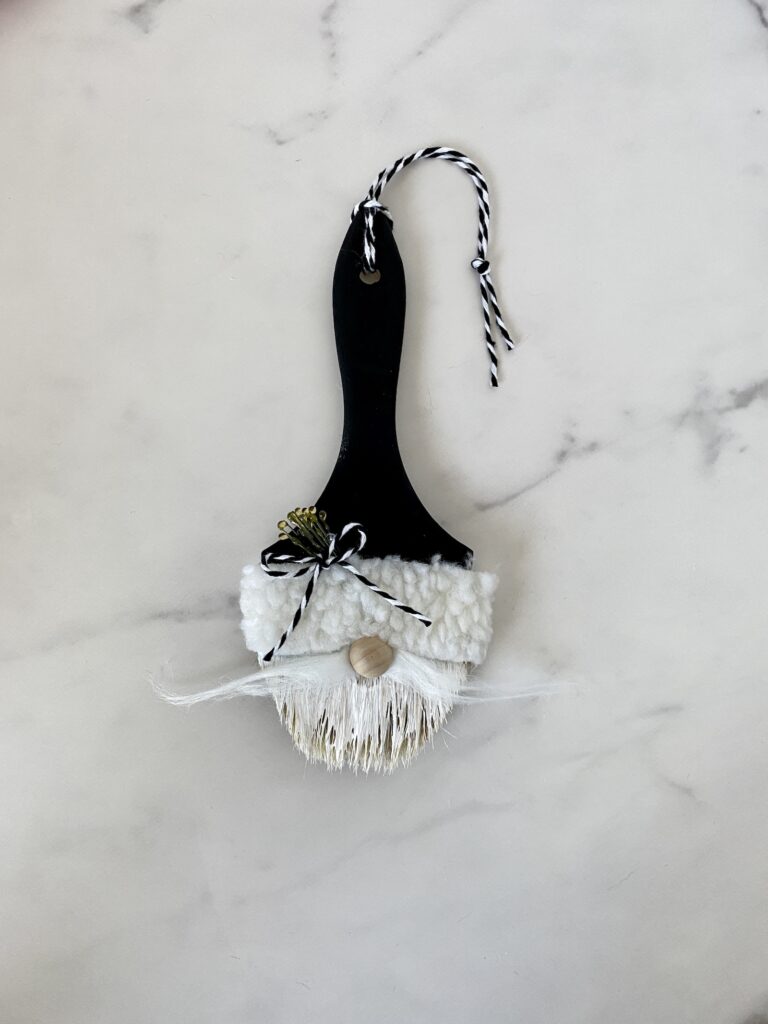
I also wanted to try one without faux fur, so I used those small sticky dots that you find in the craft department and stuck them to the handle, and then painted them white. This is the same one I used the hot glue gun to make shapes in the beards and drew on a mustache.
I did use a very small piece of gnome beard to make a mustache on one.
Noses
I prefer split wood beads for noses. You can use the round ones with holes but you’ll have to glue some fur around the edges of the holes to hide them.
Split wood beads are much better. I keep bags full of them around the house for making gnomes.
Instructions
Here are the step-by-step instructions for making paintbrush gnomes:
- Trim the bottom of the brushes into a bead shape with sharp scissors.
- Paint the handles or mod podge them and let them dry.
- Add hot glue as a mustache and to the beard if you’d like and let it dry completely.
- Paint the beard and mustache white. The natural color also looks cute.
- Glue on the nose.
- Glue on the embellishments like snowflakes or pieces of greenery.
- Add a ribbon to the hat and one for hanging.
When trimming the paint brushes, I found it easiest to cut one side then flip the brush over and cut the other side in the same direction. I hope that makes sense. They’re pretty easy to trim.
How To Make Paintbrush Gnome Ornaments Hang Straight
Fold your twine in half and put the fold through the hole in the front of the ornament to the back. Pull the two loose ends through the loop and pull up.
Tie the two loose ends together in a knot at the top. This will help them hang straight.
I hope you enjoyed making Christmas paintbrush gnomes with me. I think their super fun and are easy DIY gnome ornaments. Have you made them before? Give me some more ideas in the comments below!
Happy crafting,
Denise


These are adorable!