
Felt Gnome Hat Pattern (Easy Tutorial)
This post contains affiliate links which means that at no cost to you, I may earn a commission if you purchase using one of my links. For more information view my full disclosures.
~
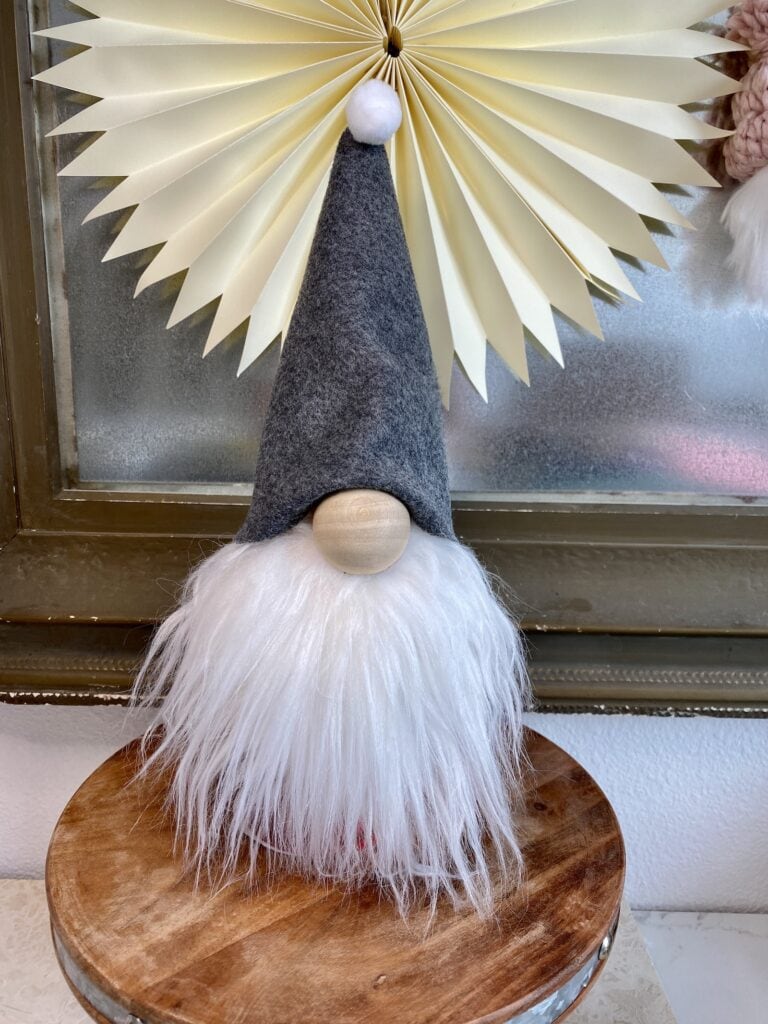
When making DIY gnomes, everyone needs an easy felt gnome hat pattern that works for almost any size gnomes. I’m about to teach you my secret weapon when making gnome hats.
So you came here for a free pattern and I have one for you a little further down in this post. I’m also going to show you how to make your own free felt gnome hat pattern. Don’t run off, it’s super simple! I will show you how to easily make your own gnome hat pattern!
Why not have this simple trick in your gnome-making toolbox so you can make any size gnome hat that you want? You’ll be able to make our own DIY gnome hat pattern. I make a lot of Christmas gnomes so the gnome pattern saves me a lot of time.
Supplies
- paper – if you’re making larger gnomes, wrapping paper works great
- scissors
- ruler or something with a straight edge
- felt sheets or felt fabric
- glue gun
- a pen
- cotton twine or something that doesn’t stretch
Whether you’re making little gnomes or larger sock gnomes for holiday decor, this will likely work for you. You don’t even need a compass! The size of the hat you cut will depend on the size of the gnome’s body.
You may also enjoy making DIY Mop Head Gnomes!
How To Make A Gnome Hat Out Of Felt
For this gnome hat tutorial, I’m going to use a standard felt sheet. You can use felt fabric as well. I’m going to make a paper template. You can skip the paper and draw directly on the felt if you’d like.
If you’re making several gnomes that will be the same size, I recommend making a paper template to speed things up.
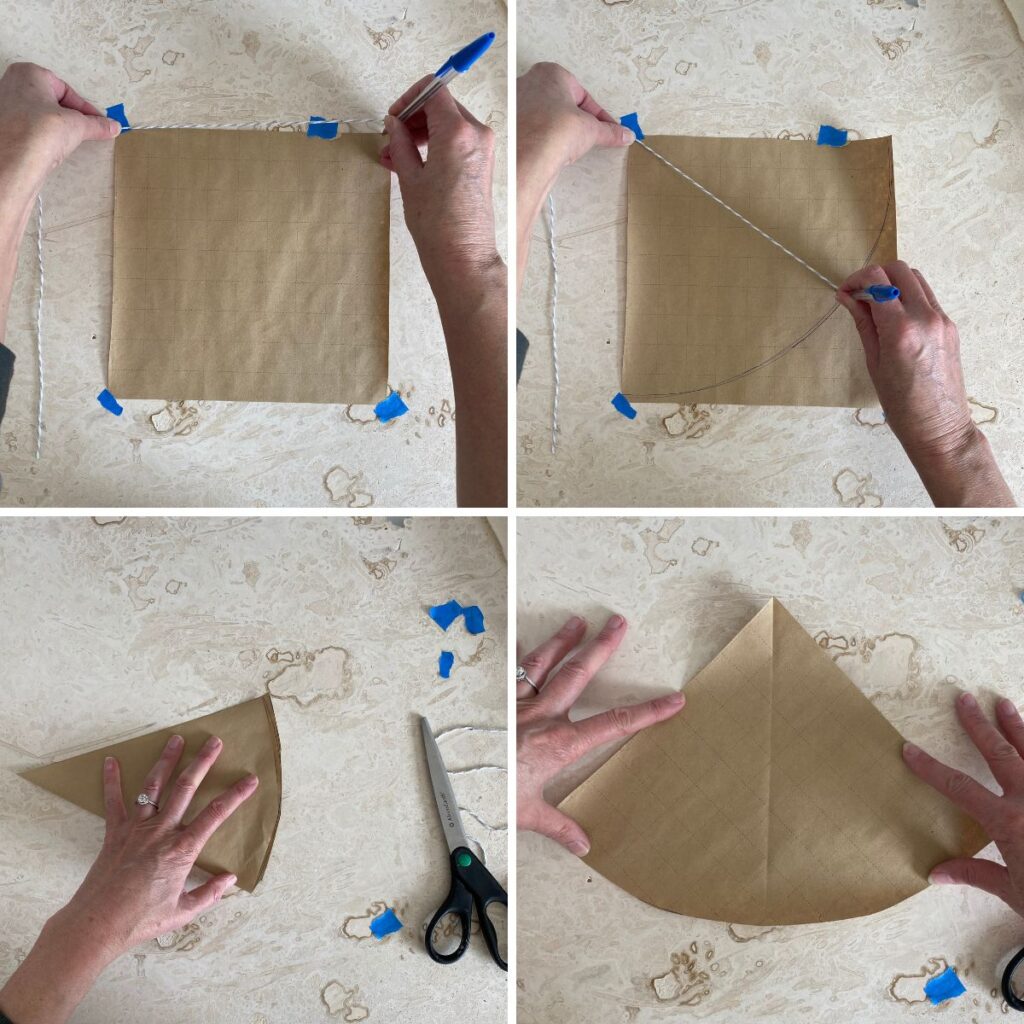
- Cut your paper into a square. For a felt sheet, the largest square that can be used is 9″, assuming you’re using a 9 x 12 felt sheet. This size is perfect for a sock gnome. I like to tape the paper down for the next step.
- Tie a piece of twine to a pen about an inch from the ink end of the pen.
- Hold the tip of the pen just a tad away from one corner.
- Stretch the twine and hold it tightly onto the corner on the opposite end of that same side of the square.
- Use the pen to draw an arc, holding the twine tightly so it doesn’t move.
- Cut out the arc.
- Pin your pattern to your felt and cut out your hat. The straight edges will end up being the seam on the back of the hat and the curved side will be the bottom of the hat.
- Roll your felt into a cone shape and secure it with a hot glue gun.
A cute little gnome is a great party favor for guests. You can set one at each place setting or use them to decorate a featured cake table and have guests take one when they leave.
You can make a pointy hat or fold the tip over and glue it down before forming the cone to make a hat with less of a point. If you’re making a baby gnome hat, you can adjust the size of the square that you start with to fit many other sizes. I hope you’ve found this DIY felt gnome hat to be easy.
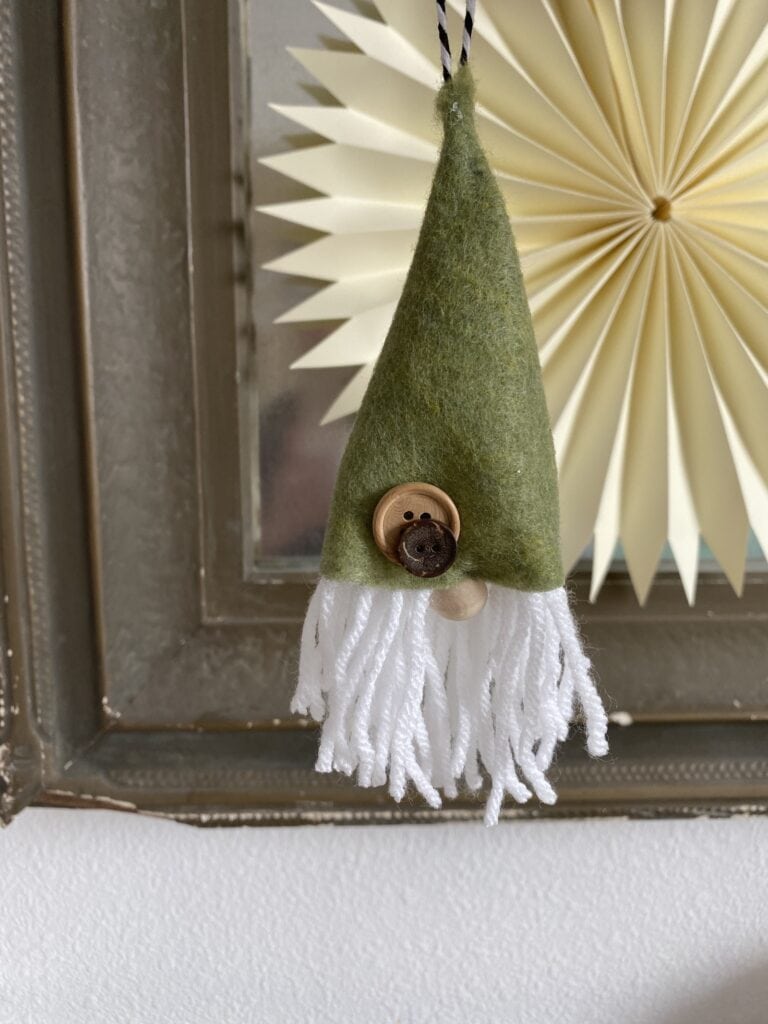
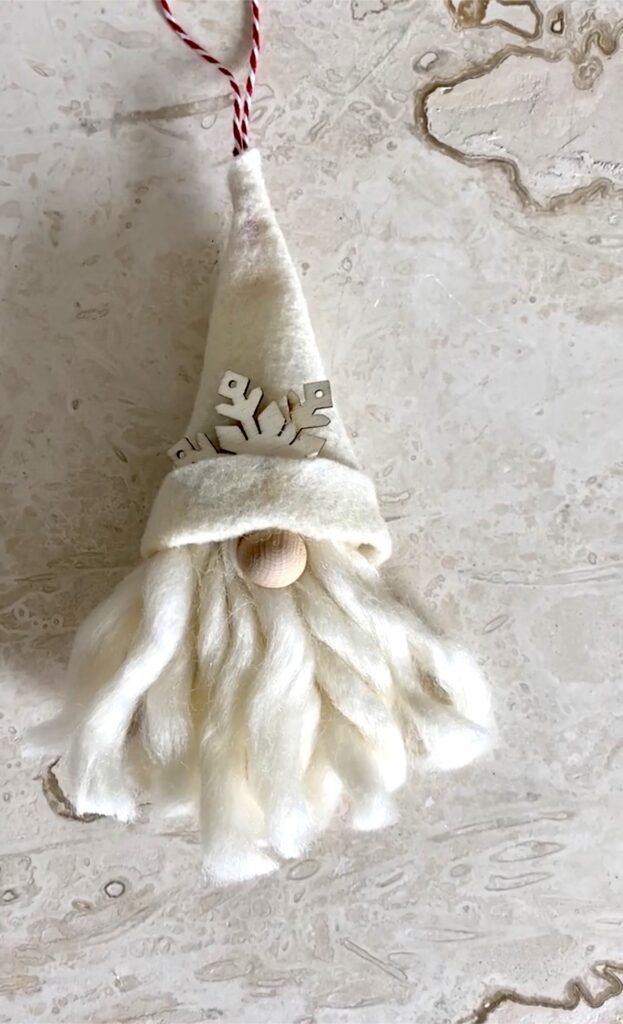
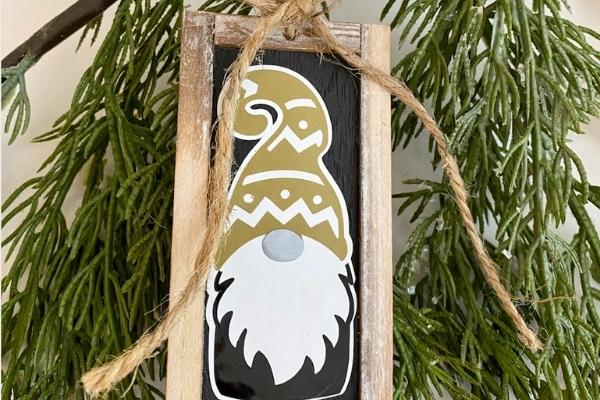
How To Make Felt Gnome Hats For Ornaments – Step-By-Step Tutorial
Making felt hats for gnome Christmas ornaments is even easier! You can use the same method by starting with a square, but I love to trace around a salad plate onto a piece of paper. My plates are about 8.5″ round.
Cut out the circle and then cut the circle in half and then into quarters. These fold up perfectly and are cute little felt hats for DIY gnome ornaments.
If you add twine or a ribbon loop for hanging, I recommend gluing it to the felt before forming the hat into a cone. As you form the cone, you’ll leave a small hole at the tip of the hat for the string to go through.
If you don’t want to use glue, you can also use a decorative stitch like a blanket stitch to sew your home hat by hand. You can also use a basic running stitch instead of glue. I like to make all of my hat pieces at one time to speed up the process.
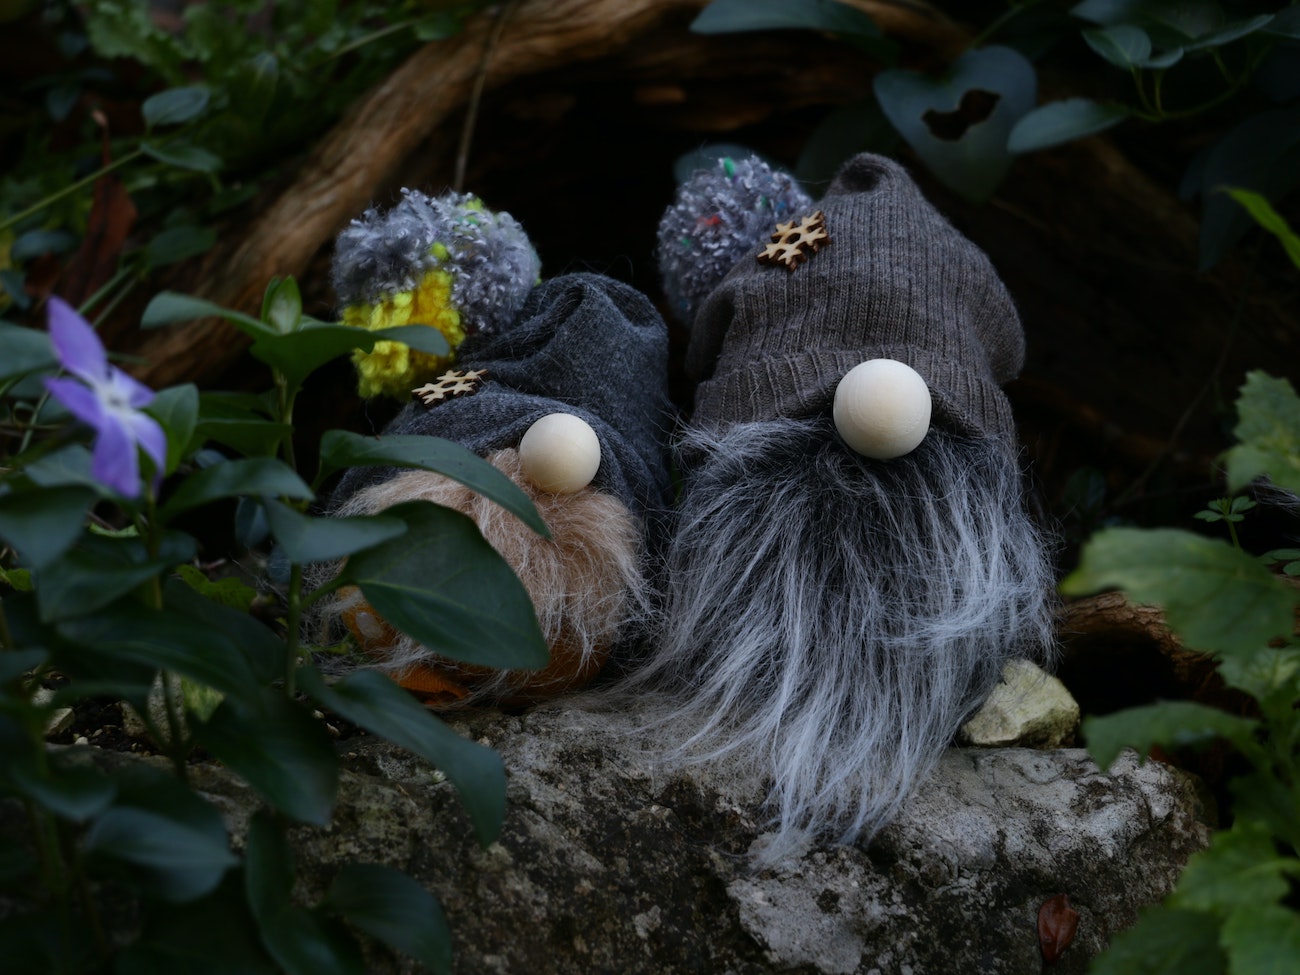
You can add a pom pom to the top of the hat if you’d like.
You can fold up the edge to create a brim.
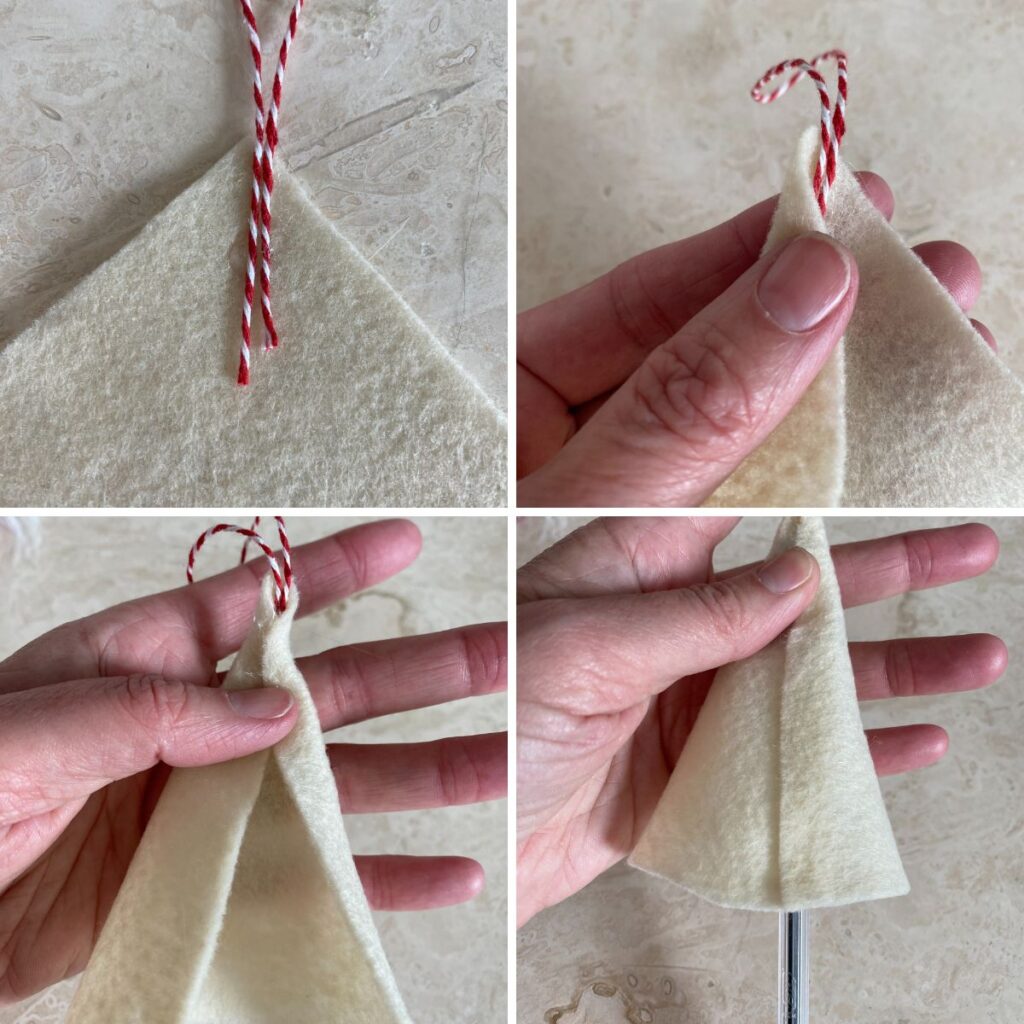
Lay the felt piece with the point at the top and glue the string about an inch down the point with the string ends glued side by side. This will help the ornament hang straight.
Fold one side of the tip of the hat over the string and secure it with a little hot glue. Fold the other side over the secure it as well.
Join the hat at the bottom and adjust the size as necessary. Continue gluing from the tip to the bottom of the hat to finish the hat.
How To Make A Cute Gnome
To make cute holiday gnomes, fill a sock with rice and secure it at the top with cotton twine or a rubber band.
Glue a faux fur gnome beard to the gnome’s body using hot glue.
Glue your nose towards the top edge of the beard then glue your hat in place. Split wooden beads make great gnome noses.
Decorating Gnomes
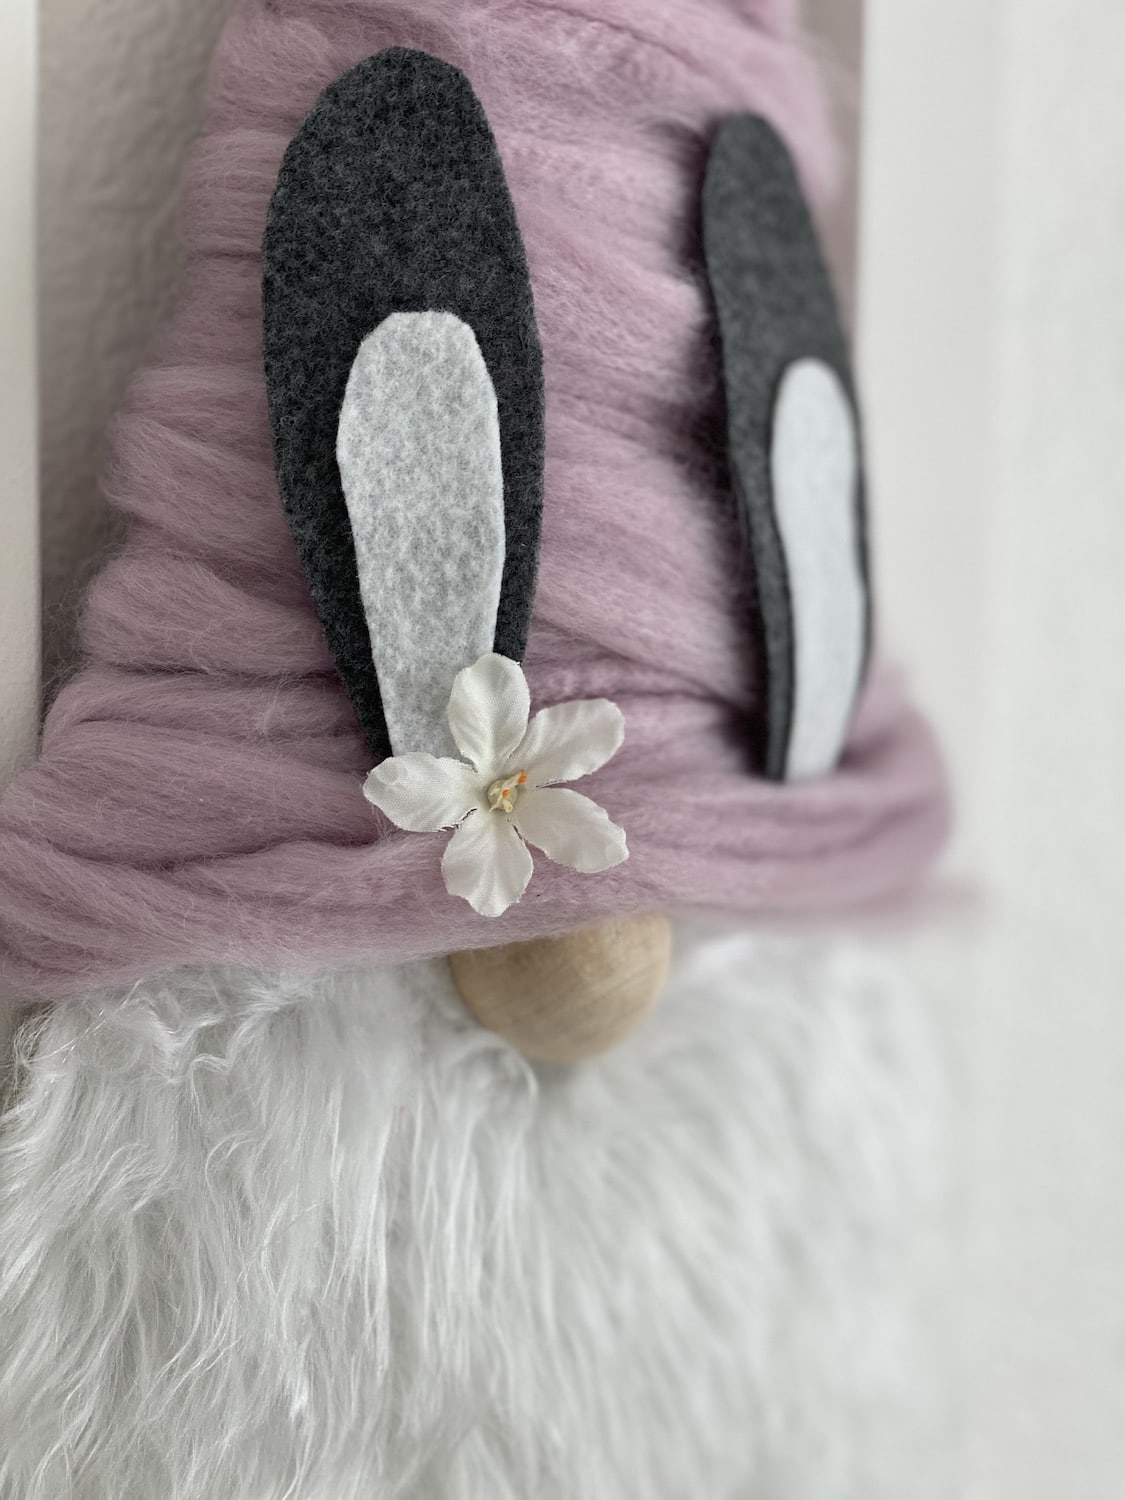
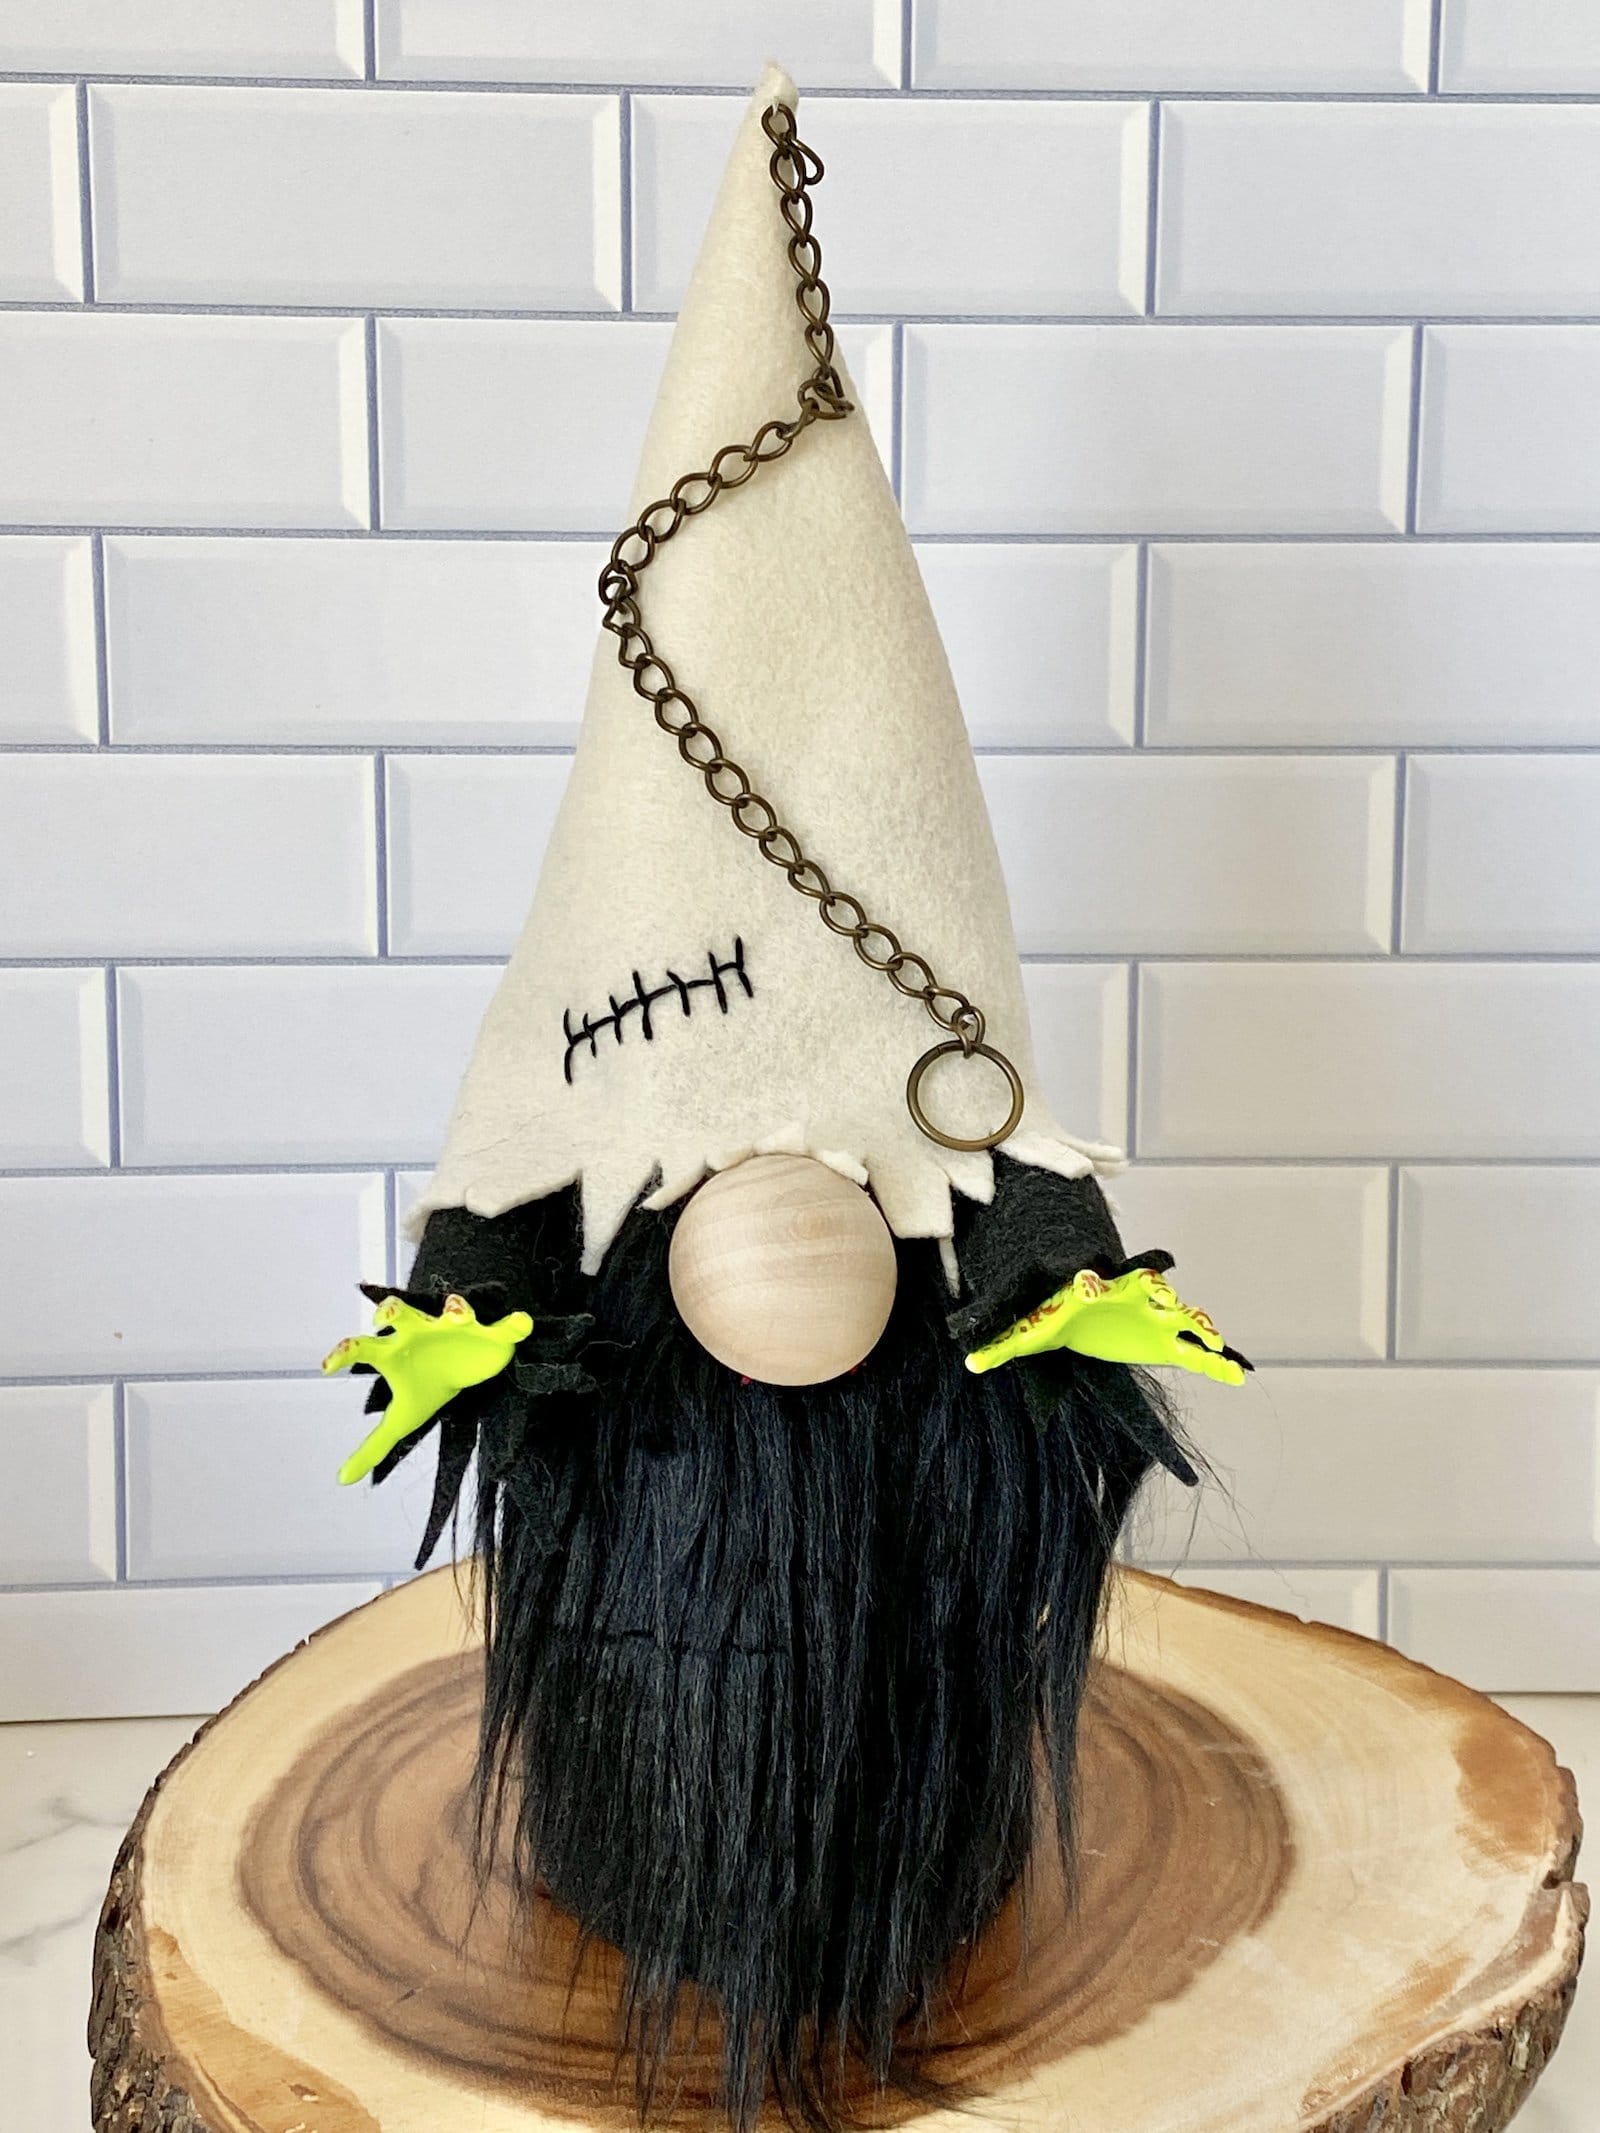
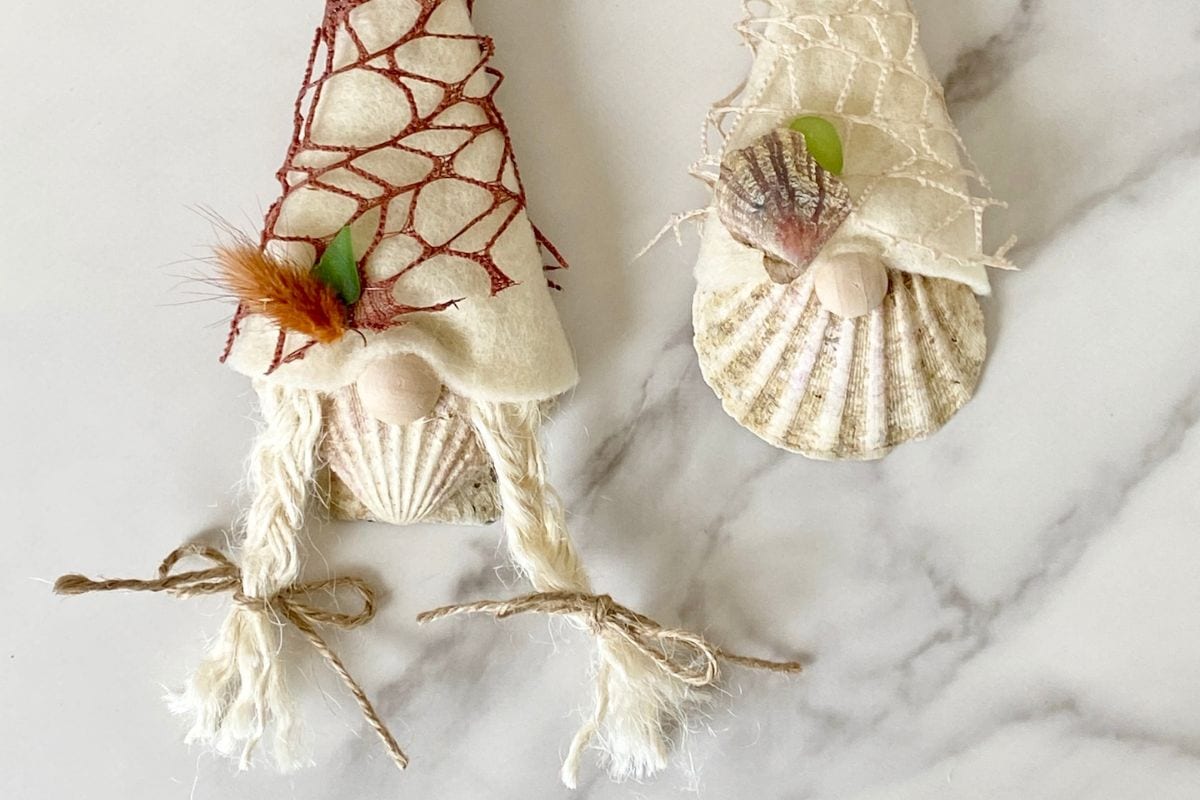
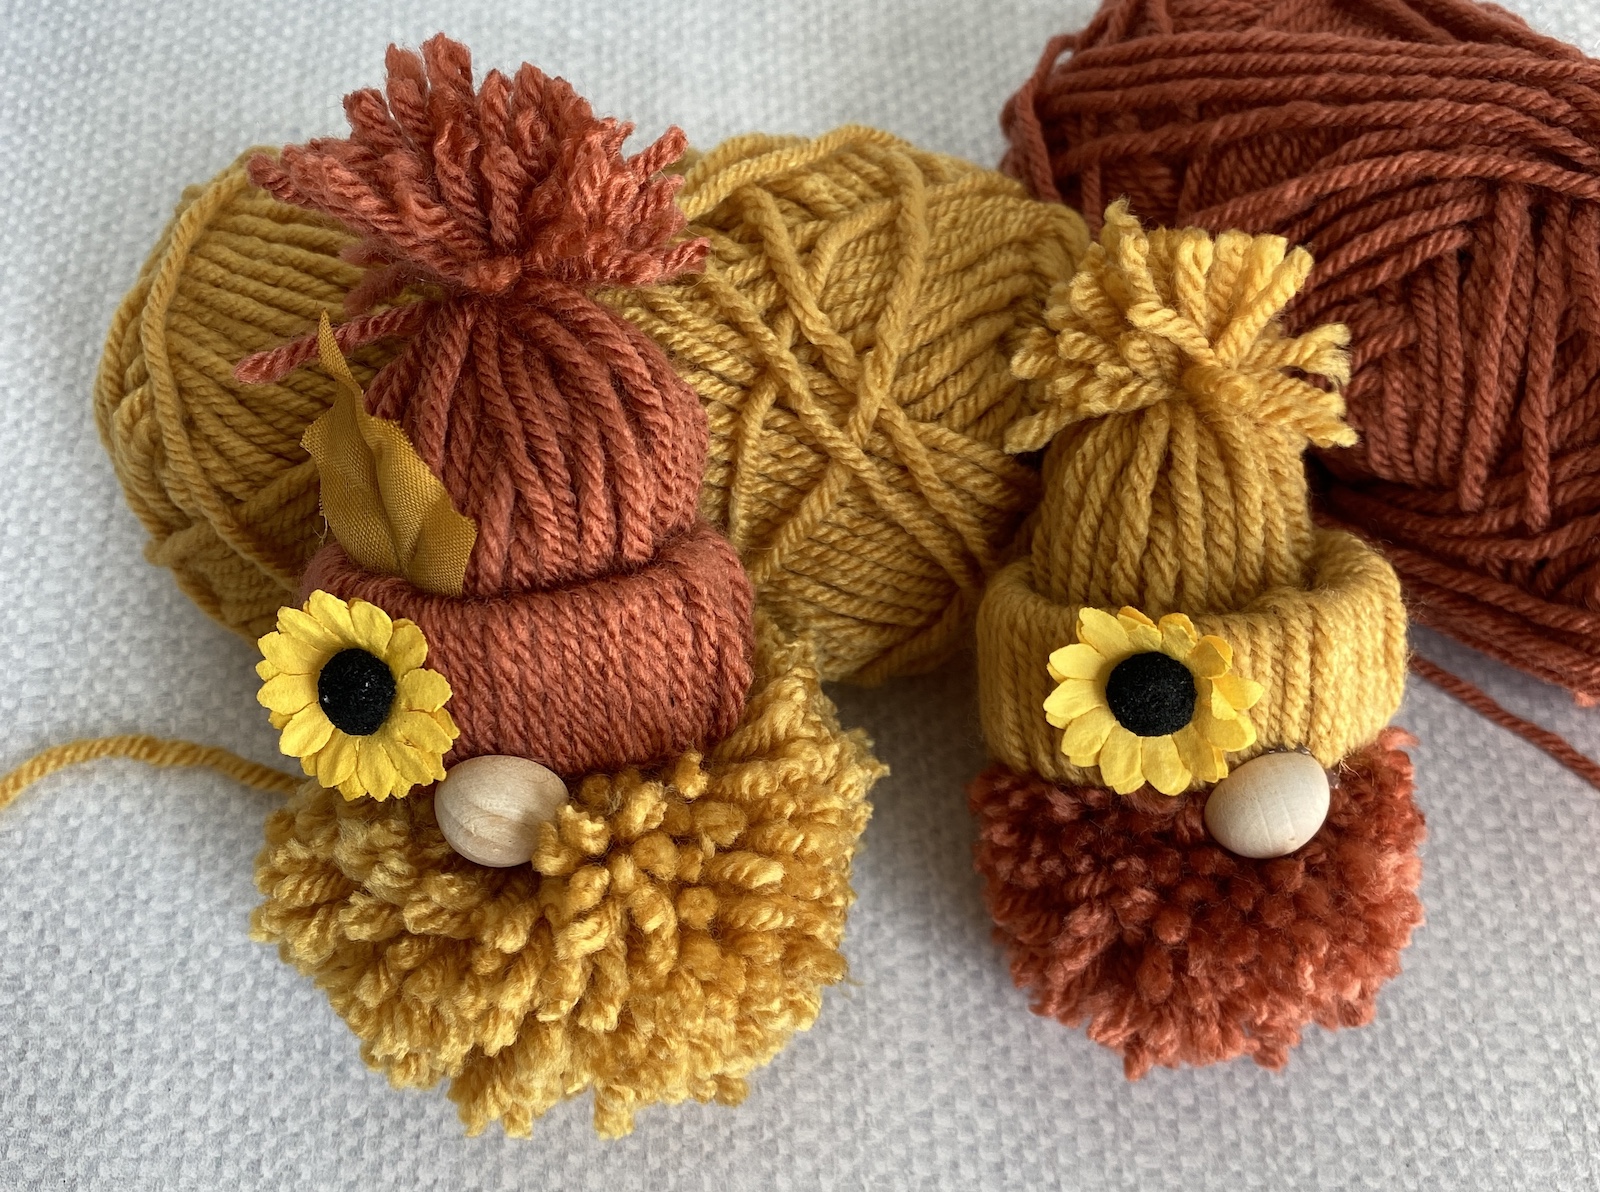
You can make so many adorable gnomes by changing the colors or dressing your gnomes in little gnome costumes that follow a theme. I love to make Easter gnomes, Bee Gnomes, and even Halloween gnomes.
Sock Gnomes are one of my favorites, but I also like to make gnomes with mason jars. Both styles create adorable chunky standalone gnomes.
I like to add snowflakes, bells, and greenery to make cut gnomes for the Christmas holiday season. You can find great seasonal decorations at any dollar store, Hobby Lobby, or local craft store.
Be sure to write on your pattern pieces so you remember what they are for. I just write “gnome ornament hat pattern” or “sock gnome hat pattern”. You can store them will all of your other craft pattern pieces.
Pattern Templates
Here are two pattern templates for you in pdf print files and also SVG files if you’re making a gnome hat with Cricut or Silhouette. They will be delivered to your inbox but please check your spam or promotional folders. The pdf files are printable and the SVG files are to use with your cutting machine.
Get The Felt Gnome Hat Patterns
Please remember to check your spam or promotional folders to find the files.
Happy crafting,
Denise

Gnome hat templates please!
There’s a place to enter your email to have them sent to you. Be sure to check your spam folder. Sometimes they end of there.