
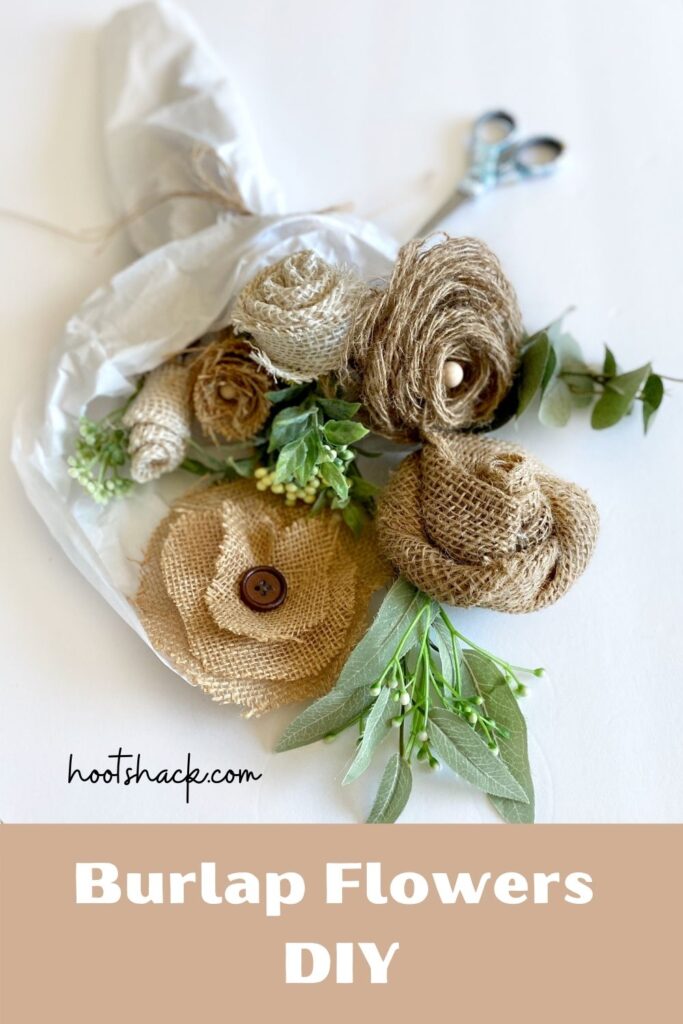
How To Make Burlap Flowers
This post contains affiliate links which means that at no cost to you, I may earn a commission if you purchase using one of my links. For more information view my full disclosures.
~
DIY Burlap flowers are a fun and easy way to add texture to your home decor, decorate gifts, and more. You can make burlap flower bouquets or even use them to decorate jars, flowerpots and so much more. The possibilities are endless!
When learning how to make flowers out of burlap, you first need to choose the style of burlap flowers that you like. I’ve made several different types. I’m including a burlap flower tutorial for each one. Here are several ways to make easy burlap flowers.
DIY Burlap Flowers Supplies List
Here are the supplies and instructions for how to make flowers out of burlap. You can get most of the supplies at your local craft store or places like Hobby Lobby or Michael’s.
- Burlap Ribbon or Burlap Fabric (fabric creates a more rustic flower with raw edges)
- Hot Glue Gun or Fabric Glue (and a little more patience)
- Scissors
- Skewers or Green Flower Stems (optional for some designs)
- Buttons, beads, or other items for centers (optional)
When using hot glue with burlap, wear old leather work gloves to protect your hands. The hot glue will seep through the burlap and burn you.
Please use the manufacturer’s instructions and take every safety precaution when using hot glue. Pressing glue down with the back of a spoon or an old pencil works great. Do not press on hot glue with your fingers.
Instructions
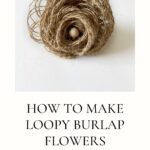
How To Make Burlap Loop Flowers
For these DIY loopy burlap flowers, I start with about 10 – 12″ of burlap ribbon. On one of the ends where the burlap is cut, I start in the center and begin pulling fibers out until I get to about 1/2″ from the edges.
Leave the long side edges intact. I just bunch and hold the opposite end together while pulling fibers from the other end.
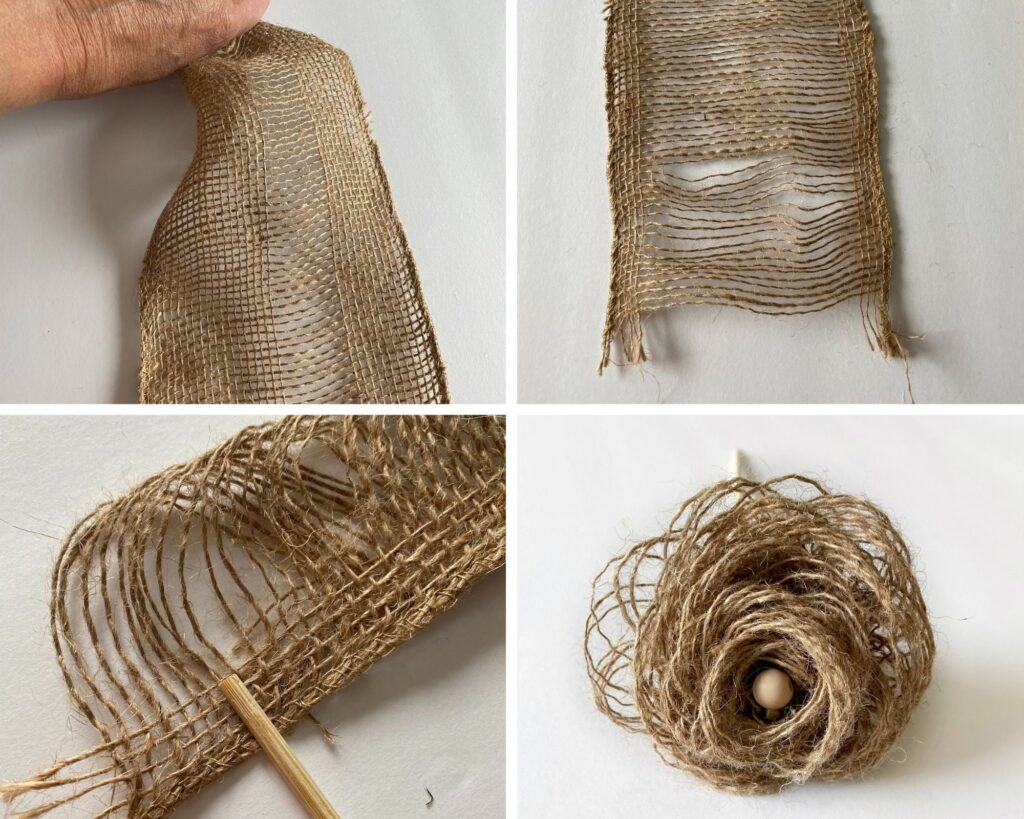
Fold the piece of burlap ribbon in half lengthwise and glue the outer straight edges together (not the loops).
If you want the flower on a stem, next lay the tip of a skewer or flower stem on one end and begin rolling the flower up. Places dots or beads of glue as you go along until you reach the end. Secure the end with glue. Fluff the flower by folding the loopy petals out.
If you’re making a burlap flower bouquet, you may want to glue the stem on last in order to get the flower to point in the direction you want. I wrapped my burlap flower bouquet in tissue so I just glued the skewer directly to the back since it won’t show. You may need to do this with all flower options depending on the use.
Add a decorative button, bead, or another item as a center. To make the flowers thicker or thinner, just use more (or less) burlap ribbon. You can also use a more narrow ribbon to make varying sizes of flowers. These loopy burlap flowers are fun to make. They are also one of the easiest.
How To Make Burlap Roses (Rosettes)
Next, we’ll learn how to make rolled burlap flowers with burlap ribbon or burlap fabric. The ribbon will give you a neater edge and the burlap fabric will give you a more rustic look like the ones in my Rustic Burlap Flower Wreath.
If you only have burlap fabric, you can seal the cut edges by dabbing Mod Podge on the edges and then letting it completely dry before making the flowers. This will help keep the burlap from fraying. Dab it on with a sponge or pouncer brush.
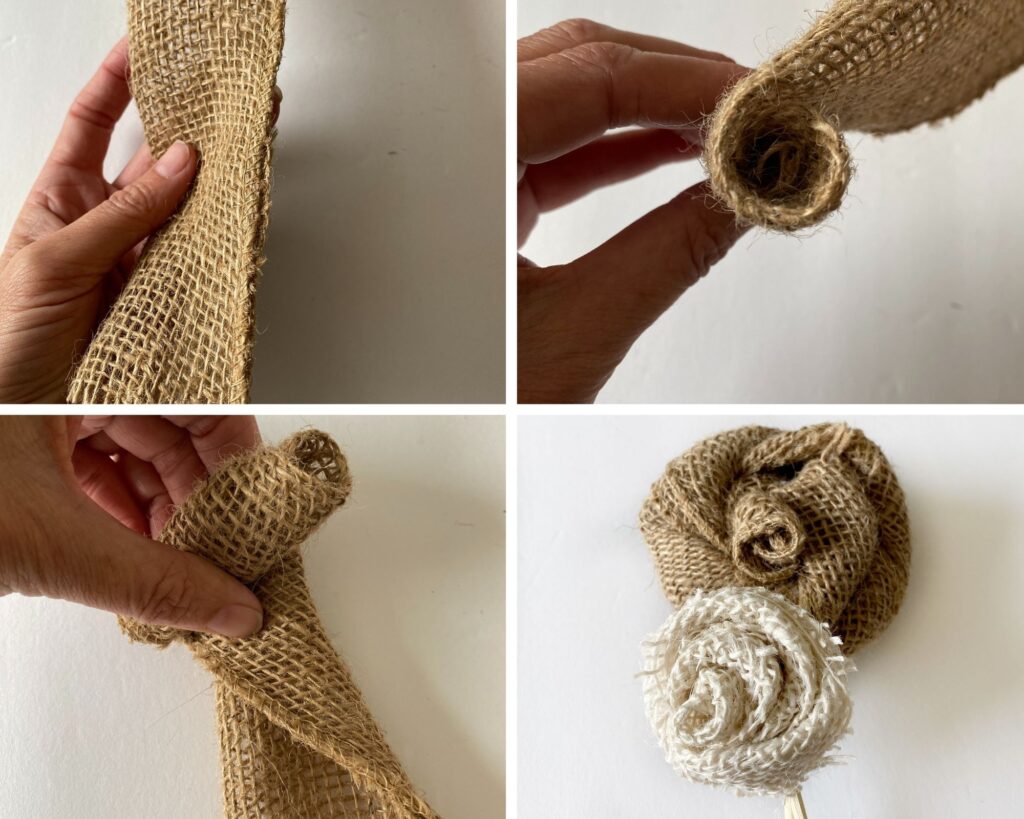
Start by folding the burlap in half and then folding the end over at an angle. Roll it up a bit to create a center. Twist the folded burlap away from you one time and wind around the center you just made.
Twist again and keep repeating until you get the flower to the size you want. Save a couple of inches to glue onto the back at the end or have a circle pre-cut a little smaller than the flower you’re making and glue that circle on the back to hold the entire flower together.
How To Make Rolled Burlap Flowers
For rolled burlap flowers, cut a piece of burlap ribbon into a circle. Cut about an inch into the circle and then just keep cutting the circle into a spiral until you reach the center and leave a larger dot. Refer to the photo above.
Start at the outer edge and roll towards you until you get all the way to the center. If you’re using a stem, glue it first as the photo shows. This makes things very easy for rolling. If you don’t use a stem, it may be a bit harder to roll the flower tightly.
If you have reverse tweezers, they work great for this. You could probably add a very small dot of glue to a stick and roll the flower and then pull the stick out when you’re done. Again, this is if you don’t want the stem.
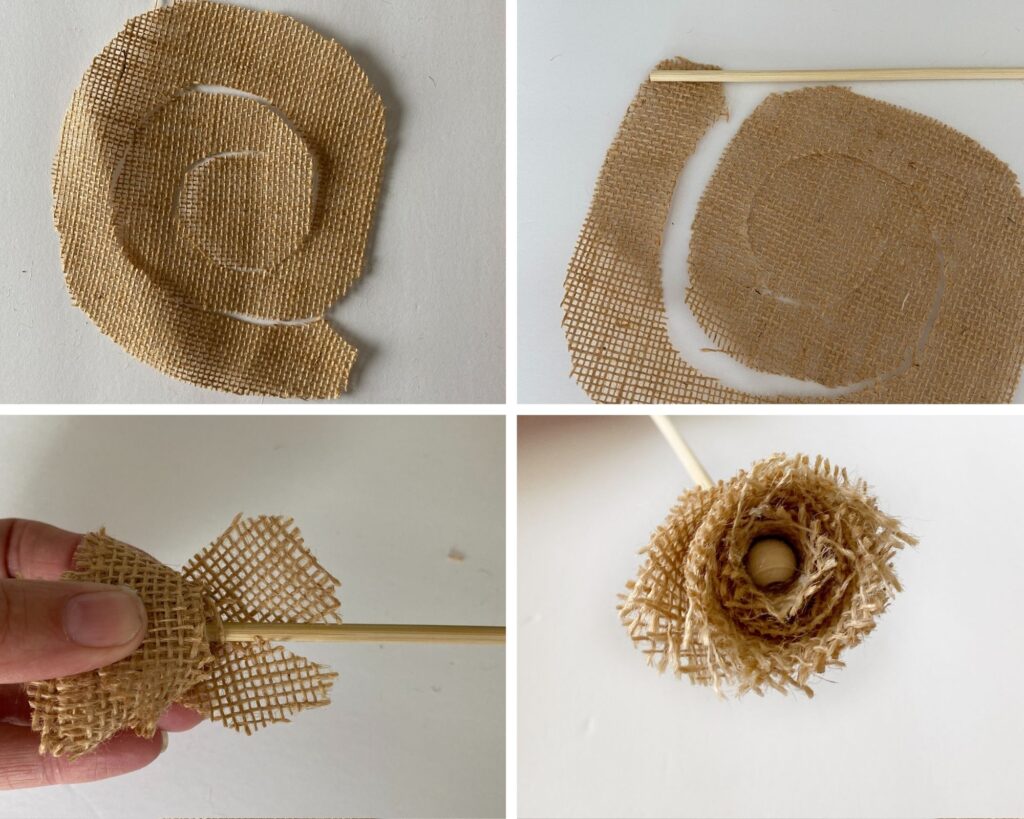
Use the larger dot that was in the center to fold over the bottom of the burlap flower and glue it in place. if you’re using a stem, slit the dot and glue each side around the stick.
Burlap Flower Rosettes – Burlap Flower Rose DIY
When learning how to make burlap flower rosettes, I used to cut a stencil that I found online but I found I like to just cut freeform instead. I love making these DIY burlap roses for wreaths and to decorate jars or picture frames.
You can see in the picture above with the rosette with the button in the center, I just cut three shapes free-form.
Cut each additional layer a bit smaller and use a button or other item for the center. I crinkled the burlap up a bit before gluing each piece so it wouldn’t lay completely flat.
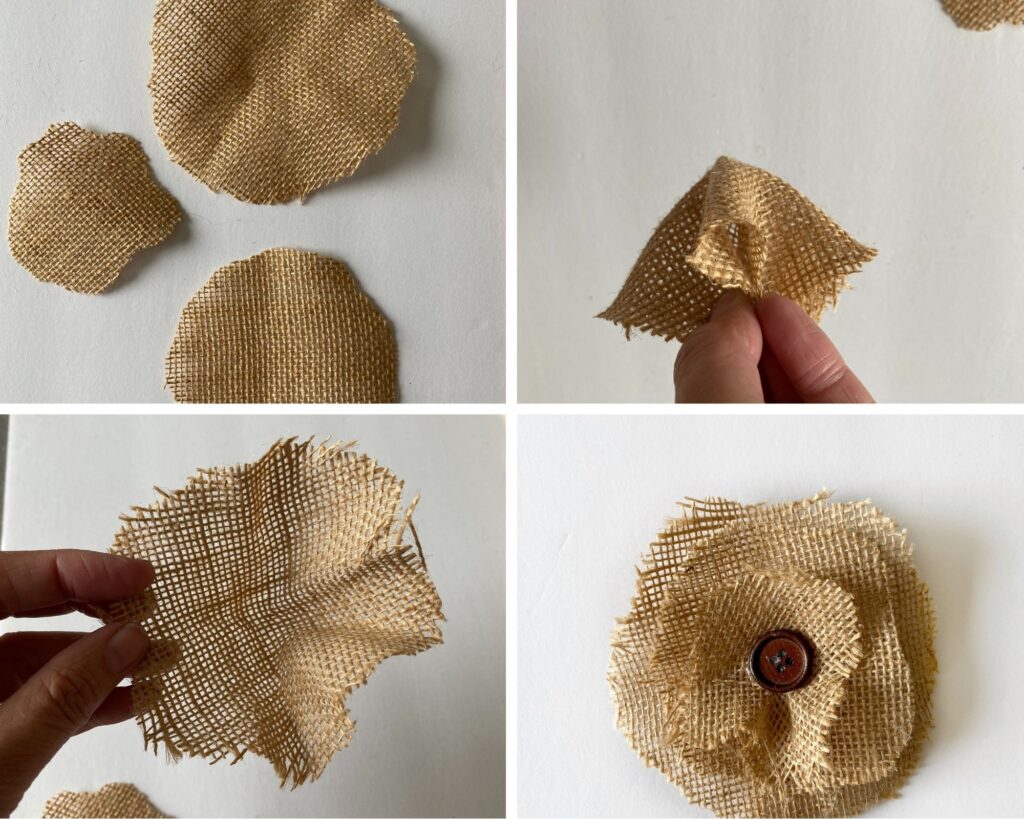
Start with three different-sized circles (or more) and then cut a wavy edge to each circle. Only put a dot of glue in the center of each layer. Glue a button or other item if you’d like.
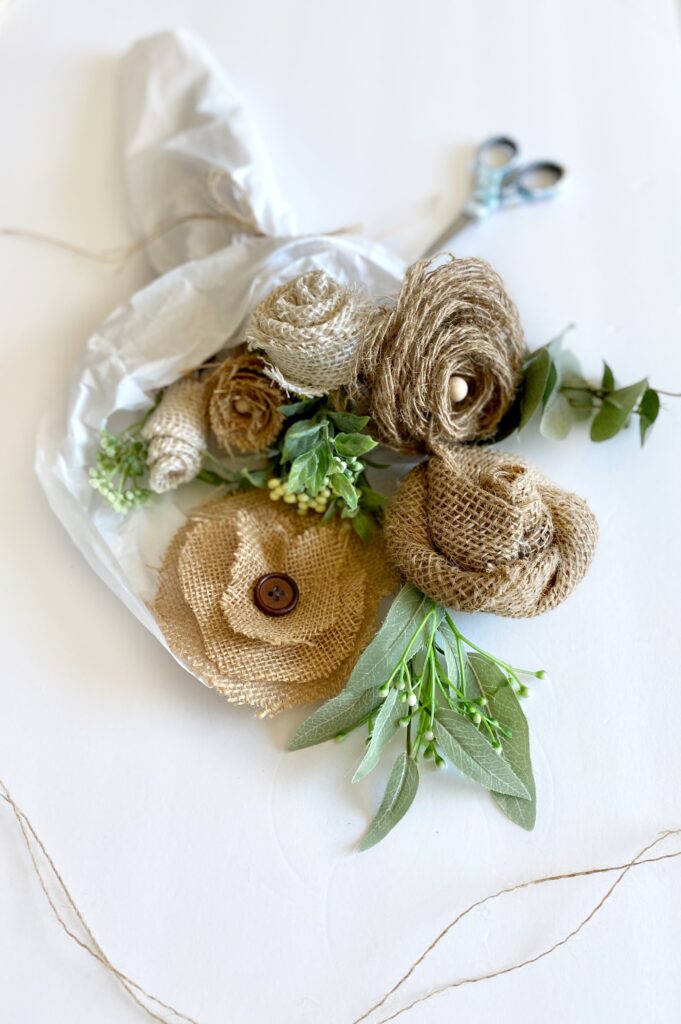
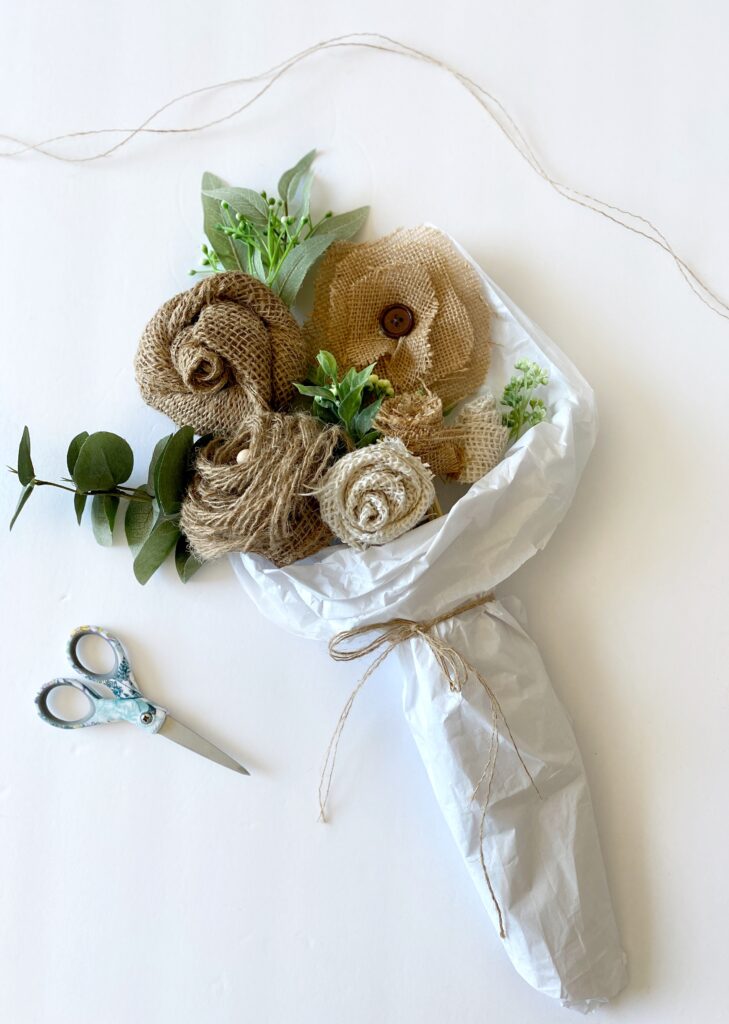
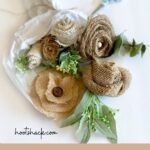
How To Make A Burlap Flower Bouquet
Making a burlap floral bouquet is easy now that you have three different styles of flowers. Make a few of each style and add a stem to each one as you make them.
I’ve used skewers as stems and hid them with some plain white tissue and a bit of twine for a simple burlap bouquet.
Add some greenery or other flowers if you’d like and add them to a vase or roll them in tissue for gift giving.
Other Things To Do With Your Burlap Flowers:
- Glue them to the front of mason jars
- Add them to stenciled wood signs
- Use them on handmade pillows
- Decorate a ring pillow or wedding signs
- Make a shadow box
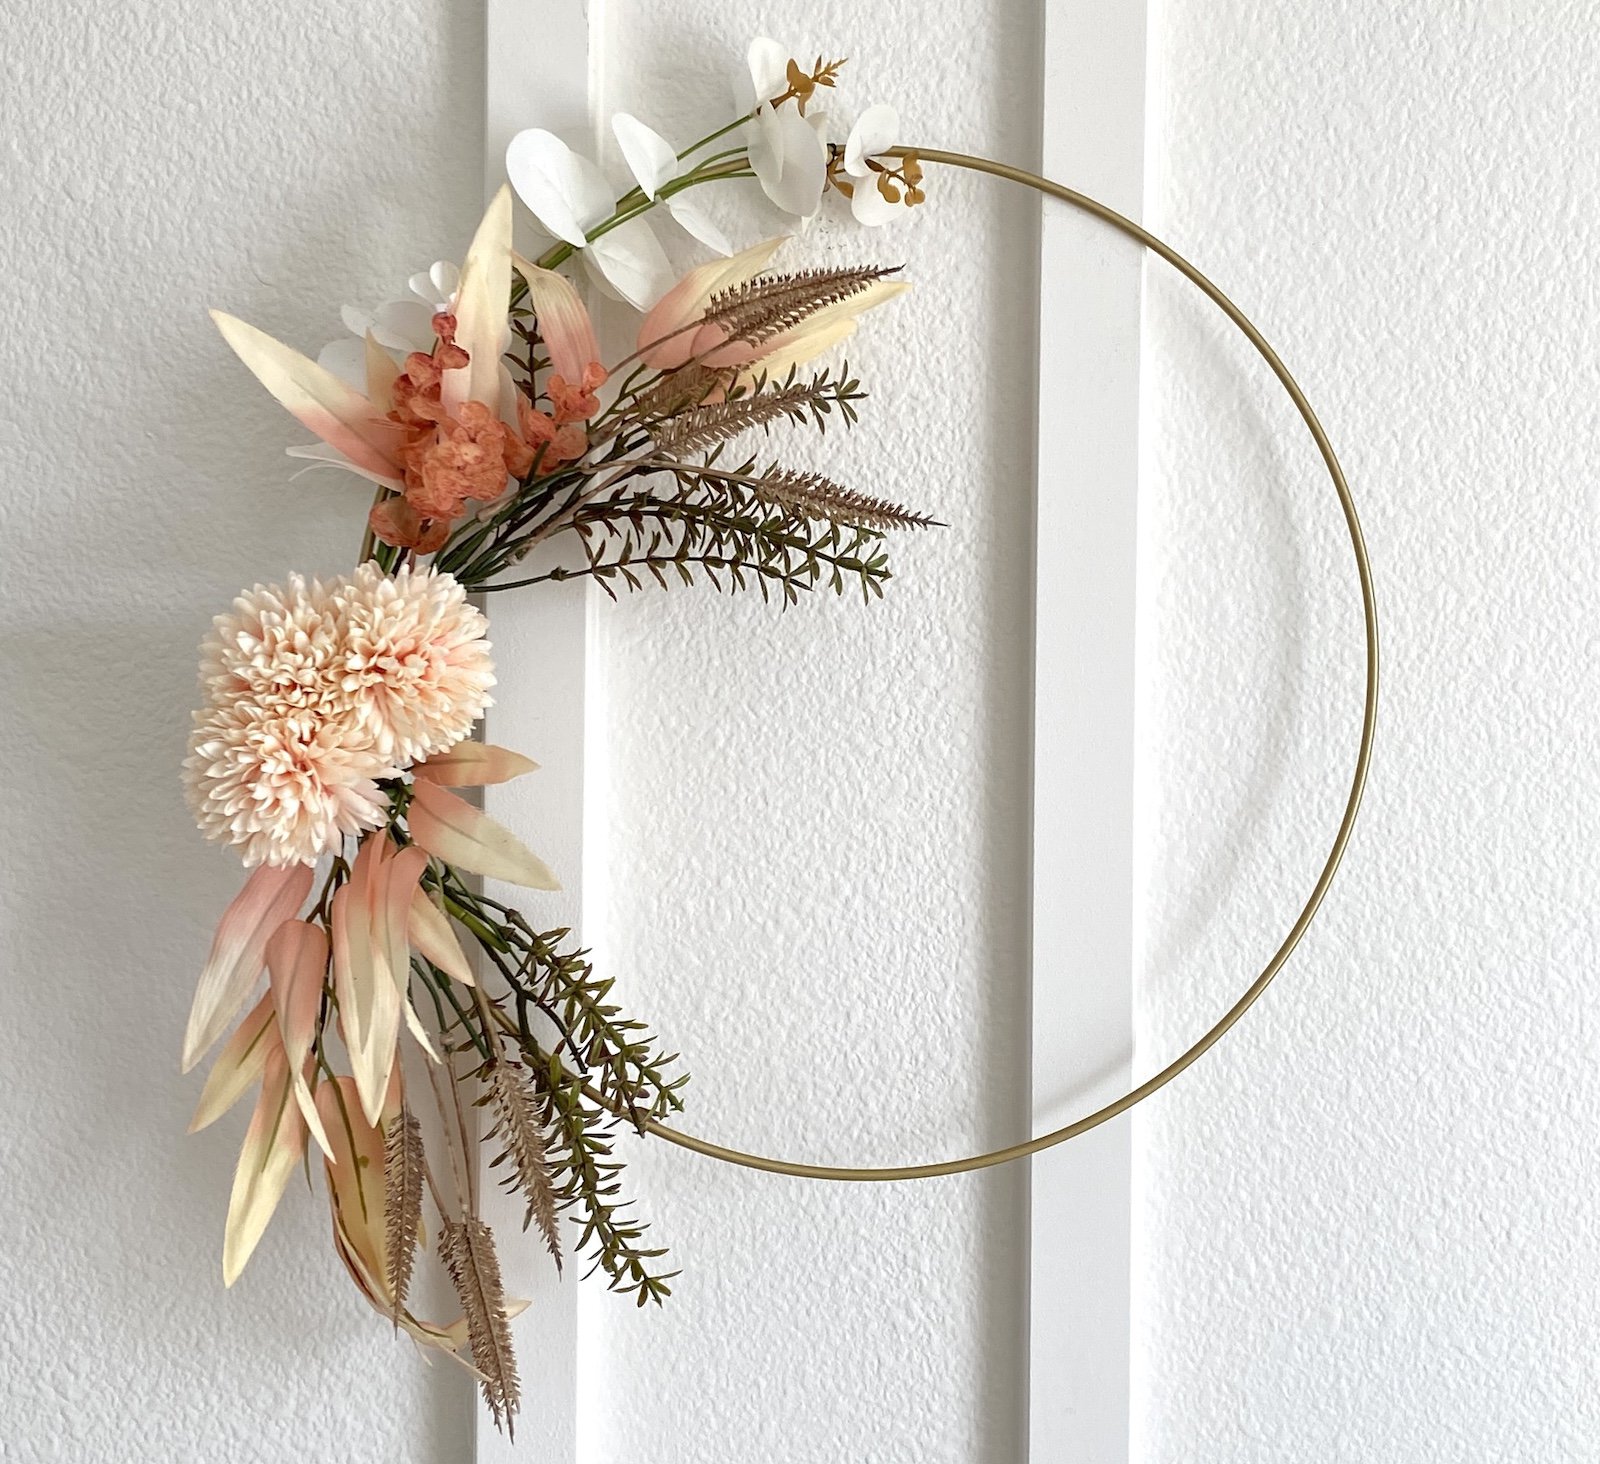
- Make a wreath
Please let me know if any methods of making burlap flowers need further explanation. I’d be happy to update the post if something is unclear.
Since I already know you love burlap, be sure to look at a couple more posts before you go. I’ve got some super easy burlap bows and also cute Christmas trees in two styles!
xoxo,
Denise
These are so cute. Thank you for your great ideas.