DIY Wood Bead Wreath
This post contains affiliate links which means that at no cost to you, I may earn a commission if you purchase using one of my links. For more information view my full disclosures.
~
A DIY wood bead wreath is so simple and elegant. I love the minimalist wreath look and it can be decorated for any season. You’ll love adding these easy wreaths to your home decor.
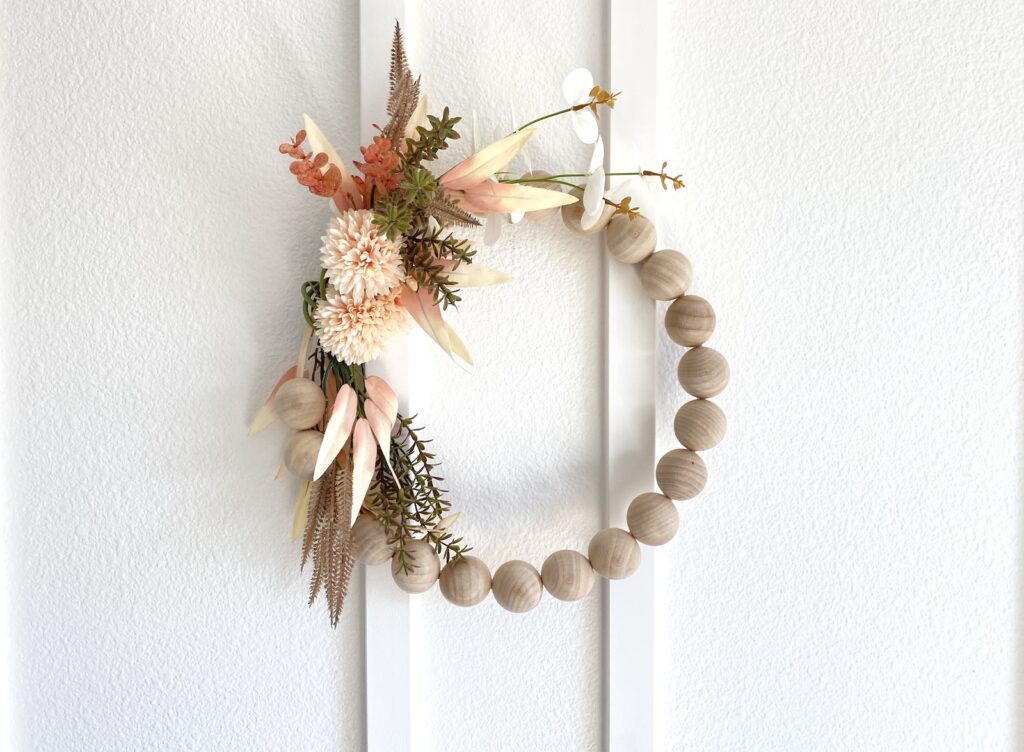
I love the simple and classic feel of a wood bead wreath DIY. The best part is you can create different styles by changing out the decorations.
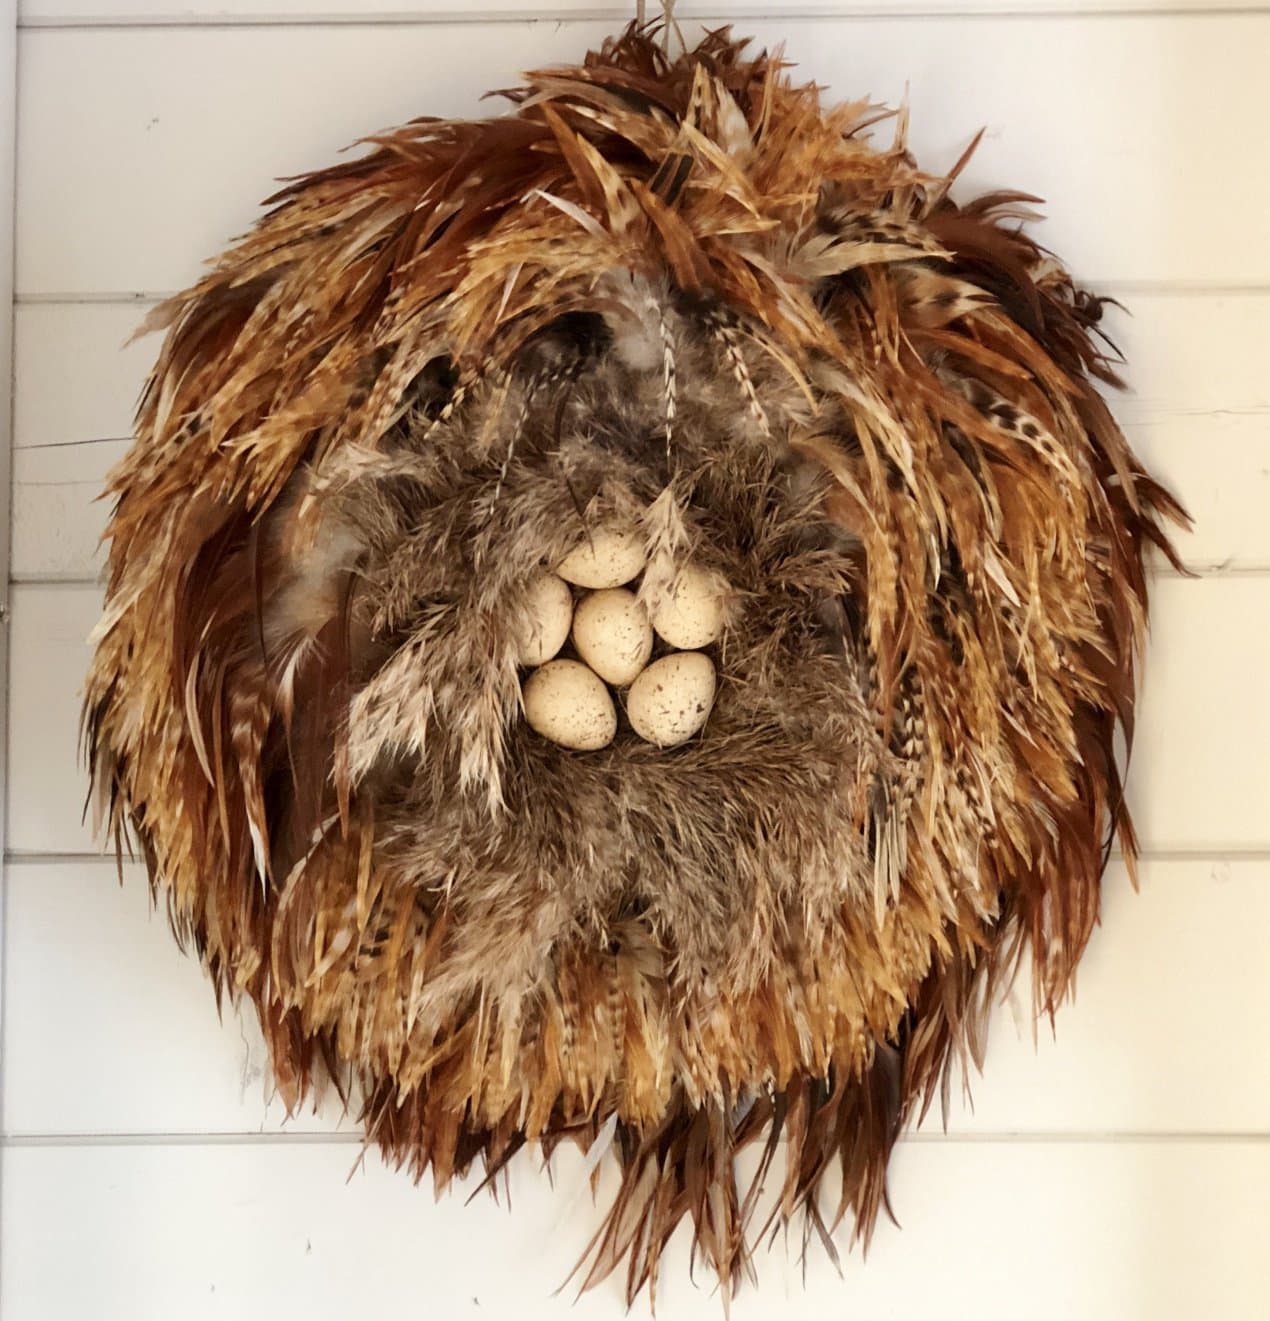
Choose light and airy faux florals for Spring and change things up with deep, autumn hues to create a wood bead Fall wreath.
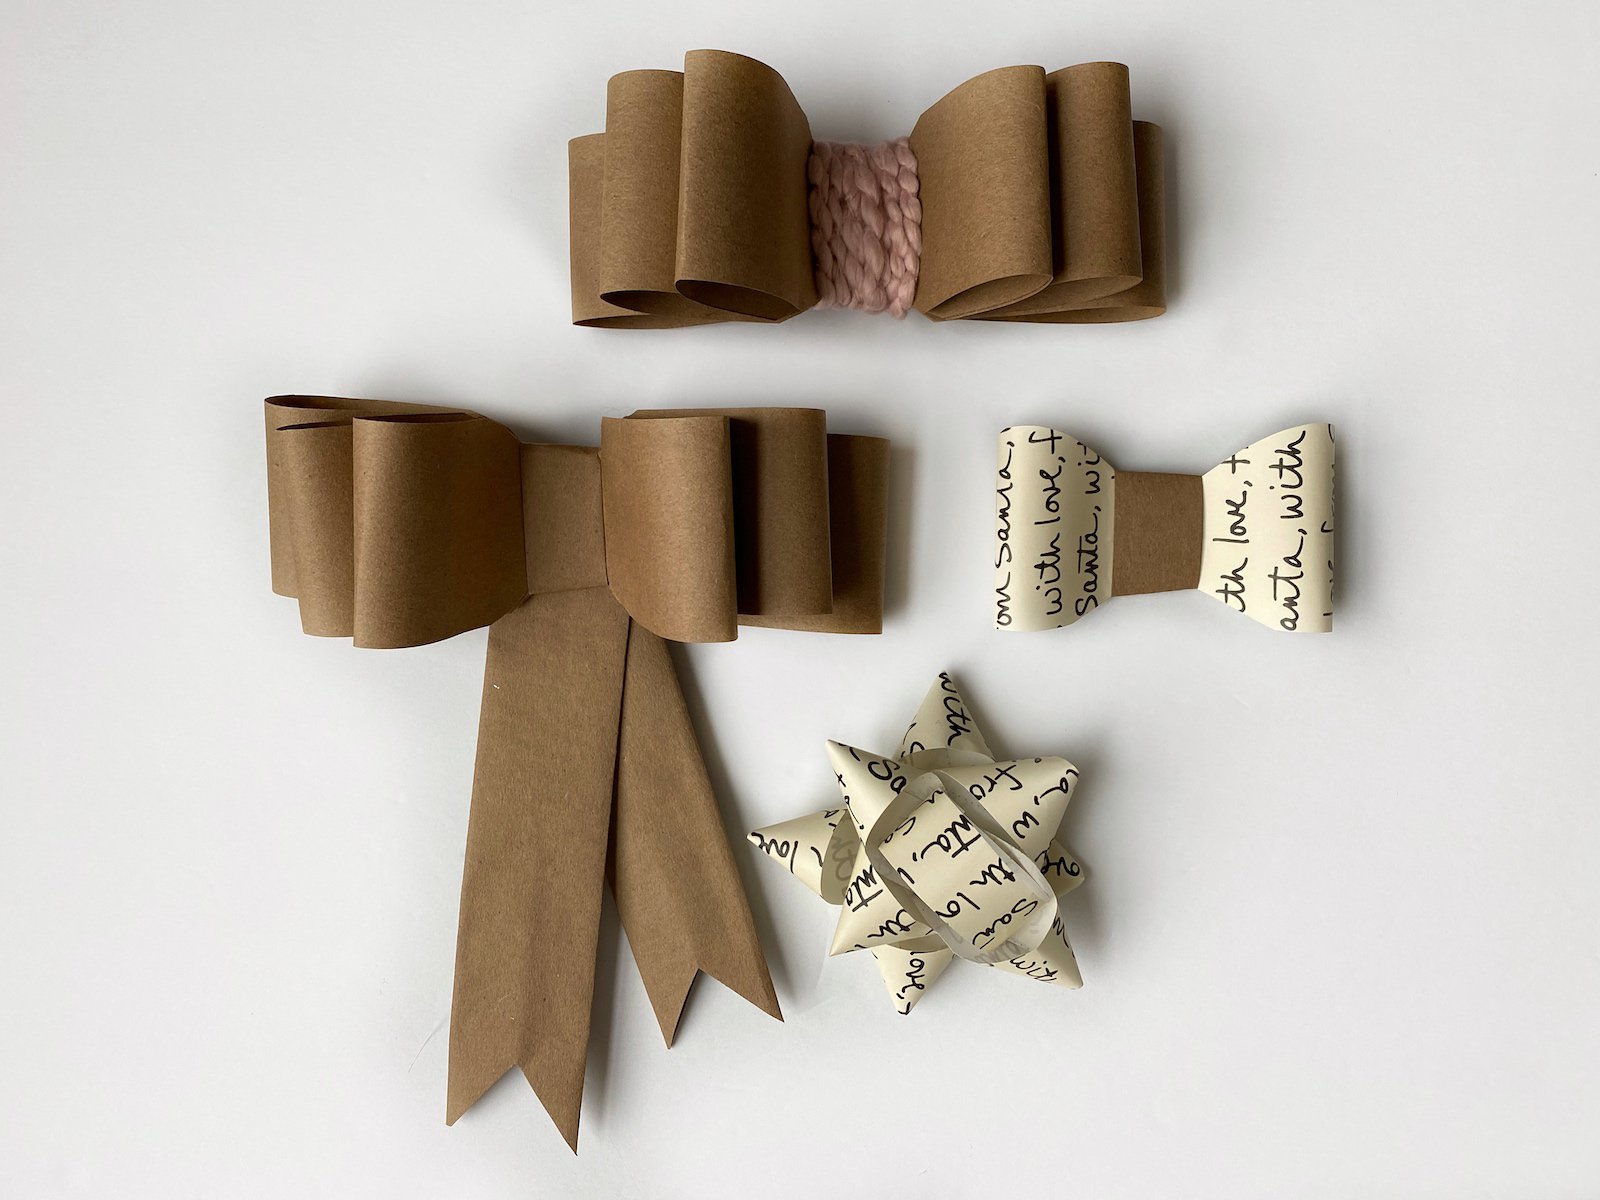
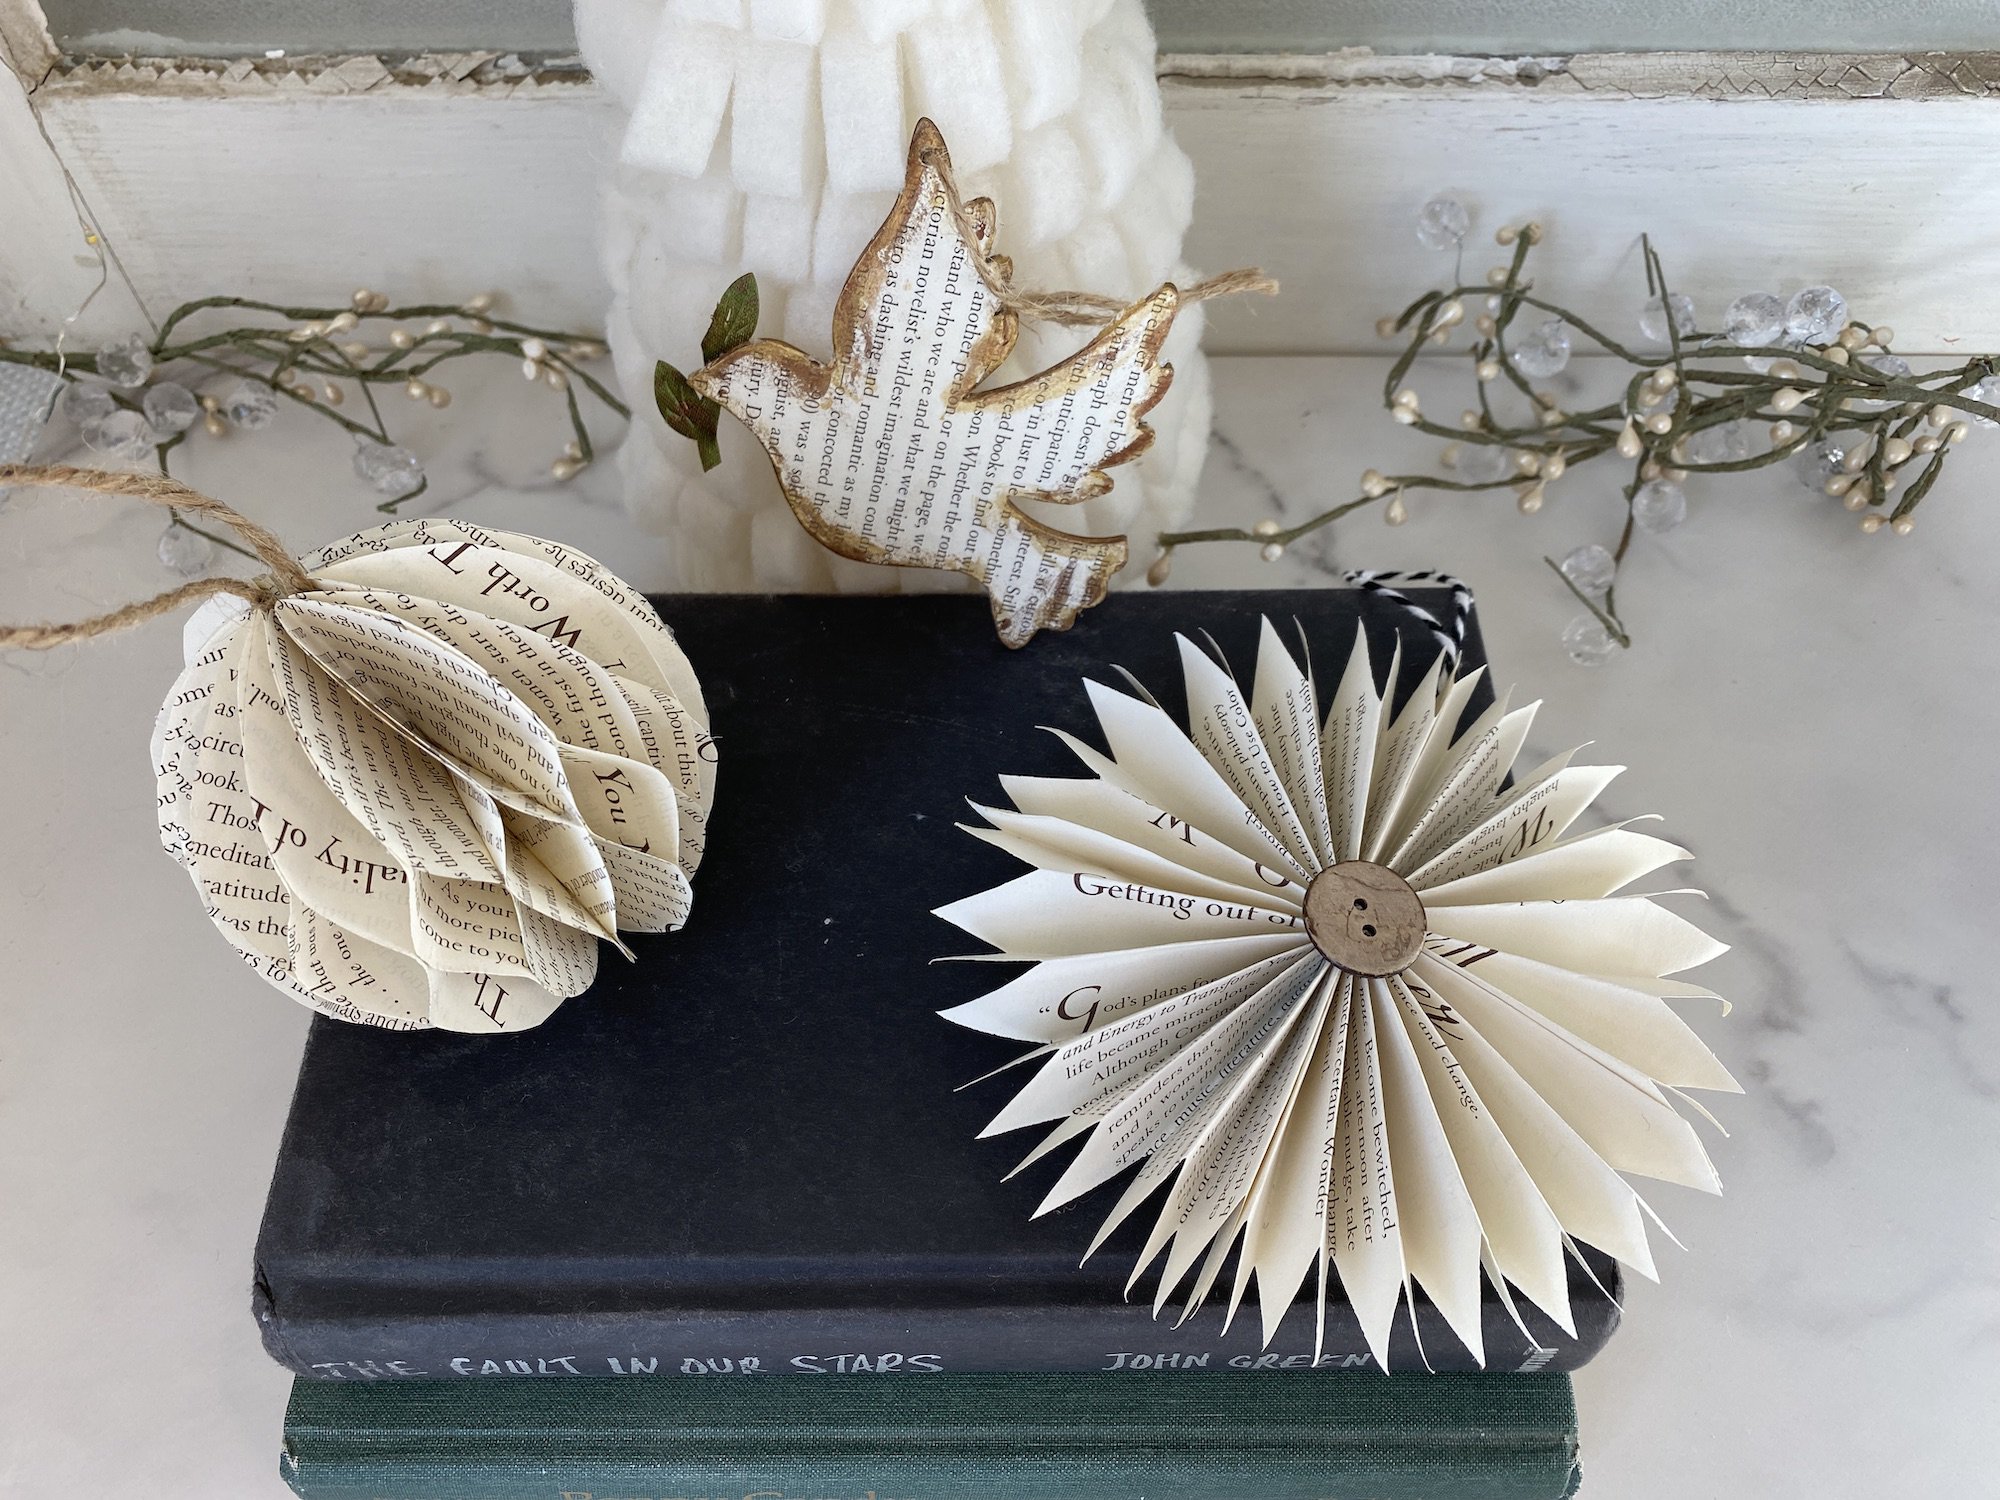
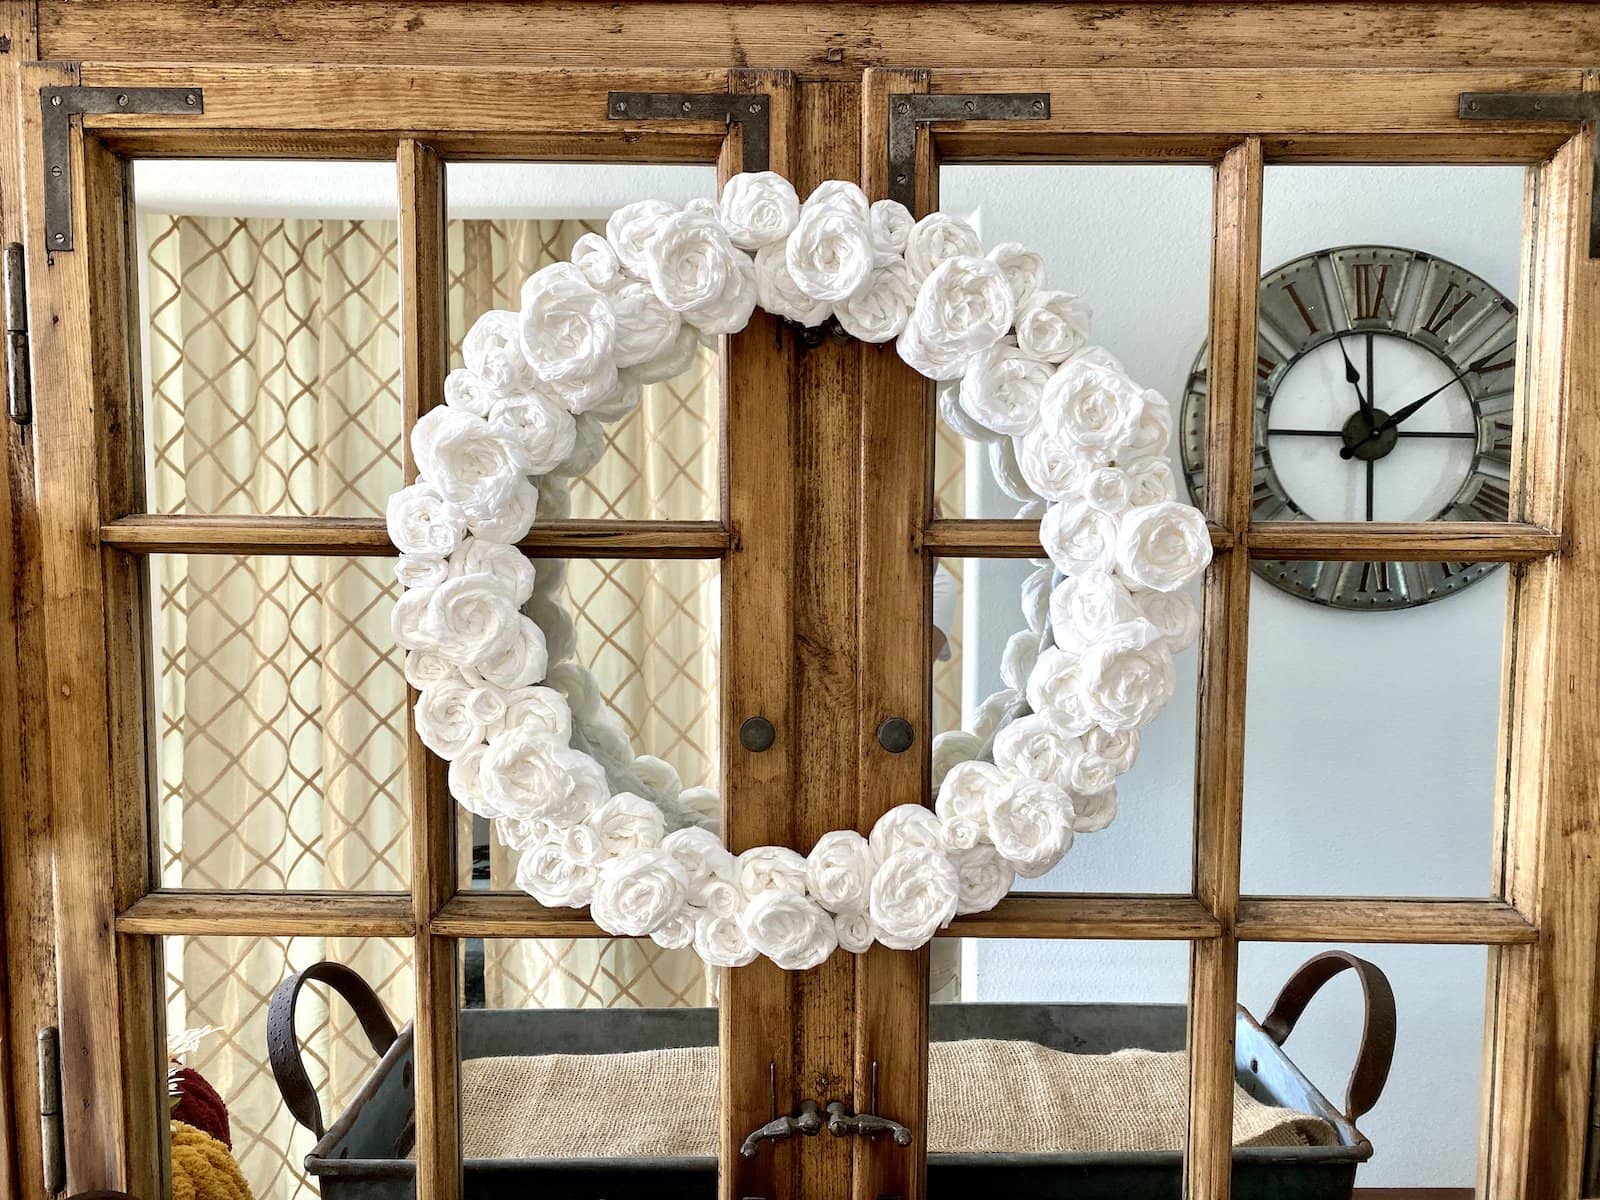
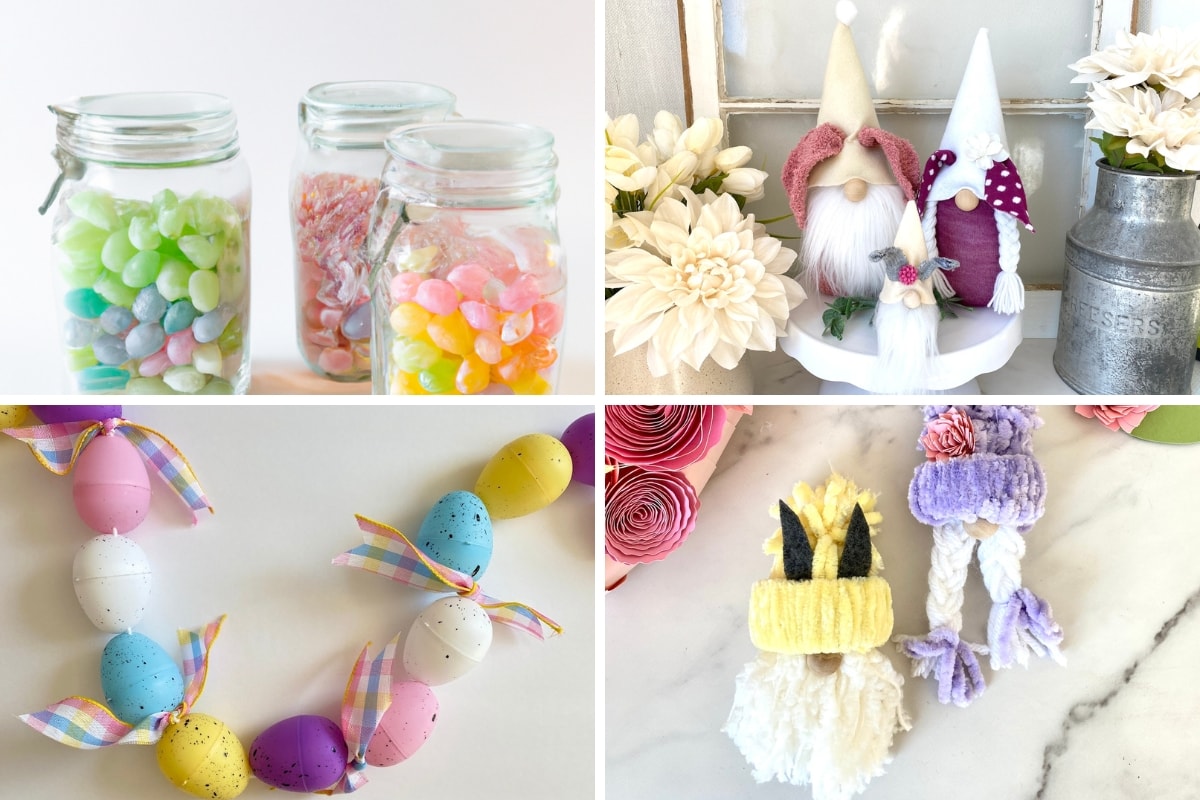
If you love making wreaths, be sure to check out my latest Paper Leaf Wreath DIY and also this Felt Flower Wreath. They can both also be changed for any season!
Supplies For the DIY Wood Bead Wreath
Amazon has some very pretty ready-made wreaths that I stumbled on. You may want to take a look at their wood bead wreaths for additional inspiration.
- Split wood beads (or make your life easier with premade a wooden bead hoop wreath!)
- Embroidery Hoop
- Hot glue gun
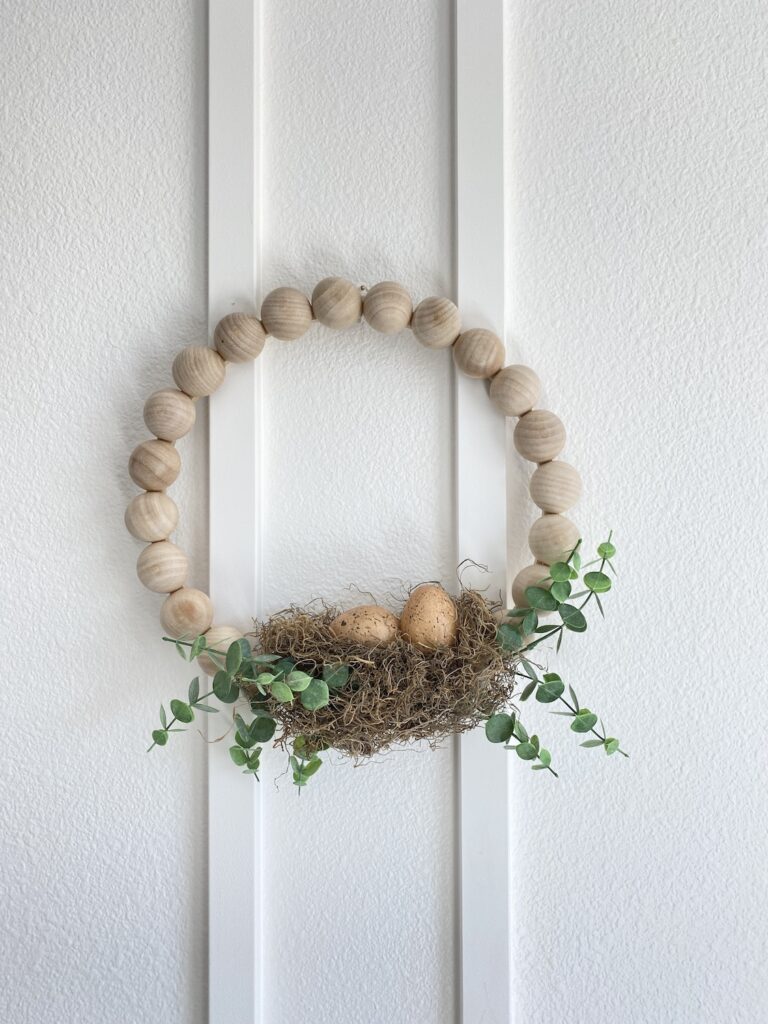
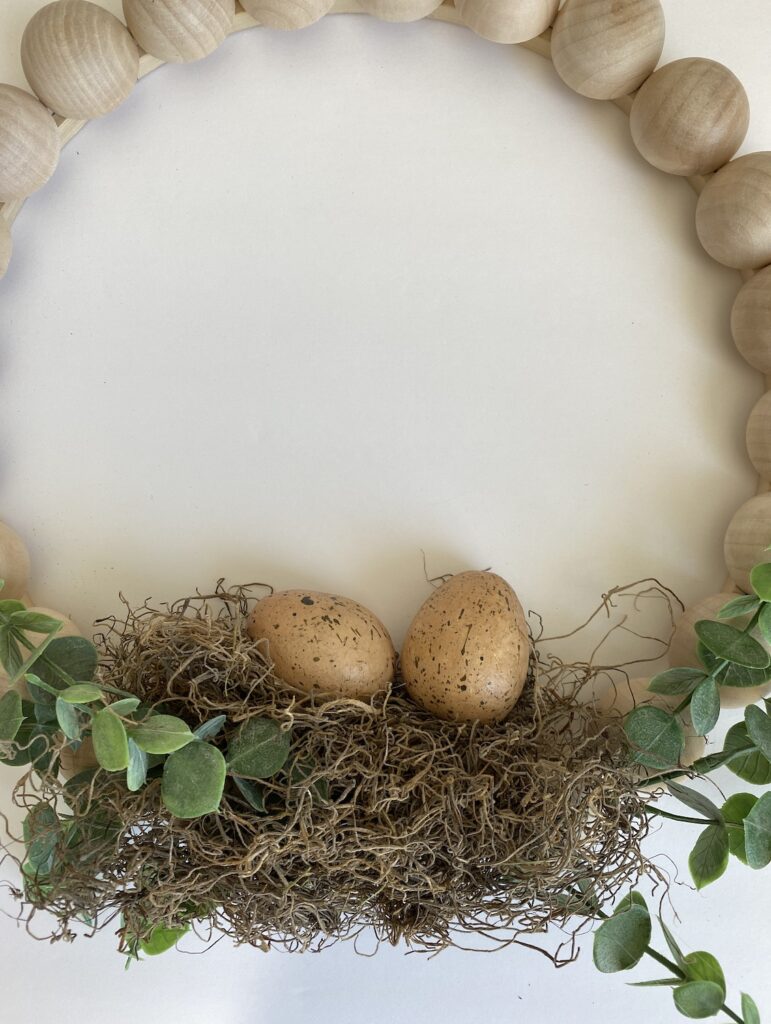
- Seasonal items like faux eggs or silk flowers
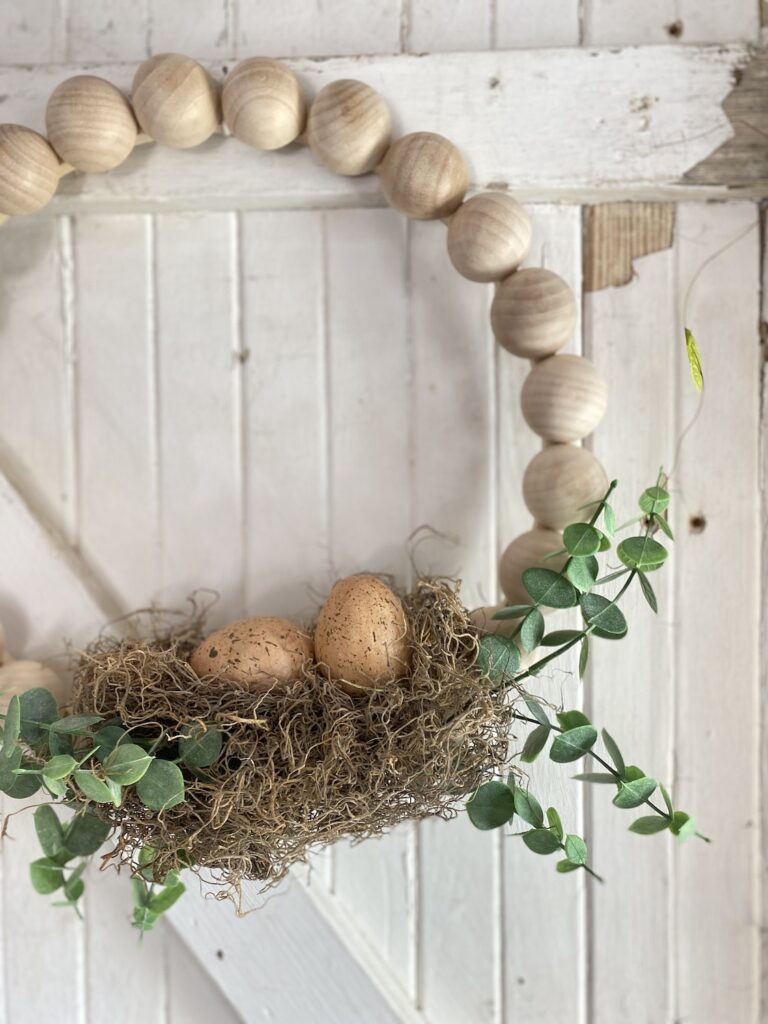
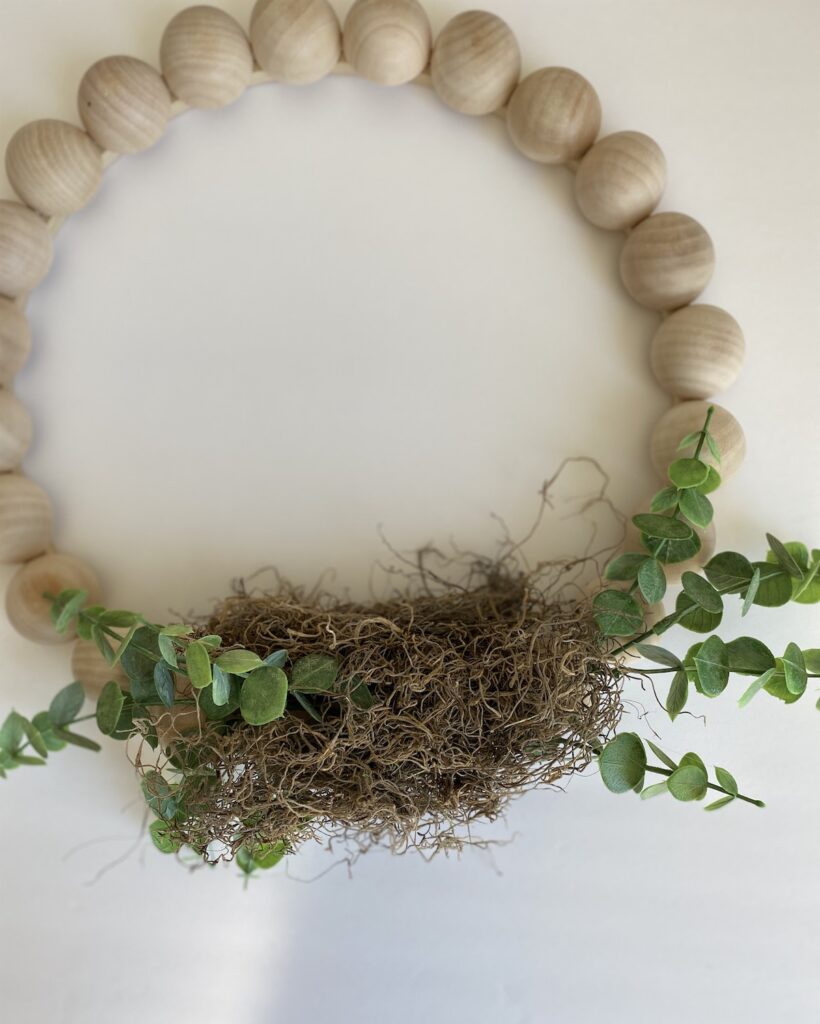
- Spanish moss
- Floral wire
- Sawtooth Hanger or ribbon
If you already bought wood beads and you bought the round ones with the hole, don’t attempt to cut them in half. They do make round-wire wreath frames that could work for you. I’ve seen others use them successfully. You may also be able to shape a coat hanger or thick wire.
How To Make A Wooden Bead Wreath Tutorial
There are quite a few notes that are important to read below these numbered step-by-step instructions.
- Position the embroidery hoop so that the clasp is at the top in the center. This can be used to hang the wreath with ribbon if you’d like.
- Decide where you want your flowers and envision a gap of about 3 inches. If you have the premade wreath, don’t worry about this. I just found it easier to attach flowers when there is a gap.
- Start at one side of the gap and glue your beads all the way around in one direction. The beads won’t always be perfect in the end. Even if you don’t want a gap, you may end up with one anyway. That’s why it’s important to decide where you’ll want one. I hope that makes sense.
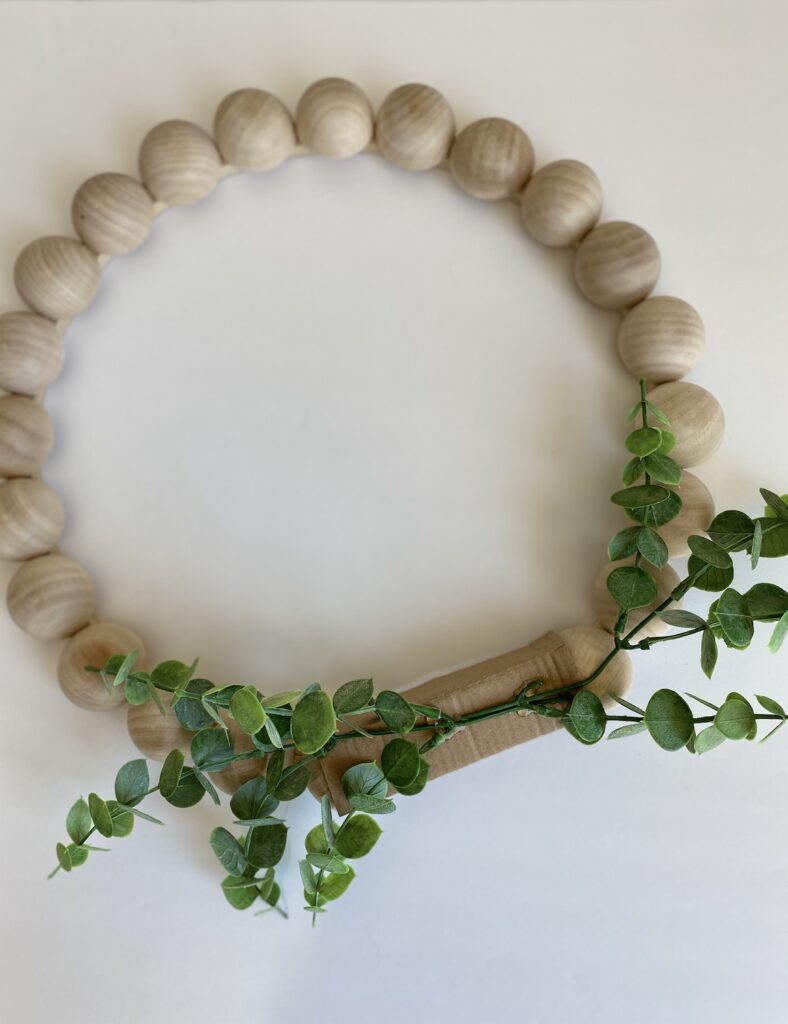
- Arrange your flowers and attach them to the wreath with florist wire. I have another trick that I’ll explain below.
Gluing the Split Wood Beads
I found it easiest to lay the hoop on a towel so it doesn’t slip around. Place a bead of glue on the hoop itself then press the bead in place.
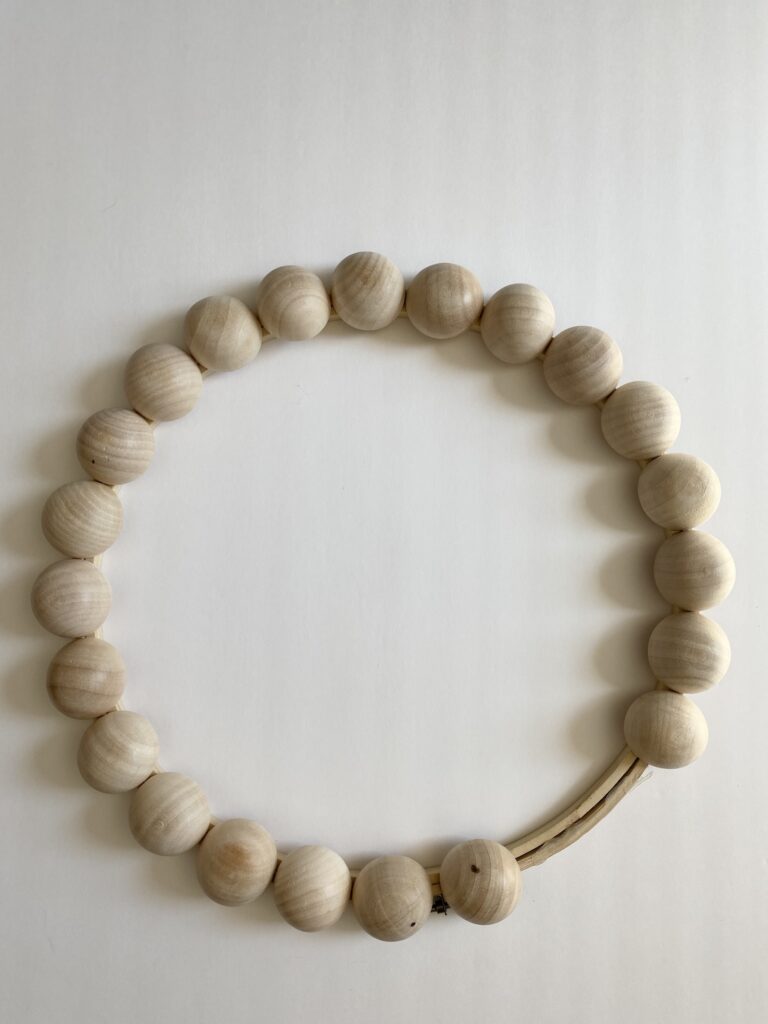
If you try to glue too many beads at once, the glue starts to dry too soon. Just glue one at a time. Pay attention to both sides of the bead to be sure it’s centered on the hoop.
Hold each bead in place for a few seconds so it sticks really well. If you let go too soon and start gluing the next bead, you can knock the first one off. Take your time here.
Once I had all of the beads attached, I flipped the wreath over and secured the edges of each bead to the frame with more glue to make them more stable.
I found that putting beads all the way around the wreath made it challenging to attach the seasonal items to the wreath so I left a gap at the bottom to make it easier.
When you start gluing the beads, start at the gap and glue continuously all the way around. Don’t put one bead on one side and then the other or you could end up with an additional gap.
Attaching Flowers And Decorations
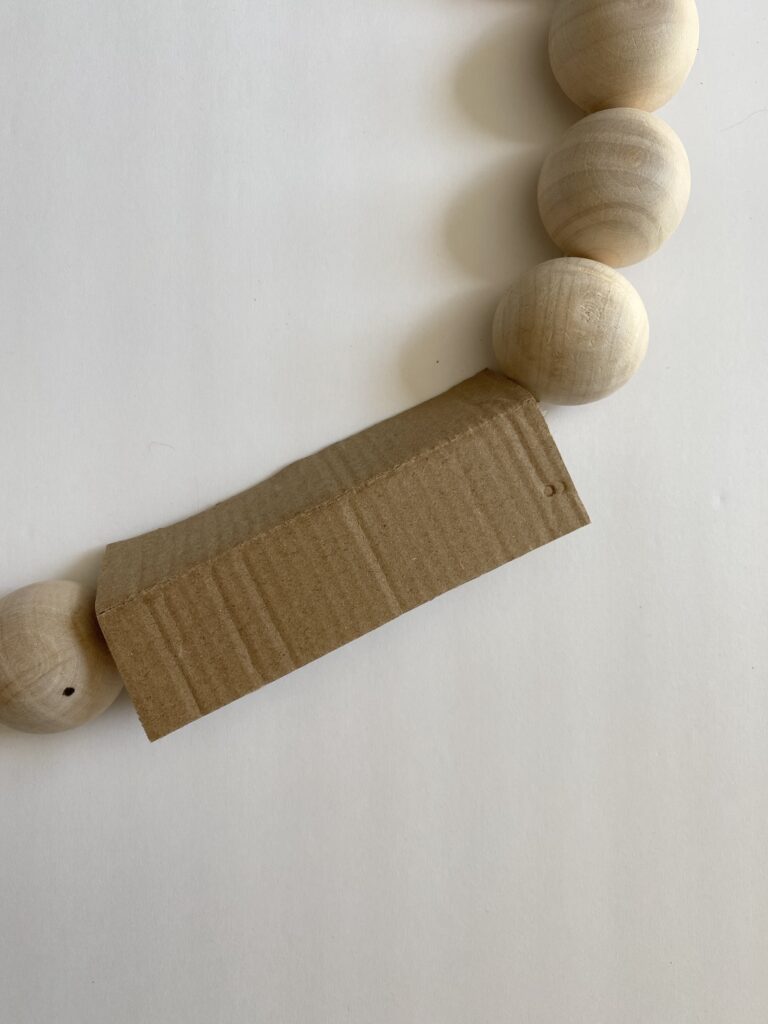
This is my secret weapon for making this wreath seasonal! I cut a small piece of cardboard and attached it to the beads with small dots of hot glue. I glue flowers and decorations to the cardboard. This makes it easy to change out florals for each season.
How To Get A Hoop Wreath To Hang Even
You can hang your wreath from ribbon if you’d like. If you like a minimalist split bead wreath, glue a sawtooth hanger to the back and use it for hanging. I like having the hanger attached so I can change up how I hang it for each season.
If you find that your decorations are heavy, it can cause the hoop to hang lop-sided. You may need to use two small sawtooth hangers to get it to hang even. Instead of putting them in the center, put one on each side of the top about 2 -3 inches from the center.
Happy crafting,
Denise