Paper Wreaths DIY: Free Leaf Template Printable and SVG
This post contains affiliate links which means that at no cost to you, I may earn a commission if you purchase using one of my links. For more information view my full disclosures.
~
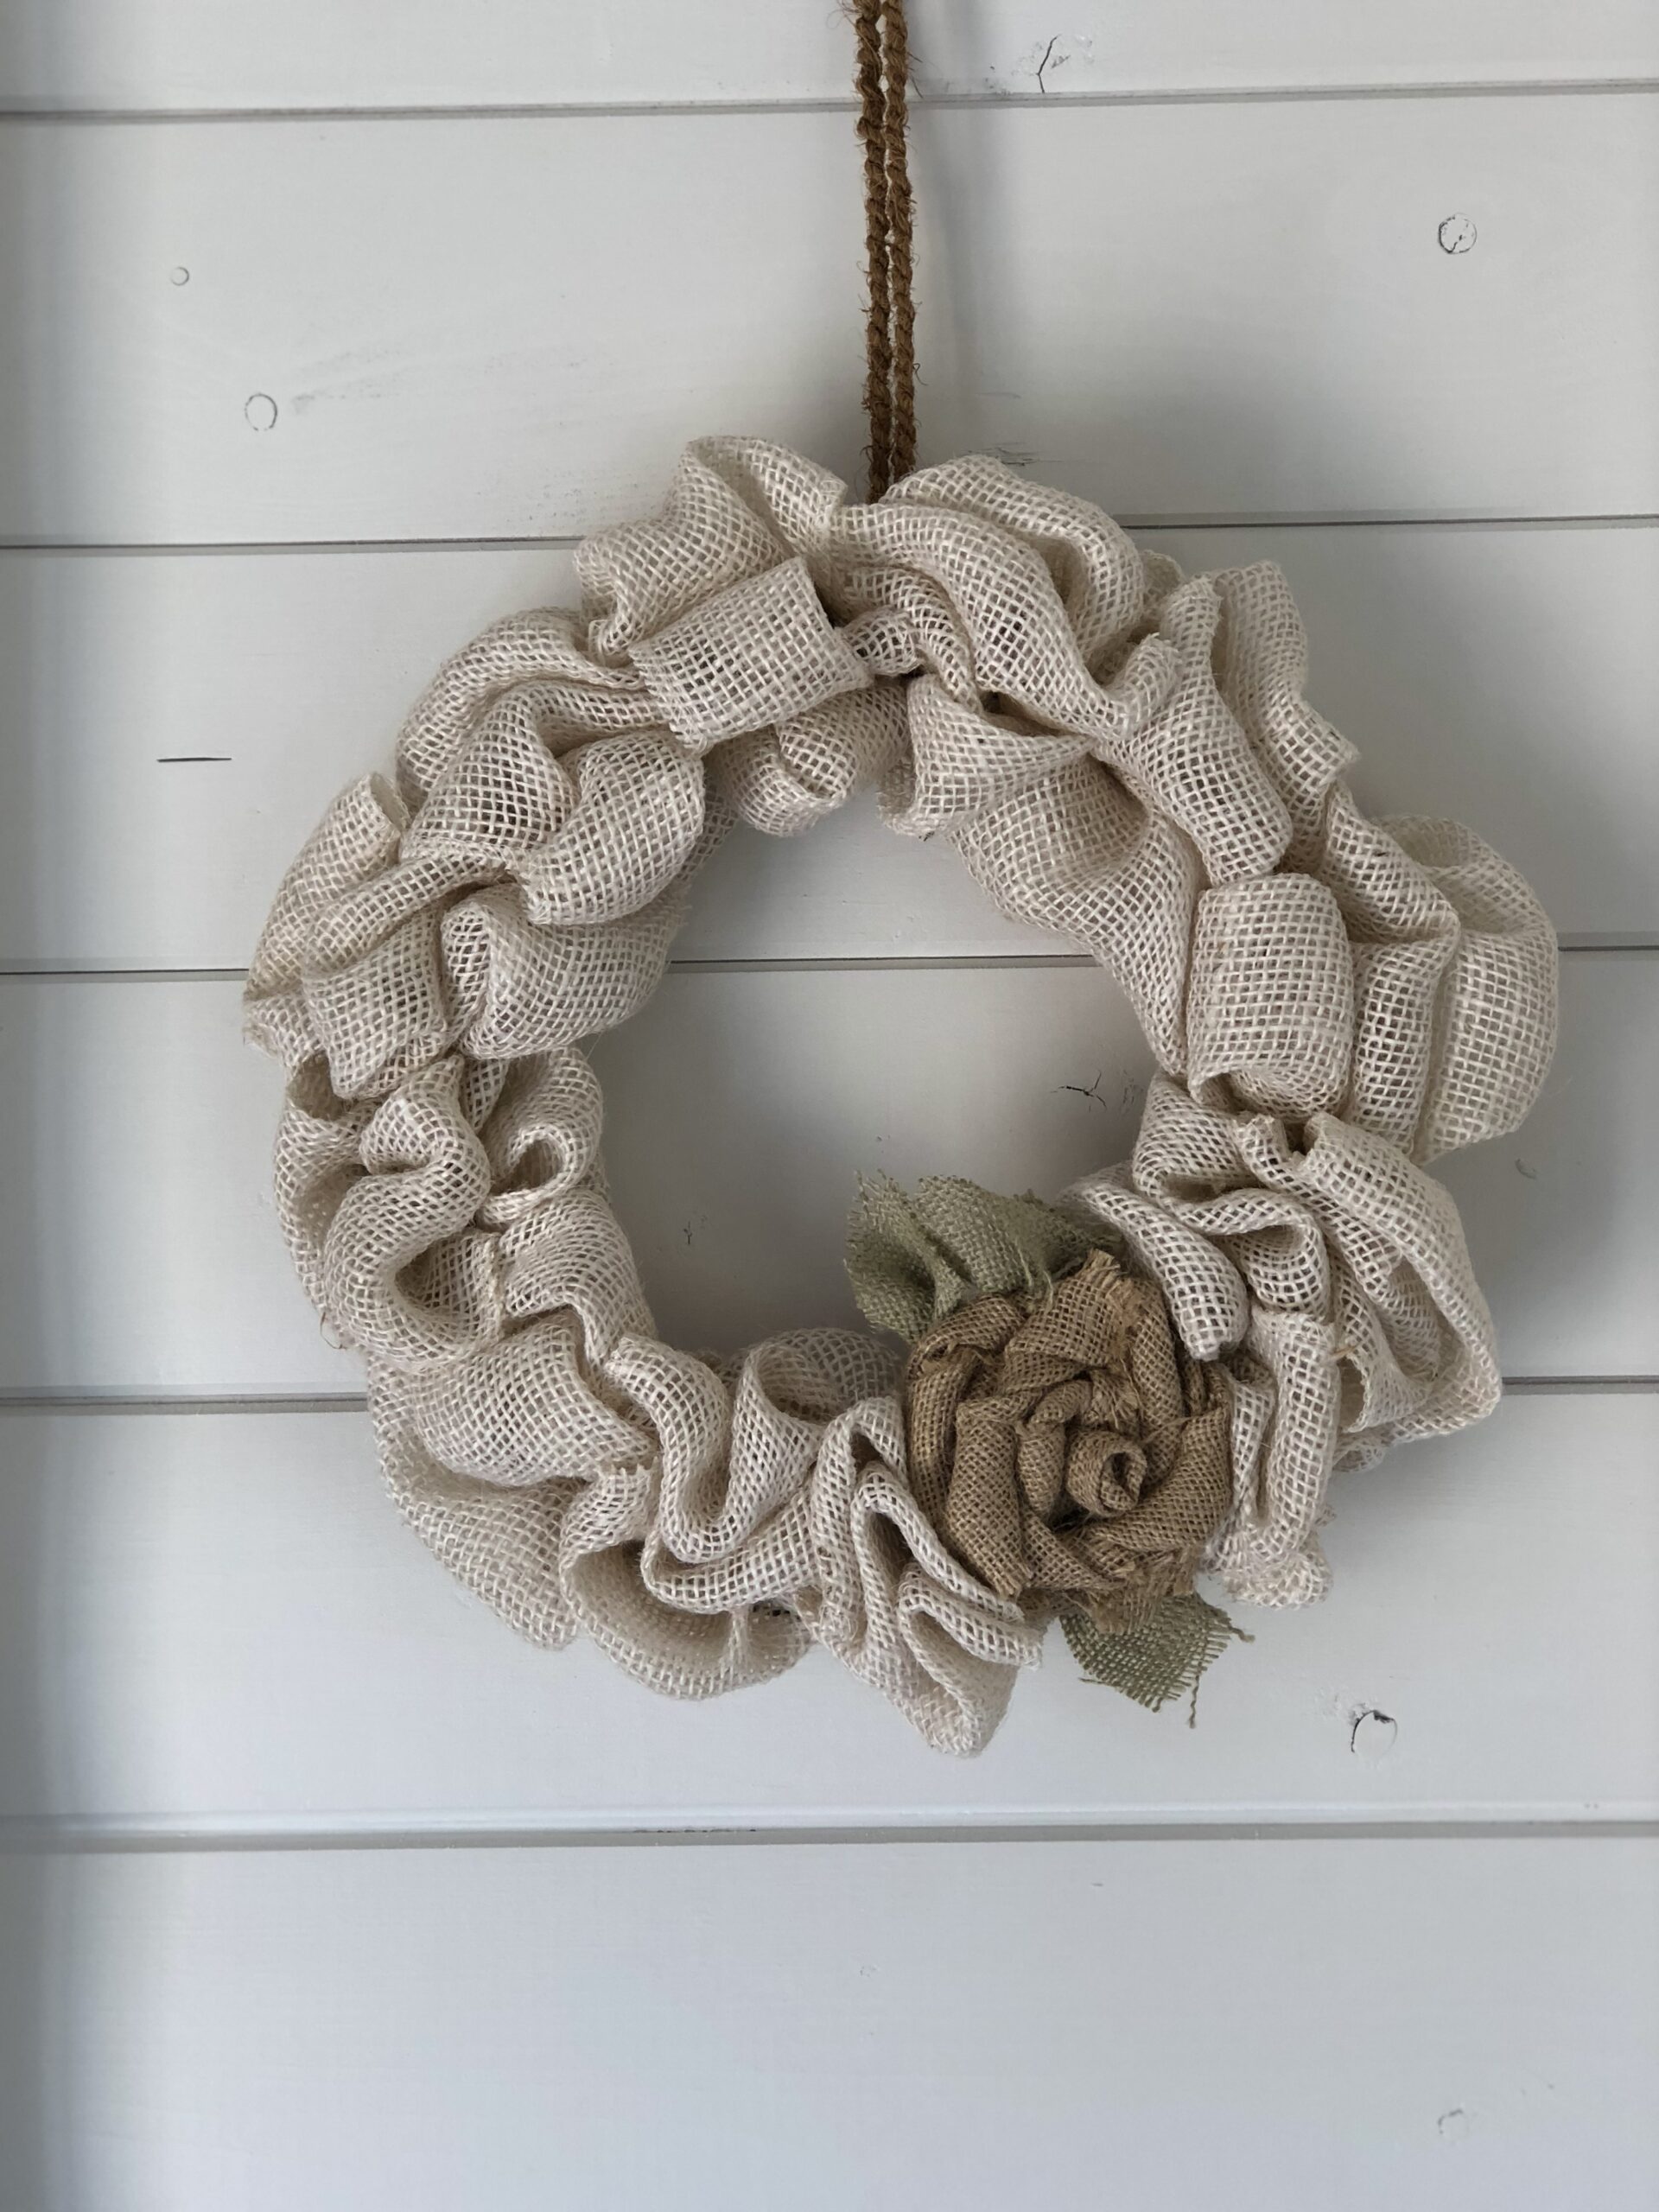
I love to make paper wreaths to incorporate into my home decor. They are inexpensive paper craft projects that are perfect for decorating for the holidays or any time of year. You can make this paper wreath DIY in any color that you like.
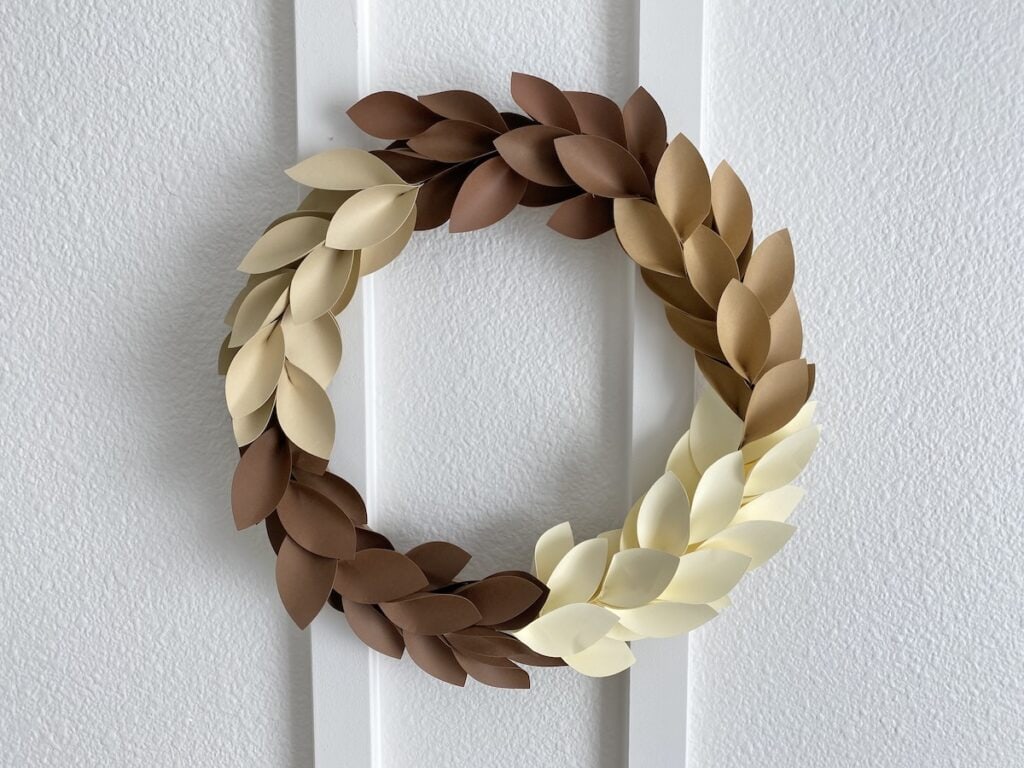
What I love about these simple paper wreaths is that you can cut the leaves by hand or make one with your Cricut or other cutting machine. This paper wreath craft can be made in an endless number of color options to fit your particular style.
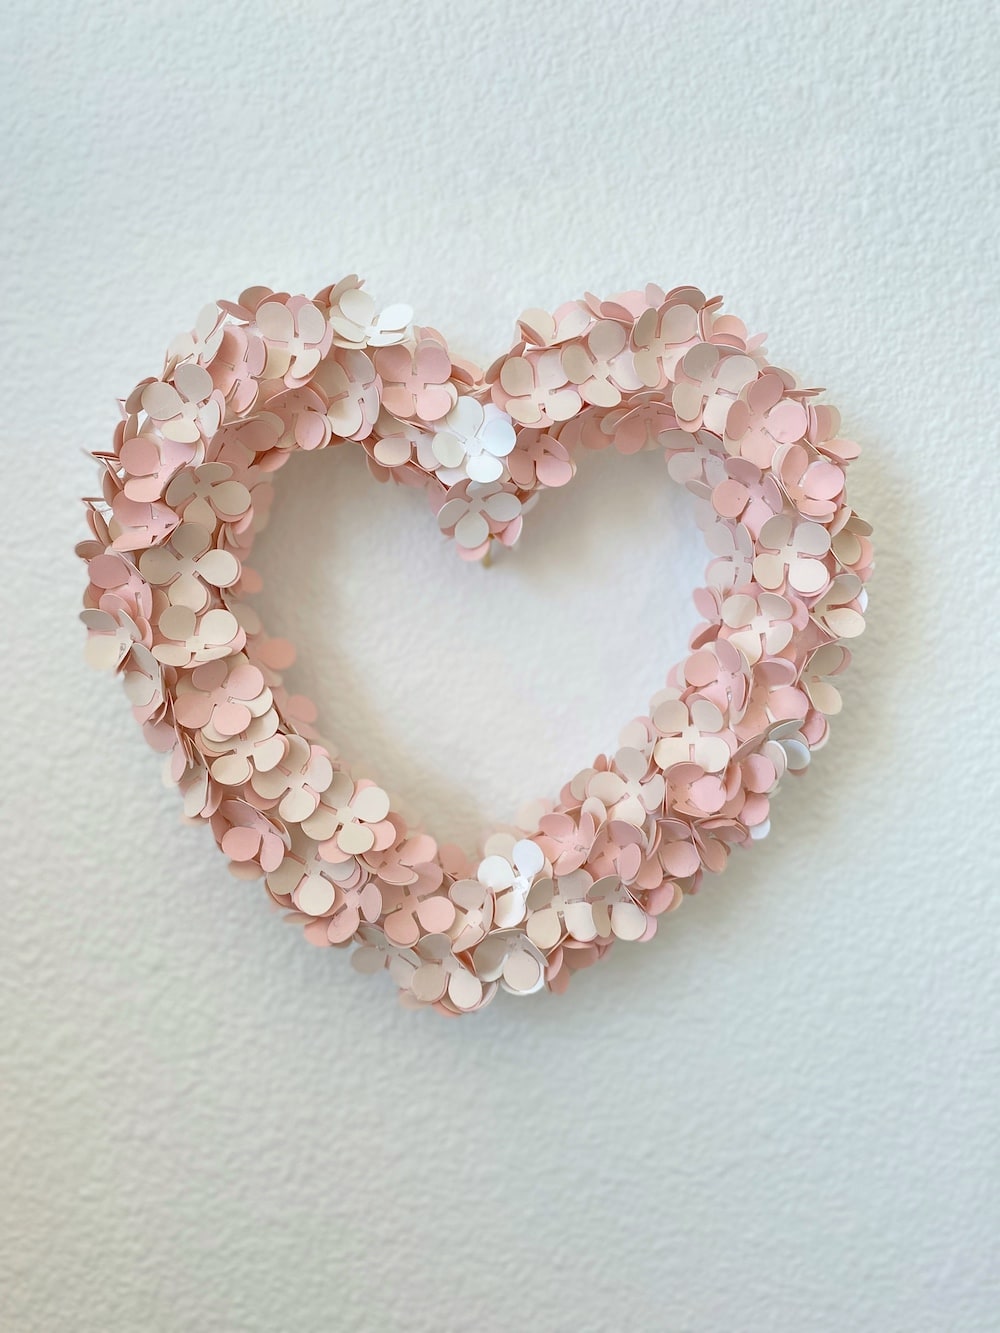
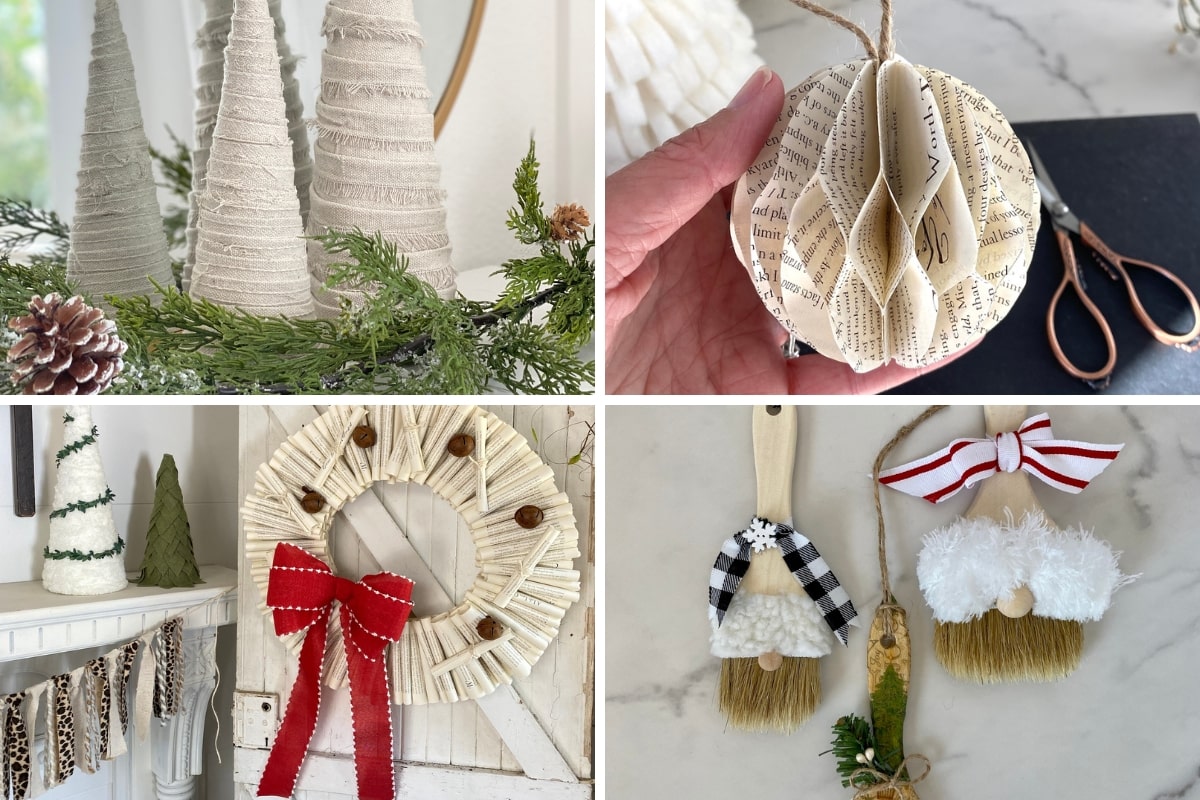
If you need other paper wreath ideas, you can take a peek at my Book Page Flowers and Wreath, Easy Cricut Wreath, and this Paper Flower Wreath.
This post contains affiliate links which means I may make a commission at no cost to you if you purchase one of the items.
Supplies For Paper Wreaths
The supplies can be found at most craft stores like Michael’s or Hobby Lobby.
- Cardstock – I like these cardstock multi-packs – I cut a total of 10 sheets but had leftover leaves (15 leaves/sheet). They also have pretty paper colors at Spellbinders” target=”_blank” rel=”noreferrer noopener sponsored nofollow”>Spellbinders.
- Wreath Frame – I used a 12″ flat wreath form but you can also use a wire wreath (more about this)
- Hot Glue Gun
- Finger Protectors – Suggested (All crafters should have these in their supplies!)
- Ribbon or Sawtooth Picture Hanger
How To Make Paper Wreaths: DIY Instructions
Here are the step-by-step instructions for creating the paper wreaths. I’ll expand a bit more in detail further down the post. Pay close attention to the text near each photo as they will contain time-saving tips and tricks. There is also a video tutorial that is incredibly helpful!
- Cut the paper leaves by hand or with a cutting machine. I used my Cricut Maker and the fine-point blade. More tips are below for cutting the leaves by hand.
- Put a small dot of glue on one end of a leaf and carefully pinch it together. Don’t use much glue or it will ooze out and burn your fingers. This is where the finger protectors are a lifesaver! They are strongly suggested. Pinch and glue all of your leaves.
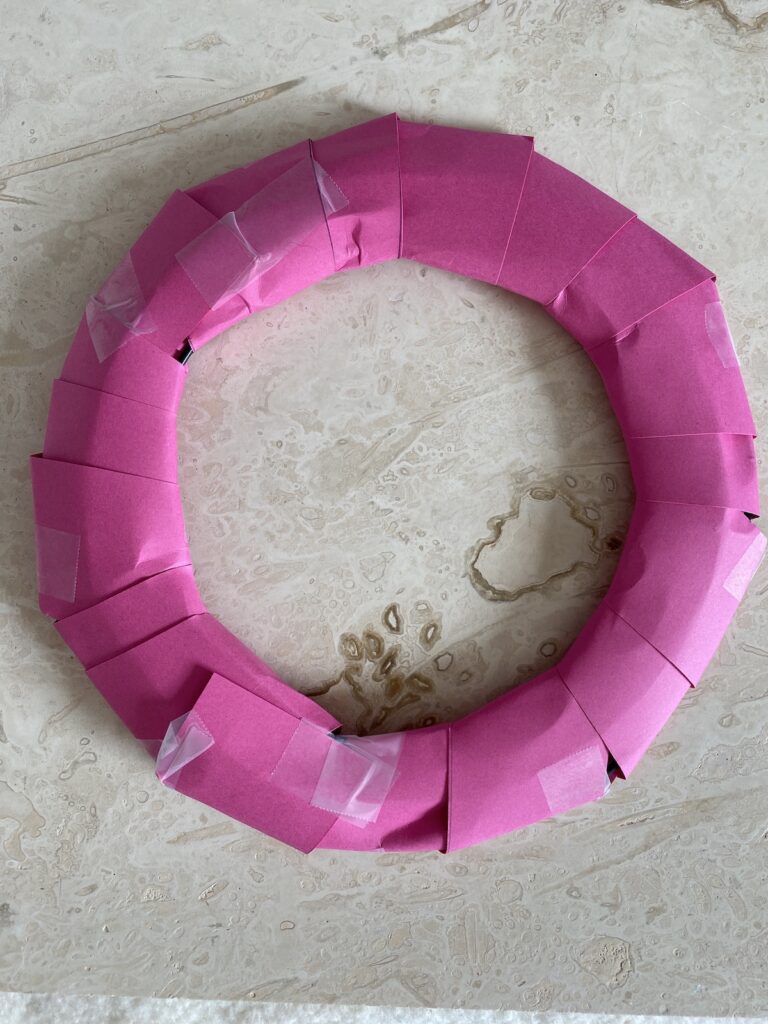
- Glue the first two rows around the wreath covering the wreath frame. Please see the photos because you don’t want to glue the tips of the leaves down. The first two rows will not be the prettiest but don’t panic. The magic happens later.
- For the top layers, lift leaf tips and tuck other leaves underneath and glue them into place, filling in until you get the wreath as full as you want it.
- Glue the ribbon to the back or use a sawtooth wreath hanger.
Get The Leaf
CHECK YOUR SPAM FOLDER TO CONFIRM YOUR SUBSCRIPTION TO GET YOUR NEW FILE!
Cutting The Leaves By Hand
If you don’t have a Cricut, you cut the leaves by hand. Cut out one leaf from the printable and trace it onto a piece of cardboard to make a template. Cut closely along the edge of the cardboard template without cutting the cardboard itself.
Time-Saving Tip!
I found it easiest to cut rectangles of paper and stack about three at a time. Hold the template tightly onto the stack to cut multiple leaves at a time and the cutting process will go a lot faster! The leaves don’t all have to be perfect.
Using A Wire Wreath Frame
If you want to use a wire wreath frame, I recommend wrapping it in paper strips or ribbon first. This will help the leaves adhere to the frame. I tried both wreath frames and found the flat wreath frame to be a lot easier.
The wire wreath frames are cheaper so just choose whichever frame works for you. If you want a pretty, finished look on the back, I recommend wrapping the frame with ribbon. The paper isn’t attractive, but it does the trick if you won’t see the back.
Gluing The Leaves
Here are a couple of pictures showing how I pinched the leaves.
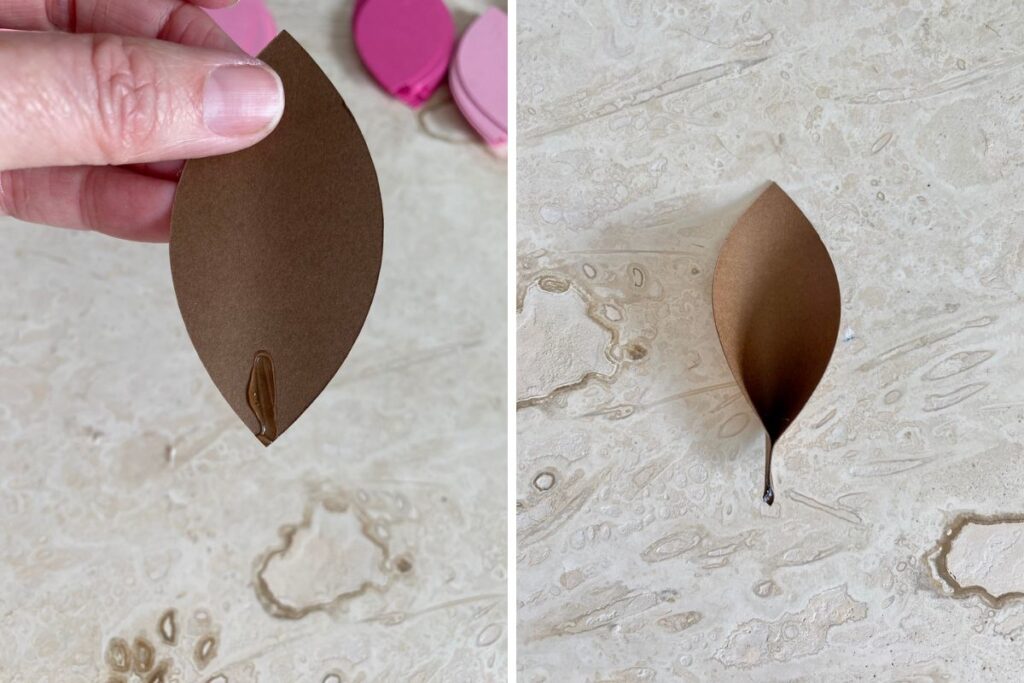
When attaching the leaves to the frame, only put glue on the pinched ends and a bit of the flat part of the leaf. Later you’ll tuck other leaves underneath so you don’t want to glue the pretty ends down.
I found the best way to glue the first two rows of leaves is to rotate the wreath as you go so you’re always looking at the wreath frame at the same angle.
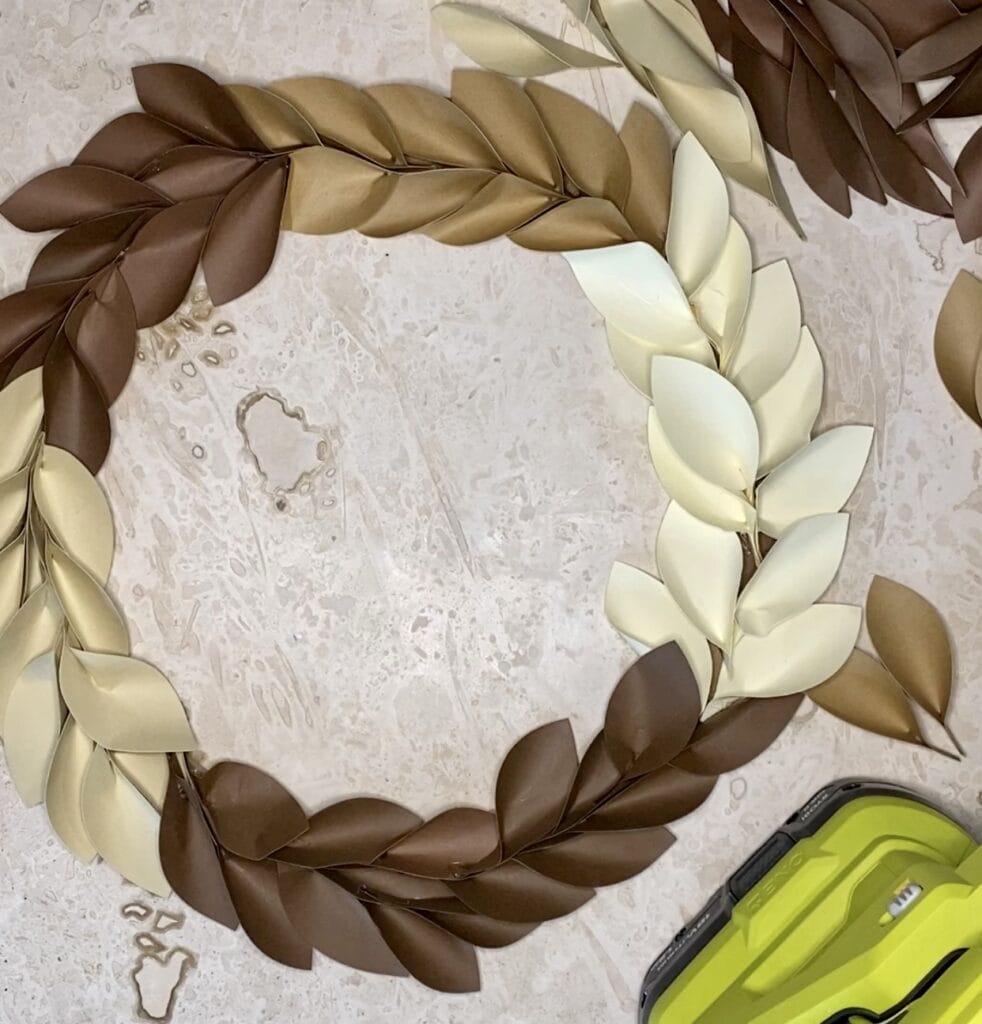
After the first two rows are glued in place, it will look a bit ugly. After you start filling in with additional leaves, it really starts to come together. Keep tucking leaves in under other leaves, gluing them into place until the wreath is as full as you want.
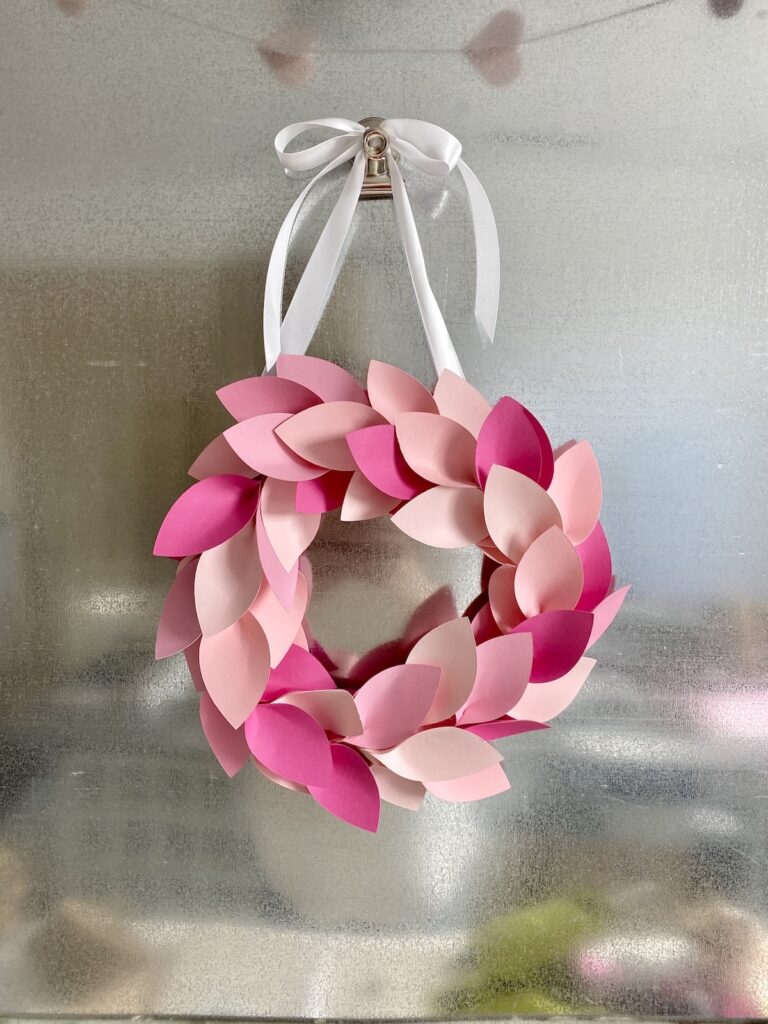
Attaching The Ribbon
Cut two strips of ribbon or twine long enough to hang and add a bow. Glue the two strips to the back of the wreath a bit widely spaced. Tie the ribbon at the top or knot it.
Alternatively, you can use a sawtooth hanger by gluing it to the back. I started with a sawtooth hanger and changed to a white ribbon.
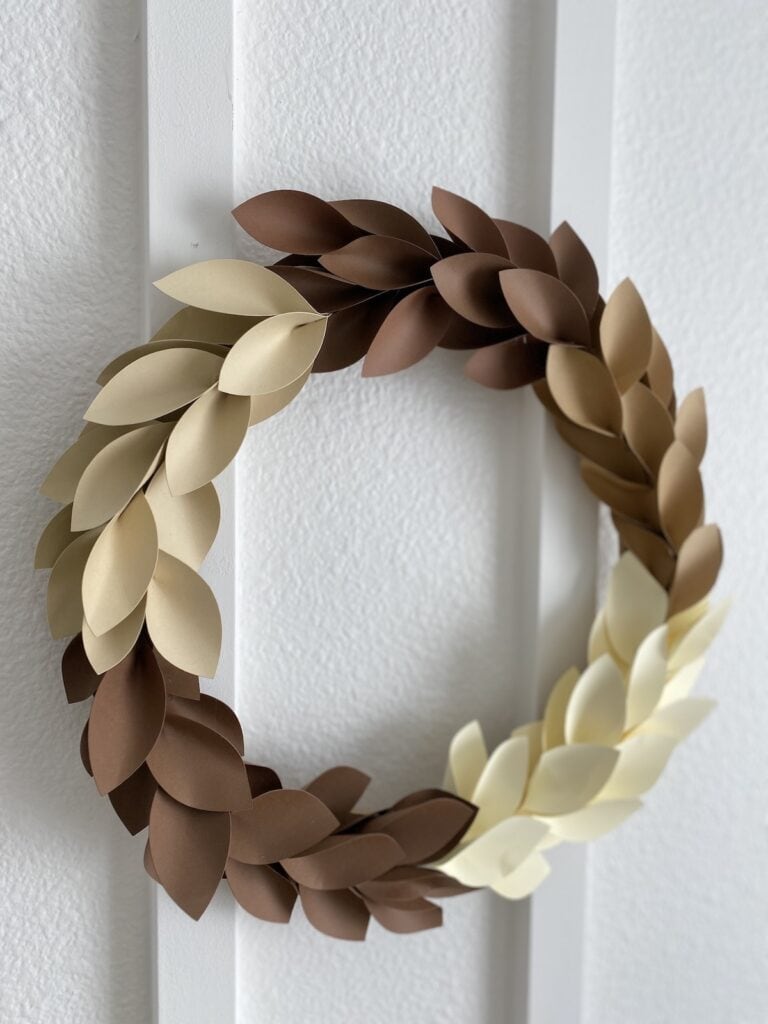
Your paper wreath is ready to hang and enjoy!
I hope you enjoyed making this wreath with me. If you have questions, please leave them in the comments below and I’ll check back to answer questions as quickly as possible.
Happy crafting,
Denise