Things To Consider Before Building a She Shed
So you’ve been captivated by these dreamy spaces you’ve been seeing online, huh? I feel ya’ sister (or mister)! I caught the bug as well. Whether you’re just starting your Pinterest boards or are about ready to break ground, there are a few things you should consider before building a she shed.
Building A Sheshed – Select A Size
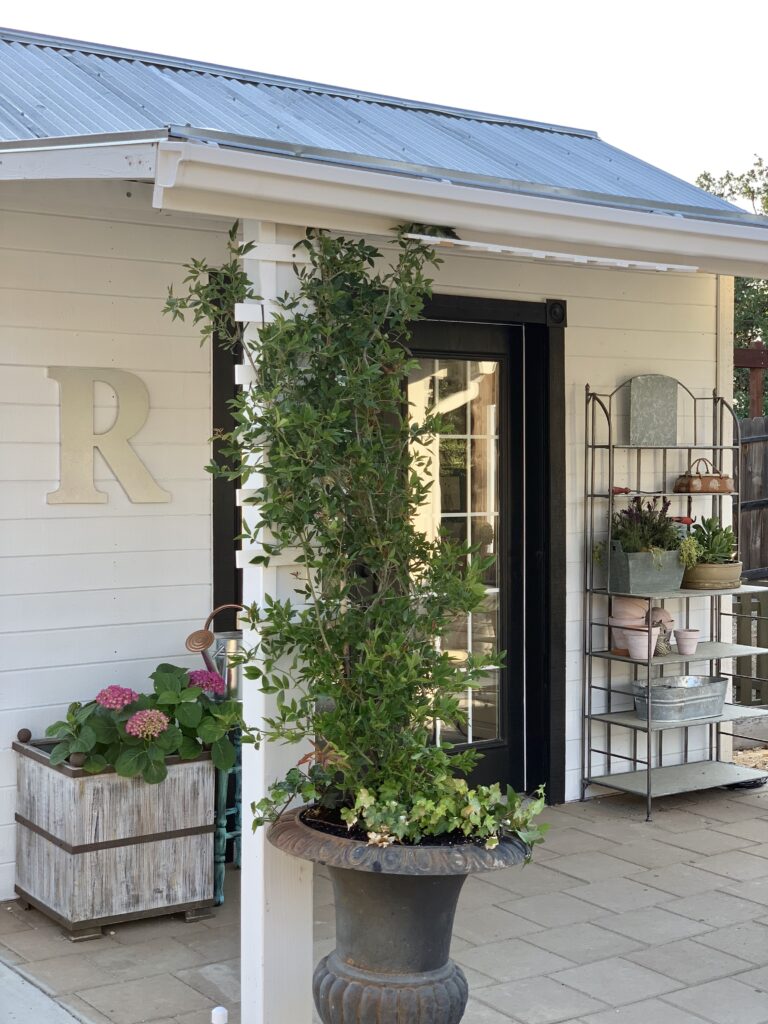
When we first started talking about building a sheshed, my husband had drawn out a 4 x 8 space. It was going to be a cute addition to the yard that I could decorate and store some outdoor tools in. After carefully considering his suggested size she shed, we decided on an 8 x 8 space and then settled on an 8 x 12 instead. See what I did there… Ha! Winner, winner, chicken dinner.
So we have a pretty big backyard and the entire thing requires landscaping. I have a dream of living on a working farm one day, but for now, I’m in a tract house. I thought the she shed would create a great outdoor focal point while taking up the abundance of yard space that we have. If I had it to do over again, I would have built the she shed even bigger! No joke, I wish it were twice the size. I tease Jake all of the time about an addition. (joking, not joking) Stay tuned, this game isn’t over yet 😉
Building A She Shed – Exterior Materials
I really wanted shiplap in the shed, but the wood was about three times the cost. We ended up using tongue and groove which has its ups and downs. Because we’re not the best finish carpenters, our little shed is a bit…. unlevel. (is that a word?)
Things are a bit out of whack in some places so the tongue and grooves don’t always line up perfectly. Light seeps through some of the cracks which drive me nuts in my photos. Surprisingly, when it rains, it seals back up so the shed doesn’t leak at all. In the summer, the wood shrinks back up, and in comes the light again. I’ve even caulked every seam and it still cracks. Uggh!
I’ve seen those large, solid panels that look kind of like tongue and groove but they are one solid piece. I probably should have gone this route but what’s done is done. Tongue and groove it is!
Building a She shed – Picking A Color
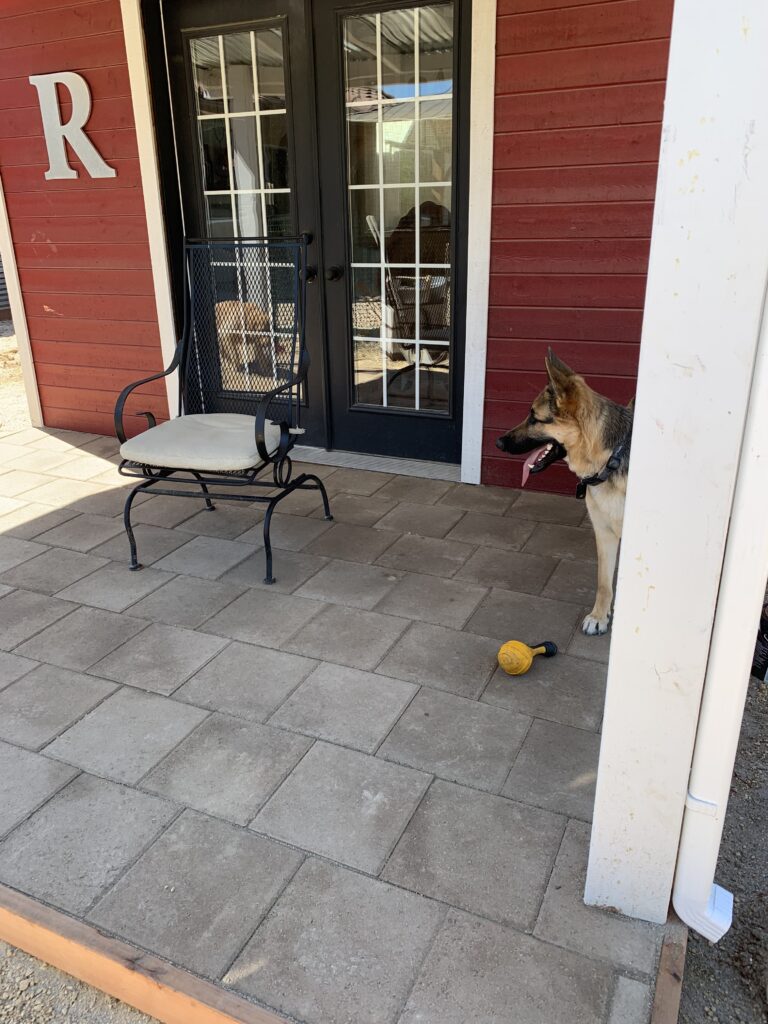
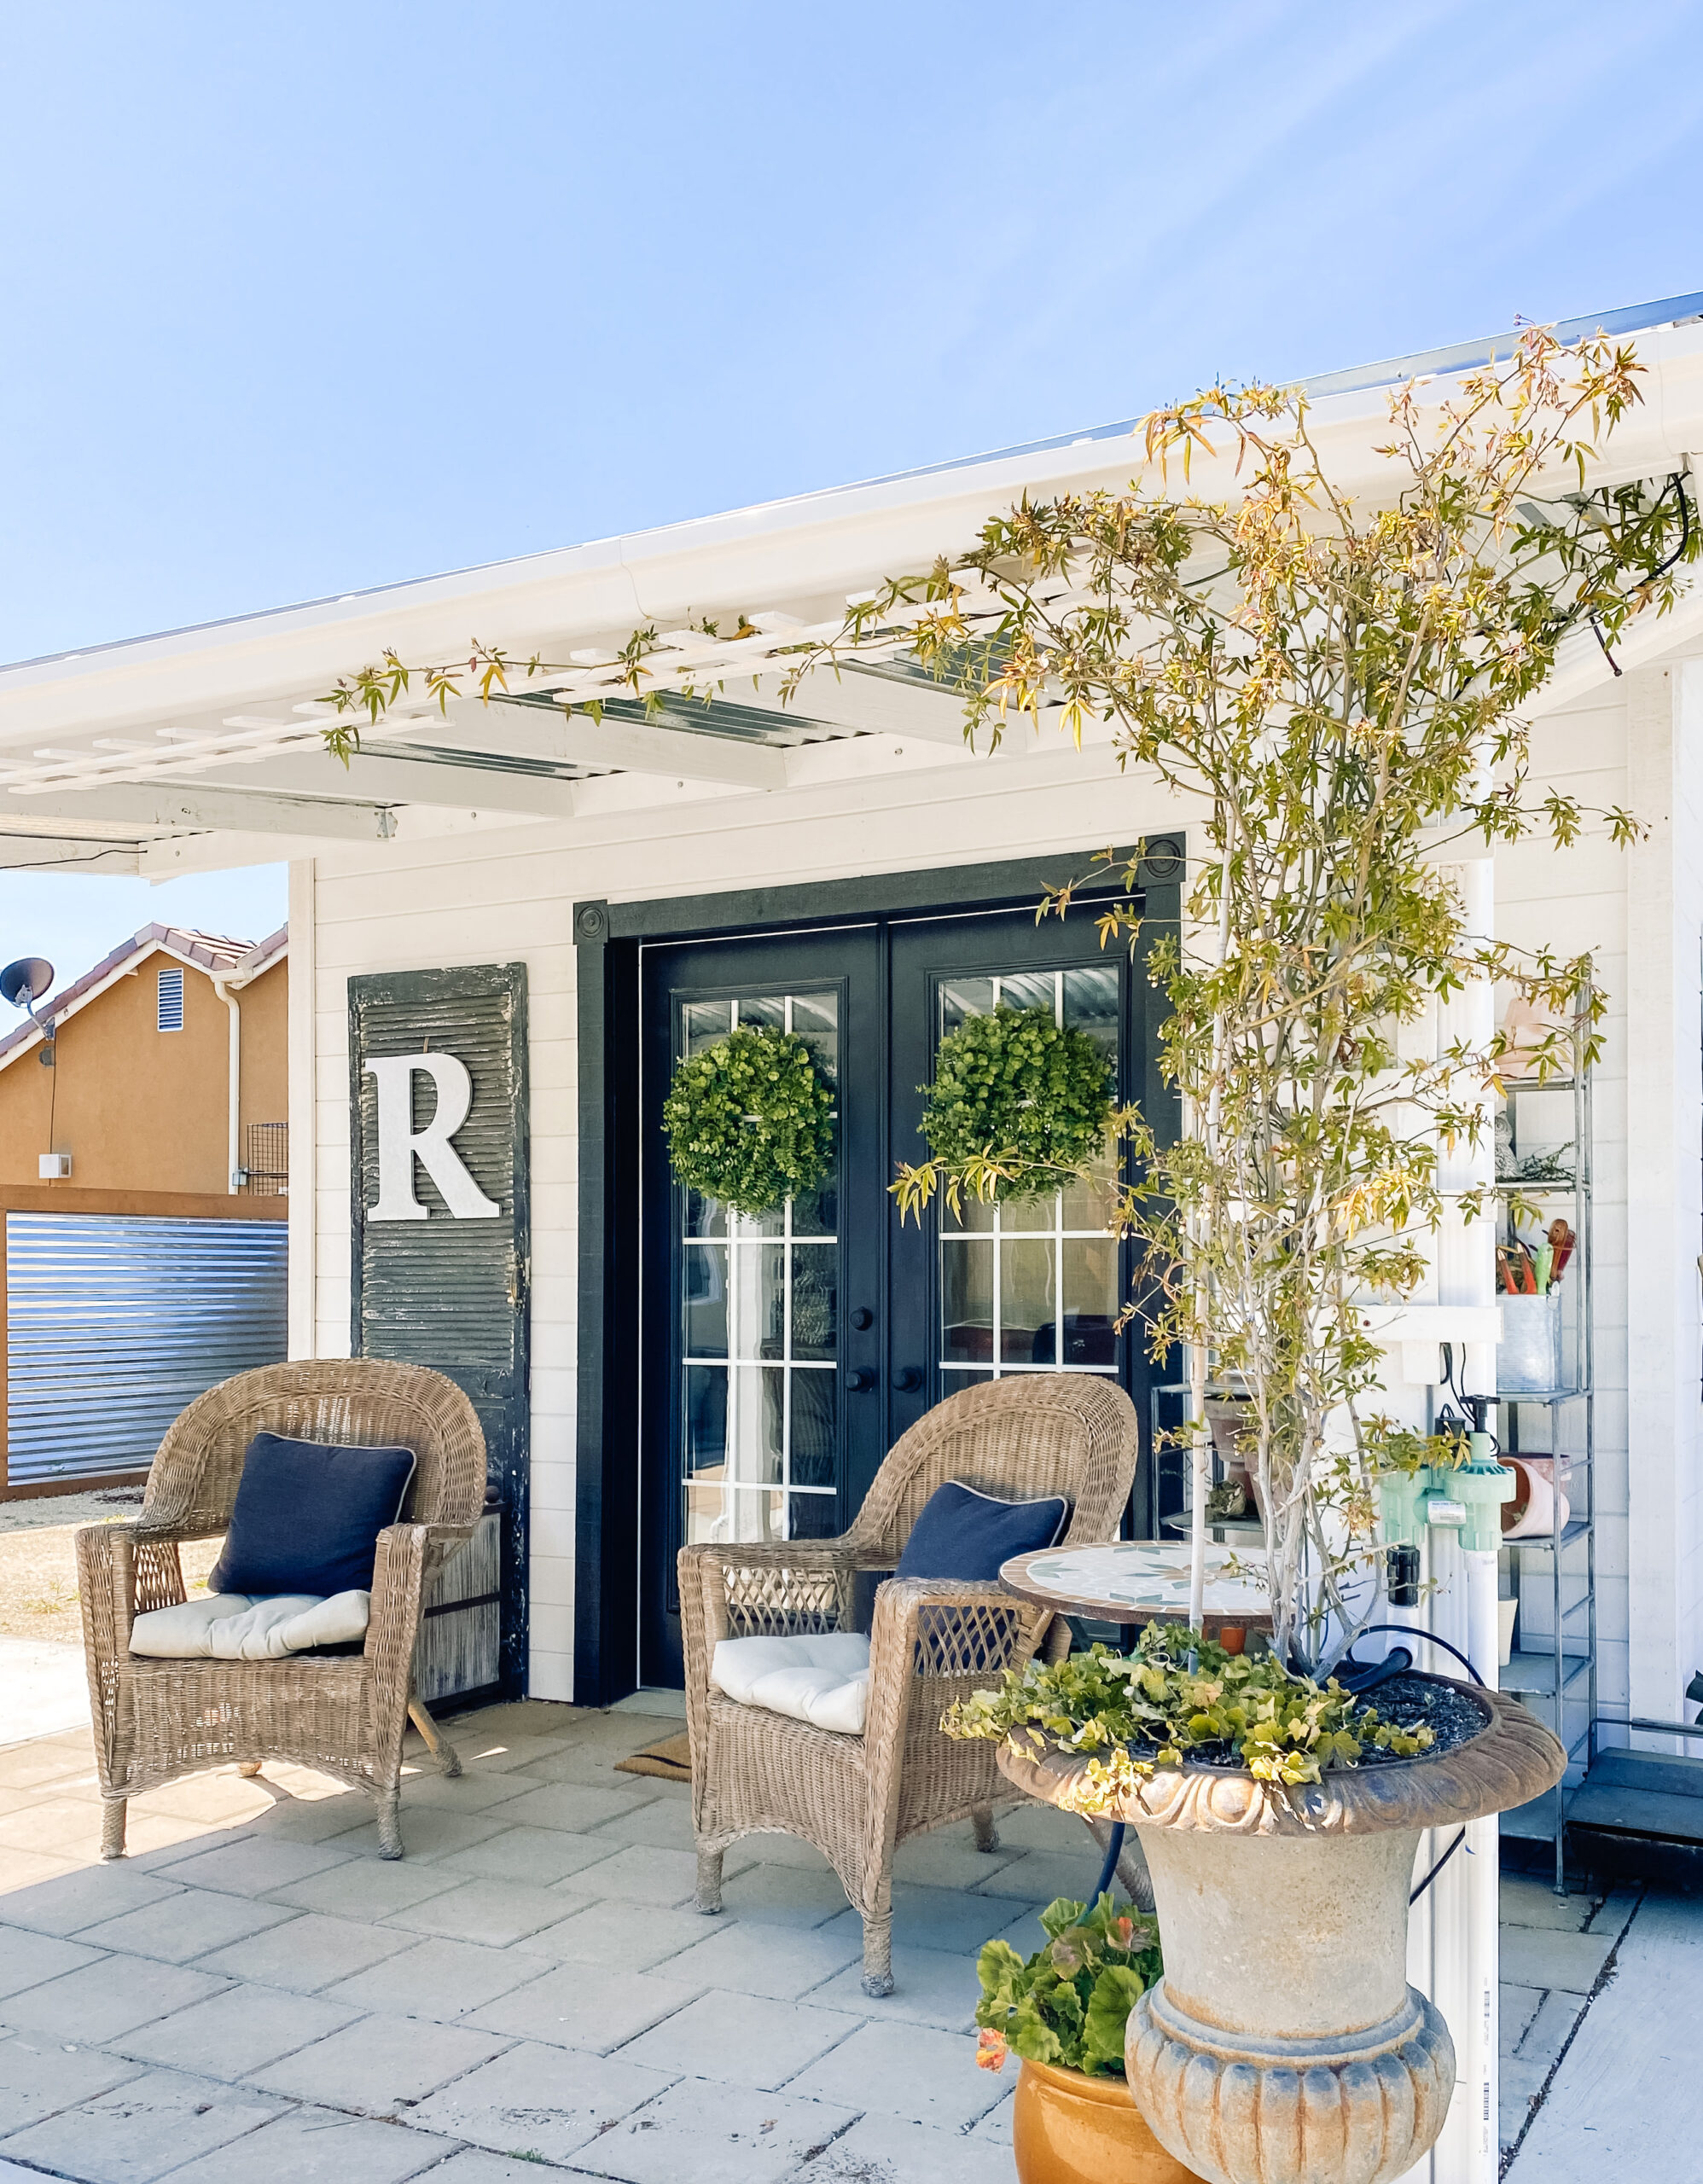
I knew all along I wanted a white shed. I let everyone talk me out of it and guess what?! It’s now white. It wasn’t fun painting over red, so go with your gut and pick what you know you’ll really love. I mean, paint isn’t final, but painting all of those boards was a lot of work!
Windows and Doors
My french doors look like a splurge, but I combed my local Craigslist and found a pair of ugly doors with fancy gold doorknobs. The guy wanted $200 for them so I offered him $100 and he accepted! I put a fresh coat of white paint on the inside and painted the exterior of the doors jet black. I did splurge a little bit on the doorknobs, but I wasn’t feeling the 80’s gold.
The largest window that looks out to the back was from Lowe’s. In the back of our local store, they have clearance items that were custom orders that never got picked up. I got the window for $100. My other small window was only around $45 and I wished I’d used an old antique window there. It would have had more charm. Shoot. Oh well! You can pick up old windows for $8 – $10 in our area. If you decide to go this route, make sure you buy your windows first so you can frame them properly.
Placement – My biggest regret!
Before you start planning your she shed, sit in a chair and take a look at your surroundings. Is there something in your neighbor’s yard that you want to block? A beautiful view that you don’t want to block?
I mention this because if I had it to do over again, my shed would have been 6 feet to the left. Another big “oh well”, but you should think about this before you start building. If you’d like to see how I made a unique window frame inside, be sure to check out my vintage wood window frame.
I’m sure there are other things to consider before building a she shed, but these are the main things I could think of. What did you consider when building a she shed? What things do you wish you would have done differently? What things did you do that you love the most? I’d love to hear so be sure to let me know in the comments below! If you have any other questions about your shed project, please be sure to ask! I’ll help in any way I can, Until the next update…
Happy crafting,
Denise

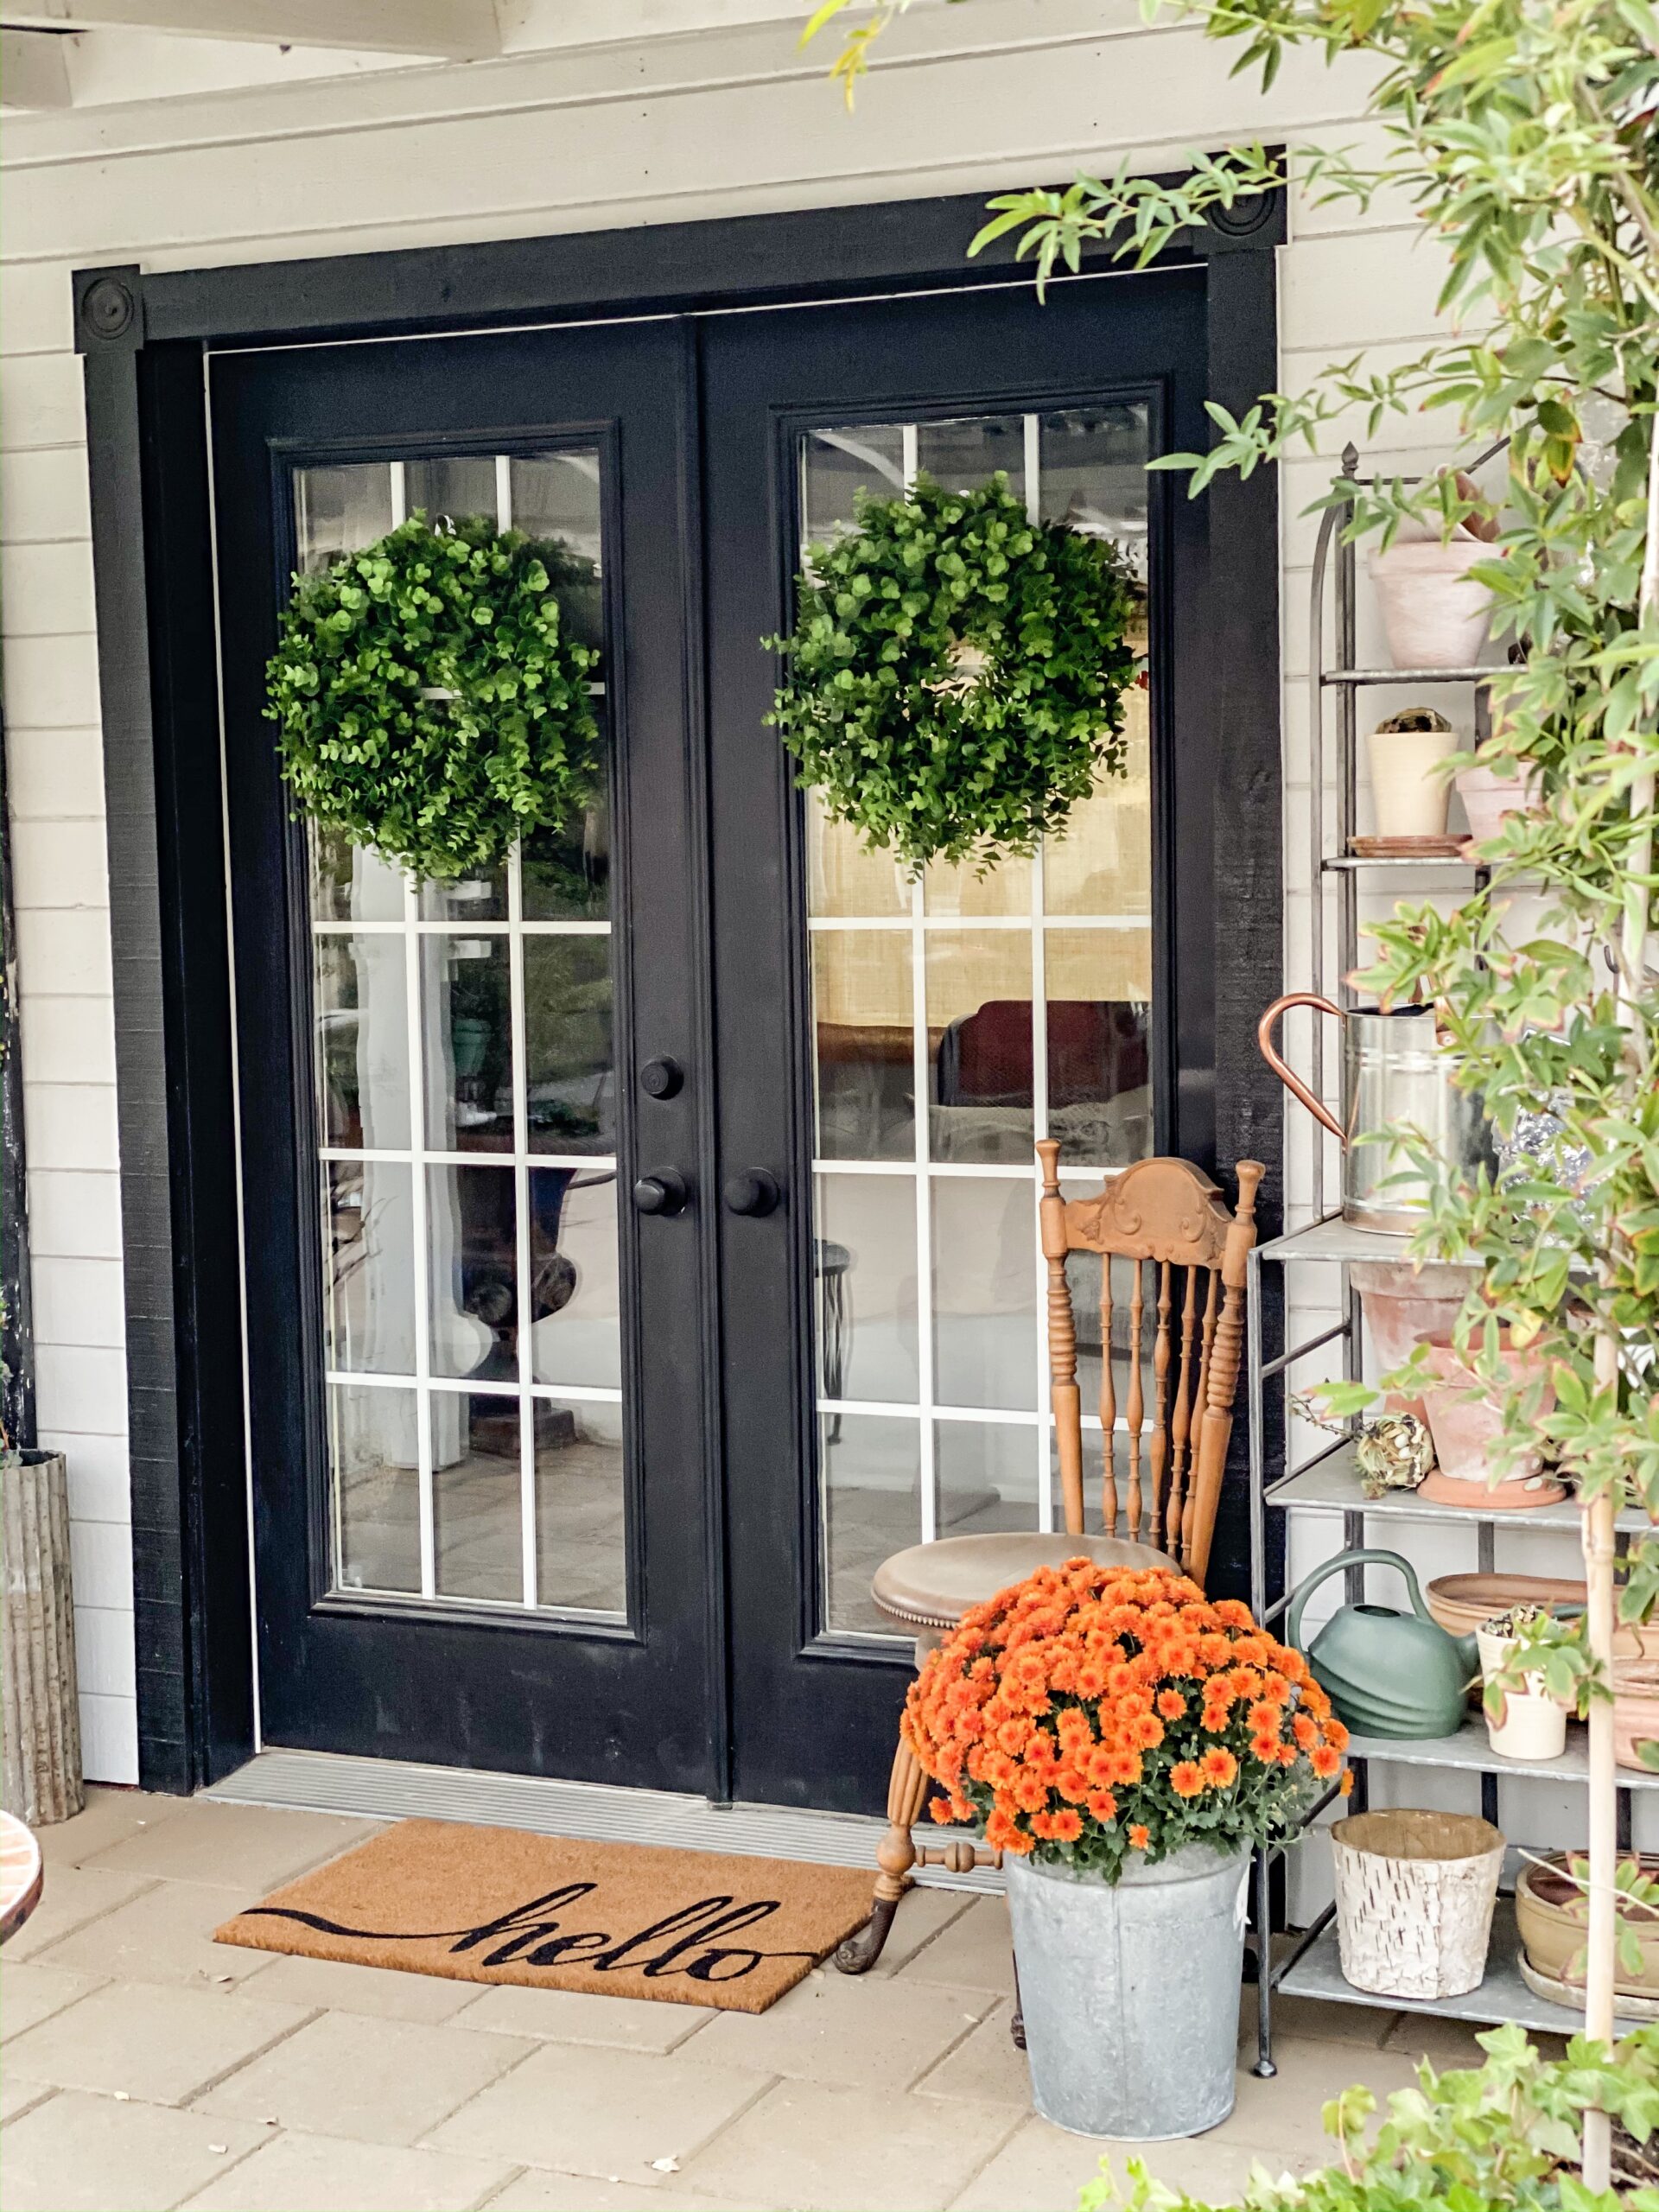
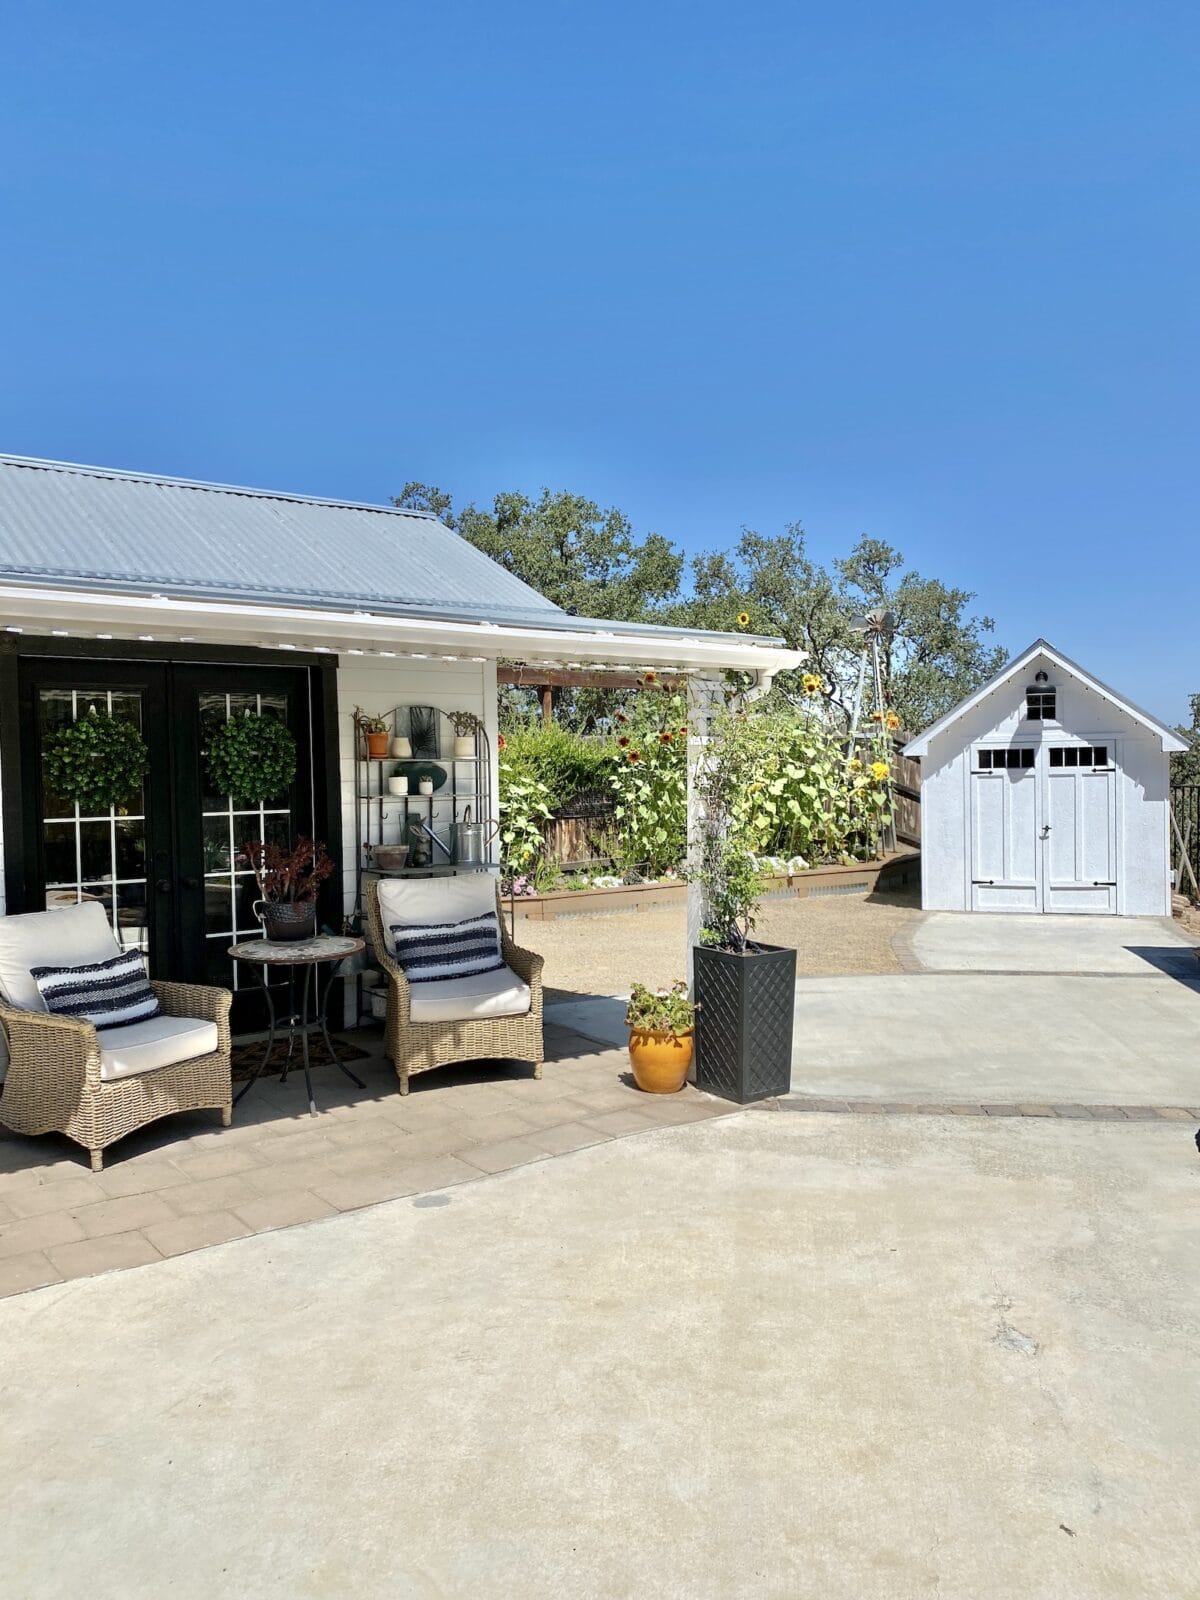
The new white paint is a definite improvement. It gives your sheshed a more classic farmhouse look. Love it!