
Easy Fabric Bunting DIY | With or Without a Sewing Machine!
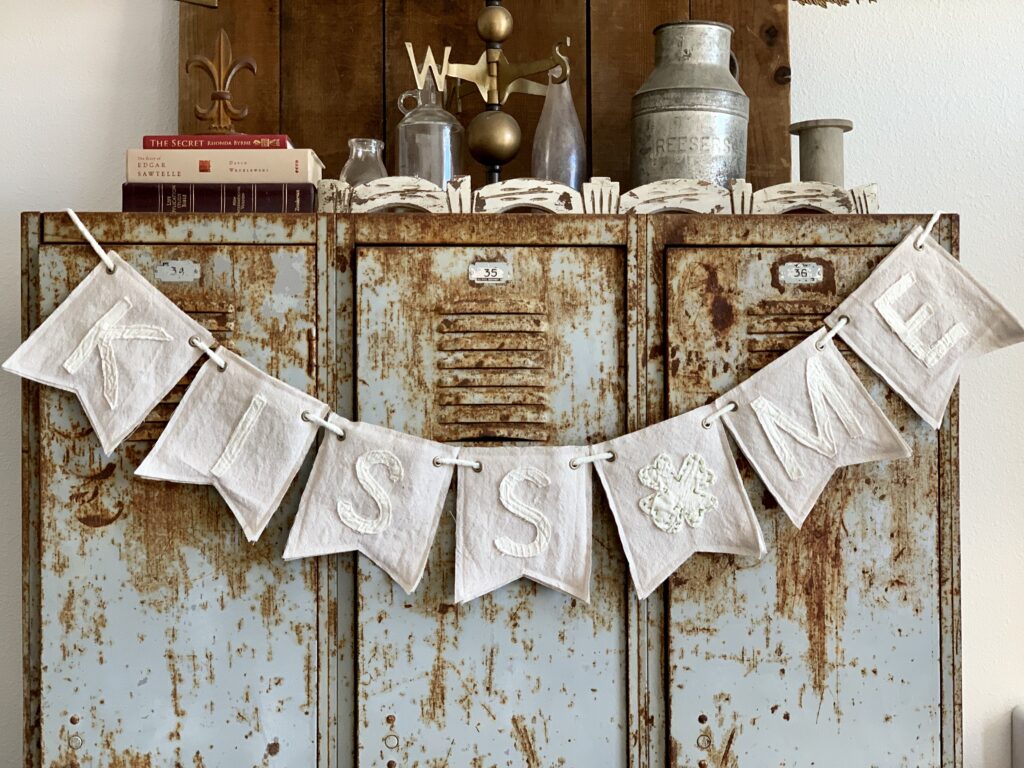
This eas Fabric Bunting DIY is one of my favorite DIY projects I’ve made so far. I want to start by saying that I would definitely not be deemed a seamstress by any stretch of the word. I had to have my mom stop by to reload the bobbin on the sewing machine! The best part about this project is you don’t have to know how to use a sewing machine. You can sew them completely by hand if you’d like.
When I first started making this homemade bunting, I had the intention of selling them on Etsy, but I decided that I’d share a DIY with you instead. After making fabric buntings for a while, I realized that the sewing machine was really just optional. I’ll share photos of both options. Take a look at the photos and you can decide which one is the right look for you! Some items I used made my life easier, but they are optional.
Supplies for the Easy Fabric Bunting DIY:
- Fabric for each bunting banner
- Batting – I used this batting because I like the color
- Contrasting fabric for the letters or shapes – I used an old Matelasse bed cover
- Stencils – I’m lucky enough to have a Cricut Maker, but you can also print letters and shapes and cut out your own stencils
- Embroidery Floss & Needle
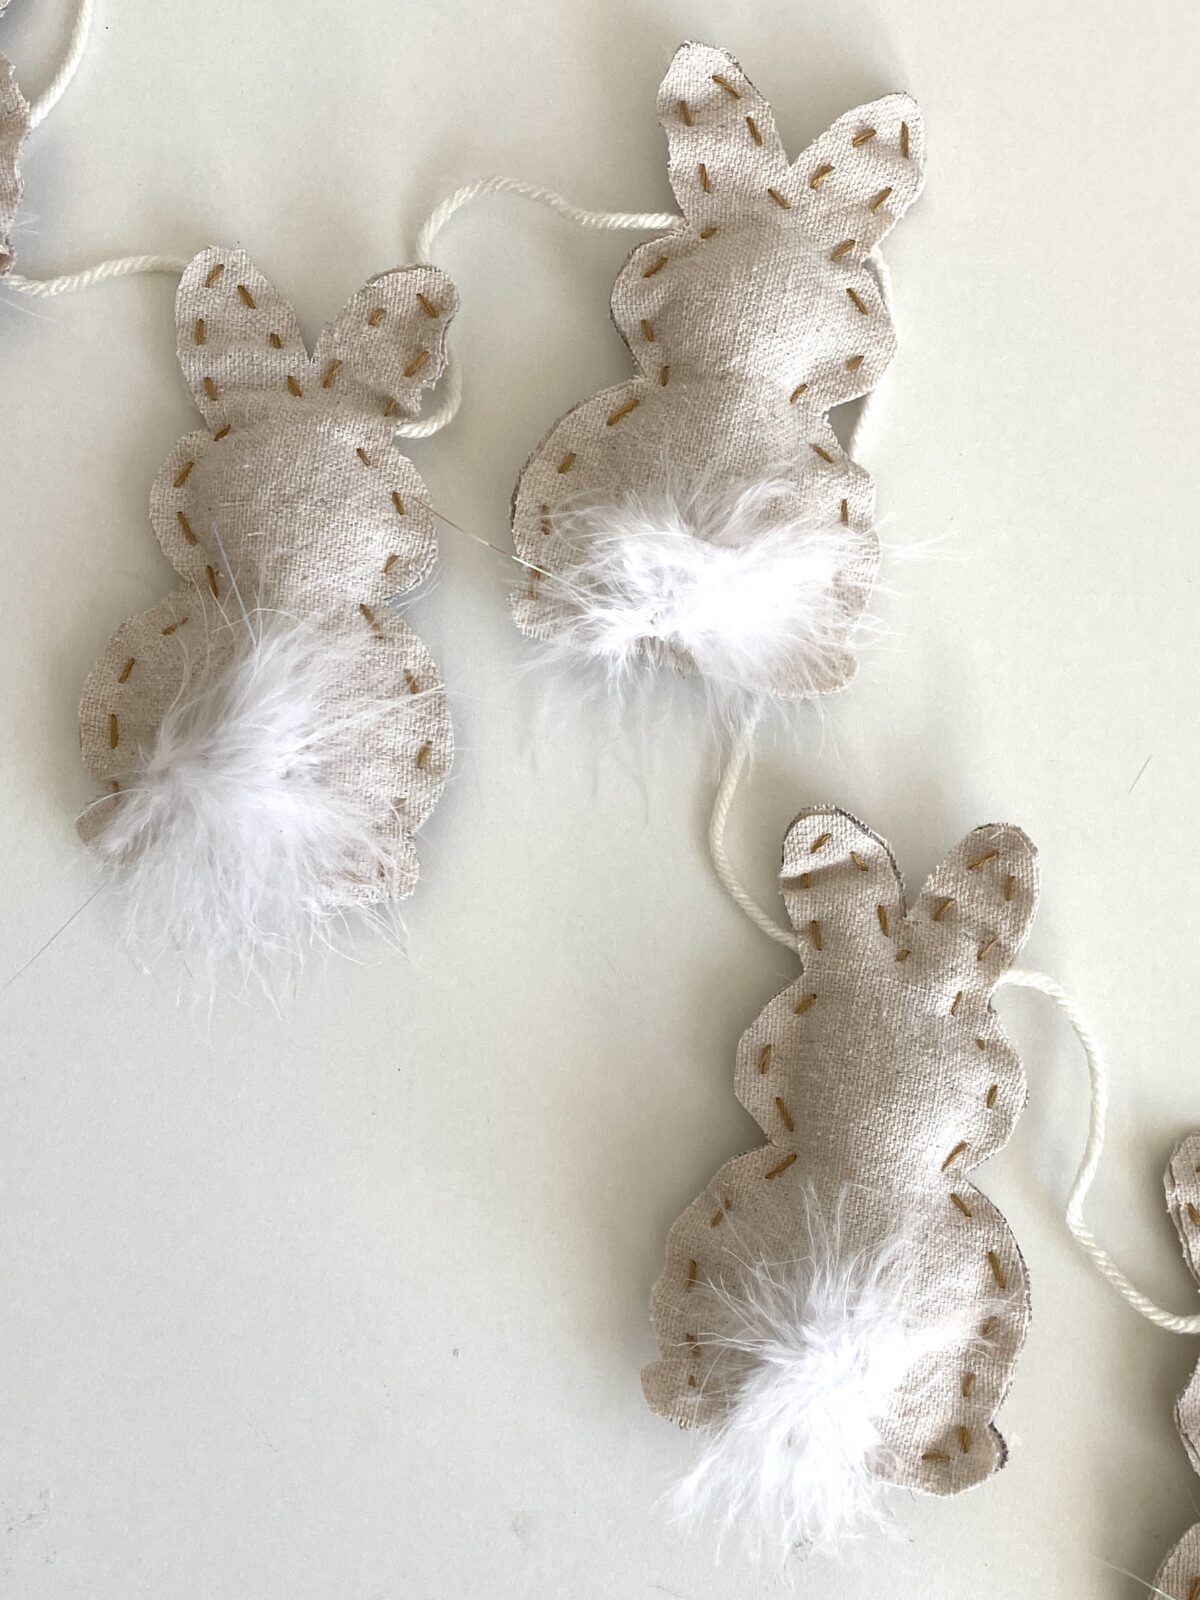
- Optional items – Blanket yarn (bunny tails), polyfill (to stuff bunny bodies if you’d like. I thought it made them stand out better.
- 1/4″ grommets or a grommet kit (don’t worry, they’re cheap and easy) I also have another option below.
- Some sort of poky thing (we’ll get to that in a minute)
Let’s get started!
Cutting A Bunting Banner Template
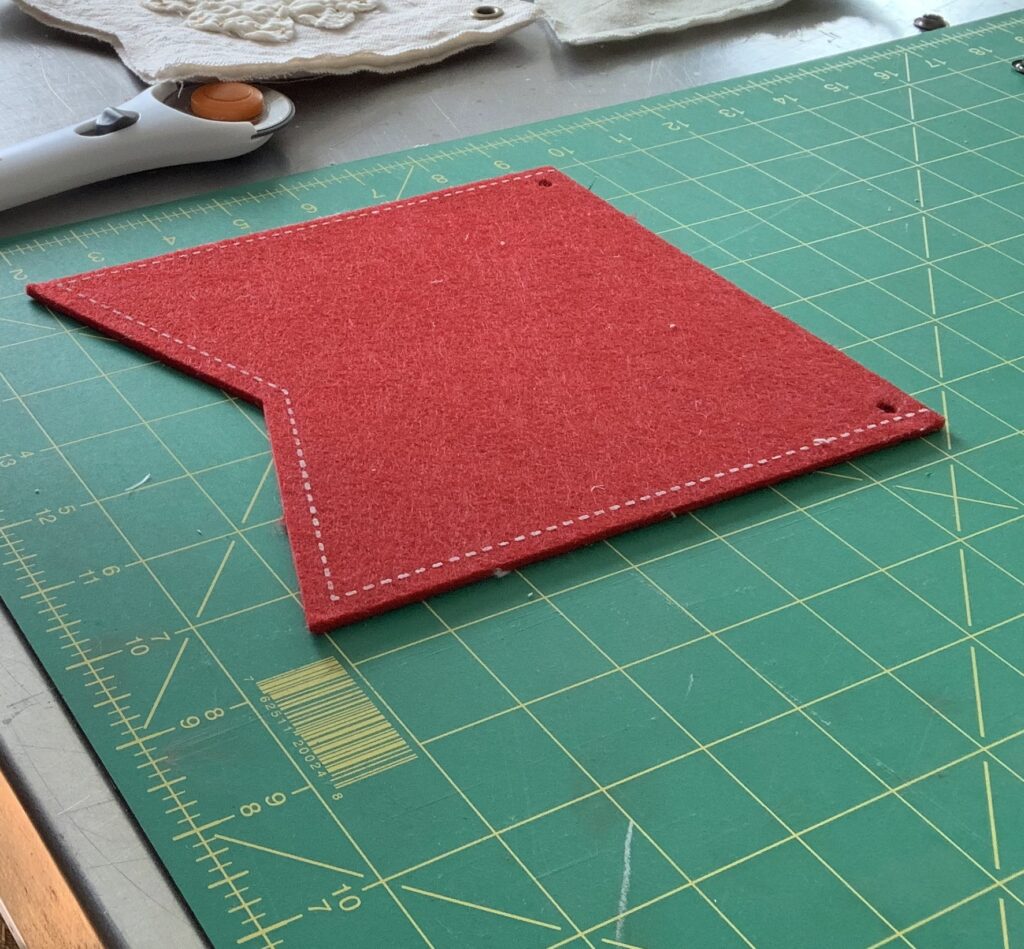
If you’re going to make a lot of banners, I recommend cutting a banner template from cardboard or thick felt. I make my own by cutting a rectangle, folding it in half, and then cutting from the two bottom points at an angle of about an inch or so up the fold side. This video showing how I cut the pieces is helpful.
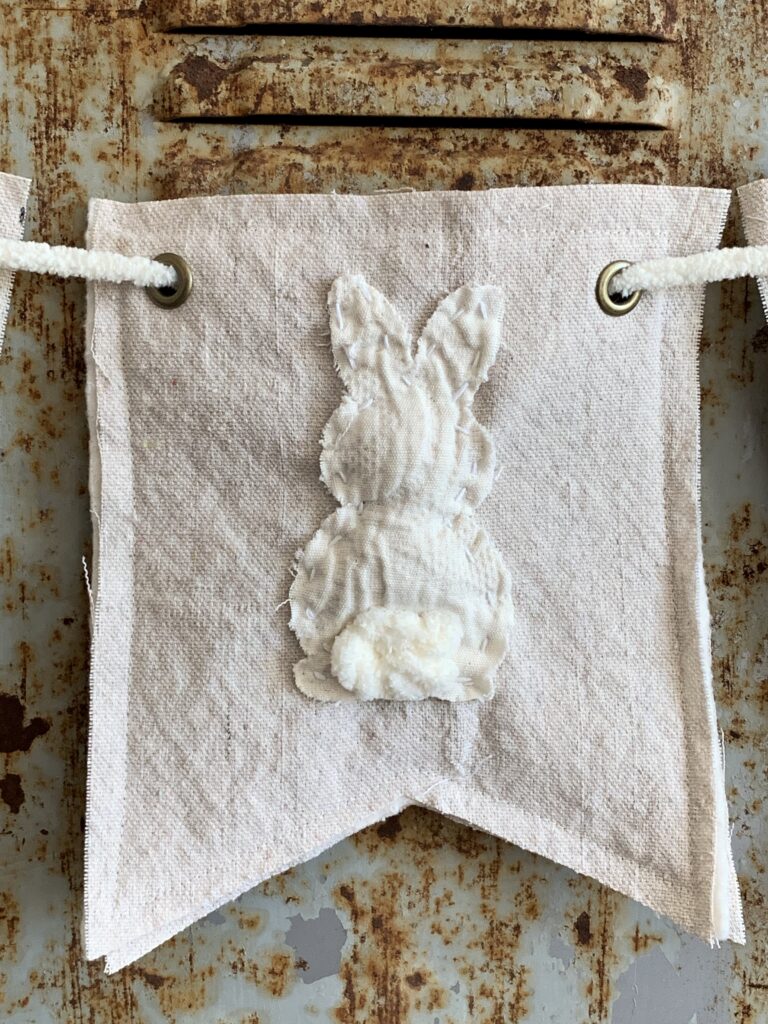
My banner pieces were approximately 6 inches tall by 4 inches wide.
To make each banner piece for the DIY bunting you’ll need to cut 2 pieces of the drop cloth and one piece of batting per banner piece, along with your letters or shapes. It’s best to get all of the cutting out of the way first so the assembly goes quicker.
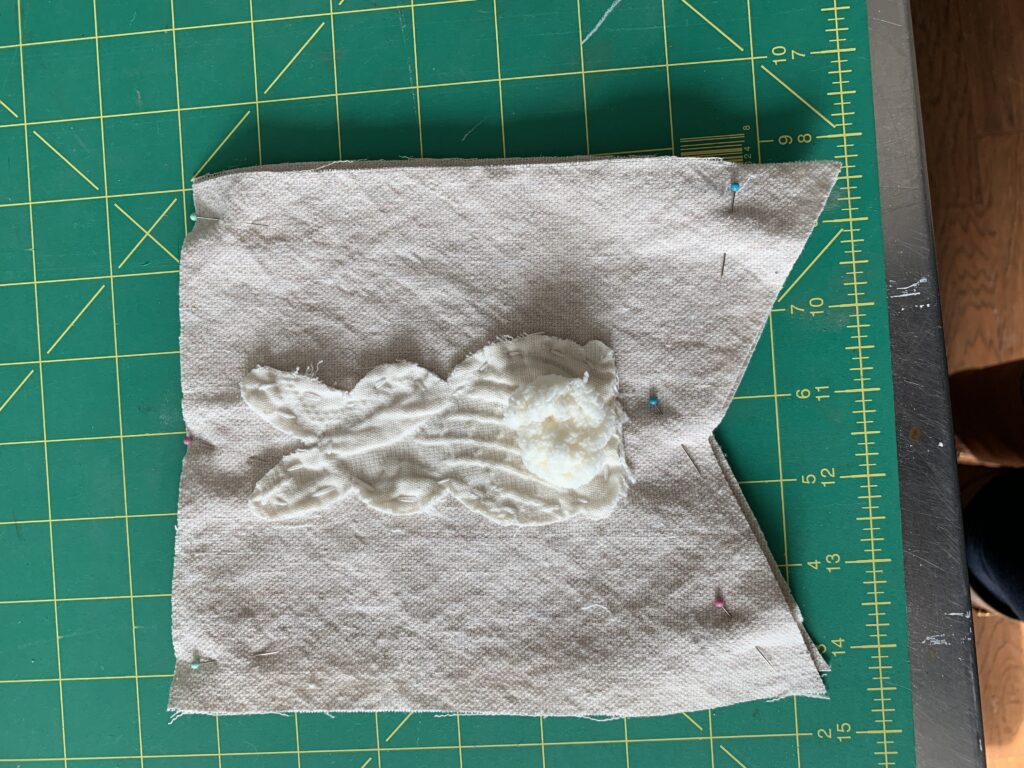
Before you get all excited sewing your banner pieces together, remember that you have to sew your letters or shapes on the front pieces of drop cloth first (don’t forget the bunny tales or whatever you choose to embellish with).
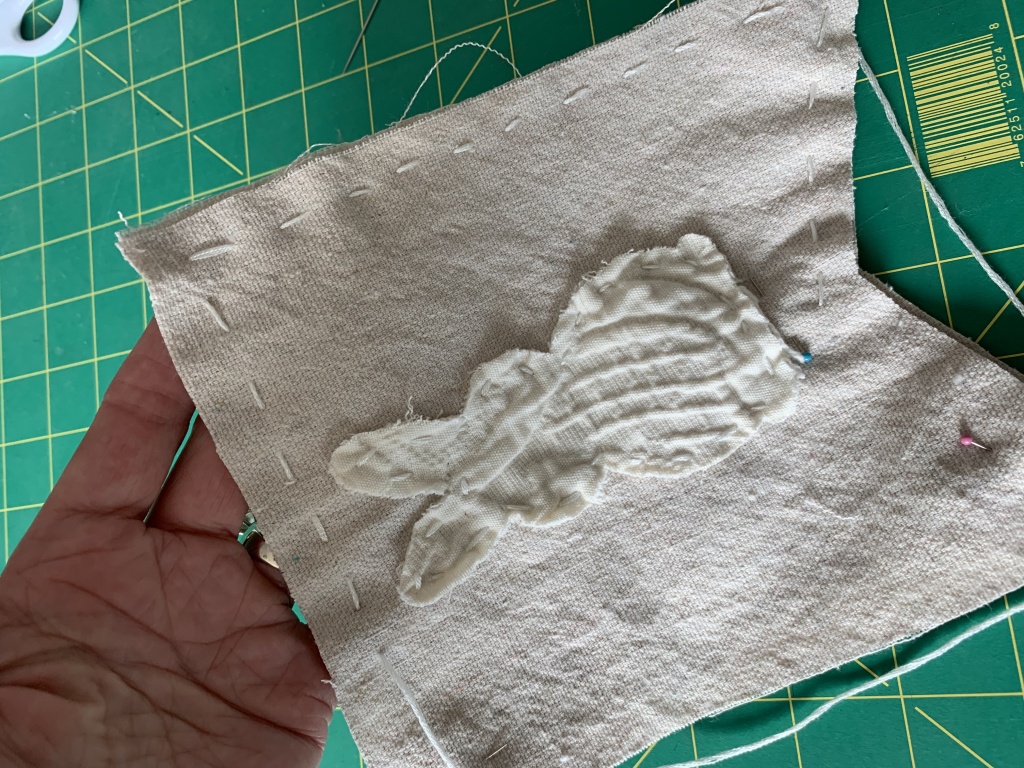
After all of your letters and shapes are sewn onto the fronts, you’ll need to layer the front banner pieces (with letters and shapes) the batting, and the second piece of drop cloth. Pin all three layers together so they don’t shift around while sewing.
You can either machine sew them together or sew them by hand using embroidery floss. I started out with the sewing machine but ended up liking the rustic feel of the hand-sewn pieces even more. You’ll have to decide which method works best for you.
How to install grommets:
The last part is the grommets. To install the grommets, you’ll need grommets and a grommet kit. They aren’t expensive so stay with me. I used the pointy end of my weeding tool from my Cricut to poke a hole through the finished banner piece where I wanted the grommet (you could also use an awl or an ice pick), then I forced the end of my scissors through the hole to make the hole larger and then had to create a small fold and cut the hole just a little bit larger.
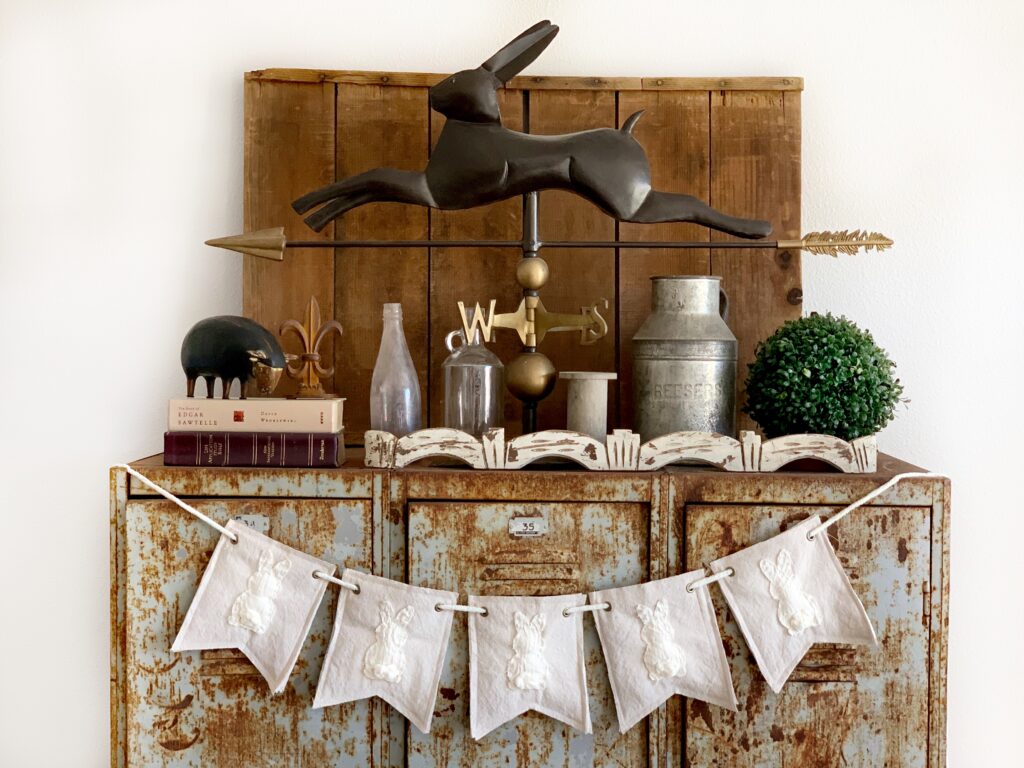
Don’t cut too far! Sharp pointy scissors work better. If you try to cut through it with dull scissors, you’re going to end up cutting the hole too large. This is a little confusing so I created another subpar video for your enjoyment. You can watch how to install grommets here. I’m the worst at making videos so please just give it a thumbs up and don’t crush me! lol Once you get all of the grommets installed, you can string all of the banner pieces together using blanket yarn, ribbon, or twine.
Here’s a fabric St. Patrick’s Day banner DIY I made. I cut the letters with my Cricut.
I tend to love neutrals but the possibilities are endless when it comes to color options, fabric choices, and embellishments. I would love to see what you come up with.
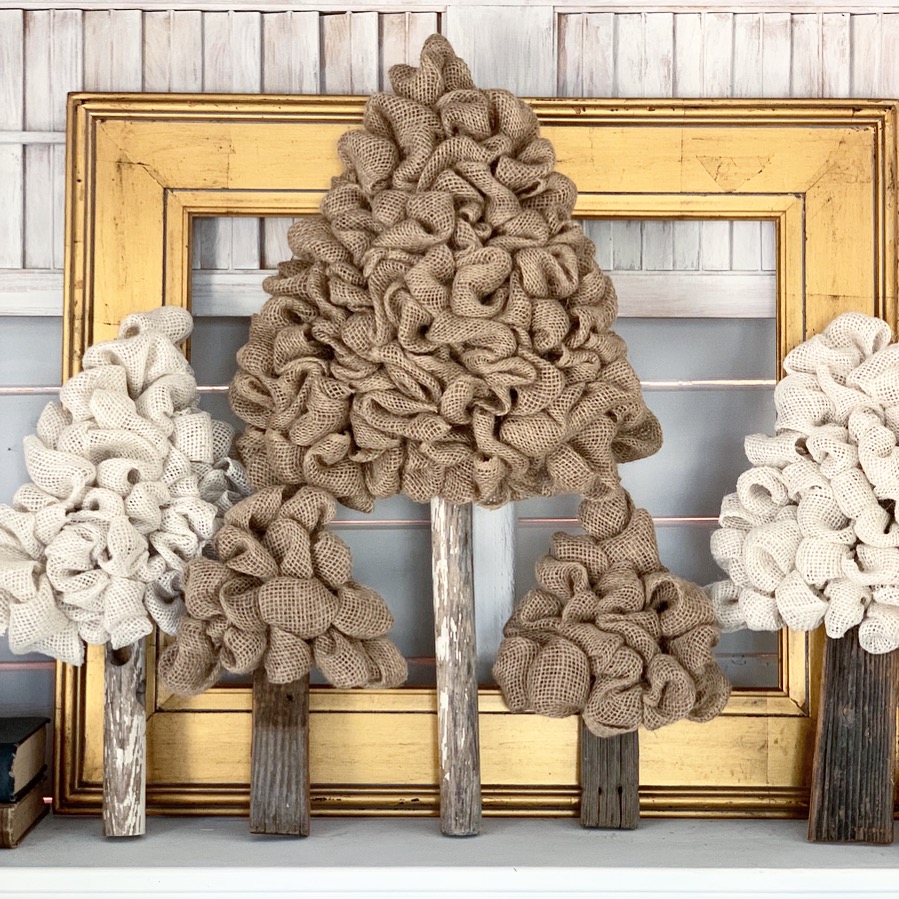
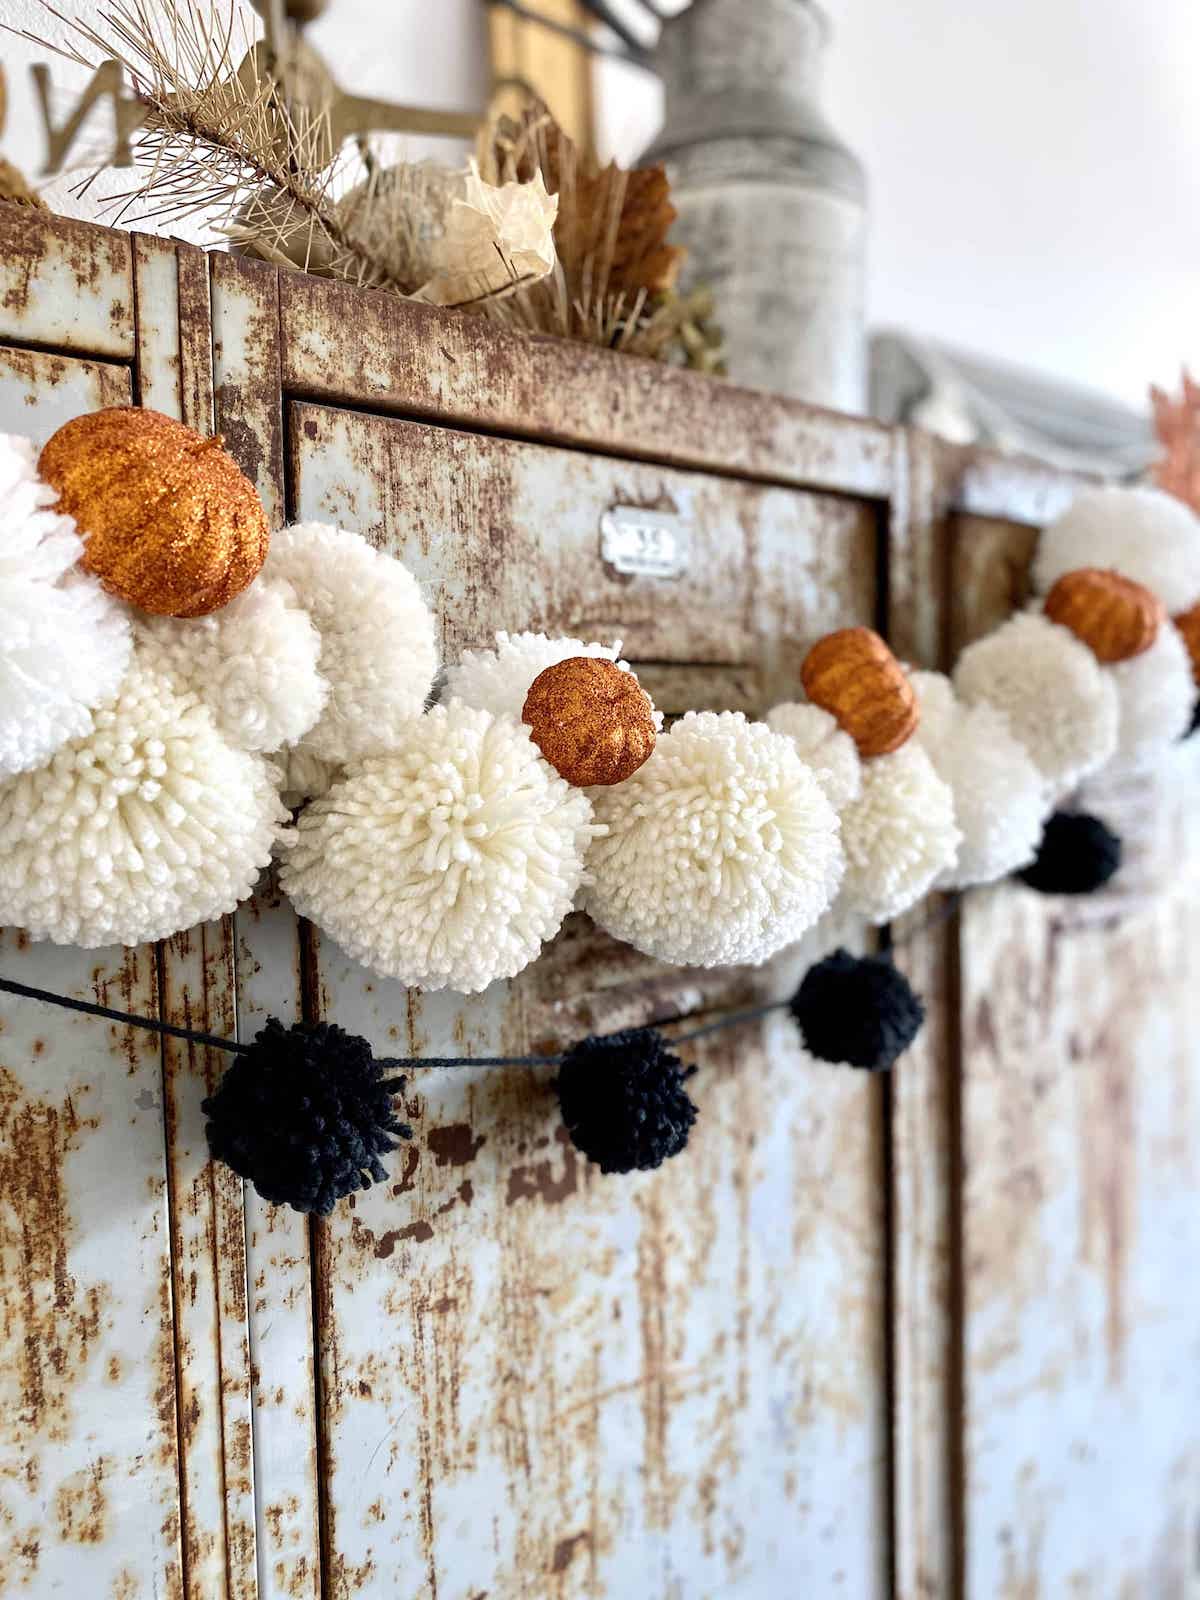
I hope you enjoyed my Fabric Bunting DIY! Be sure to also check out my Easy Garland, it’s another one of my favorites.
Happy crafting,
Denise
This is a fantastic upcycle and turned out fantastic! Thank you so much for sharing!
I appreciate you dropping by to check it out!
It’s absolutely adorable! I’ll have to try this.
Thank you so much! I’ve got some new designs coming out soon. Be sure to stop back by 🙂
Such a great DIY! I just love how detailed your tutorial was … looks like a must try!
Thank you for your kind words. I appreciate you stopping by today!
Denise, girrrrrrrrl! These are SUPER DARN adorable. I want to make one right now!!!! The bunny butt! I can;t even tell you how i’m totally crushin’ on it!
This is absolutely darling! You could make one for pretty much every season/holiday!!! Love it.
Thank you, Tana. I’m already working on some other holidays. They are so fun to make. Thanks for stopping by!
Denise I LOVE this banner, and your DIY explained everything perfectly. Great job!
Thank you Gail. I appreciate you stopping by!
Oh this is just darling! I love the details and great instructions you gave! Pinning!
Thank you Kelly. You are so sweet!
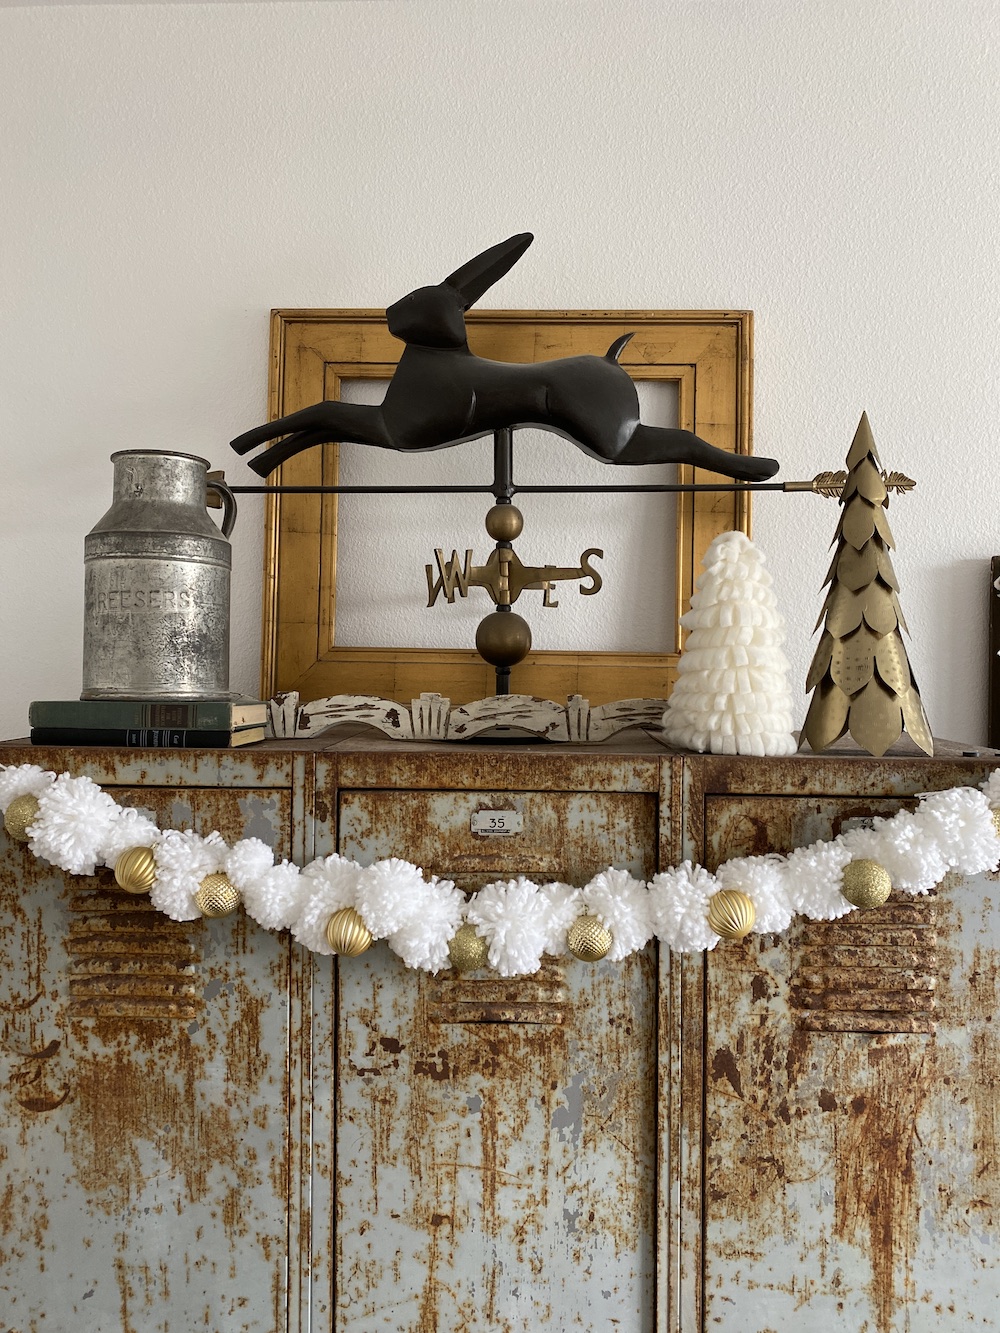
Adorable banner! Could you please share where you got that wonderful rabbit weathervane? Thank you!
Thank you so much. I used to own a furniture and home interiors store a few years ago and I treated myself to the weathervane. I’ve tried to find one similar for someone once before and I haven’t been able to find one. I did find a cute copper pig that you can see here. Thank you so much for stopping by.
Such a great detailed tutorial!! I’ll have to give it a try 🙂
Thank you Ashley! Thanks for stopping by!