
Adorable Easter Bunny Garland DIY Project With Cricut
This post contains affiliate links which means that at no cost to you, I may earn a commission if you purchase using one of my links. For more information view my full disclosures.
~
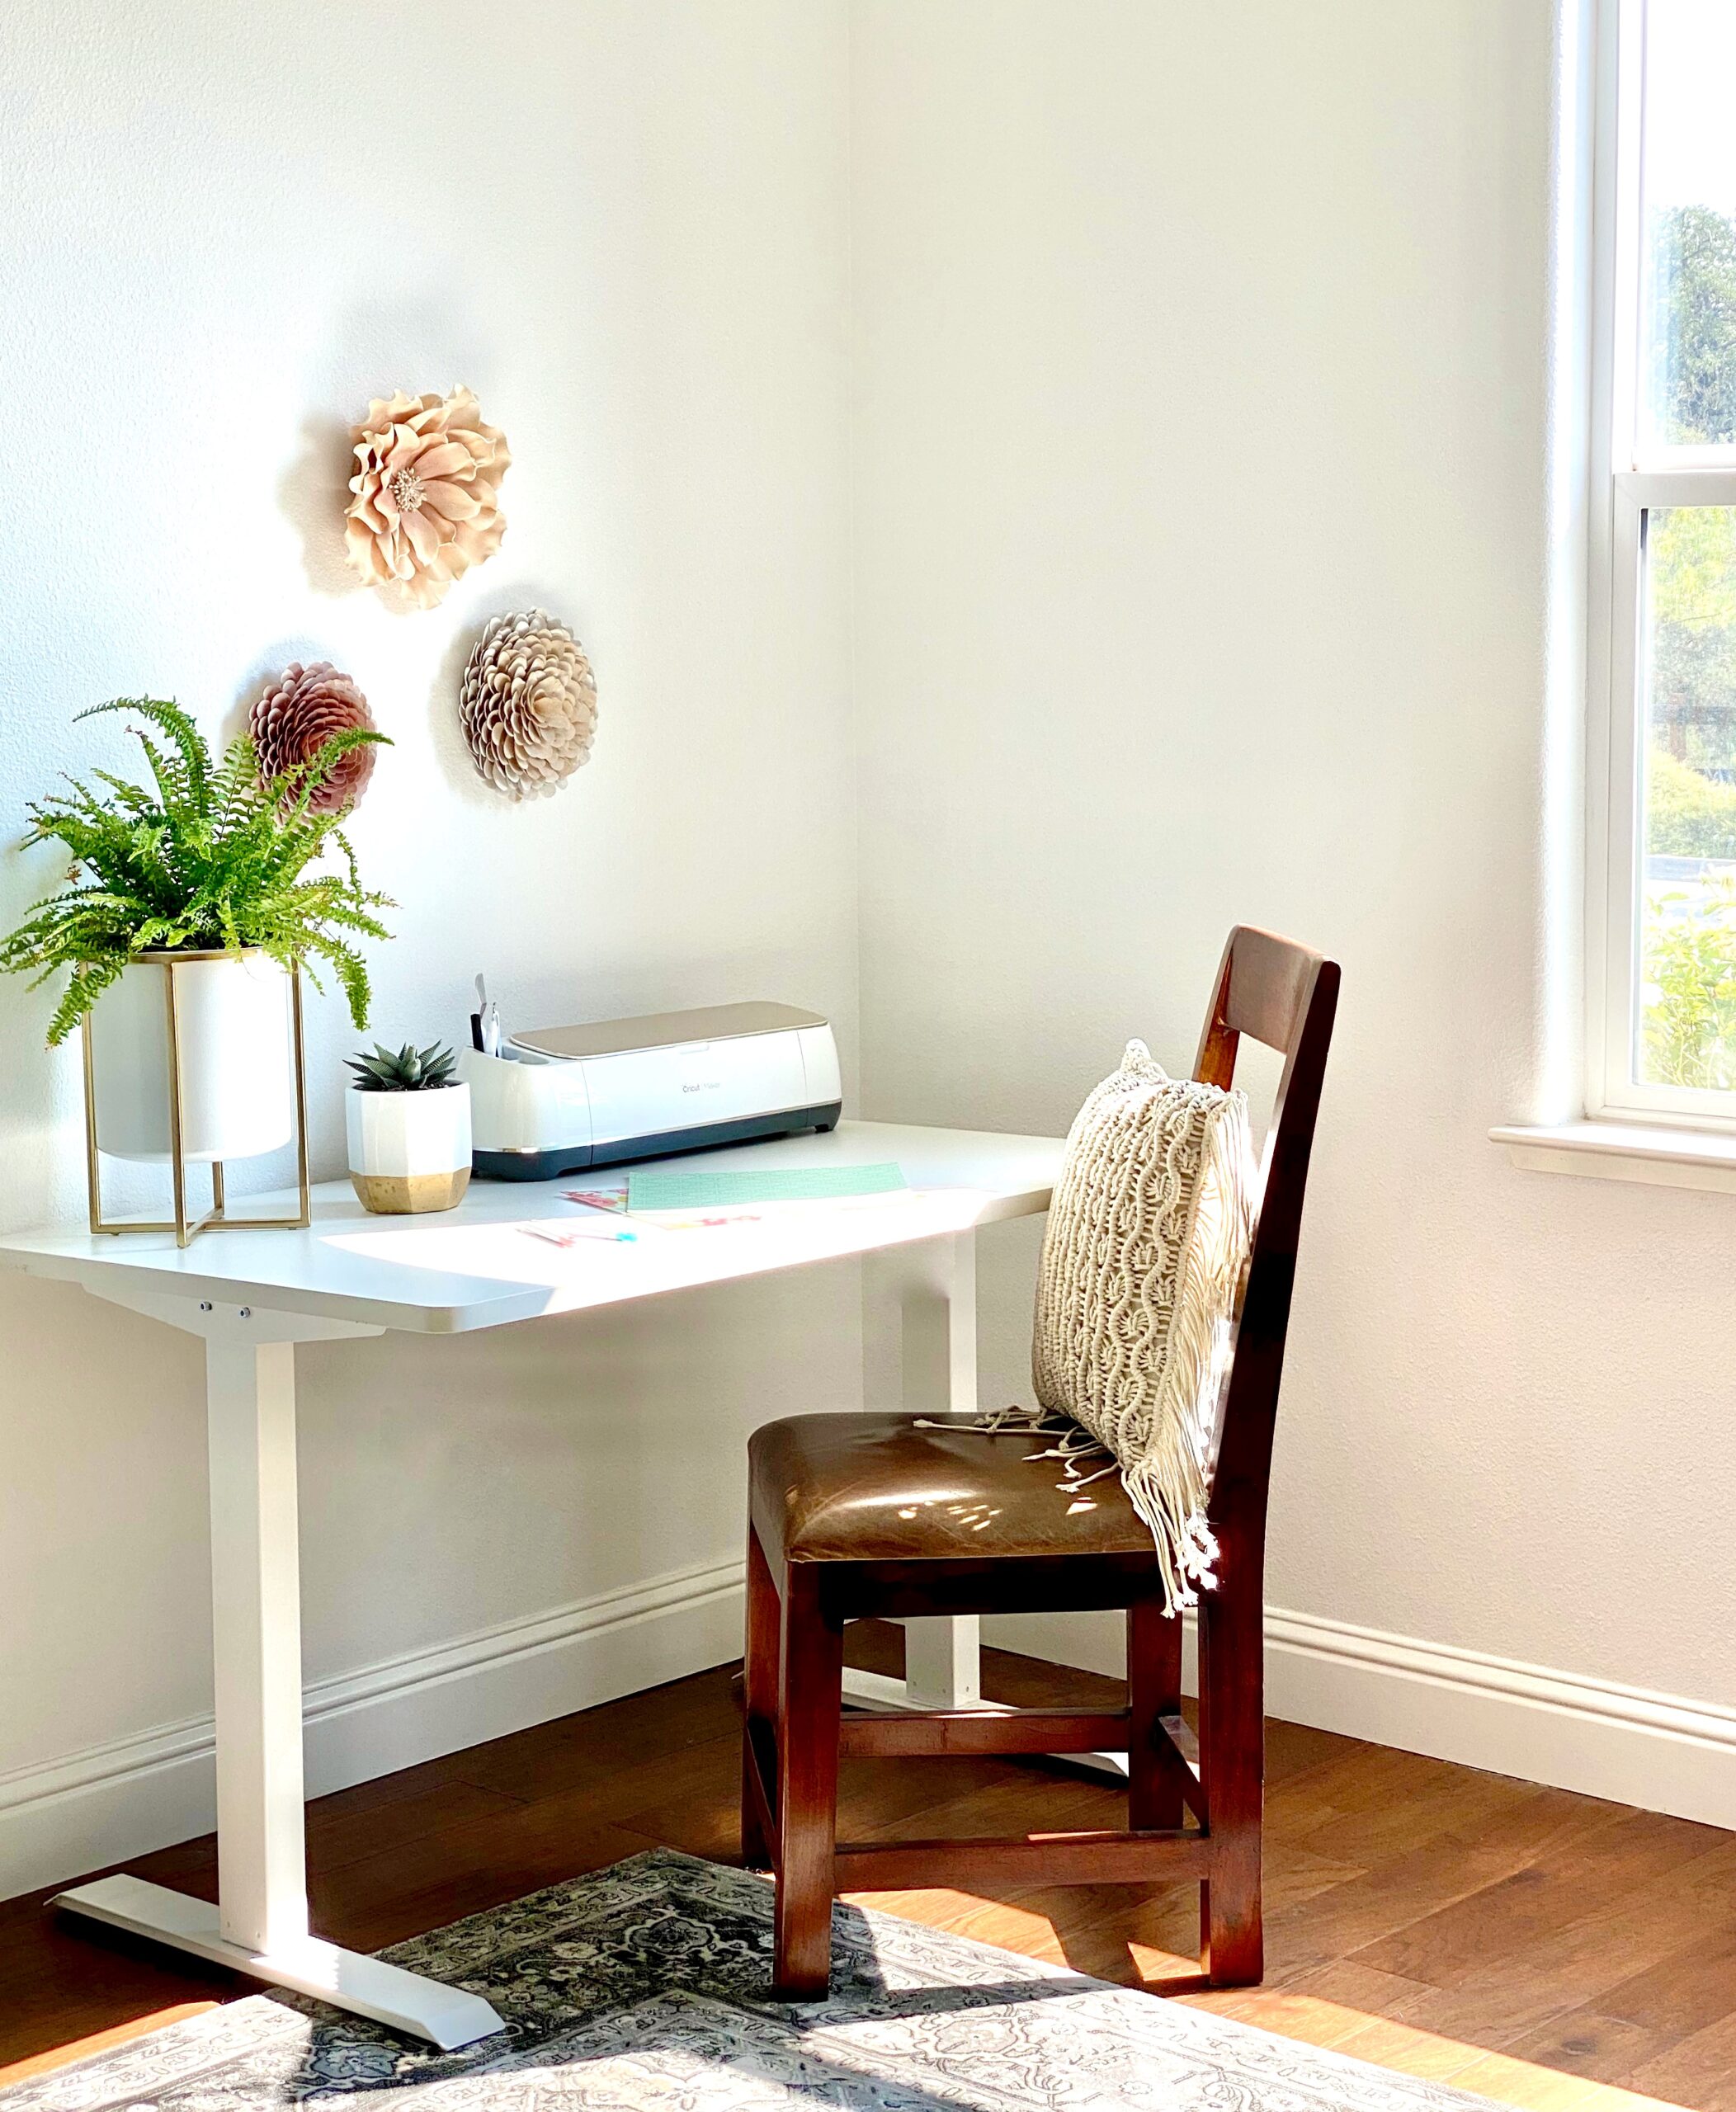
This Easter Bunny Garland DIY project can be completed in about 20 minutes with your Cricut Maker. I bought my Cricut about a year ago and was kind of intimated by it at first. I made a few wood signs and struggled through quite a few steps, but with a little trial and error and getting familiar with how the materials work, I quickly got the hang of things.
When I first purchased my Cricut, I almost bought another model because I didn’t think I’d ever use the rotary blade or the knife blade. I haven’t purchased the knife blade yet, but I’ve already put the rotary wheel to work and I’m so glad I spent the extra money! So far I’ve made some felt flower projects, my Fabric Banner DIY, and this Easter Bunny Garland DIY.
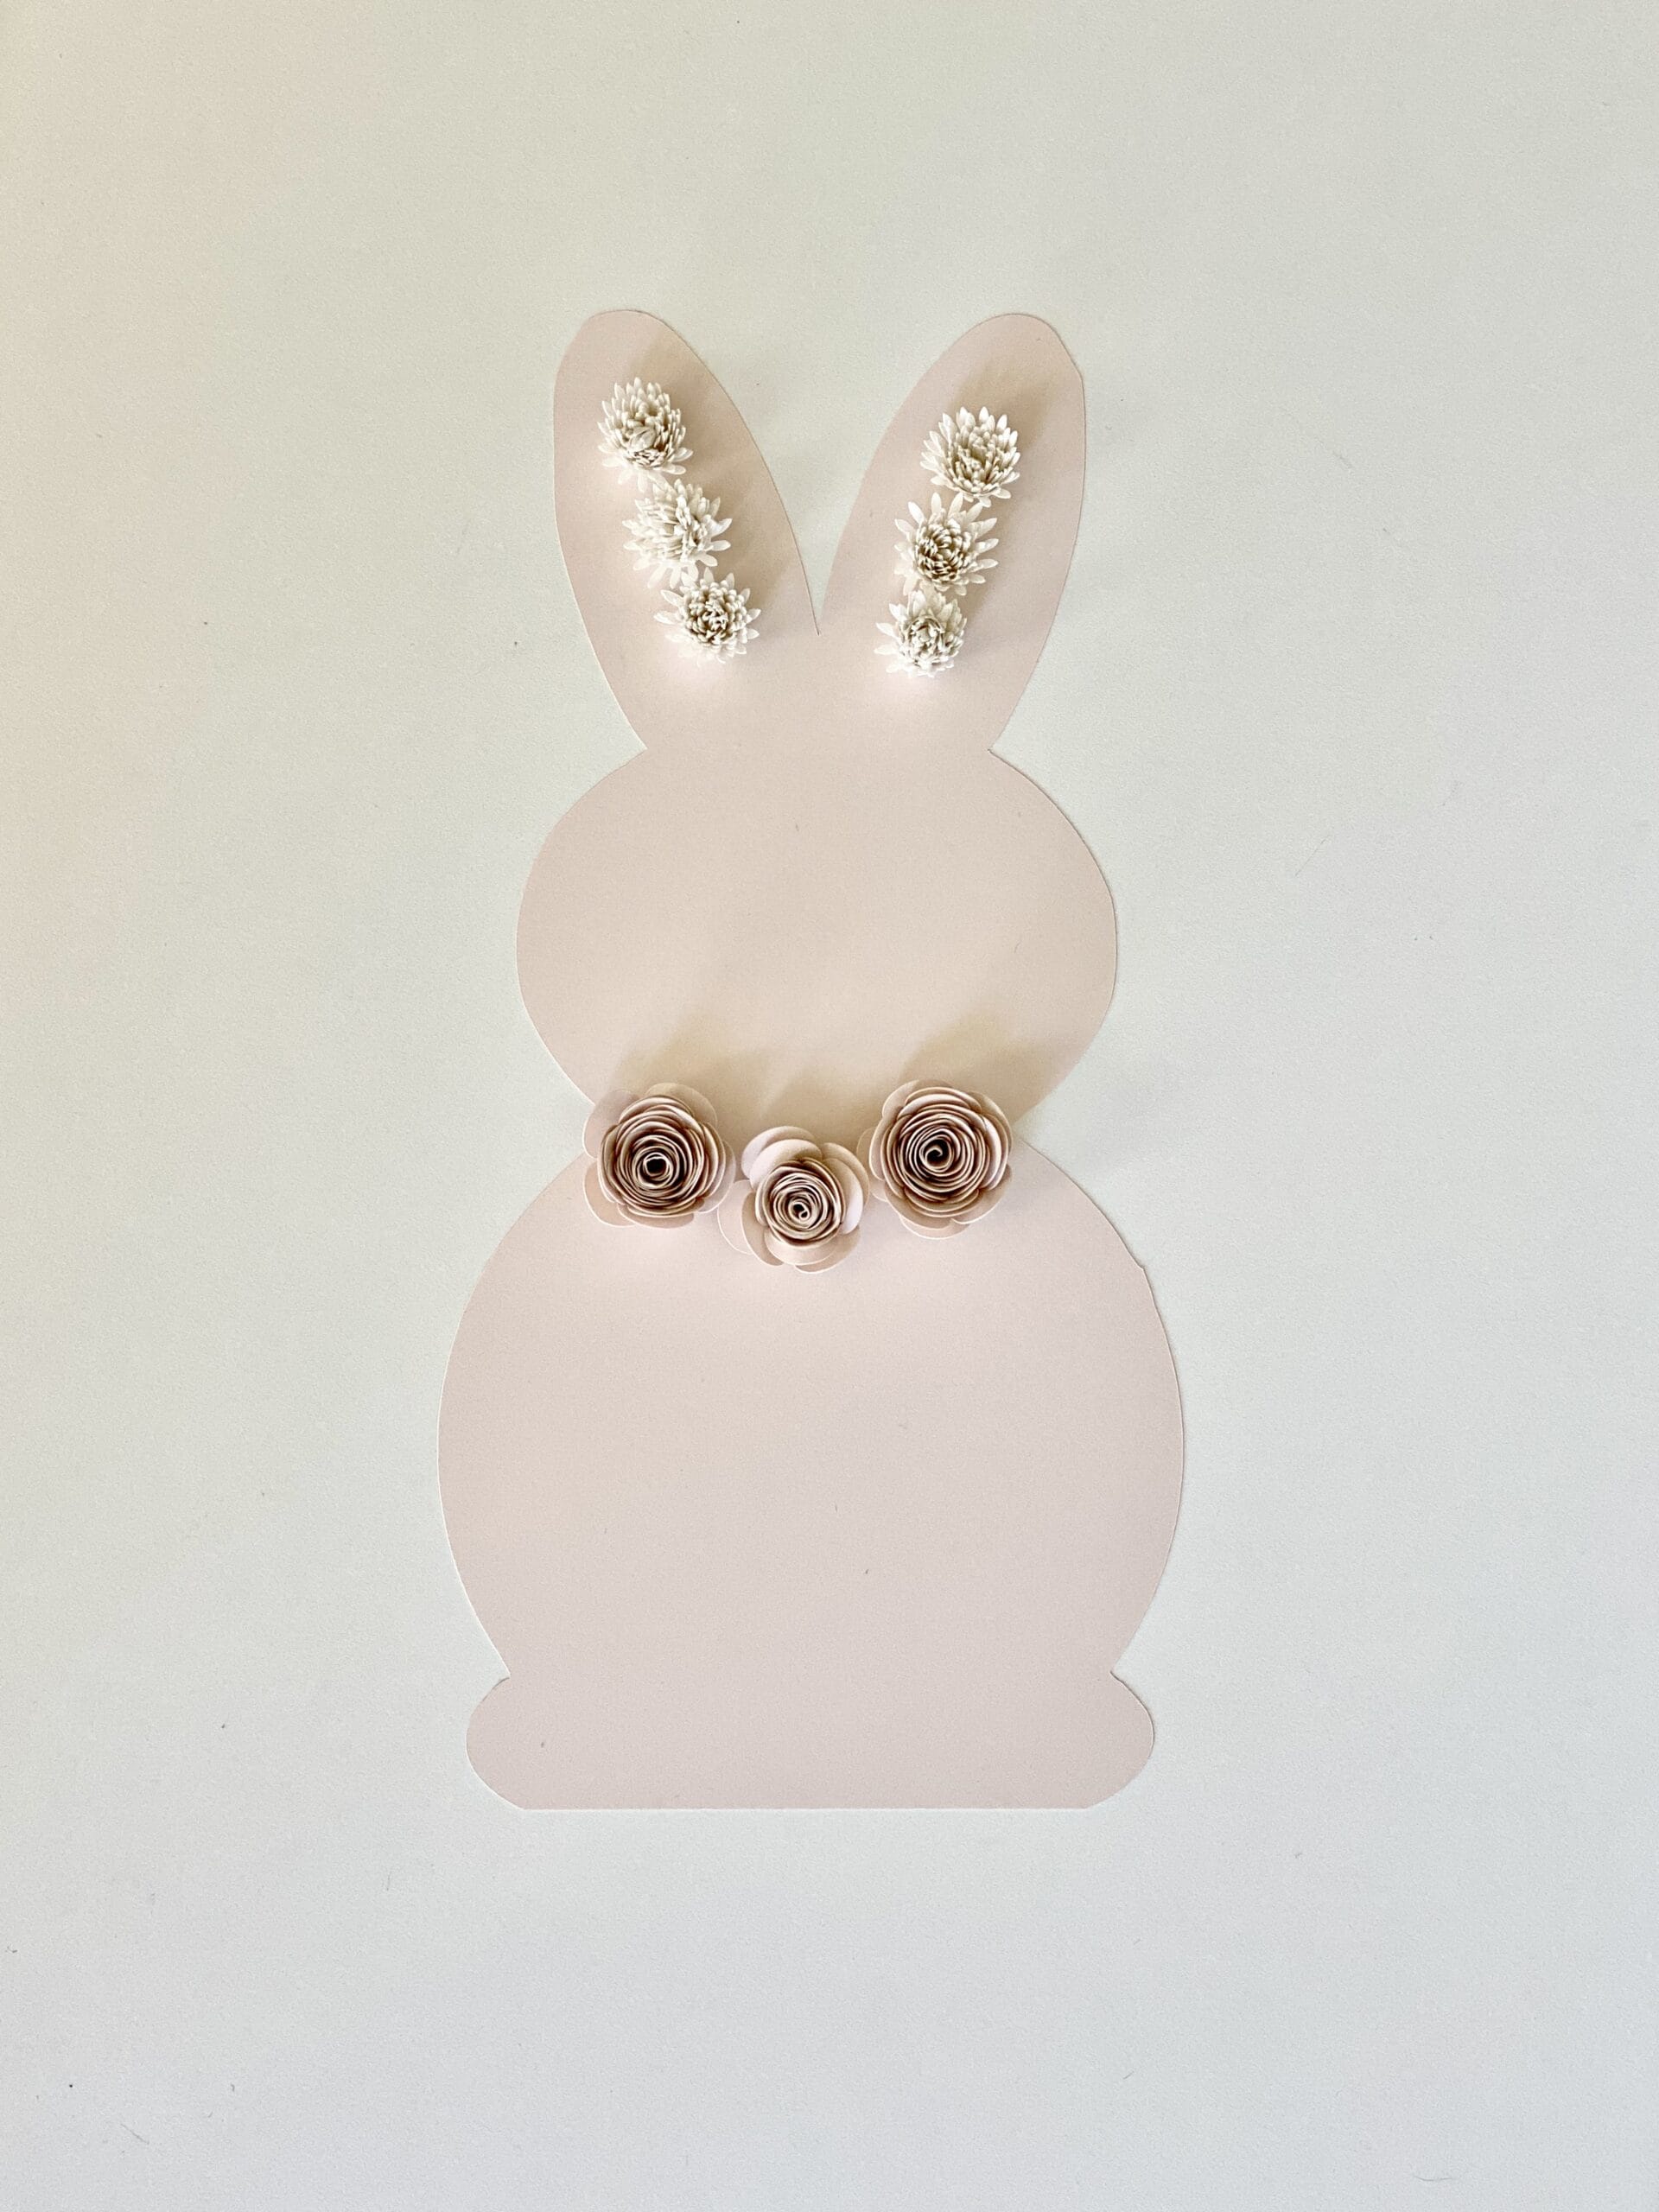
I like to use Canva for a lot of my designs. I found the simple bunny on their site for free. Cricut makes it really simple to resize images in Cricut Design Space. Here’s what you’ll need to make your Easter Bunny Garland DIY: Also read these tips for cutting fabric with Cricut before ruining your mat.
- Fabric – Twice the number of bunny cutouts you want for your garland. My garland only had 5 finished bunnies so I cut 10 bunny shapes
- Polyfill – The tiniest amount for each bunny.
- Jute twine or ribbon to hang
- Needle and thread
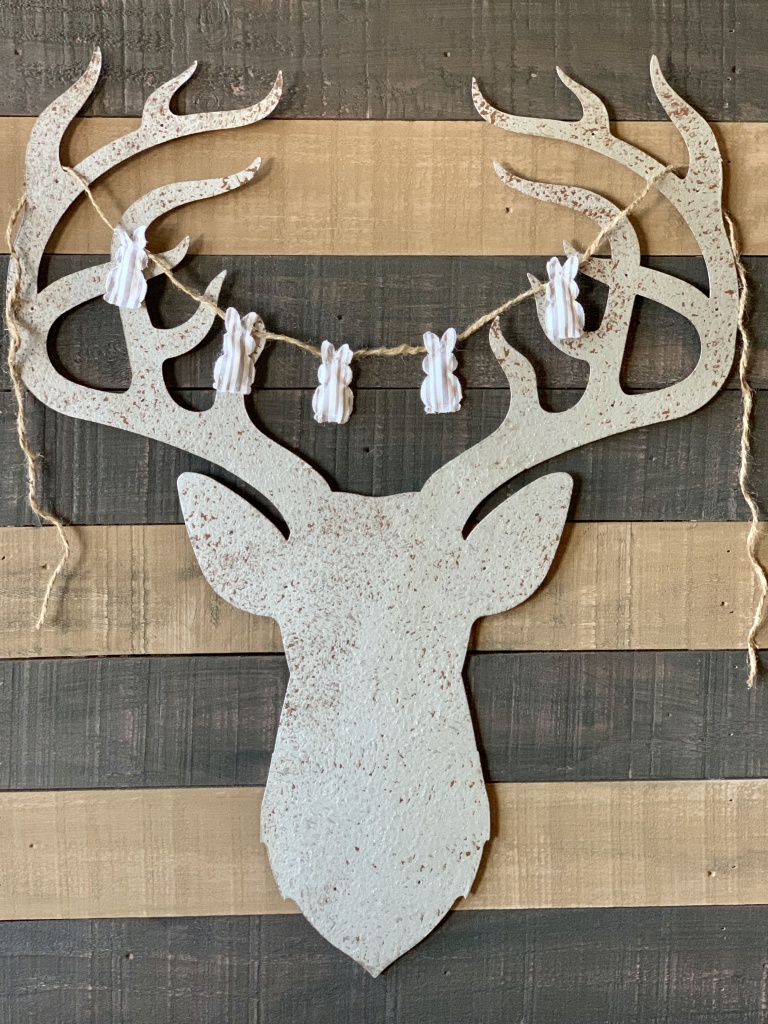
- Optional – If you’re wondering where I got the deer, my daughter bought it for me at Hobby Lobby.
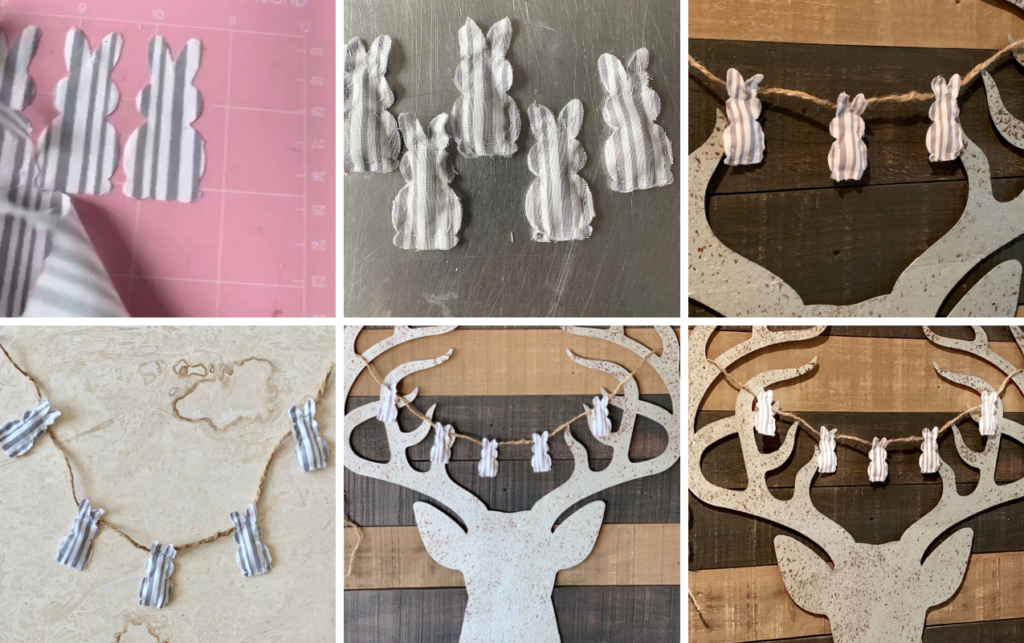
Making the bunnies for the Easter Bunny Garland DIY Project
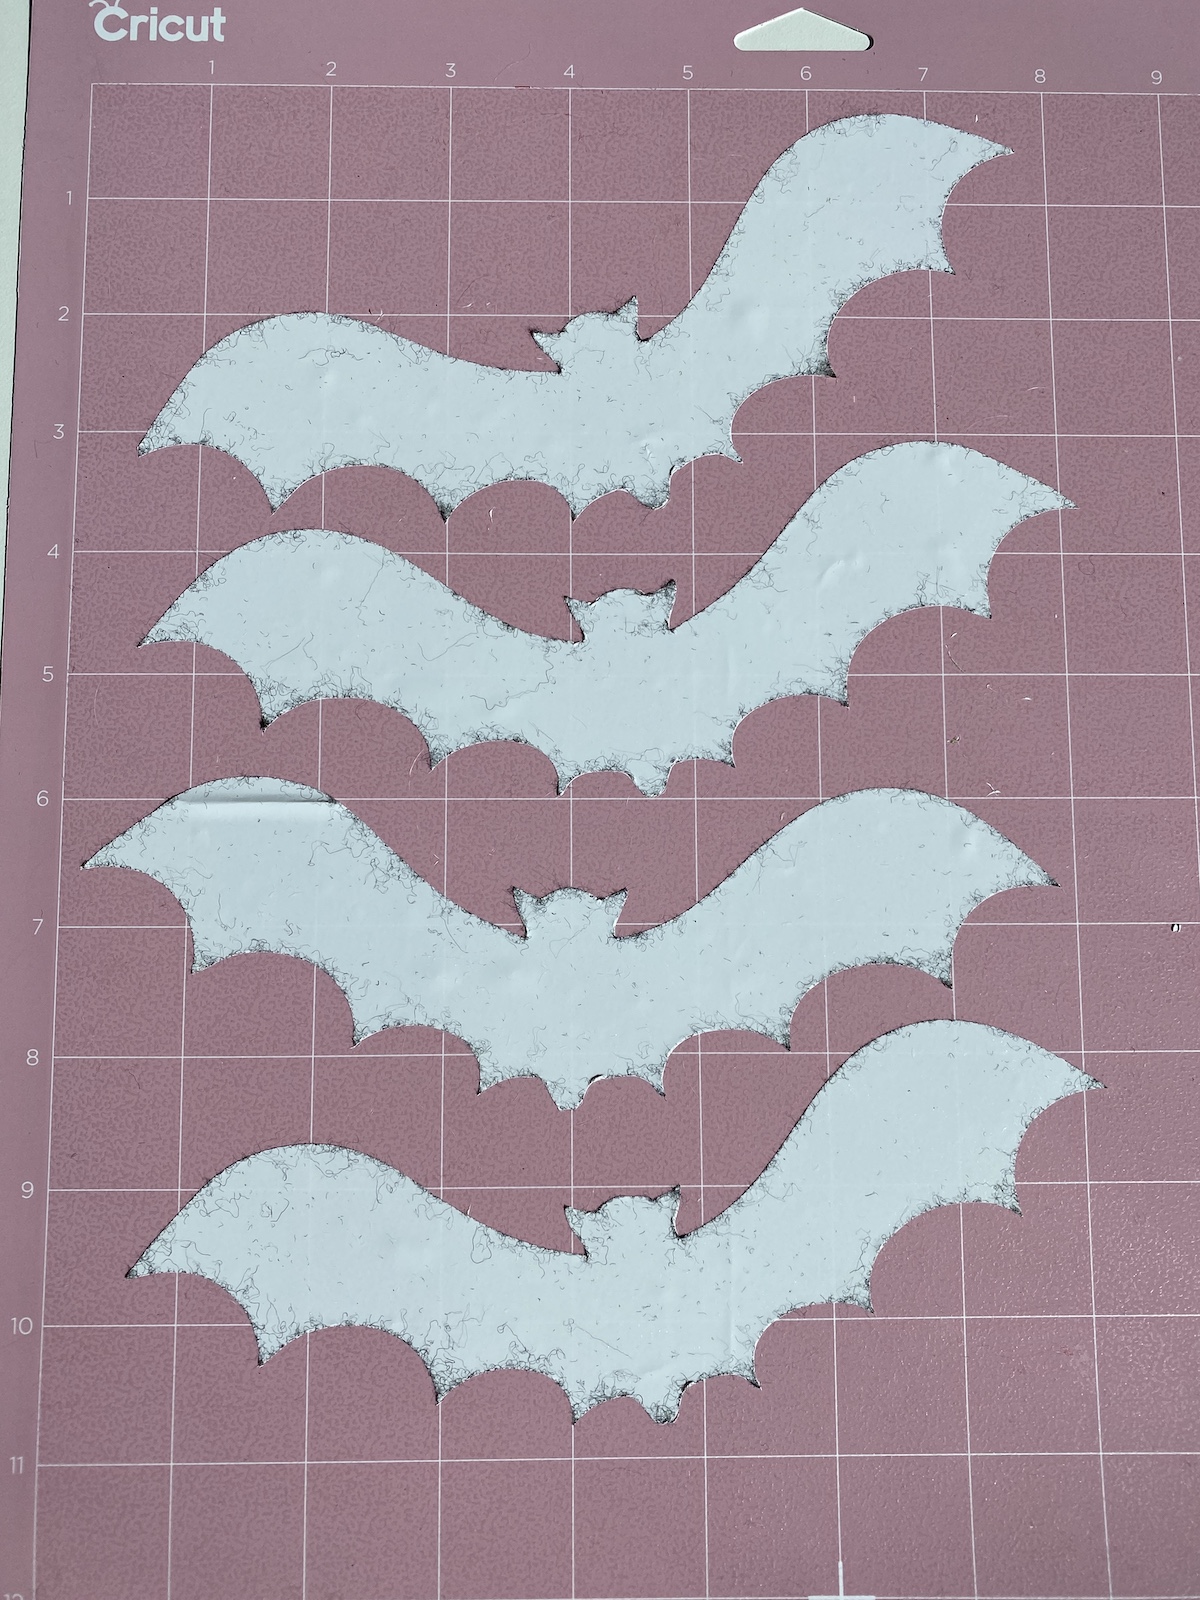
- Cut the bunny shapes using your Cricut Maker and the rotary blade. Since the shapes are so small, this actually takes a while. I was impressed with how well it cut these small shapes!
- Layer two bunny pieces so the pattern is facing out on both sides
- Starting at a toe, sew up the side of the bunny, around the ears and back down to the other toe, but don’t sew up the very bottom. No need to remove the needle and thread, just lay it down for the next step.
- Stuff a small amount of polyfill inside the bunny using the eraser end of a pencil.
- Finish sewing up the bottom
- Repeat all steps for all of your bunnies
Hanging the bunnies on the Easter Bunny Garland DIY Project
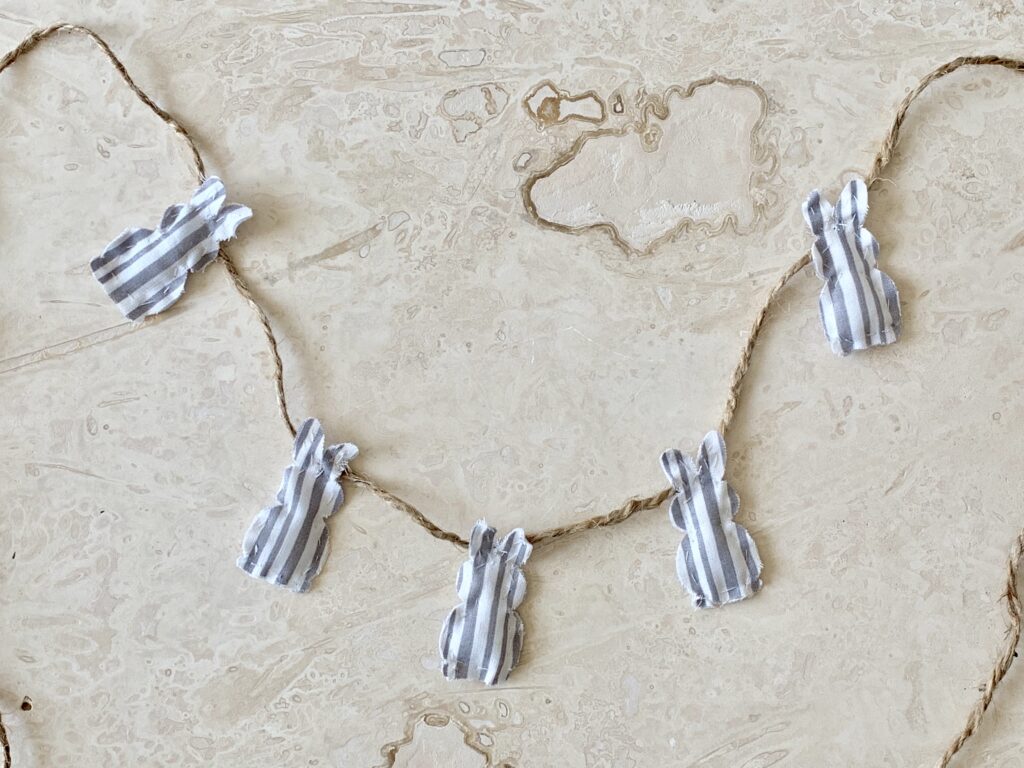
- Sew the bunnies onto the twine or ribbon by hand, spacing them out as far apart as you’d like.
- That’s it!
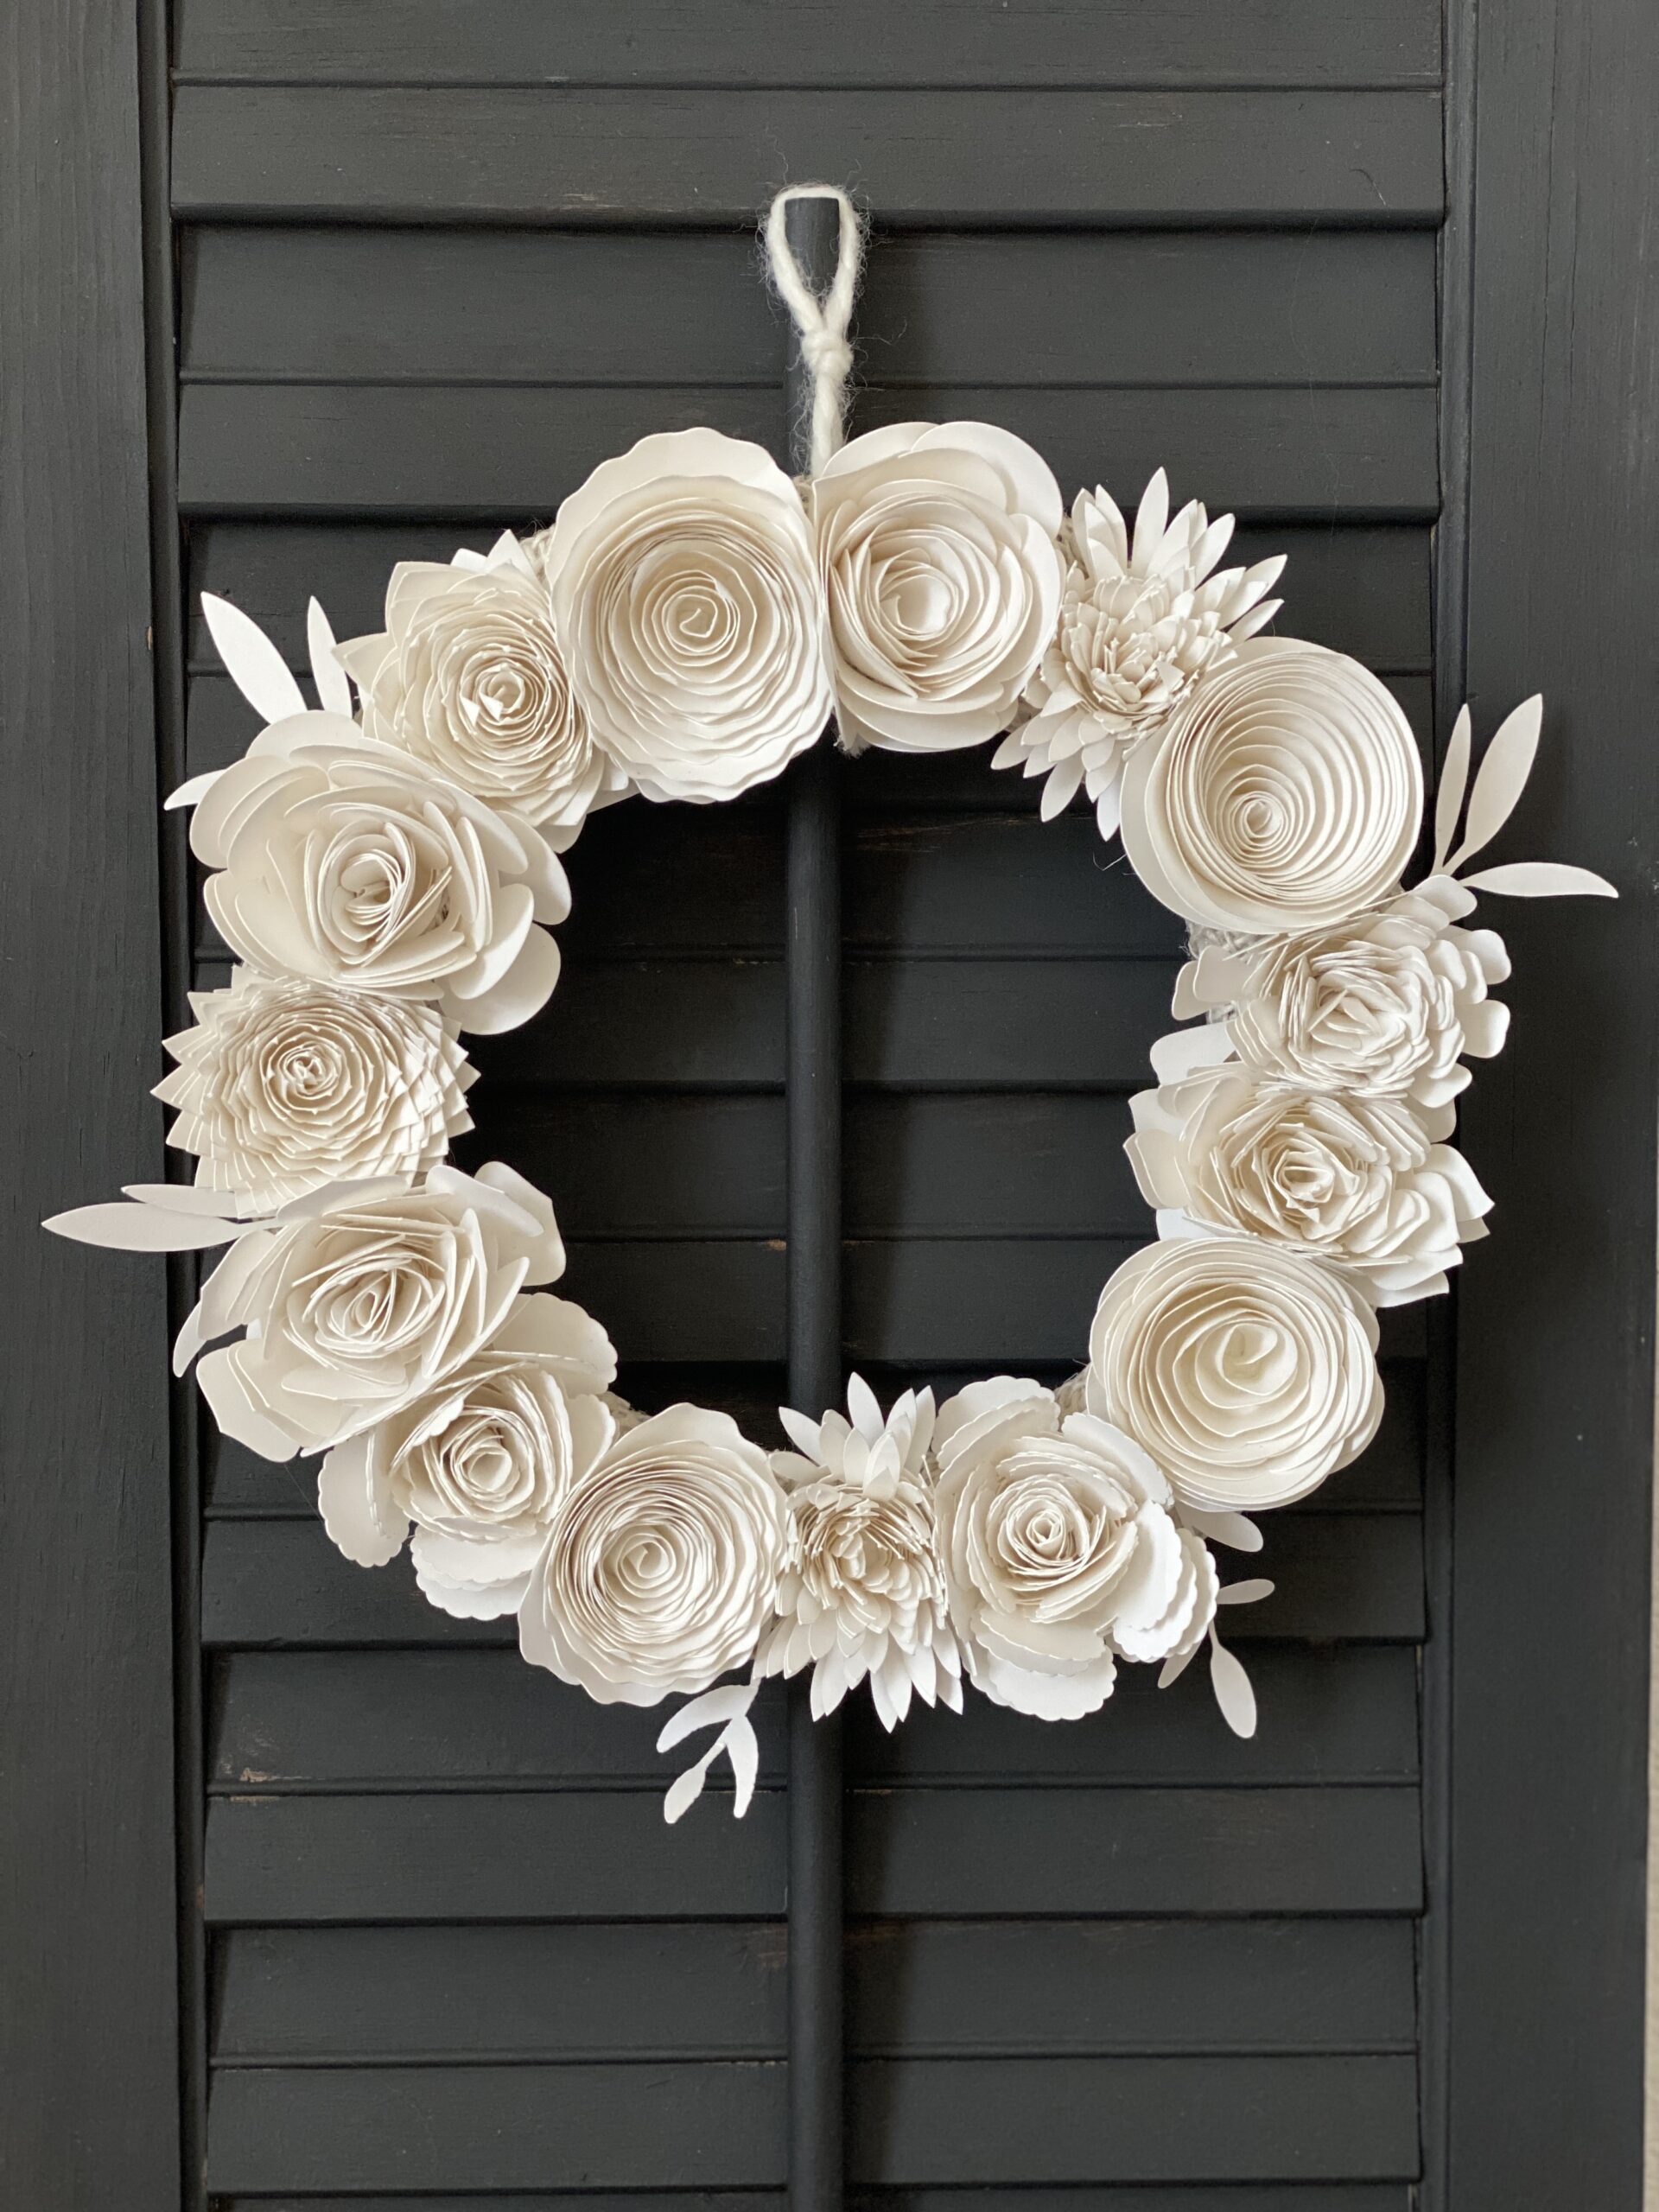
You can resize your bunnies to any size you’d like. This Easter Bunny Garland DIY Project would look great on a mantle, on your range hood, or even draped across a drapery rod. I hope you enjoyed this 20 minute DIY! Be sure to sign up for my newsletter so I can share more DIY projects with you soon! You may also like my most popular Cricut project!
Happy crafting,
Denise
Your garland is so cute. I think it would be adorable in a baby’s room…maybe even hang them from a mobile.
You make it look so easy that I may just have to go get myself a Cricut Maker. I love everything you have done! So inspirational. Thank you for sharing!
Thank you Gail! It definitely has a learning curve but once you start getting the hang of it, it gets addicting. 🙂
I love these little bunnies and every couple of months I think about buying a Cricut, but I know it’s going to be something I have to focus on for a while to learn it. It looks like such fun, though!