
Easy Paper Flowers With Cricut
These easy paper flowers with Cricut can be used for so many things and they’re fun to make. You can make these easy paper flowers with Cricut, Silhouette, or any other cutting machine. If you don’t have a cutting machine, you can still make them so don’t run off just yet. I have some suggestions for the easiest paper flowers to cut by hand later in this post.
I’m assuming you already know how to use a Cricut or cutting machine. If not, I wanted to mention that I highly recommend the Cricut Maker. I have so much fun with my Cricut machine.
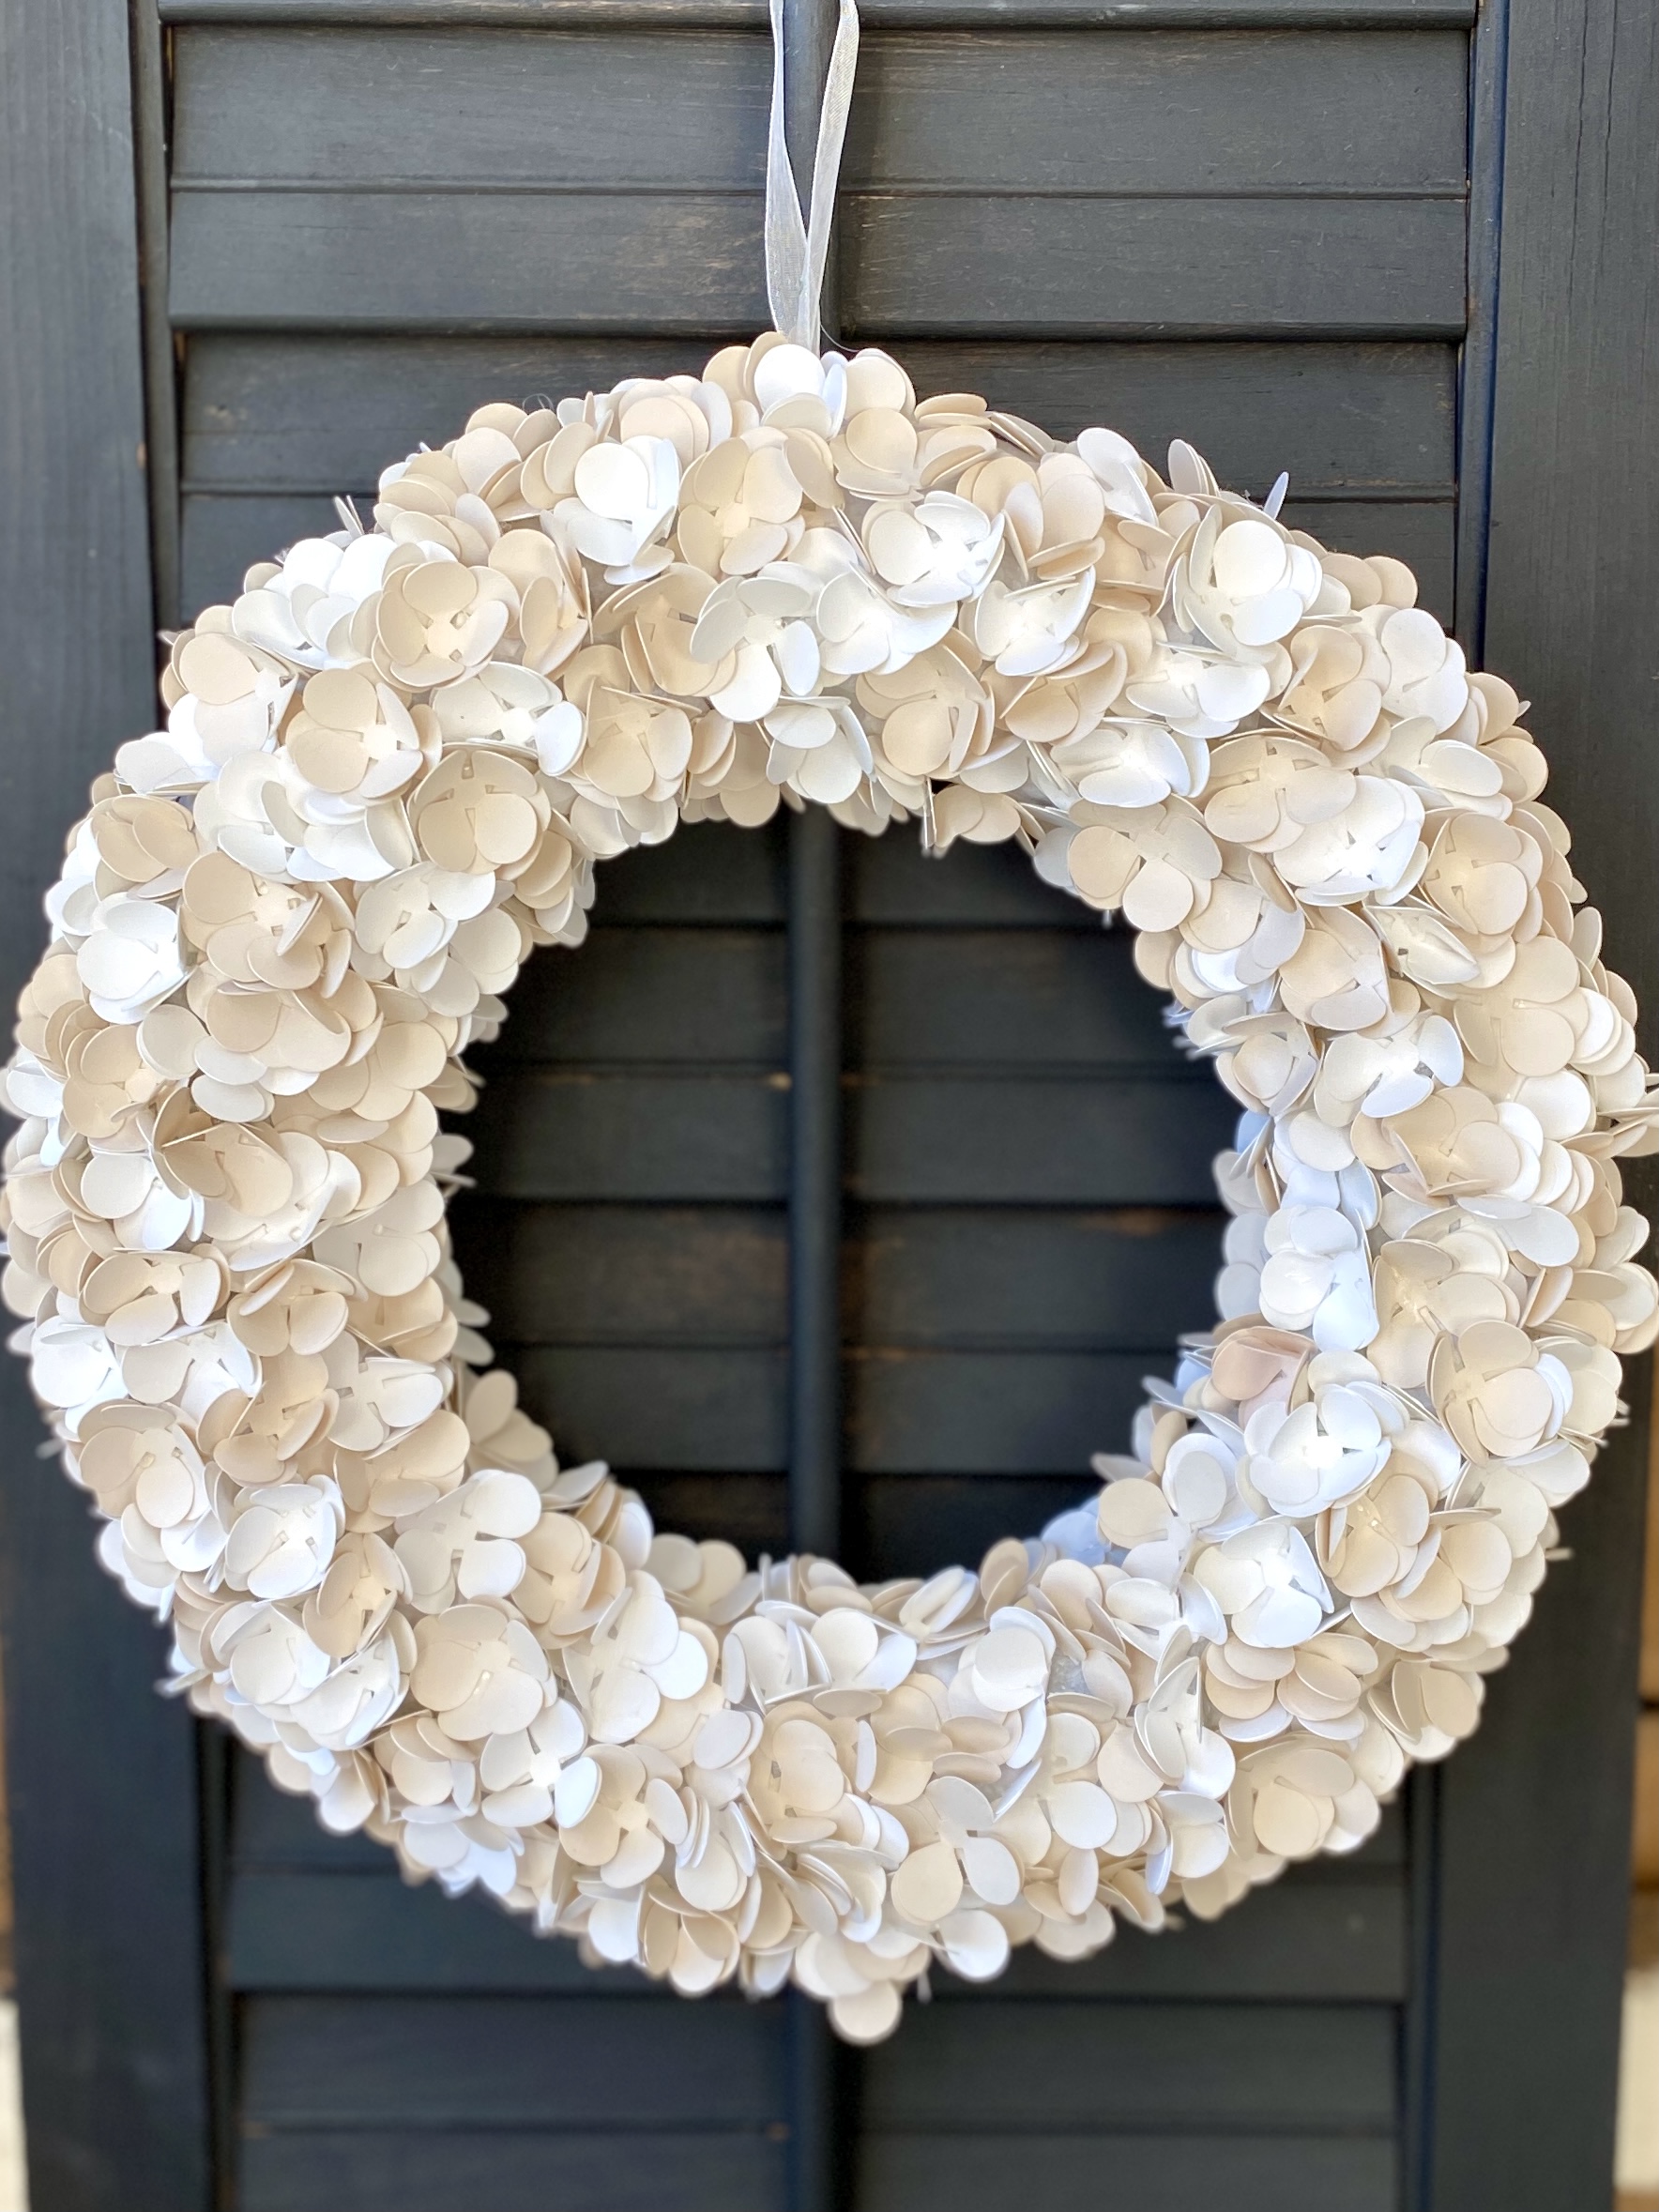
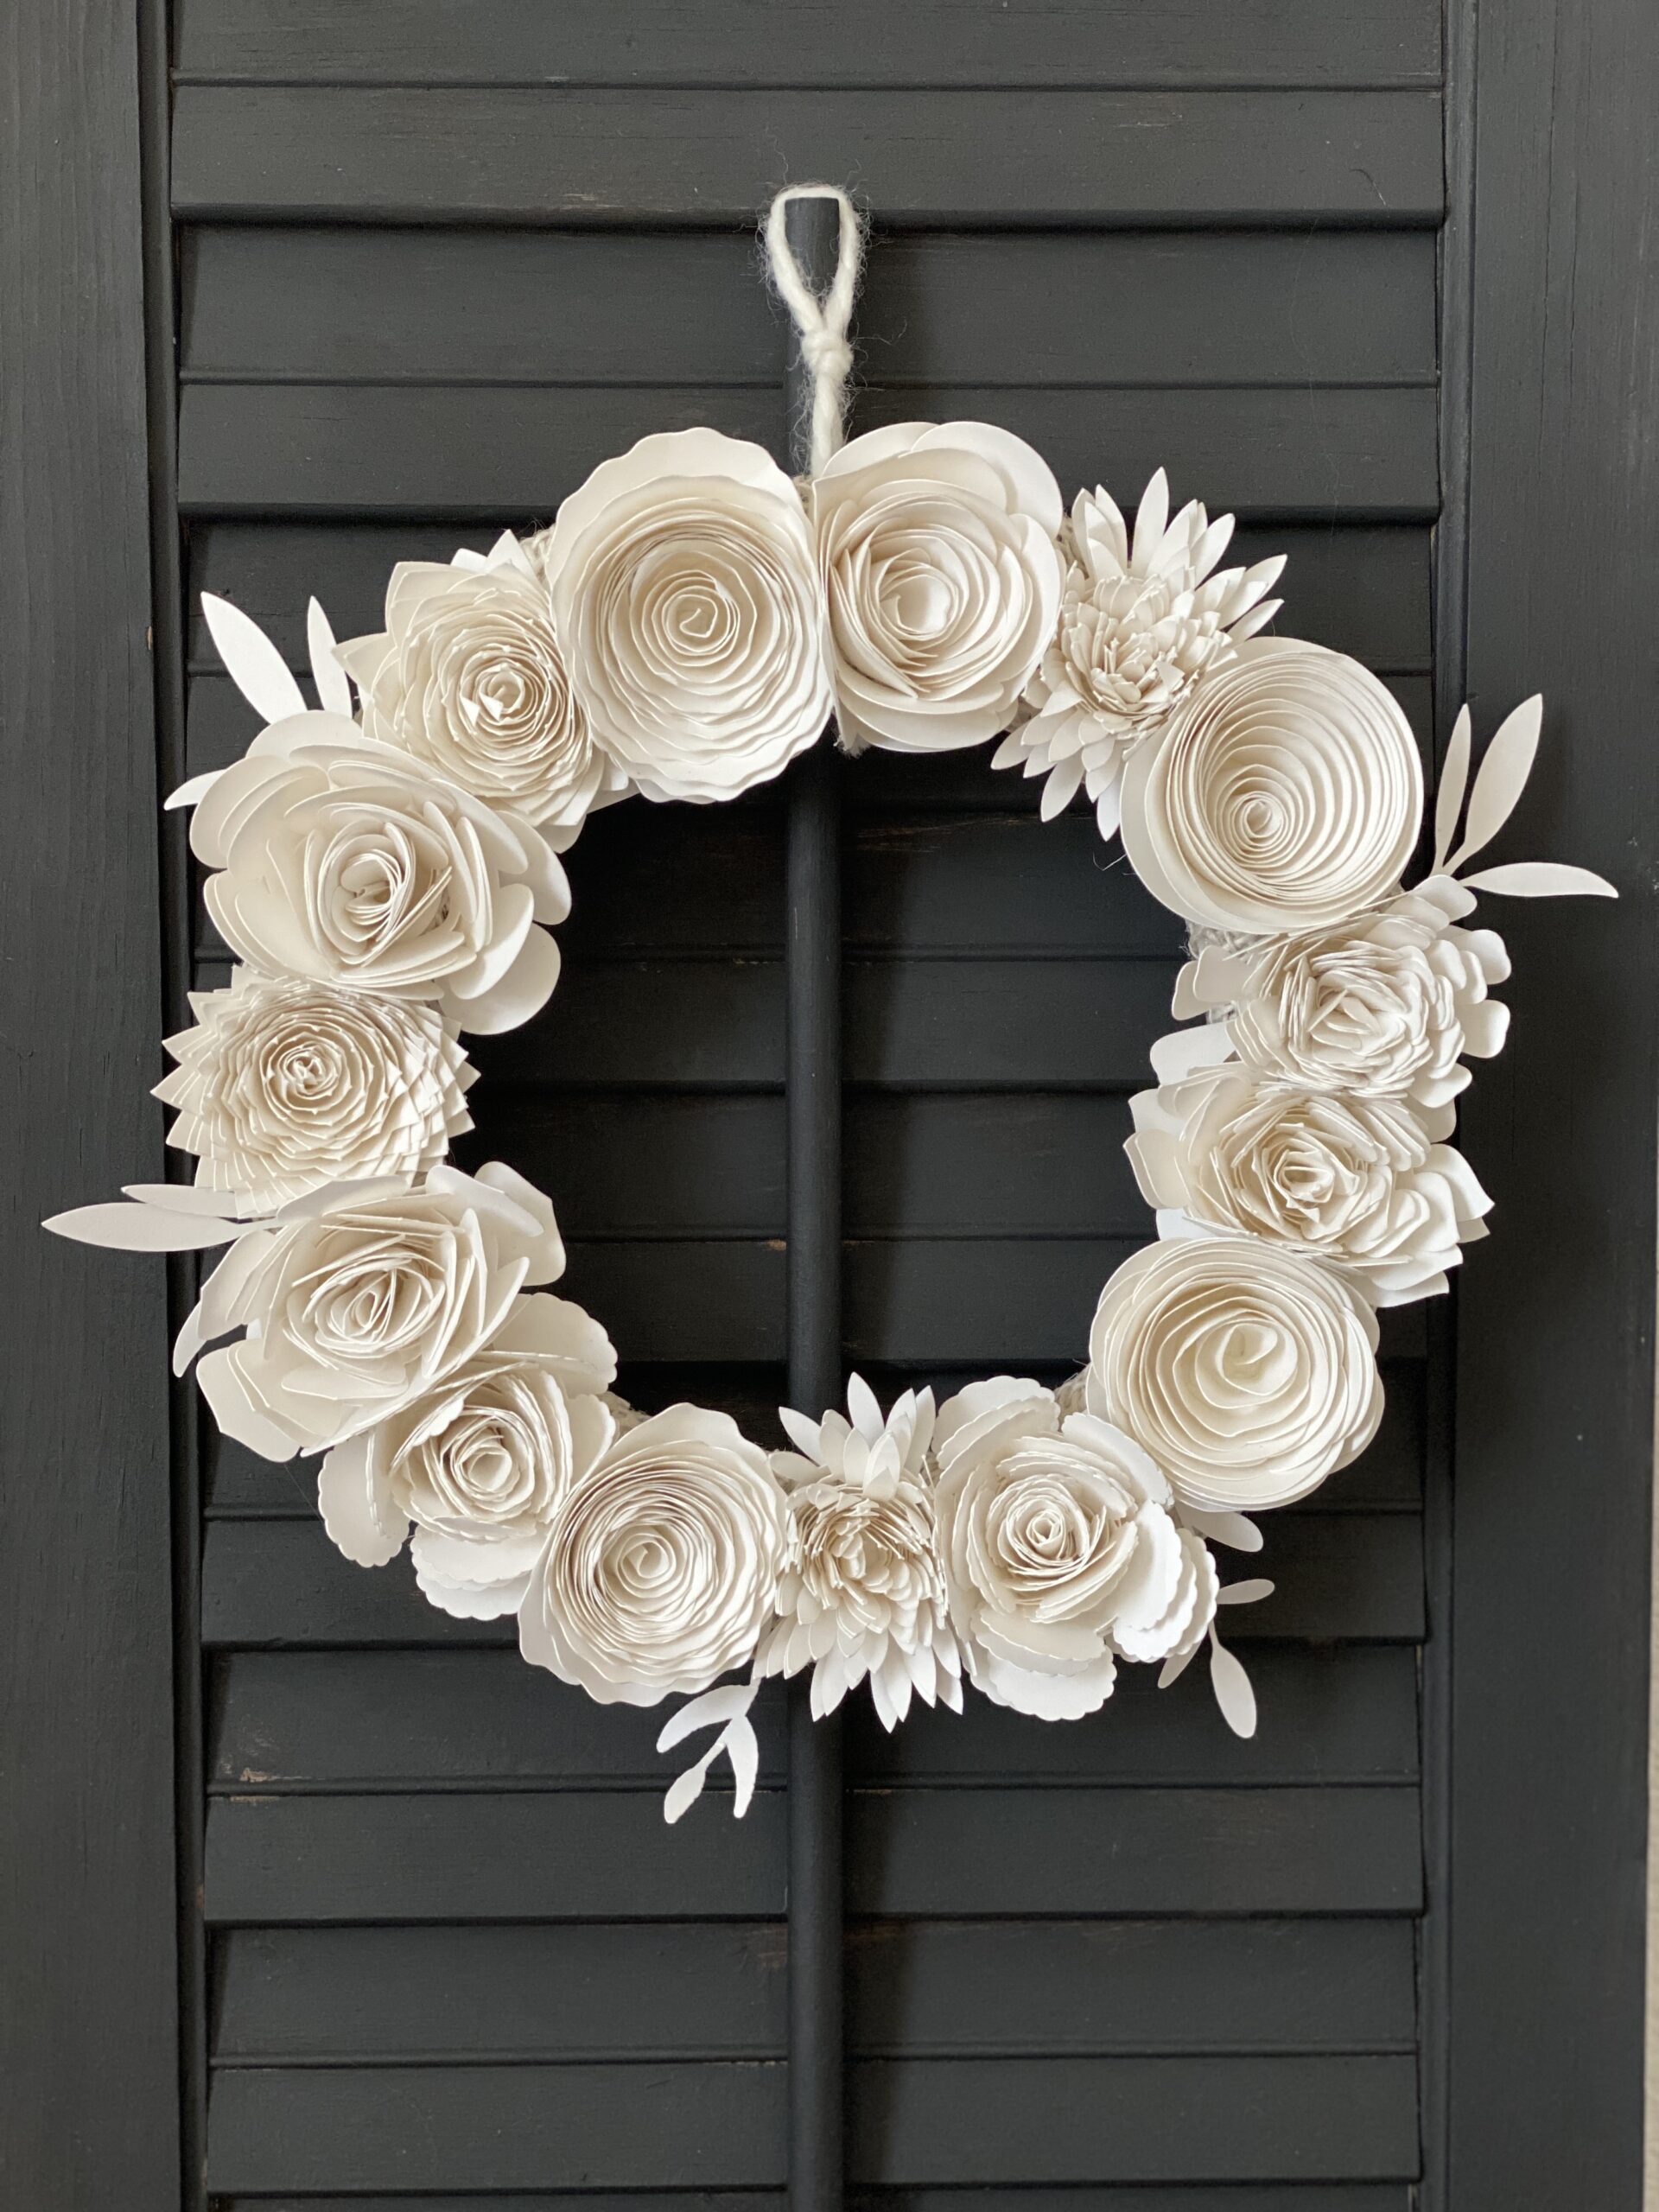
This post will show how to make paper flowers, but you can learn more about making a paper flower wreath.
If you’re trying to decide which Cricut machine to buy, don’t hesitate to spend a little extra and get the Cricut Maker. You’ll regret it if you don’t! You may have noticed that I linked a Cricut Maker Bundle for you.
When I first bought my Cricut, I didn’t get a bundle. I was super disappointed when I got home and I couldn’t make a single thing. The bundles are great savings and they get you started with a few products so you can get practicing.
How To Make Paper Flowers With Cricut:
I’ve included a video for how to make the paper flowers using the template. There are additional step-by-step instructions below the video.
- Cricut cutting machine or another cutting machine. I have the Cricut Maker and I love it!
- Cutting Mat
- Fine Point Blade
- Cricut reverse tweezers that you get in this set – My favorite Cricut flower making tool!
- Cricut Spatula – comes in the set as well but aren’t completely necessary if you have fingernails to pick the cardstock off of the mat
- Cardstock or paper. Cardstock holds its shape better but I’ve seen beautiful flowers made with book pages and regular paper as well.
- Glue Gun
- Paper Flower Template
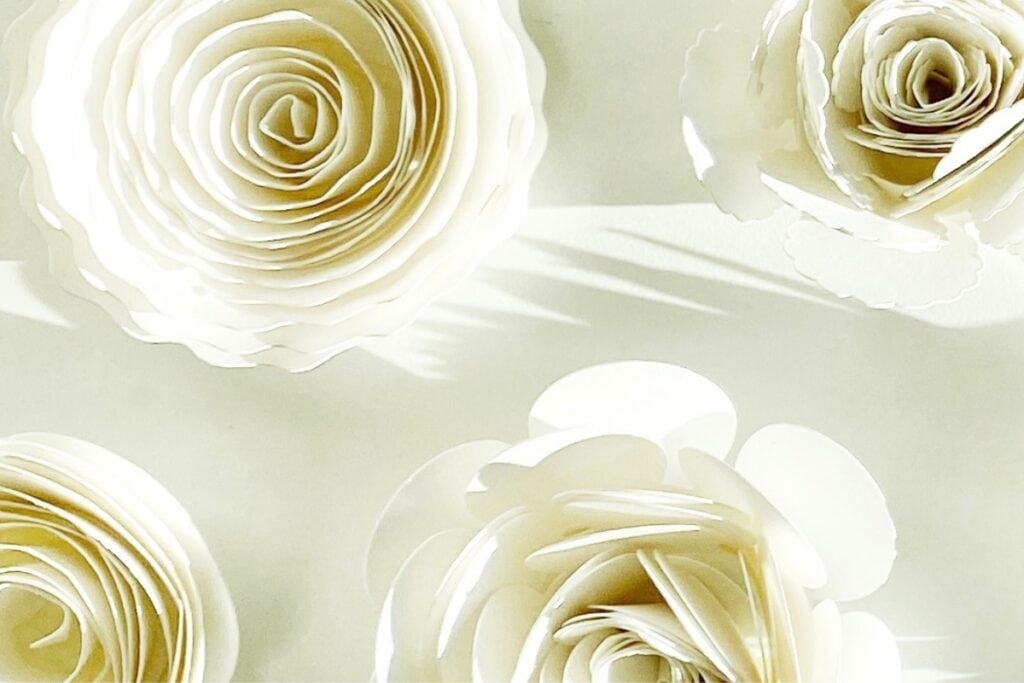
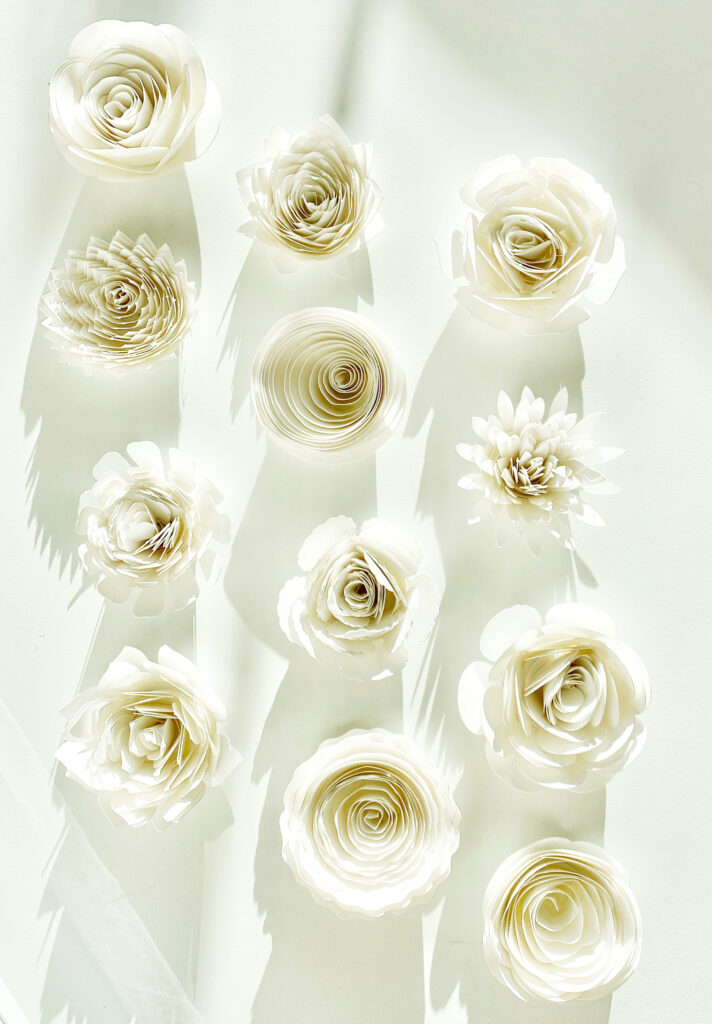
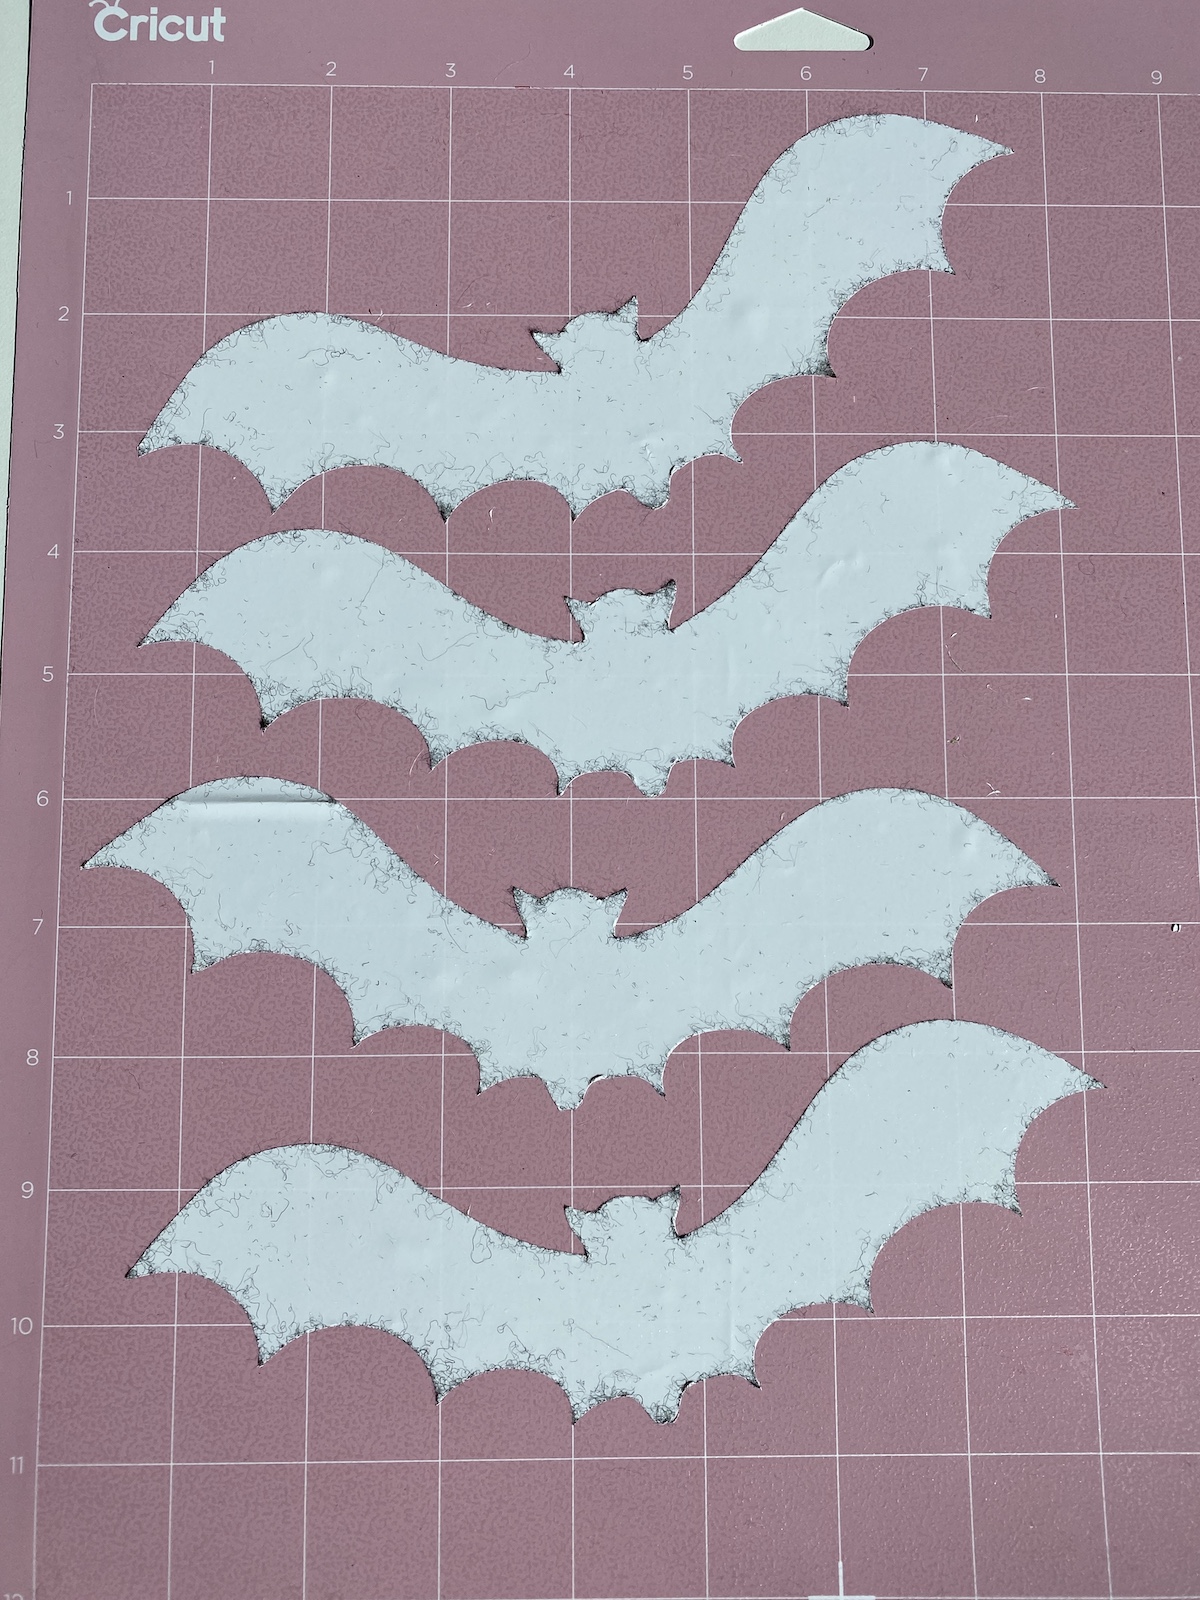
I made all 12 of the flowers in the template because I wanted to see them with my own eyes and play around with the sizing. Since I had standard-sized paper, I sized each flower at about 8″ square. I got one flower per sheet.
When you have the template cut out, the very center of the template is where you will end. The circle shape at the end of it is what you’ll use to glue everything together.
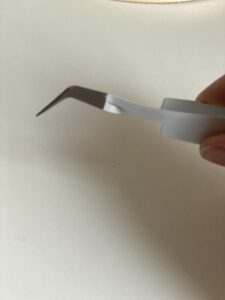
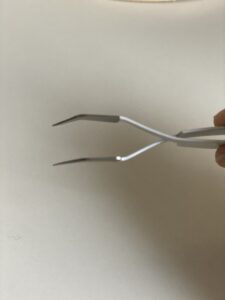
You can roll these by hand, but using the Cricut reverse tweezers makes things so easy. These are the tweezers that are clamped shut until you squeeze them, then they open. So basically, they hold themselves shut. Regular tweezers are the opposite. Am I making sense here? Here are a couple of photos just in case you need the visual.
Making the Easy Paper Flowers With Cricut
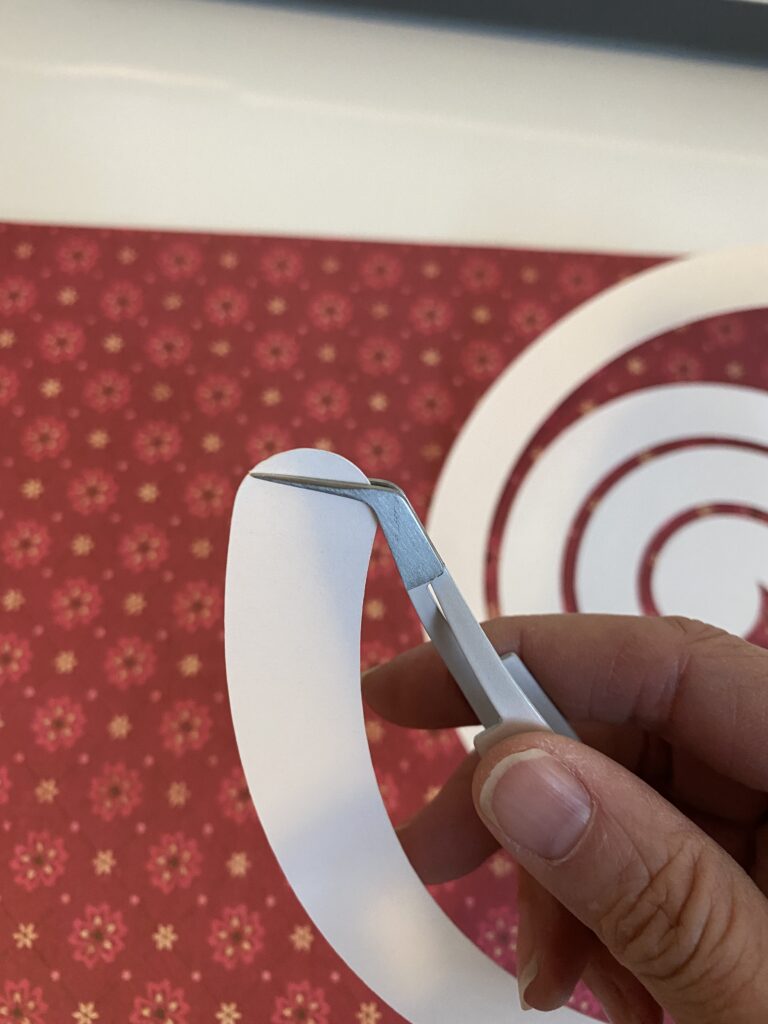

I’m right-handed so I thought I’d show you how I start. You can see in the images above that I have the part I’m starting with on the left and the tweezers in my right hand. I pinch the end and then begin rolling towards myself. The tweezer side is the bottom of the flower and this is where you want to focus.
Keep things as flush as possible on the bottom of the flower as you are rolling and keep things fairly tight. When you get to the round “dot” in the center, remove it from the tweezers and you can gently release a little tension on the flower (barely) and let it unwind a bit until it gets to the size you want.
Do this slowly or it will completely unwind. Don’t let it get too big or you’ll see the glue. Once you get it the size you want, put glue on the dot and fold it over the bottom of the flower and gently press. Don’t squeeze the glue out onto your skin.
When you use the templates with the more detailed petals (the pokey flowers), they don’t unwind as easily and sometimes you have to let them go entirely and help loosen them a bit. If you want the flowers larger but the “dot” isn’t covering enough, just cut a larger circle out of the cardstock and glue the entire flower to it.

If you’re cutting by hand, the smooth-edged template I used in the tutorial above is the easiest one to cut by hand.
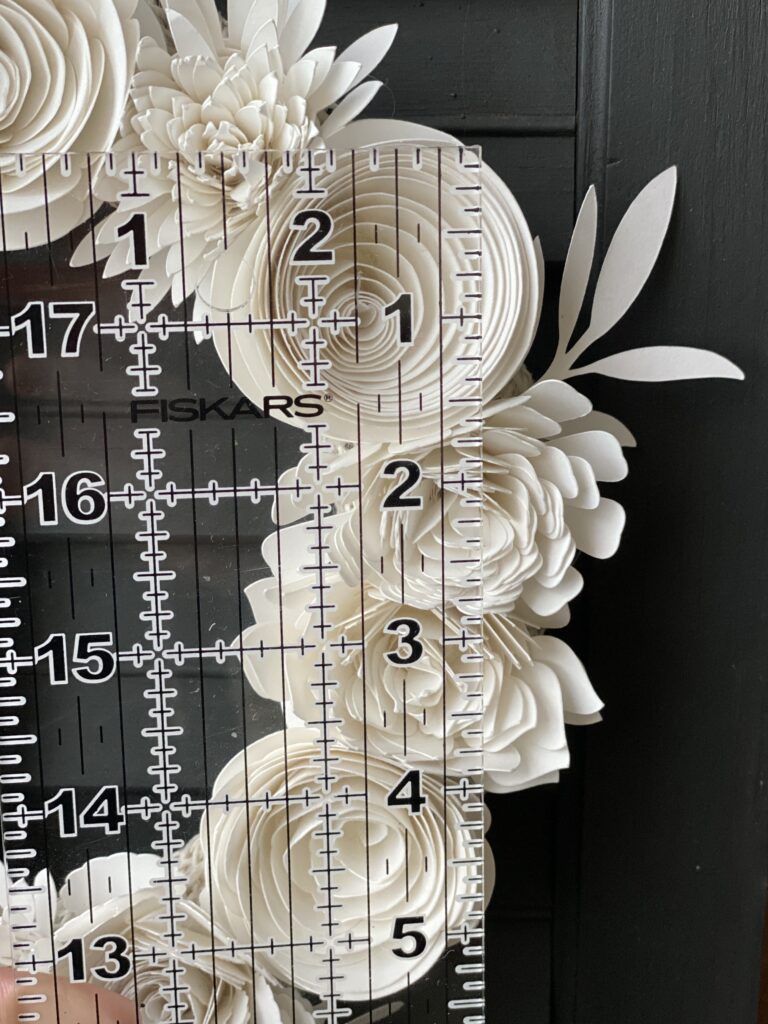
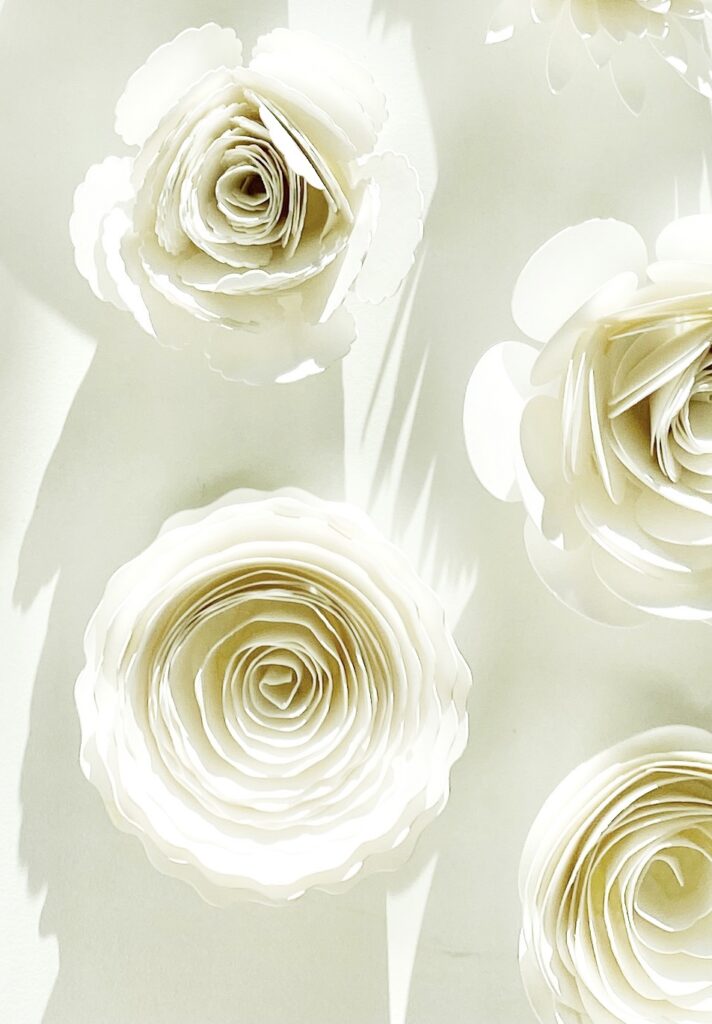
I kept my rolled paper flowers wound pretty tight and the image above shows some measurements for you. My flowers ended up about 1 1/2 – 2 1/2 inches around.
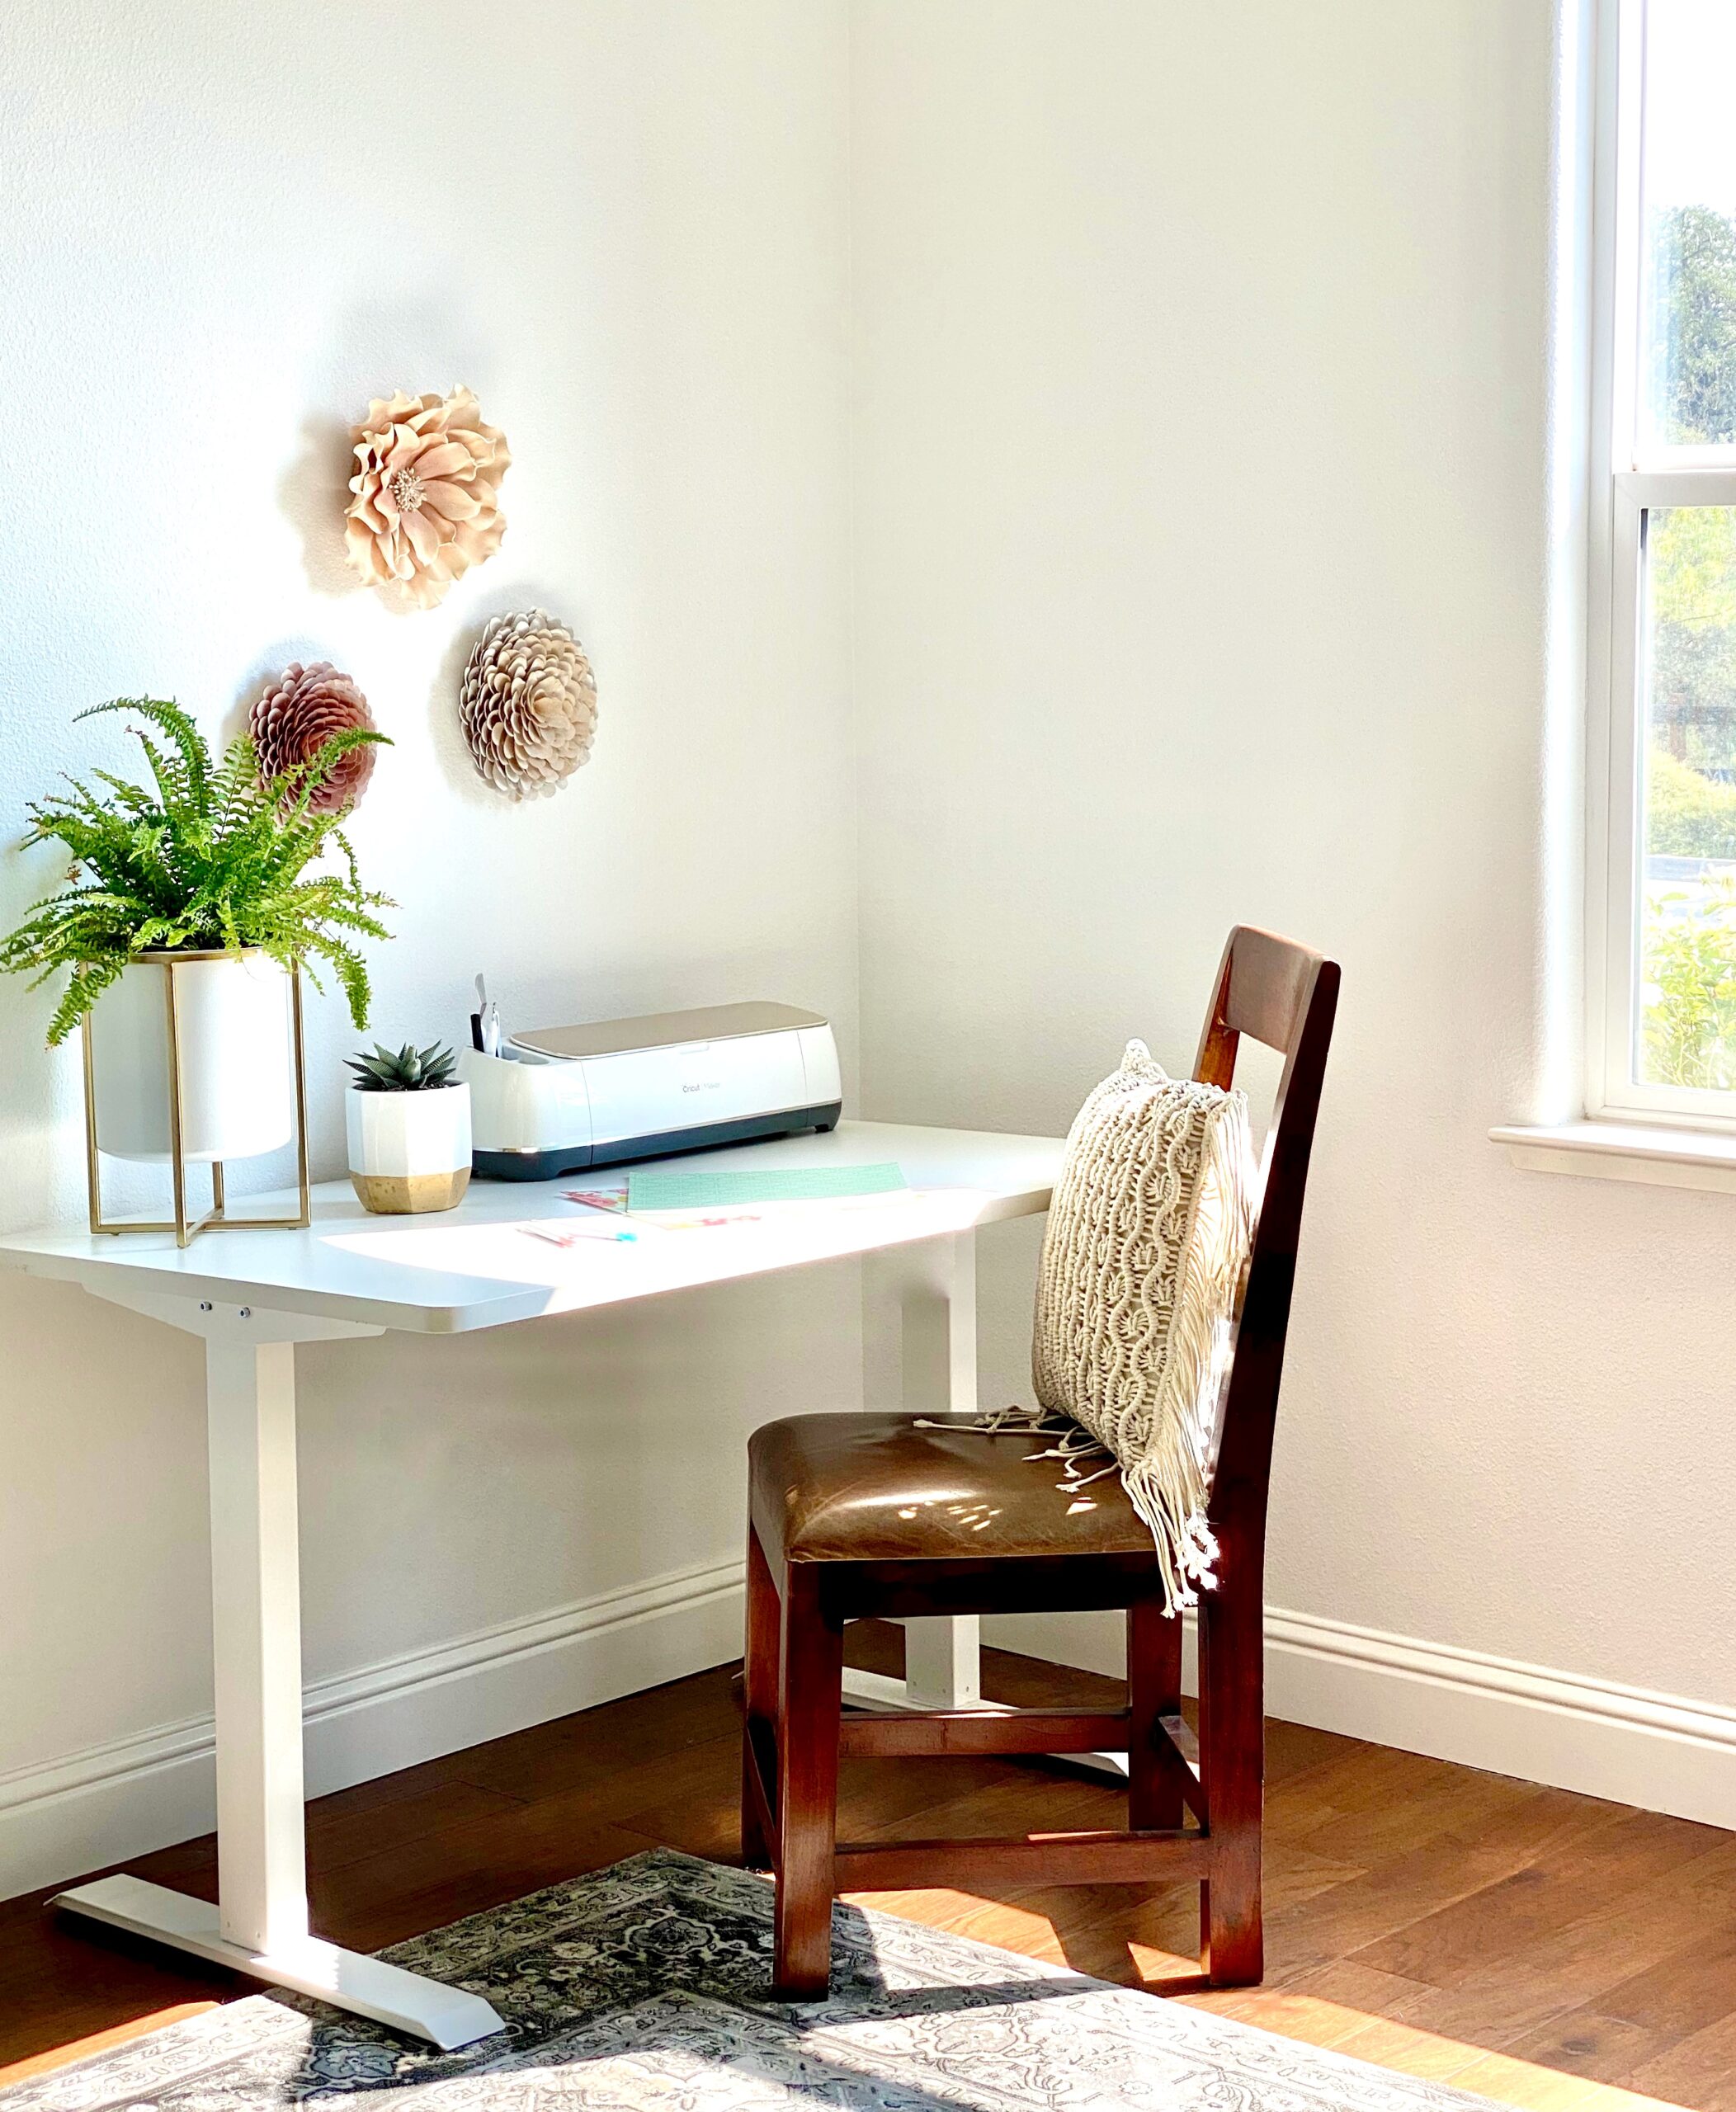
I hope you enjoyed the Easy Paper Flowers With Cricut. I’m working on a wreath that you just got a sneak peek of and you can check that out next! Before you go, would you be so kind as to pin your favorite image to Pinterest? I’d love for you to follow me as well. I’ll be sharing more easy projects with you soon!
Happy crafting,
Denise
You have put together a great tutorial! I got the Cricut Xtra 5 months ago and about 4 months ago was ably to cut one small item, then this I was able to cut 2 small items. I Jane contacted Cricut many times and they continue to send mostly the same email. It appears to be something wrong with my vinyl in Make It as there is a problem with matching the material on the list and the purchased vinyl. After all these months I am sick! Anyway if I ever get it to cut I do want to do the flower wreath like yours as it is so beautiful!
I’m sorry you’re having trouble. Sometimes I have to adjust the pressure from default to something stronger. I hope you can get it figured out!