Easy Yarn Garland DIY
This post contains affiliate links which means that at no cost to you, I may earn a commission if you purchase using one of my links. For more information view my full disclosures.
~
I love an easy yarn garland DIY that I can turn into beautiful home decor in a snap! This DIY yarn garland is one of those projects. It took me longer to heat up the glue gun than it did to make one of the stars! The best part is you only need three things to make it!
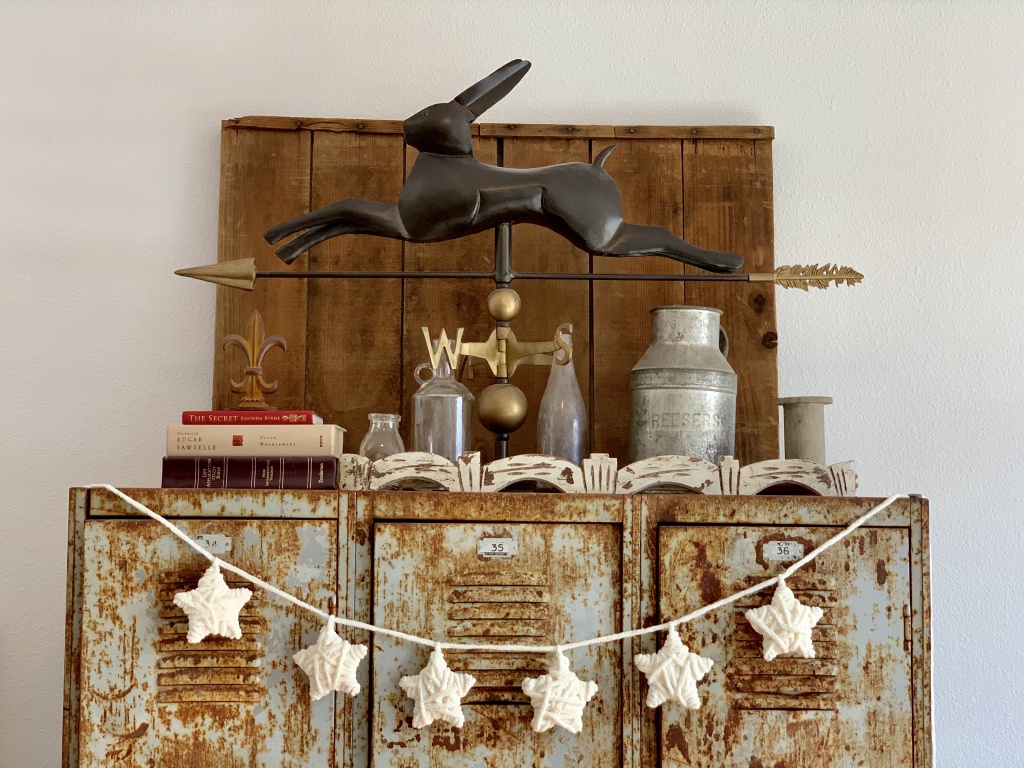
Using yarn in your DIY home decor projects creates a soft and inviting look. I like to make all sorts of projects with yarn. You might enjoy looking at my cone Christmas trees. I made one with the same yarn. I also made a pretty yarn wreath with a beautiful yarn I got from Michael’s crafts.
Easy DIY Yarn Garland Supplies
- Wooden Star Shapes – Trees would be cute too!
- Blanket Yarn – I love this creamy and soft yarn and I’ve made so many things that I just buy a 3 pack!
- Glue gun or craft glue (glue gun preferably since it dries faster)
- Access the complete list in my Amazon Shop with more ideas!
Making The Easy Yarn Garland DIY
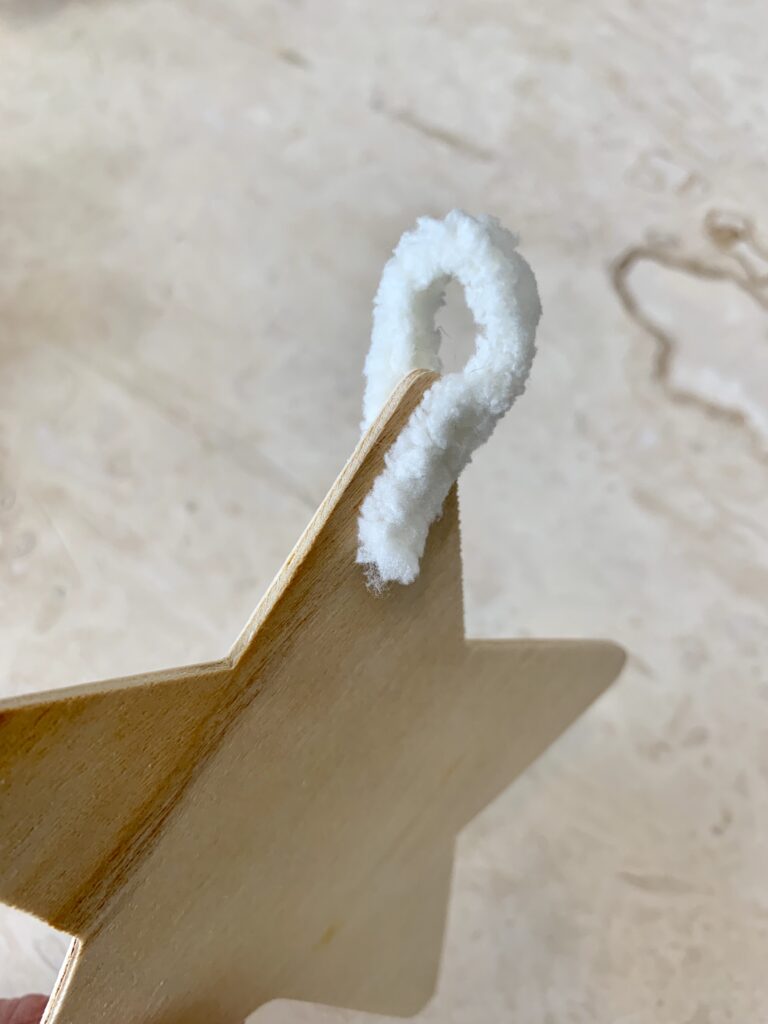
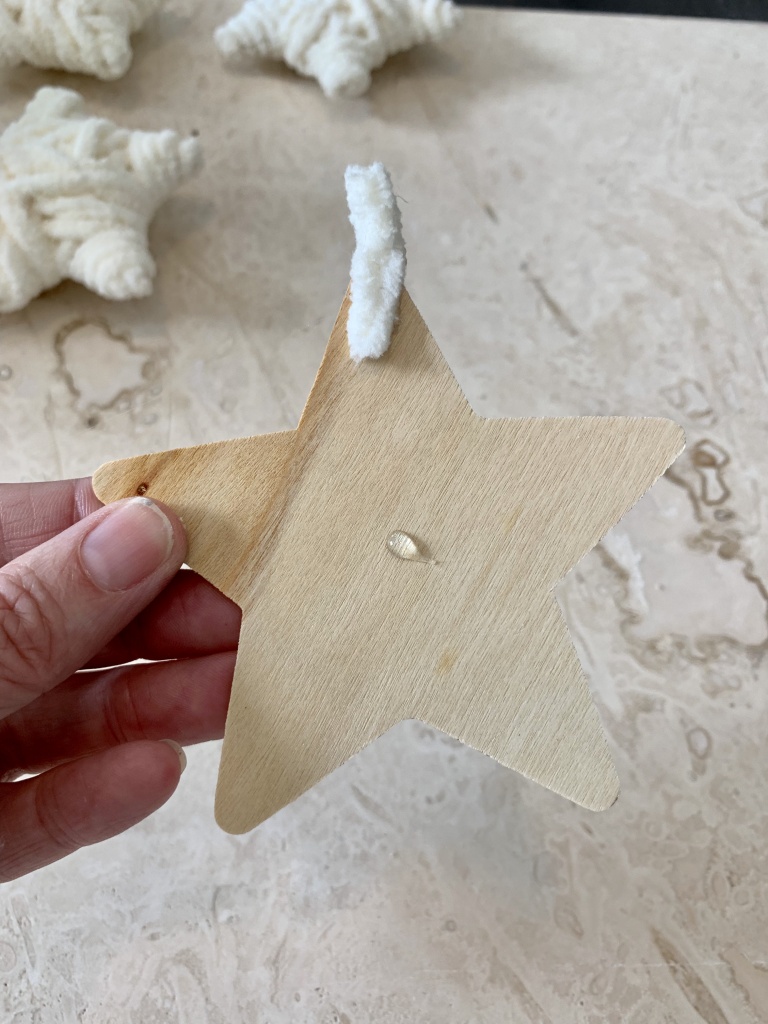
Start by cutting about a 1-inch piece of yarn and making a small loop by gluing one side to the front of the tip of the star and the other end to the back of the tip of the star. This will be the loop you’ll end up hanging the stars from when you’re done making all of the fluffy stars.
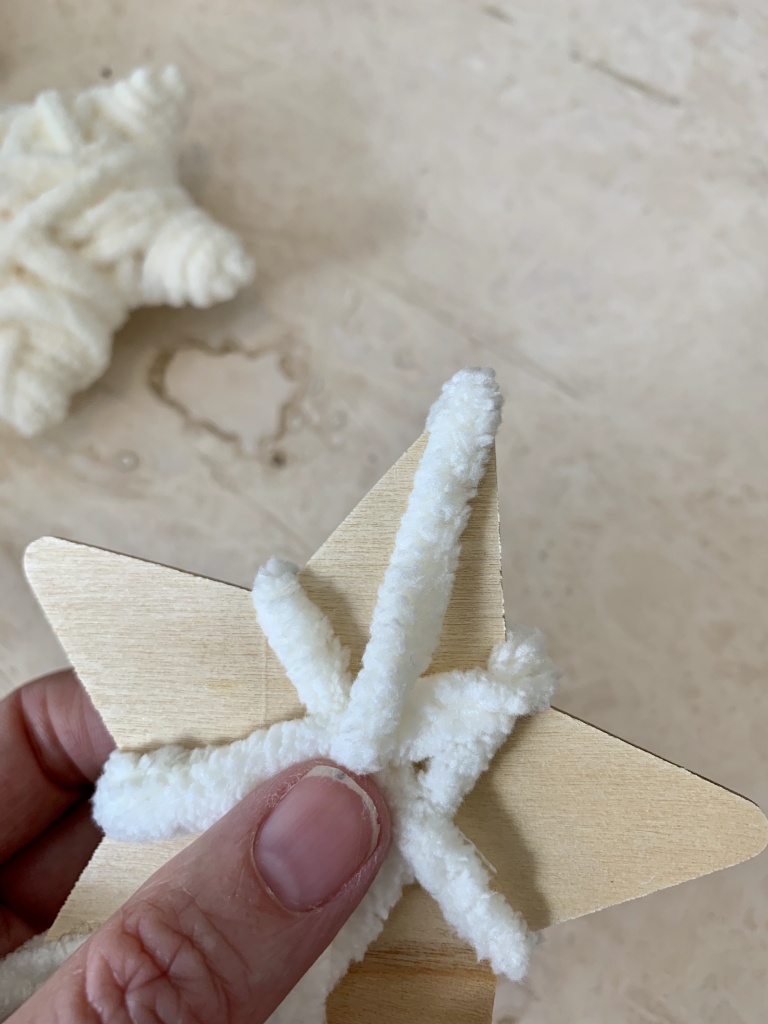
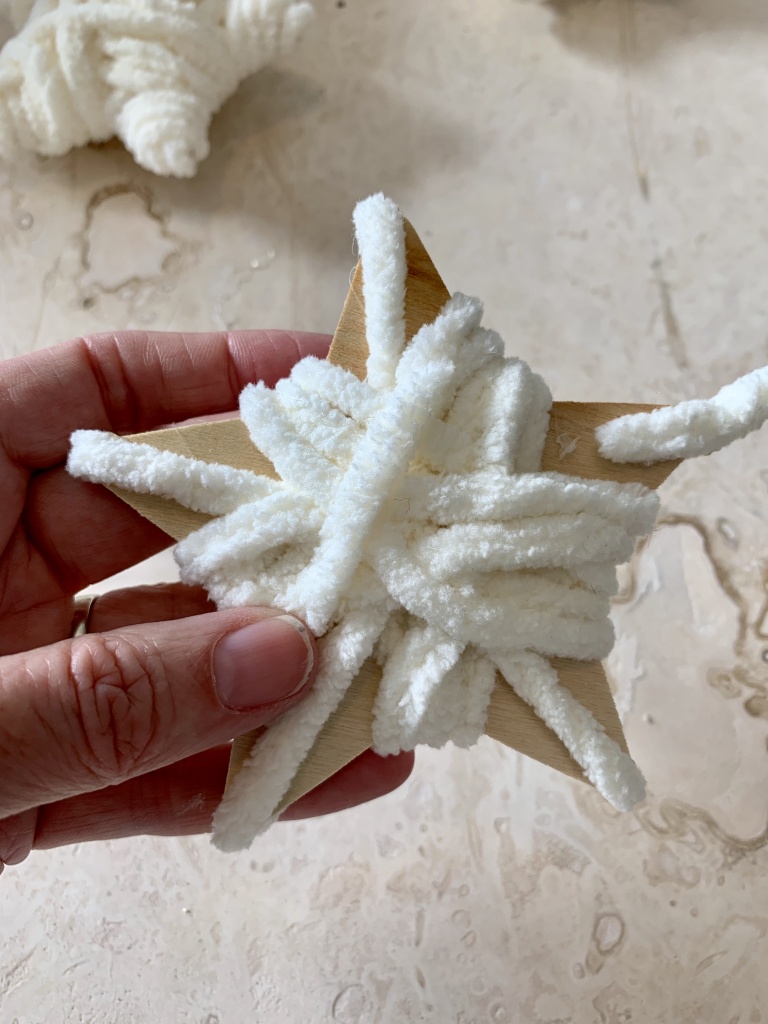
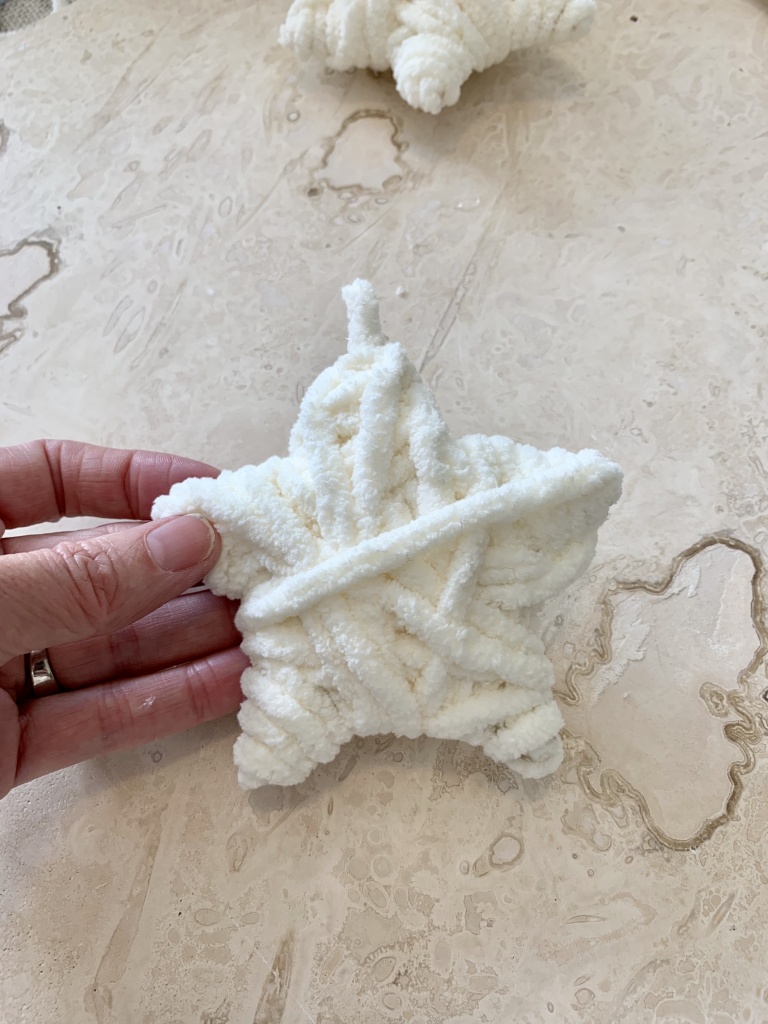
Next, starting with your ball of yarn, glue the end of the yarn to the center of the star. Gently wrap the yarn around the star in a random order, covering more of the wood star with each wrap. You don’t need to pull too hard on the yarn.
When you get to the tip of a star, you’ll want to apply glue so it doesn’t slip off. Apply small dots of glue every now and then to keep things in place. Just gently tap the yarn down into the glue, but don’t burn your finger! I’ve tried to illustrate the steps in the next few photos.
Hanging The Stars
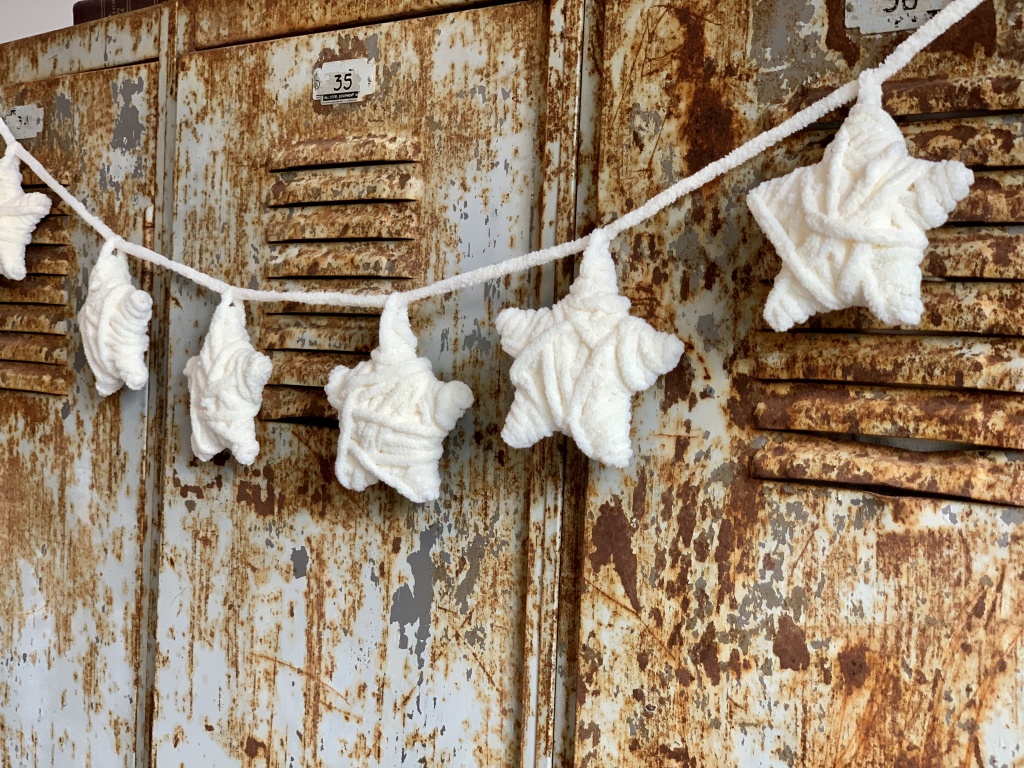
When you’ve completed all of your stars, cut a long piece of yarn and slide it through the hanging loops of all the stars and you’re ready to hang your Easy Yarn Garland DIY! My stars stayed in place with no problem.
If you find yours are slipping around, you may need to get them right where you want them then add a dot of glue or tie a knot to keep it from sliding around. This is optional and probably depends on what you’re using yours for. This would also make a beautiful yarn Christmas tree garland!

Where To Hang Your Garland
I hang my garland on my old rusty lockers, but the garland can also be used to decorate a Christmas tree, a mantel, or even hung across a mirror or a hutch. I also think it would make cute Christmas coffee bar decor.






This such a great idea! And I like that you show the items needed for the DIY with links. I can’t wait to make it. Thank you.
Thank you for stopping by. I’m glad you you the garland!
Adore these little gems. Pinned to my new star board inspired by you. Please be sure and post them over at Funtastic Friday Link Party.
Thank you so much. I’ll check out Funtastic Friday as well!
Love this pretty garland idea that would be pretty hanging all winter long!
Thank you. They’re so easy to make and you could use any wooden shape. Thanks for stopping by!
This garland is so cute. I can’t wait to get the things to make mine.