
Dollar Tree Wall Art – Decoupage Fabric On Canvas
This post contains affiliate links which means that at no cost to you, I may earn a commission if you purchase using one of my links. For more information view my full disclosures.
~
Decorating a pretty home doesn’t have to be expensive which is why I love to make Dollar Tree Wall Art decoupaging fabric on canvas. The inexpensive stretched canvas signs are available in a number of different sizes. Decoupage is so easy and you can make beautiful, easy decoupaged signs with fabric.

What is Decoupage?
Simply put, decoupage is applying a product to another surface using a gluelike substance. You can decoupage with fabric, paper, tissue paper, greeting cards and so much more.
Mod Podge is a brand name for a popular decoupage glue product but the words “Mod Podge” are frequently referred to as a process, rather than the product itself. You know a brand has done something right when people use the name as a verb!
For years I thought it was Modge Podge and always referred to it as that, but after writing an entire post about “modge podging with napkins“, I had to fix my errors when I learned it’s actually Mod Podge. Anyone else?
There are other decoupage products other than Mod Podge and there are even homemade decoupage glue recipes. I’ve made it by mixing regular glue with water to make a Mod Podge-like substance. It’s thinner than glue but not watery. They make fabric Mod Podge, but I used matte Mod Podge for this project and it worked fine.
How Do You Decoupage Fabric On Canvas?
Decoupaging fabric on a Dollar Tree canvas is quite easy. I used a scrap piece of upholstery fabric that I had in my craft stash but you can use pretty much any kind of fabric (old shirt, dishtowel, etc.).
The most important thing to remember is that you want to pick a good design for decoupage that is easy to cut out. If you pick something too complicated, it can be quite time-consuming and tedious.
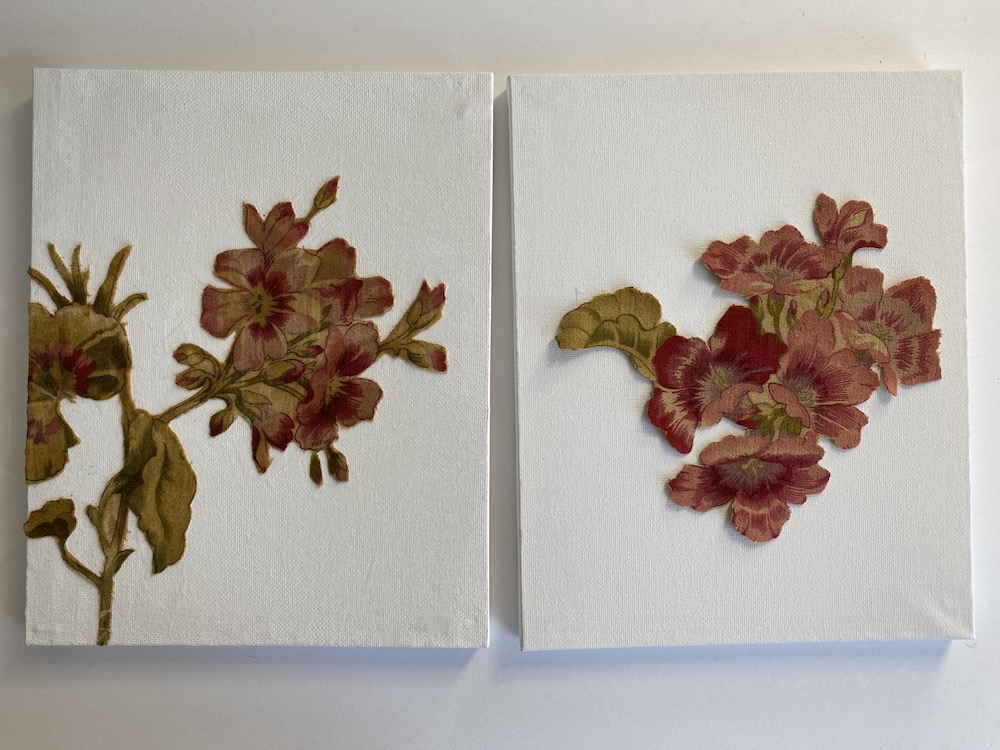
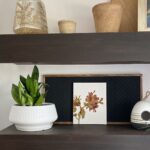
When you look at the decoupaged canvas in the first photo, you can see that I cut around the stems of the flowers. In the second decoupage design, I cut the stems off. The left is finished and on the right, I’m just starting to Mod Podge.
Supplies
- Mod Podge or homemade decoupage glue recipe
- Canvas
- Paintbrush
- Clean sheet of white paper – more about this in a bit
- Cup for Mod Podge (you don’t want to get fabric in your Mod podge bottle so use an extra cup)
- Scissors
This process is quite easy but I recommend that you read each step prior to starting because it will save some frustration!
Step By Step Instructions for Decoupaging Fabric On A Canvas:
- Remove lint and loose fibers from the fabric with a piece of tape or lint roller. The fabric needs to be neat and clean.
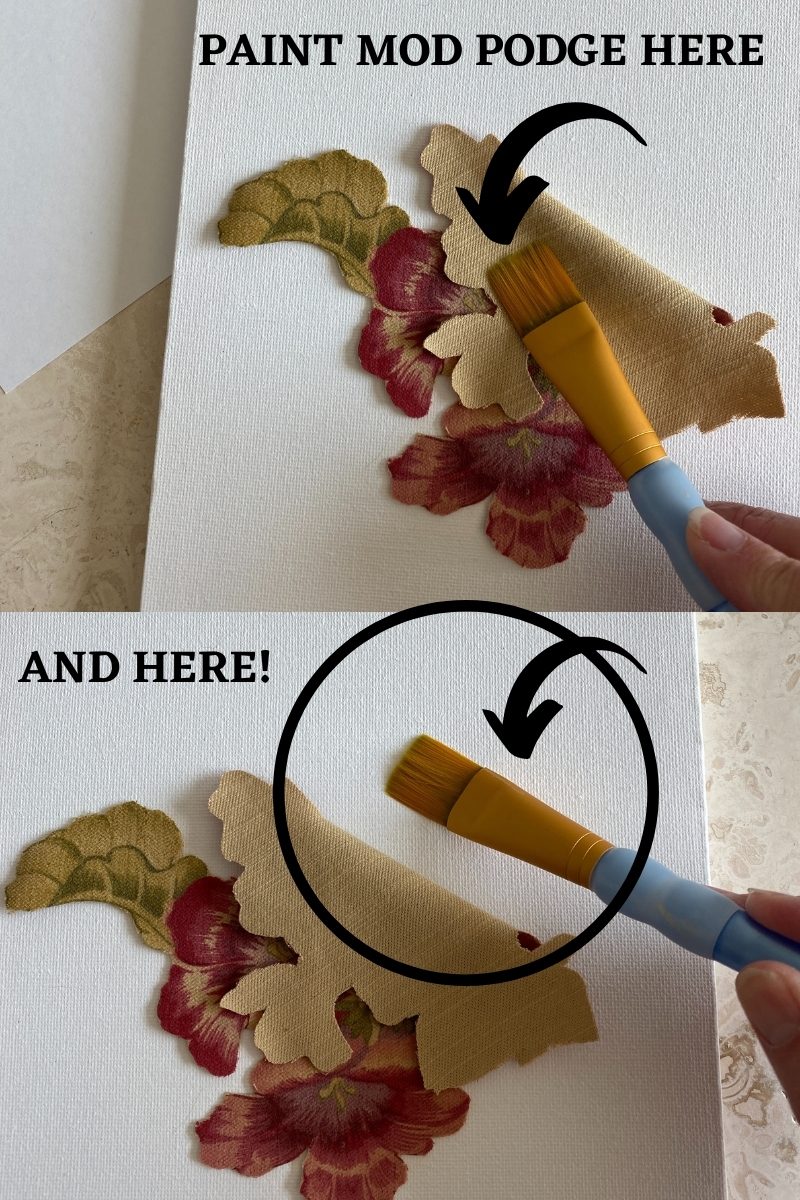
- When you decoupage fabric on canvas or any other surface like wood or glass, you need to apply your Mod Podge to the back of the fabric and also to the canvas itself (using the words Mod Podge since that’s my favorite choice) . If you put the glue on only one surface, it doesn’t stick very well. For some reason, glue attracts glue.

- Work in small sections so the glue doesn’t dry too quickly. I flip my design over partially, holding it down as I work, and apply a generous layer to the back of the fabric first, making sure all of the fabric is covered. Keep a clean sheet of paper nearby to wipe stray fibers off of your brush. This helped me so much!
- Before this dries, use your brush to apply a layer to the Canvas as well then lay the fabric down. You don’t want the glue sopping wet on the canvas or fabric but you do want everything well covered. No dry spots.
- Use your brush to gently wipe from the center of the design to the outer edges of the fabric. Don’t drag too far off the edge of the fabric when doing this, you’ll drag fibers along with you so there’s a sweet spot here that you’ll have to find. And yes, you will get glue on the top of the fabric. That’s OK, we’re going to paint over all of it soon.
- Use your brush to add a little more Mod Podge to any areas that are trying to lift off of the canvas. Use a tapping or smoothing motion to keep pressing those areas down as you work. When you get one portion of the fabric done, you can flip it the other way and finish the other side. Very intricate cuts may require several flippings instead of just one. My design with the stems took more patience and I worked in about 5 different sections. I hope that makes sense.
- Once you get the design adhered to the canvas entirely, let it dry a bit and “babysit” the fabric for a while to make sure nothing lifts. If it does, push a little Mod Podge underneath and tap down again. I like to let everything dry a bit before adding the final layer of Mod Podge to the top of the entire project. Not so long that your brush dries out, but enough so that the fabric doesn’t slide around during the final step.
- For this step, you’ll just use your brush to paint the Mod podge over the entire canvas and the fabric. If your design goes off the edges of the canvas, be sure to seal the sides with Mod Podge as well. Be careful not to drag fibers to the white part of the canvas.
- Let everything dry for several hours or overnight before touching. Since I used upholstery fabric with a velvety texture, it took longer to dry.
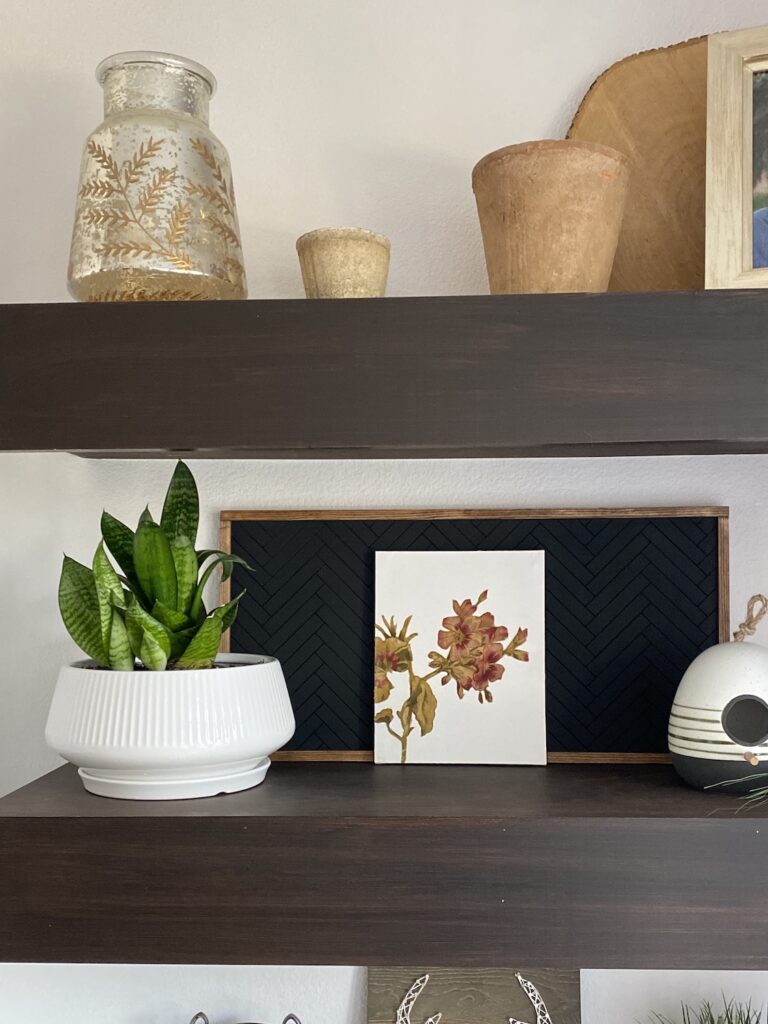
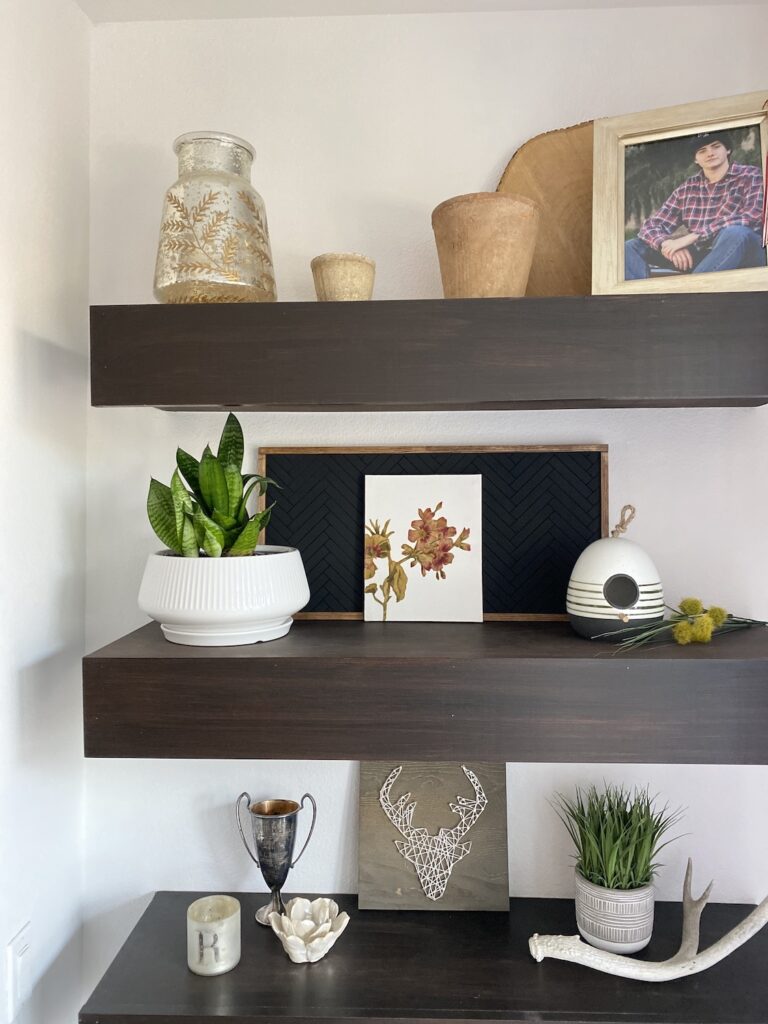
I love the way these turned out and, for the price, you can make new ones for every season if you’d like. I hope you enjoyed this post about Dollar Tree Wall Art – Decoupaging Fabric On Canvas. Thanks so much for visiting. Be sure to subscribe and follow me on Pinterest!
Before you go, you may also like to learn how to decoupage on glass bottles.
This post was inspired by a DIY challenge I participated in. I hope you’ll visit these other talented bloggers to see how they are working with Mod Podge.
Visit Our Host: Terrie at Decorate and More With Tip
Carol at Blue Sky At Home | Kelli at K’s Olympic Nest | Gail at Purples Hues And Me | Jodi at The House House
Emily at Le Cultivateur | Tammy at Patina and Paint | Shae at Sweet Southern Grace
xoxo,
Denise
Denise, your mod podge technique is unique and your project turned out so pretty!
So many possibilities. My mind is racing. You are not alone with the mispronunciation lol. Your artwork turned out beautifully.
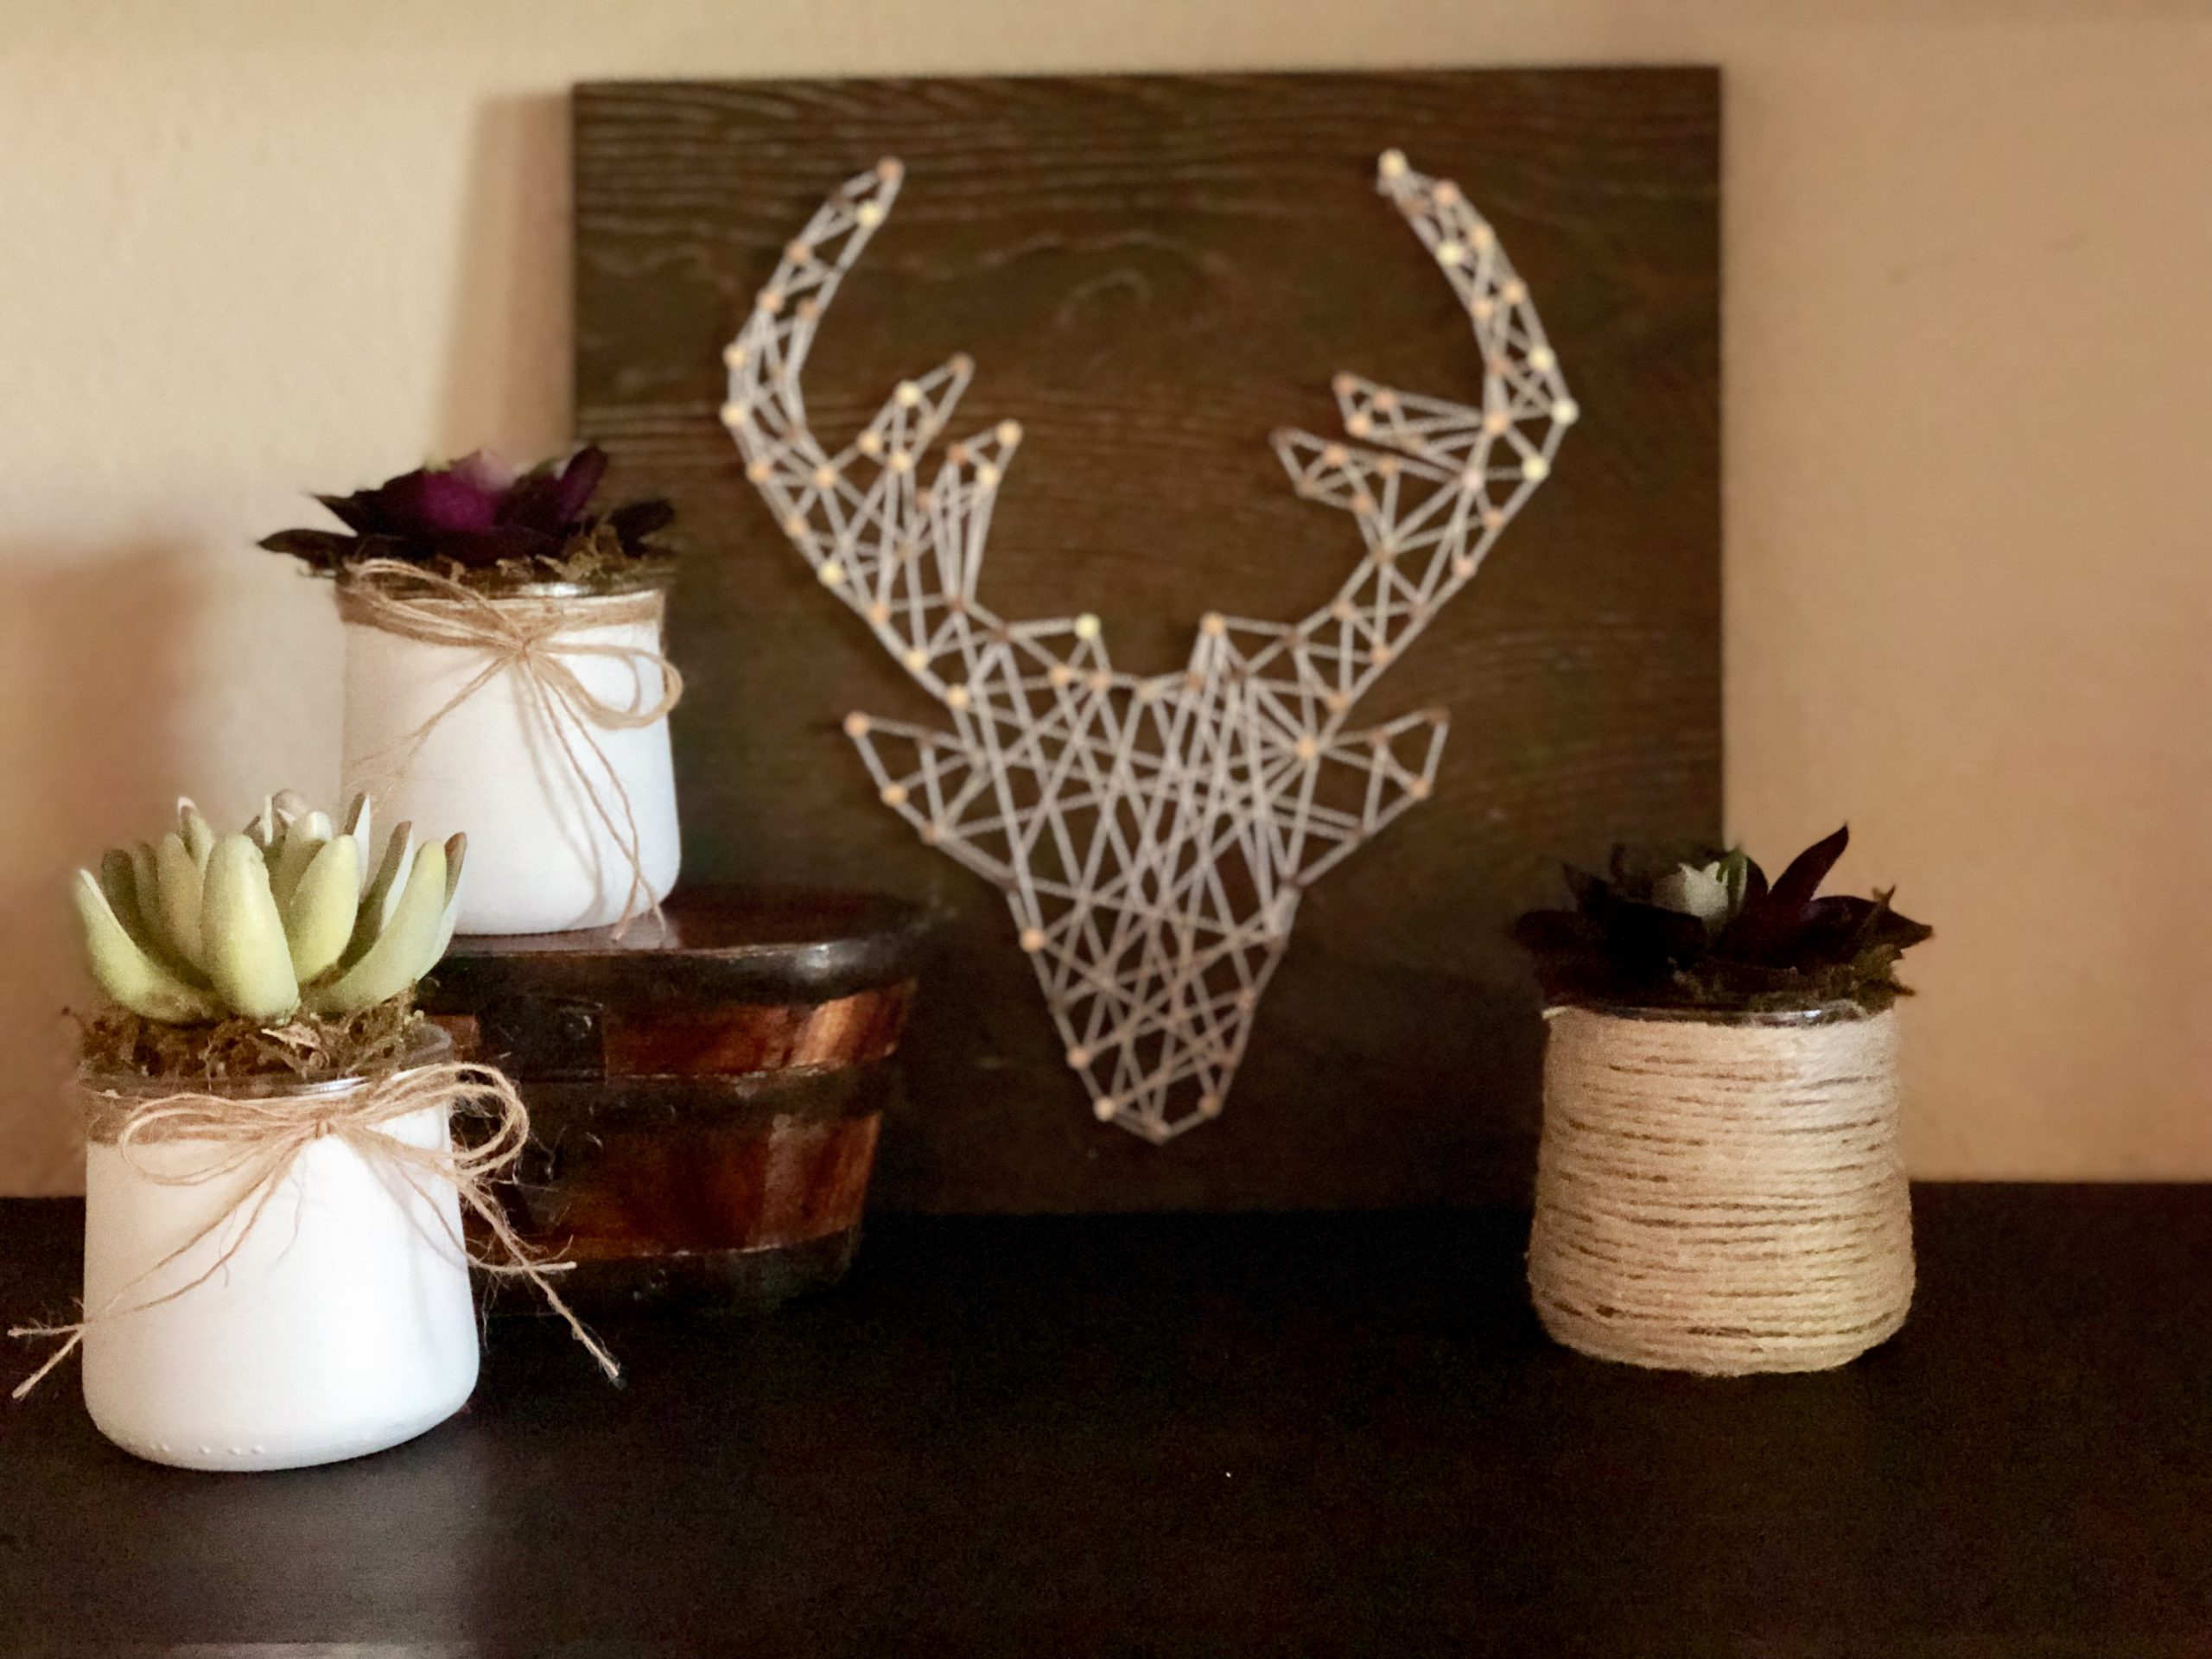
What a beautiful piece of art!! I love how easy it was to create and how expensive it looks on your shelf. Perfect share. Thanks Denise!
Thank you so much. I love the bit of color on the shelves. They’re super easy to make.
It’s amazing what you can do and make using Mod Podge. Your decoupaging fabric on canvas is truly a lovely technique, Denise! You’ve done lots of interesting research on decoupage and Mod Podge. Thanks for sharing!
Thank you so much. You’ve inspired me to try some more projects. I enjoyed checking out your blog today 🙂
Such a good idea using fabric. It came out perfect. Also, you are not alone in the Modge Podge/Mod Podge situation. I was the exact same. HAHA
Too funny. I’m glad I’m not the only one! Thanks for stopping by!
Denise, great project for using Mod Podge. It’s amazing how many different projects can be made with it. This definitely is on my decoupage future project list.
Thank you, Carol. I usually use napkins and paper but I was hanging on to that fabric piece for so long and finally found a place for it. Thanks for stopping by!
I never would have thought to Mod Podge the fabric onto canvas, but what a great idea! Pinned and can’t wait to give this project a try. Beautiful!
Thanks Tammy! I’d love to see what you end up creating!