Easy DIY Magnetic Chalkboard
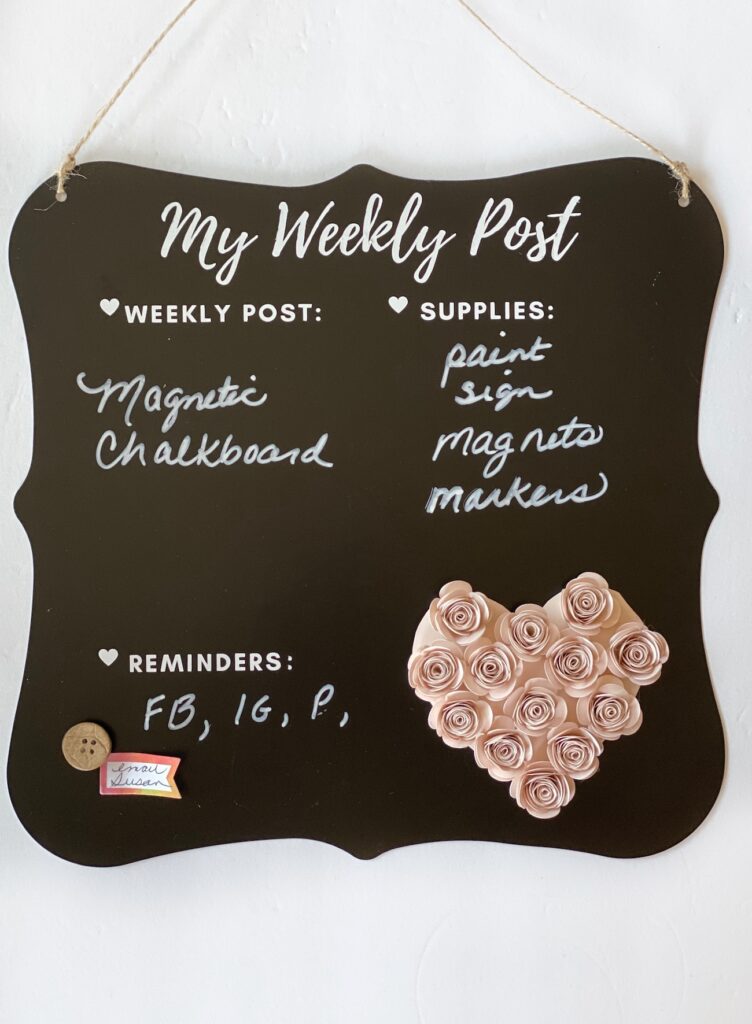
Making a DIY magnetic chalkboard is the perfect solution for keeping track of lists, notes, appointments, menus, and more. It’s a great little easy DIY command center for keeping track of whatever life throws at you!
I love magnetic chalkboards because I can quickly write erasable notes but also use a magnet to add a hand-written note when I need to. In order to make a metal chalkboard DIY, you’ll need metal and the best paint for metal chalkboards. Let’s get to the paint first.
DIY Magnetic Blackboard Paint
I prefer the chalkboard paints below when painting metal because I get an even, brush-free finish. You can use regular chalkboard paint but I don’t think it works as well for metal. I used the first option pictured here but I’ve read great reviews for both brands.
How To Spray Paint Metal
Before you start painting, clean the surface of the metal with a lint-free towel and rubbing alcohol, and let it dry. From this point, you want to avoid touching the side you’re going to paint so you don’t get oil from your skin on the surface before you paint.
For best results, read the manufacturer’s instructions when using spray paint. When painting metal, take your time and spray a light coat working around the metal and then go back and fill in where you missed. (Note: You can also prime the metal first for even better results but I was looking to save money and skipped this step. )
If you need to paint on the ground, lay out some clean paper well around the surface of the metal. Use a couple of bricks or blocks of wood to lift the metal up. This will allow you to slip your hands underneath to move the sign if necessary while drying. Remember that the air from spray painting a chalkboard sign will stir up items on the ground. If you have some sawhorses or a place where you can get away from the ground, this is highly recommended.
When spraying, you don’t want to spray too much in one spot or it can pool up. Once you get a completely even coat, let the chalkboard spray paint fully dry and go back and apply another coat, making sure the surface is evenly covered.
Let the paint dry for 48 hours before applying magnets. I know, you want to use it right away but you’ll likely scratch the paint or make indentations if you put things on the surface before the paint is dry.
Metal For Magnetic Chalkboard DIY
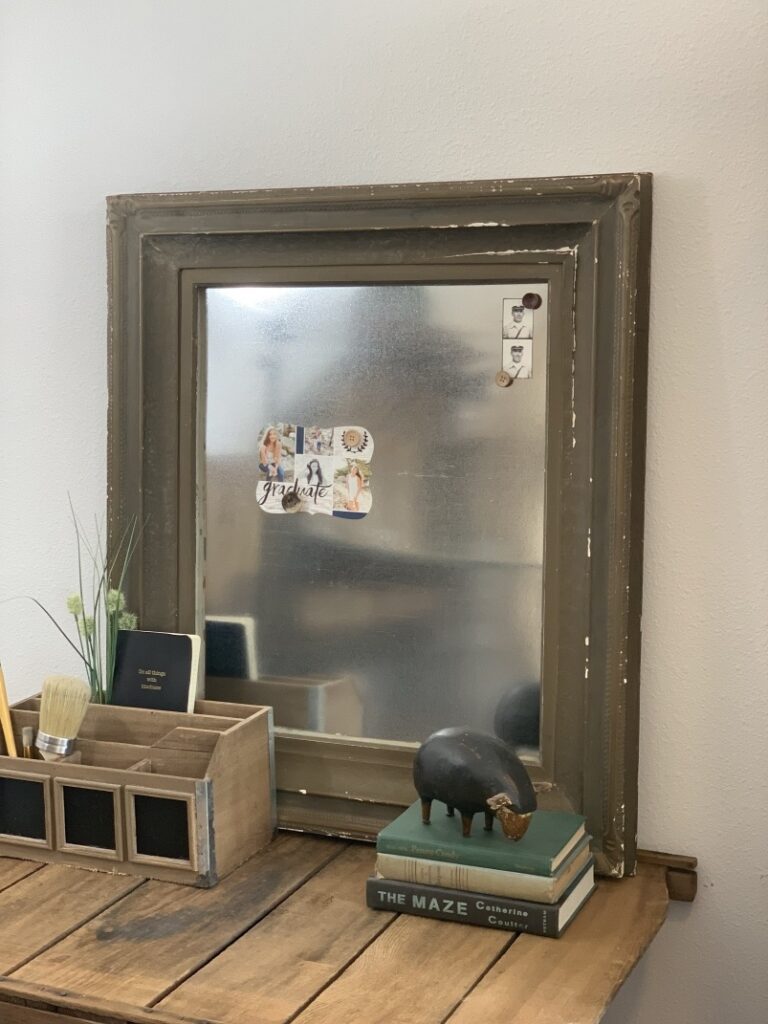
I’ve found the best luck with galvanized metal when making magnetic chalkboards. You can use any ready-made metal sign as long as the metal is magnetic. Aluminum signs are not magnetic. Here are a couple of options:
- small frameless magnetic sign like this one
- sheet metal that you can find at Home Depot
- any ready-made blank metal sign that is magnetic
- the back of a Dollar Tree sign could also make a great sign!
When I made this small magnetic chalkboard, I used a small metal sign that I already had. If you’re wanting to make a large magnetic chalkboard, you can use the sheet metal I linked above. If you want to make a framed magnetic chalkboard, I would take a look at this post I wrote about framing a magnetic sign. You would just need to paint the metal before putting it in the frame.
Cute Magnets For Magnetic Chalkboards
What DIY magnetic chalkboard sign would be complete without cute magnets. Let’s take a look at some cute options!
Amazon has an amazing selection of cute magnets. Here are a few that I fell in love with!
Amazon has great options for child-safe magnets as well. If little ones (including pets) ingest magnets, two can stick together internally causing some major issues. Choking is another obvious reason so be sure to read each description before purchasing magnets to make sure they’re safe for everyone in your home.
You can also make your own magnets. I made my own paper heart magnet and I also made DIY magnets out of wood buttons.
Magnetic Chalkboard Decals
If you have a Cricut or Silhouette, I found the cutest command center SVG files. I made my own which was a first for me. Maybe someday I’ll write a post about that.
Chalk or Chalkboard Markers
Chalkboard markers give clean, crisp lines and have always been my personal choice. Regular chalk works as well.
Happy crafting,
Denise
