DIY Outdoor Gnome For the Porch or Garden
This post contains affiliate links which means that at no cost to you, I may earn a commission if you purchase using one of my links. For more information view my full disclosures.
~
I’ve made a lot of gnomes but this is the first DIY outdoor gnome for the porch or garden that I’ve made. I came across the idea while picking up things around the garden. I decided a couple of the items I had would make a cute outdoor gnome DIY project. This project came together very quickly. So let me show you how to make gnomes for outside.
I have a lot of gnomes but this will be the first of many DIY outdoor garden gnomes that I’ll be making. I have a cute place out front so I’m not sure if he’ll be my outdoor porch gnome or my outdoor garden gnome. There are so many ways to redecorate it for each season. I’m already planning to turn him into an outdoor Christmas gnome for the holidays. I love to DIY garden decorations. I’ll be posting more soon.

Supplies For DIY Gnome Outdoor
- Flower pot – I sprayed mine white but you don’t have to
- Tomato cage cut to fit the correct height (more about this in a bit)
- Green Burlap fabric or brown burlap fabric
- Jute twine
- Large needle
- Small round bowl
- Moss
- Silk plants or decorations, optional
- Scissors
- White paint
How To Make An Outdoor Garden or Porch Gnome
The tomato cage points, the parts that usually go in the ground, will need to be bent and taped together at the top tightly. Then wrap it tightly with twine. I cut a chunk of burlap and tied it over the top because I didn’t want the wire poking through later, or poking me.
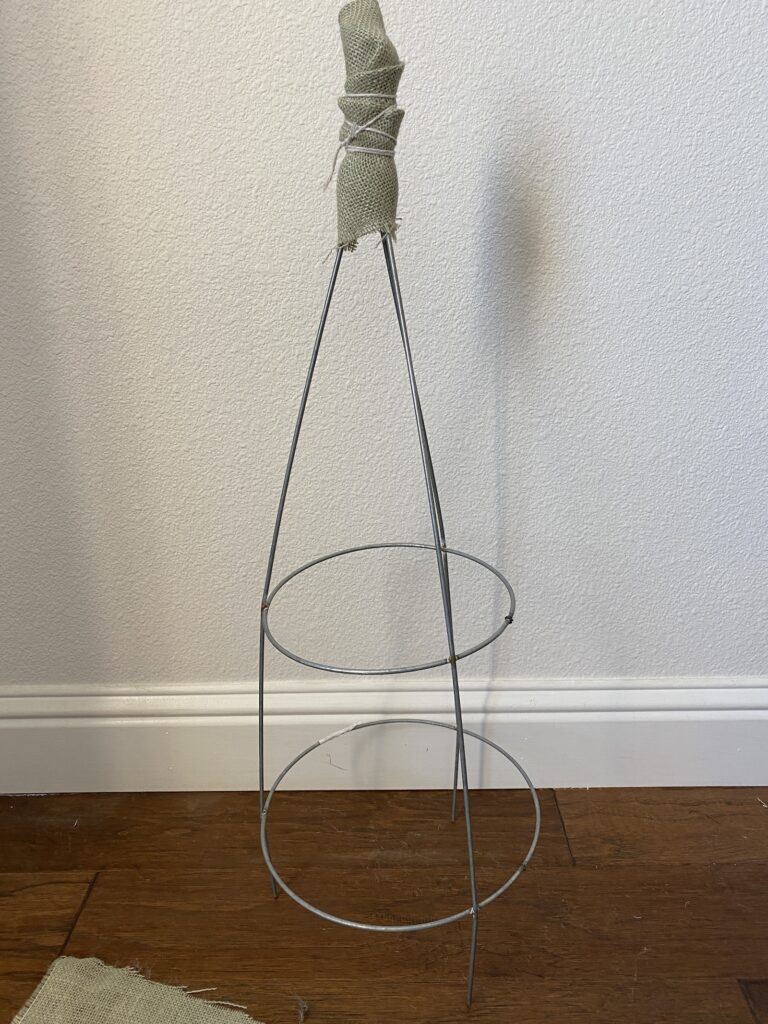
My pot was not as big around as the bottom of the tomato cage so I had to have my husband cut two rings off of the bottom. When he did this, he cut the wire to where the bottom would have pointy pieces (like the top did when we got it) to secure the gnome hat in the dirt later.
Making An Outdoor Gnome Nose
A small plastic bowl that didn’t have a matching lid became the nose of my outdoor gnome decoration. I used hot glue to attach the moss to the front and sides of the bowl. I also glued two pieces of wire between two small squares of paper. I left the wires long enough to bend over the edge of the pot and into the dirt. Set this aside to attach after you make and attach the hat.
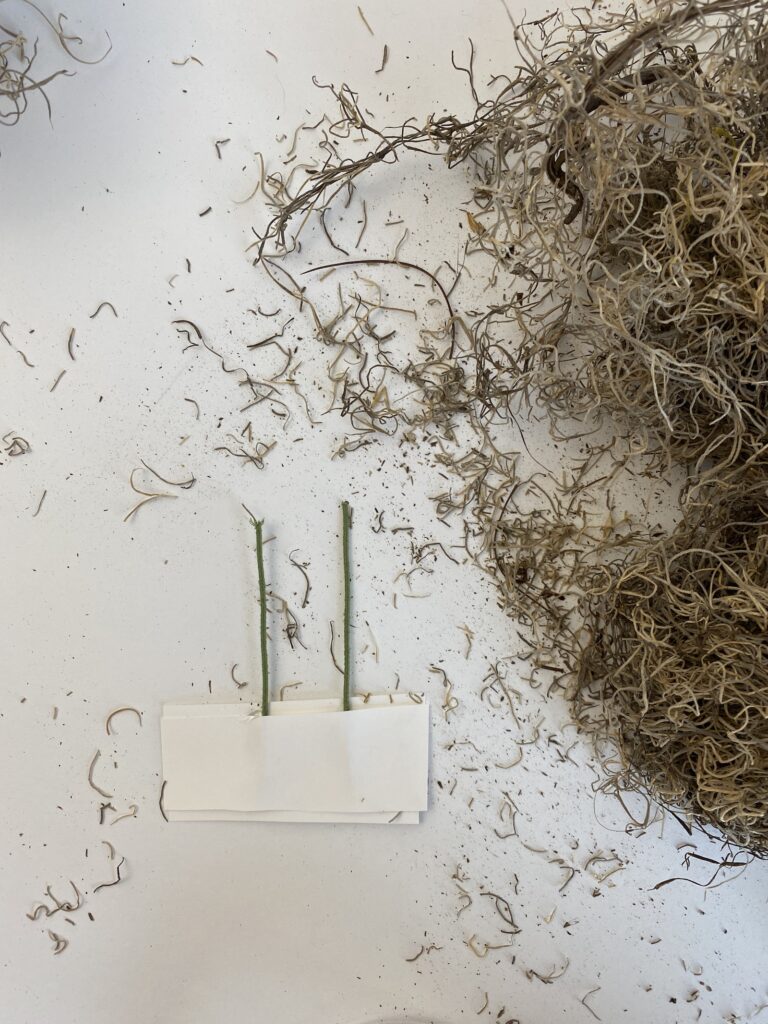
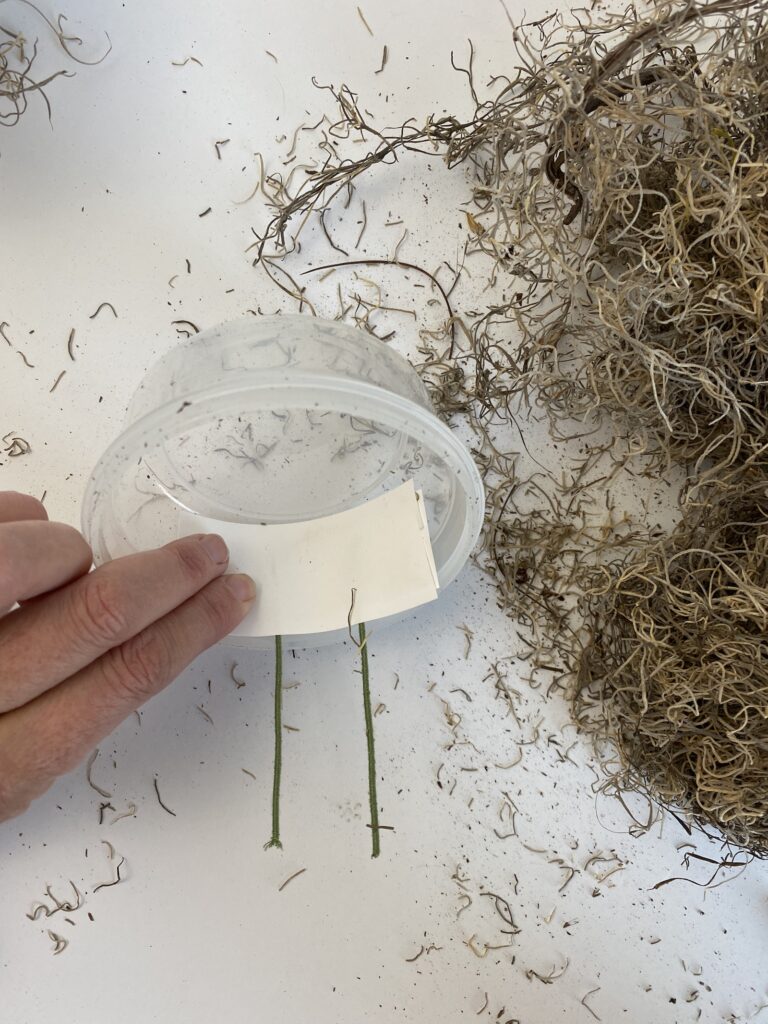
I tried just gluing wire to the plastic bowl but it wouldn’t stick so that’s why I added the paper. A second option that I thought of later is to poke holes in the bowl and use longer wire to attach the nose to the cage itself. If you try that, let me know how it works!
Making An Outdoor Garden Gnome Hat
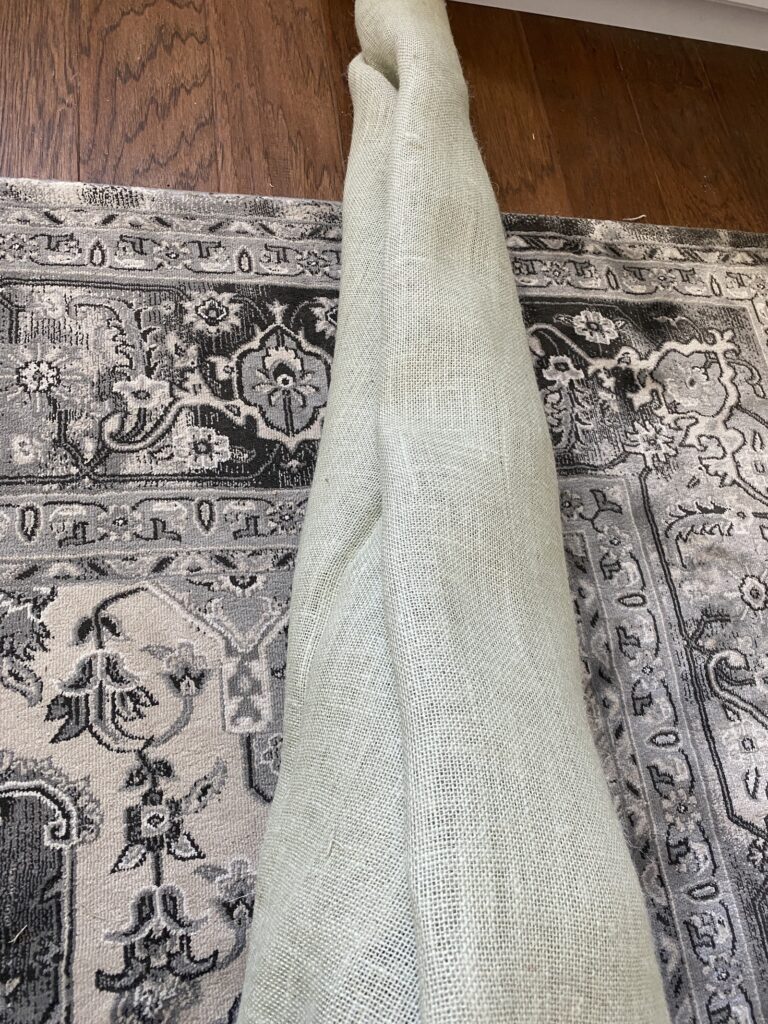
I happened to have green burlap fabric so I ended up using that for the hat. I opened the fabric up and used a piece that was about 40 inches square. I laid the tomato cage towards the bottom point ( the square was turned with a point side up). I just rolled the cage up until the cage was completely covered.
To make the seam up the back, I fold the excess fabric under to create a straight-ish line. Using jute twine and a needle with a large eye, I sewed from the bottom to where the top of the cage is, not all the way to the top of the fabric. You want to leave some to flop over to create your hat.
I tied a knot around the top of the tomato cage leaving a floppy section at the top. At this point, I was able to work the bottom part of the burlap around the prongs, poking the prongs through, and just tucking it inside the cage. I placed the cage on top of the pot and arranged the burlap at the bottom.
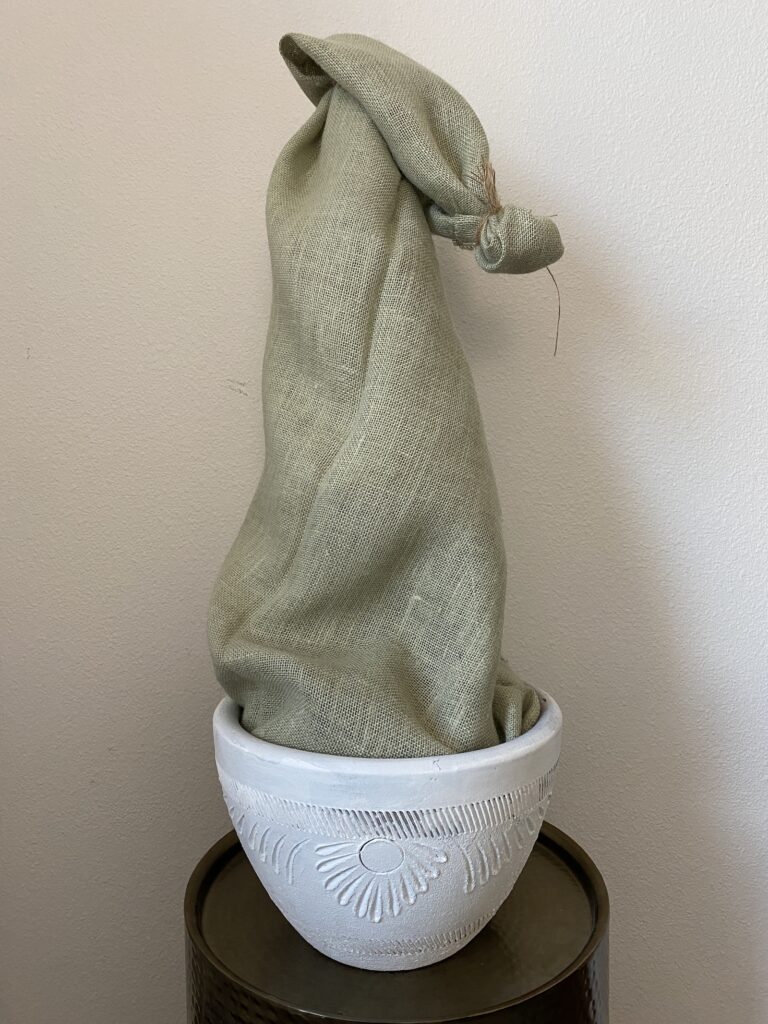
Take the top part and flop it over to create a hat. Ball up a piece of the end and secure it with twine or a rubber band to create a puffball at the tip of the hat. Attach the nose using the wires. You can add wire or twine from the wire to the cage if you think it will hold the nose on better. I didn’t need to do that.
Making The Brim Of The Hat
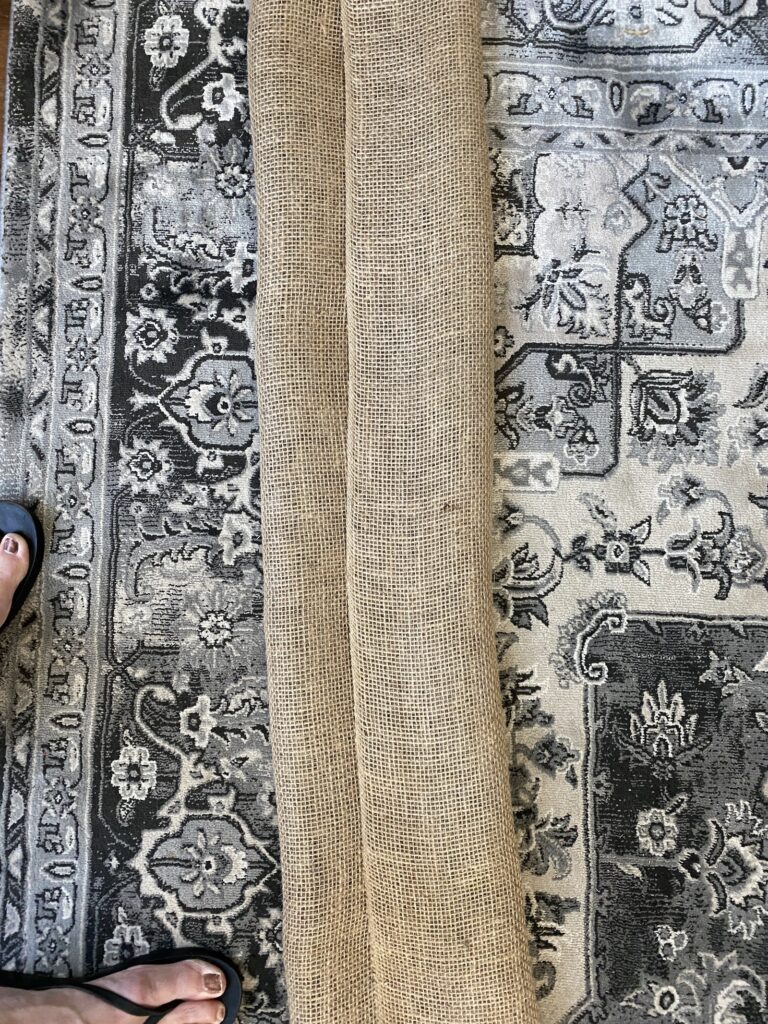
To make the brim of the hat, you can use the same color burlap, but I used a second color and cut a wide 16″ strip of brown burlap and folded the edges under so you can’t see them. I wrapped it around the pot to measure and cut, then sewed, it together in the back. Arrange it around the nose and position it how you’d like. It takes a bit of fluffing.
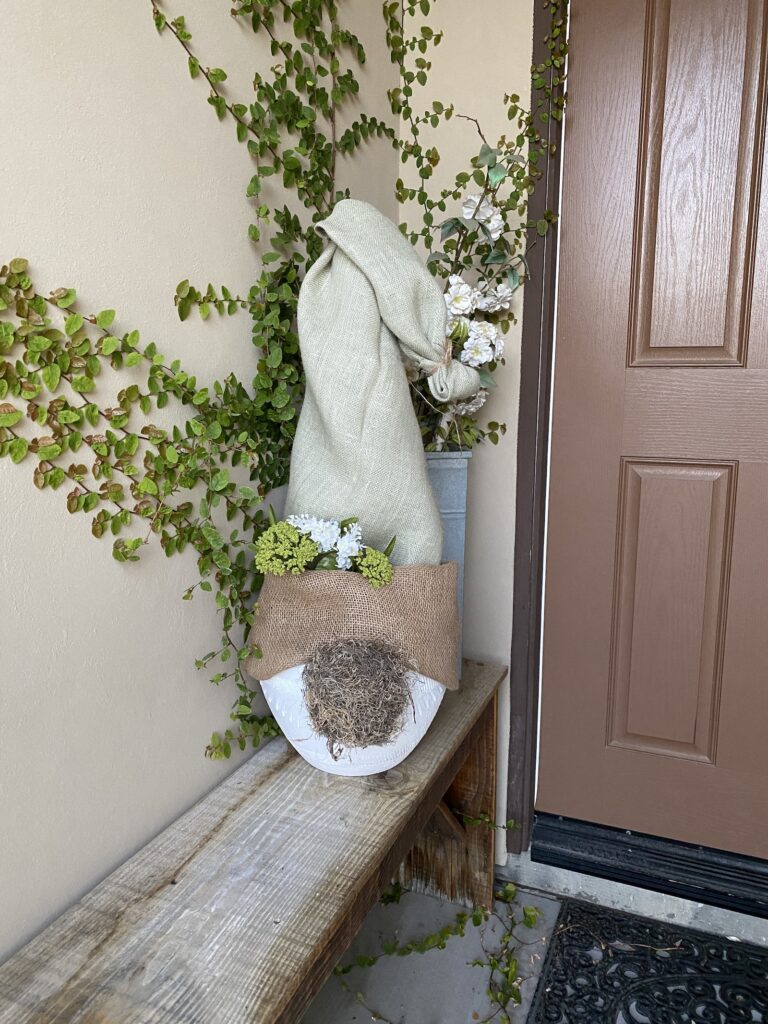
If you’d like, you can add flowers or other accessories. I’m going to change mine up for each season and I’ll have a DIY Outdoor Christmas Gnome or for any season. These will make cute outdoor Christmas gnomes and I’m definitely going to add some to my outdoor Christmas decor.
I fully expect the birds to be picking at my gnome looking for fibers or stealing moss. I love watching the birds in the yard so I’m prepared to replace the moss as needed. I may add a piece of chicken wire over the nose to hold it in better. I still haven’t decided.
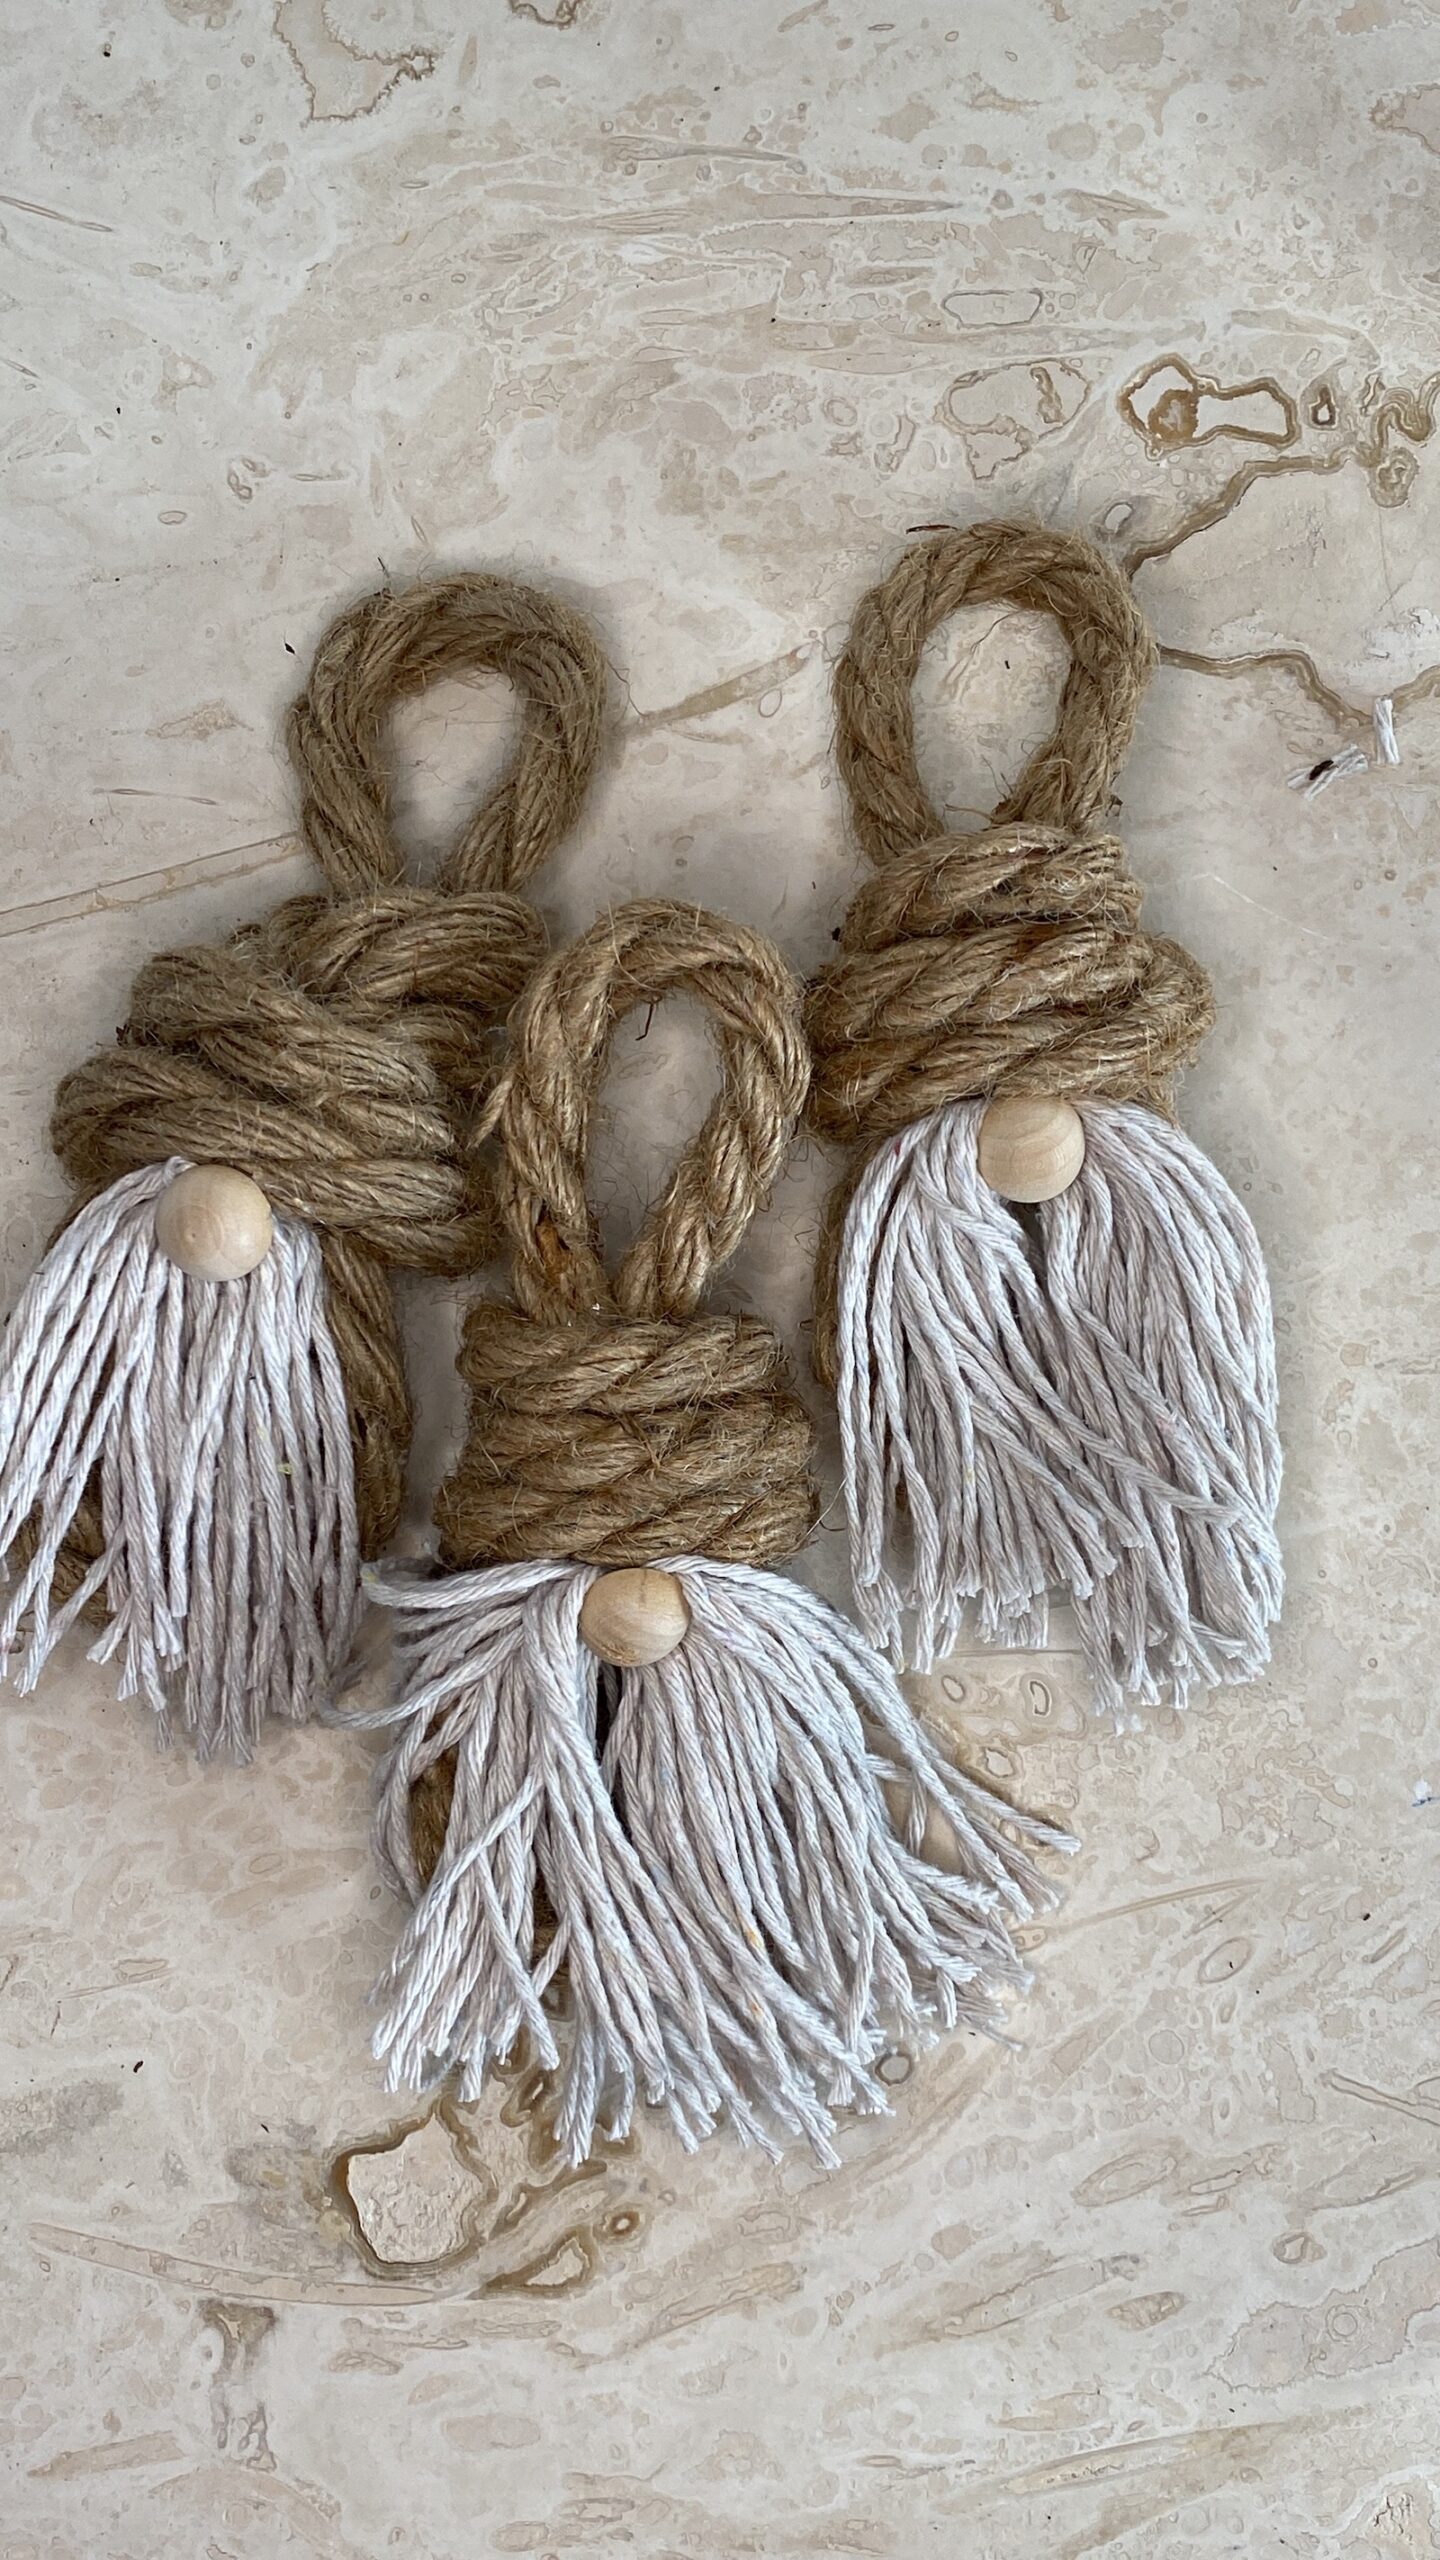
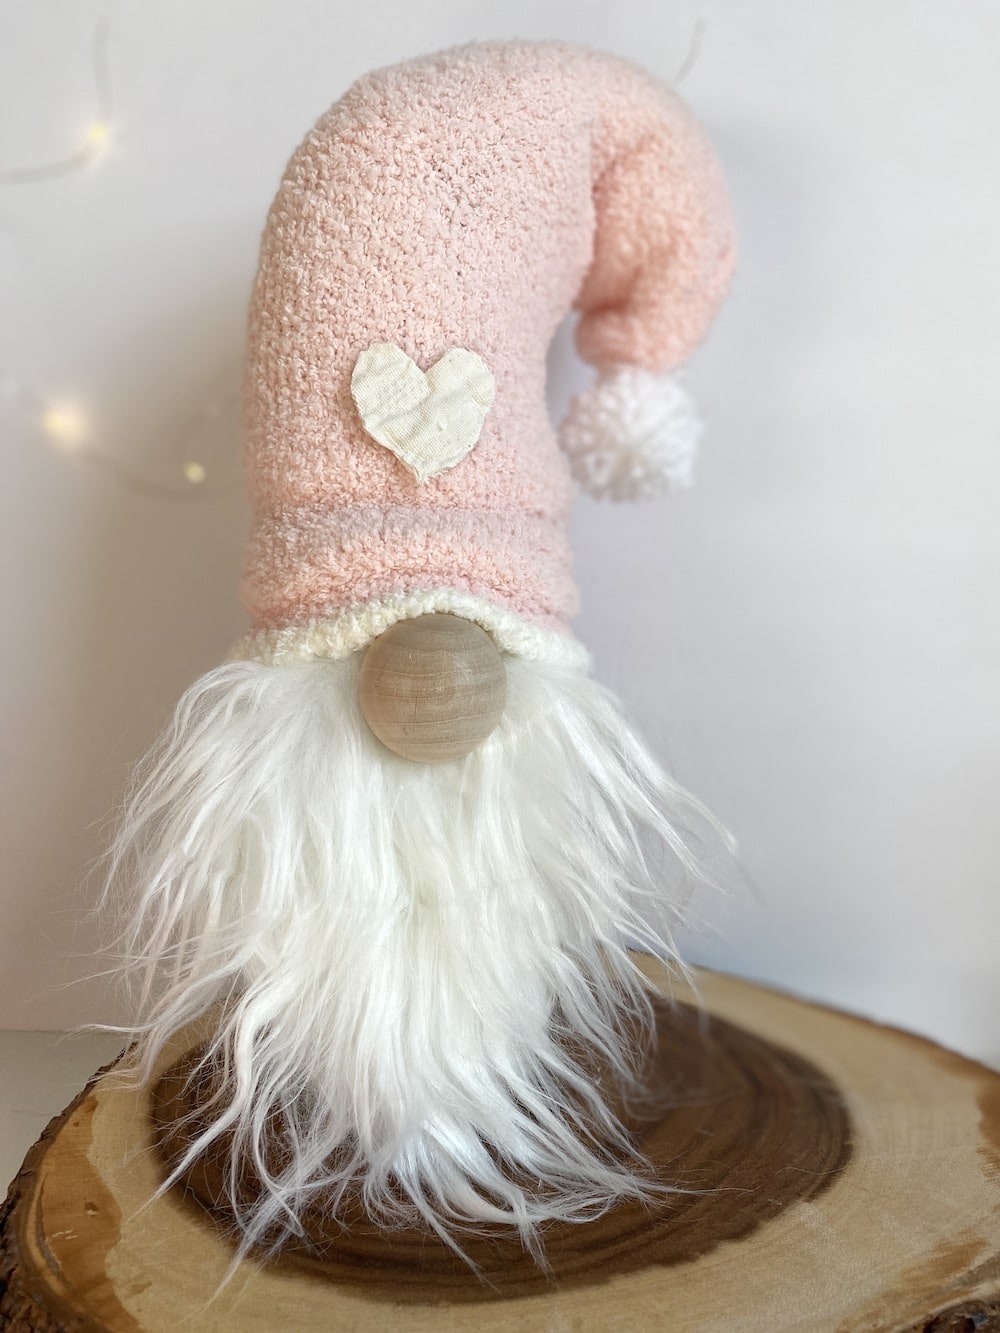
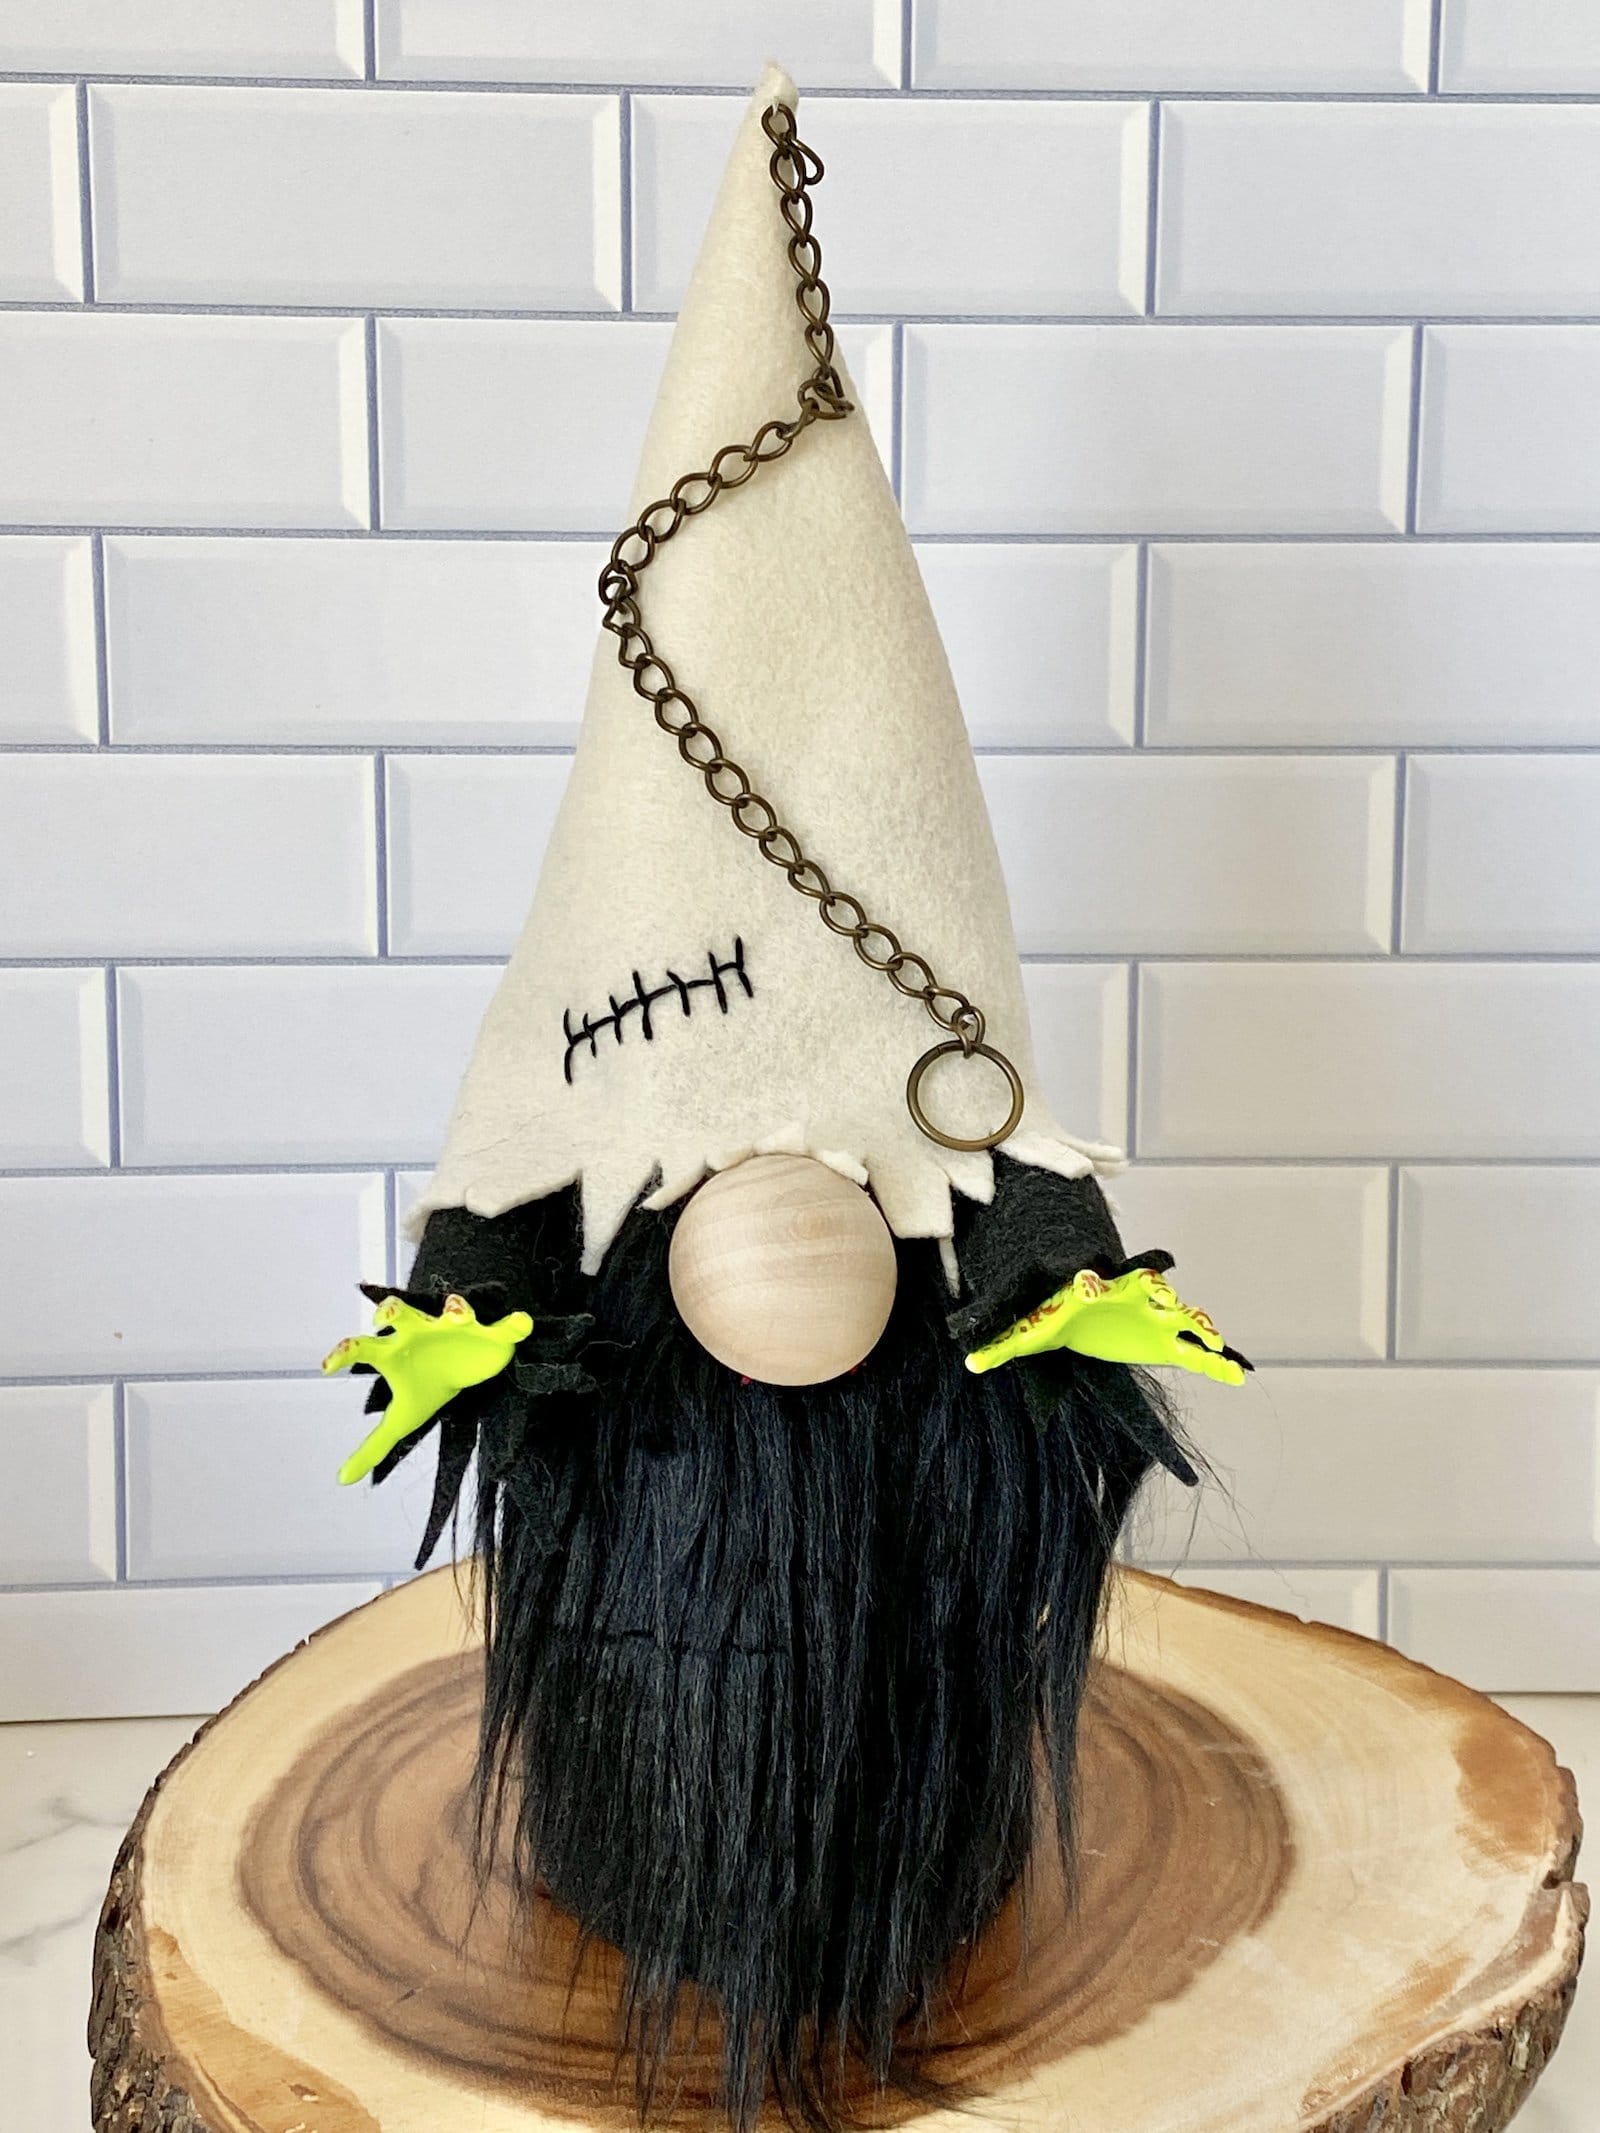
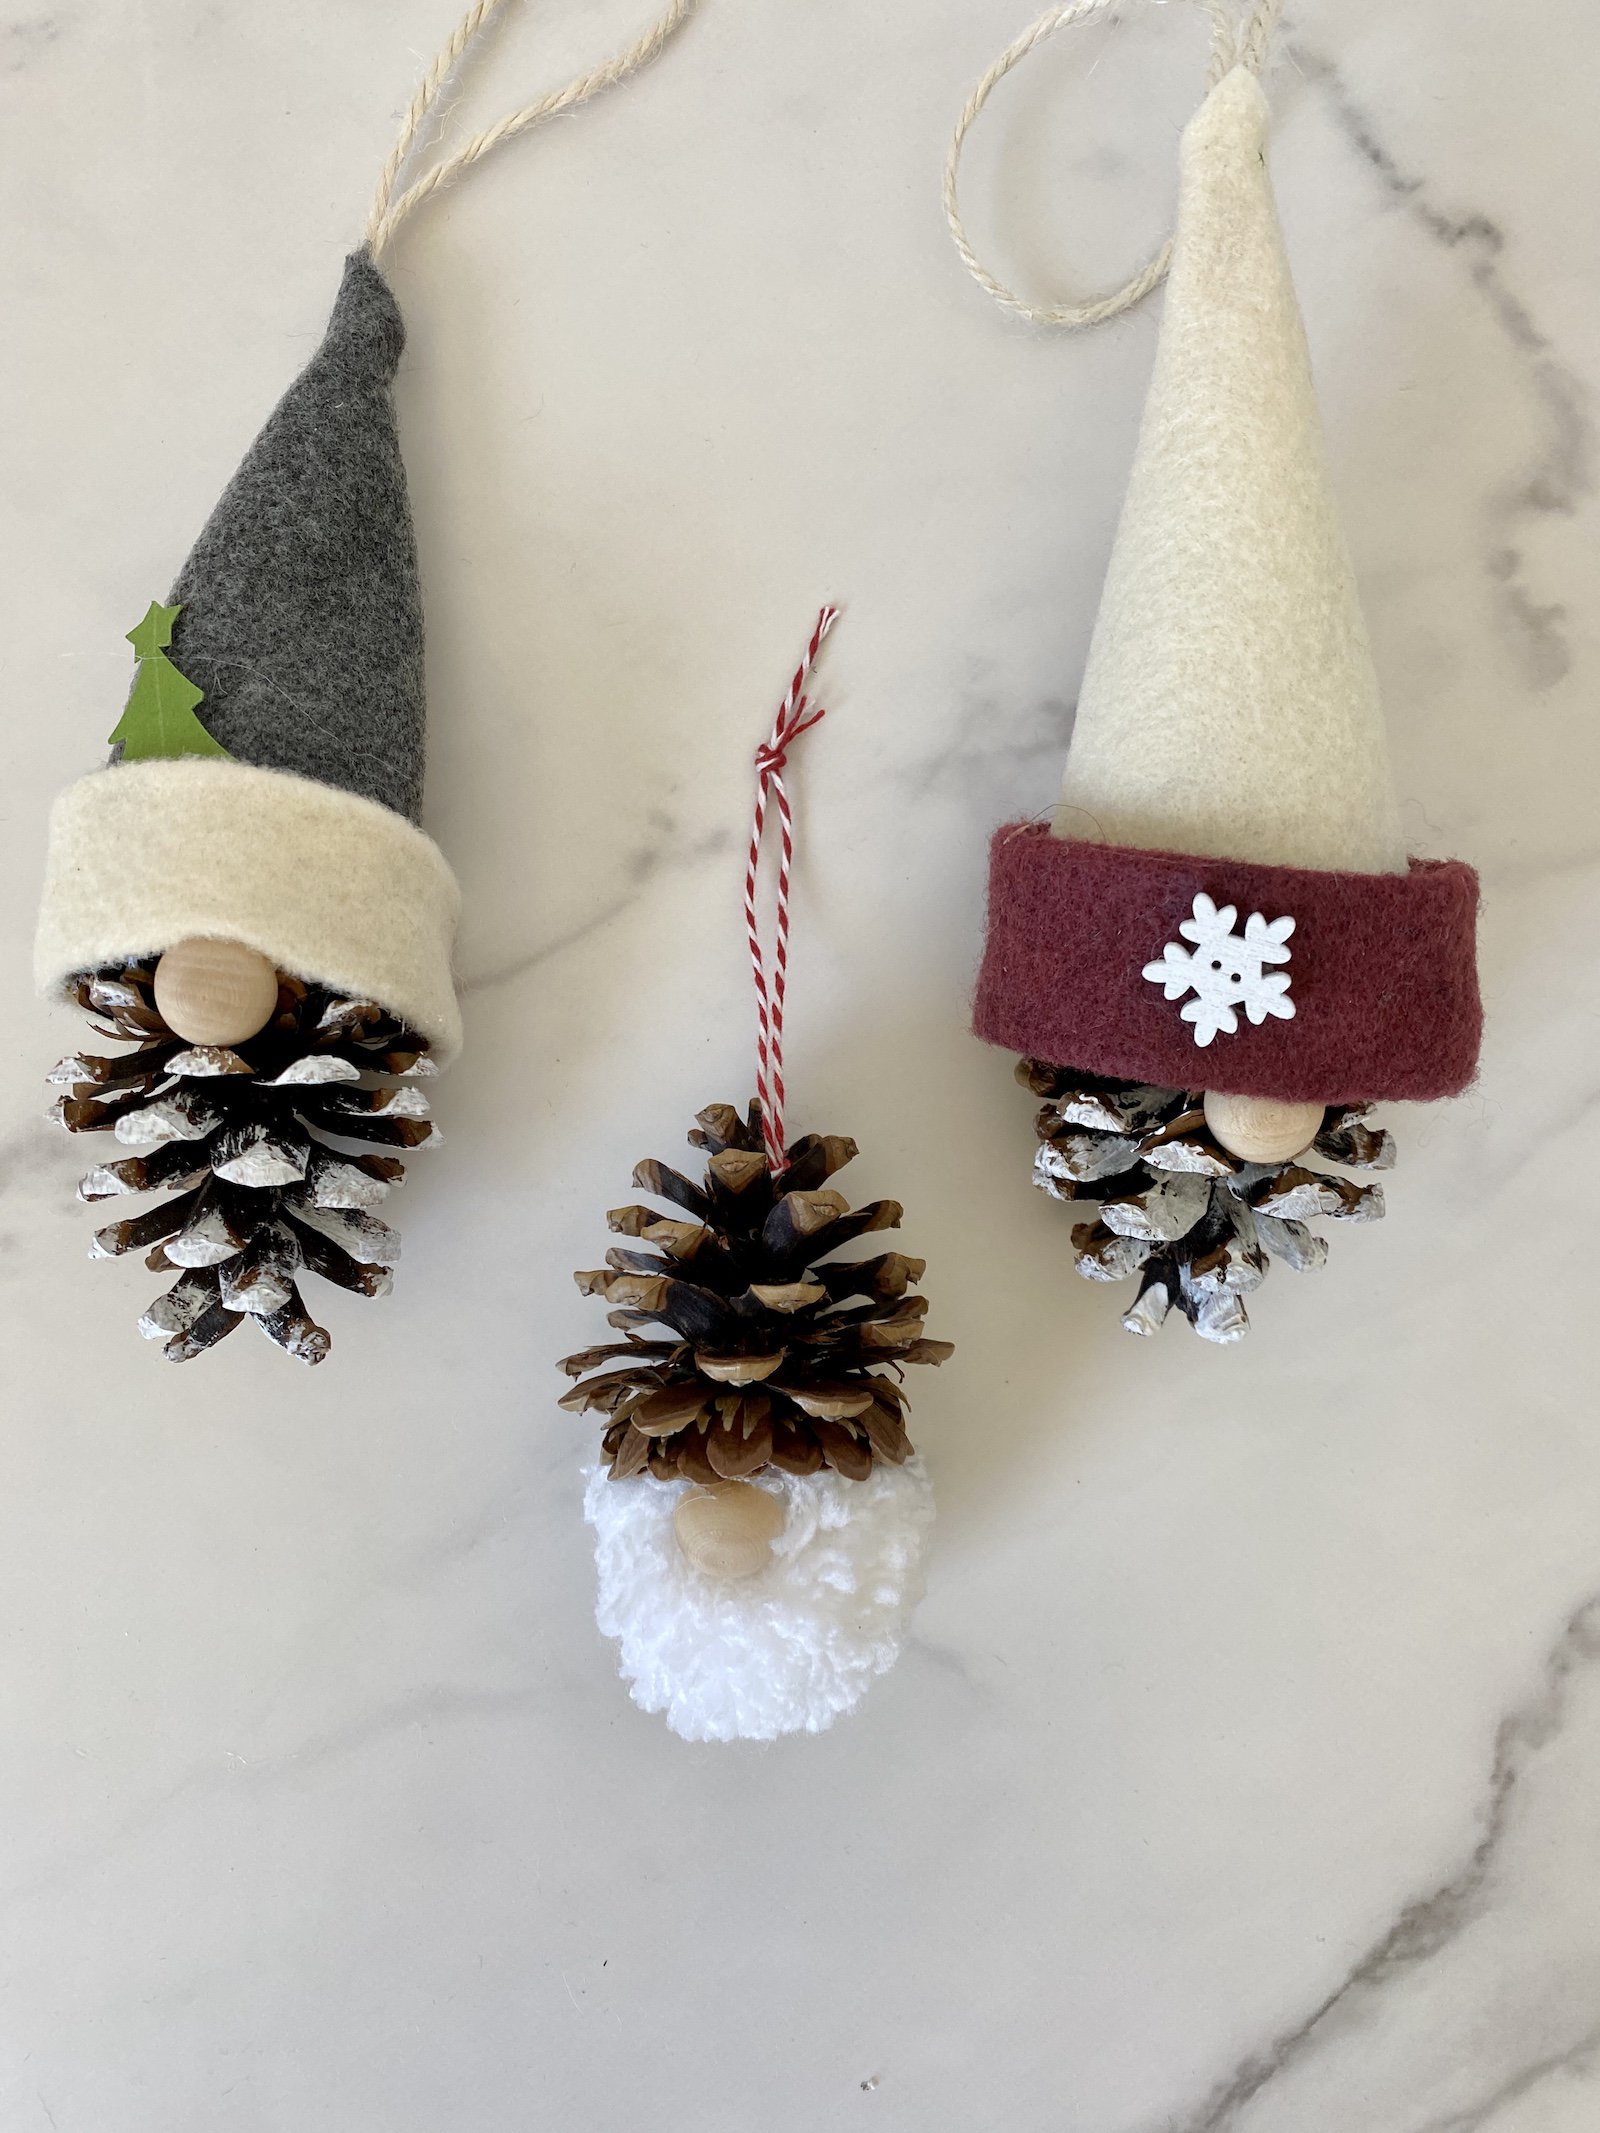
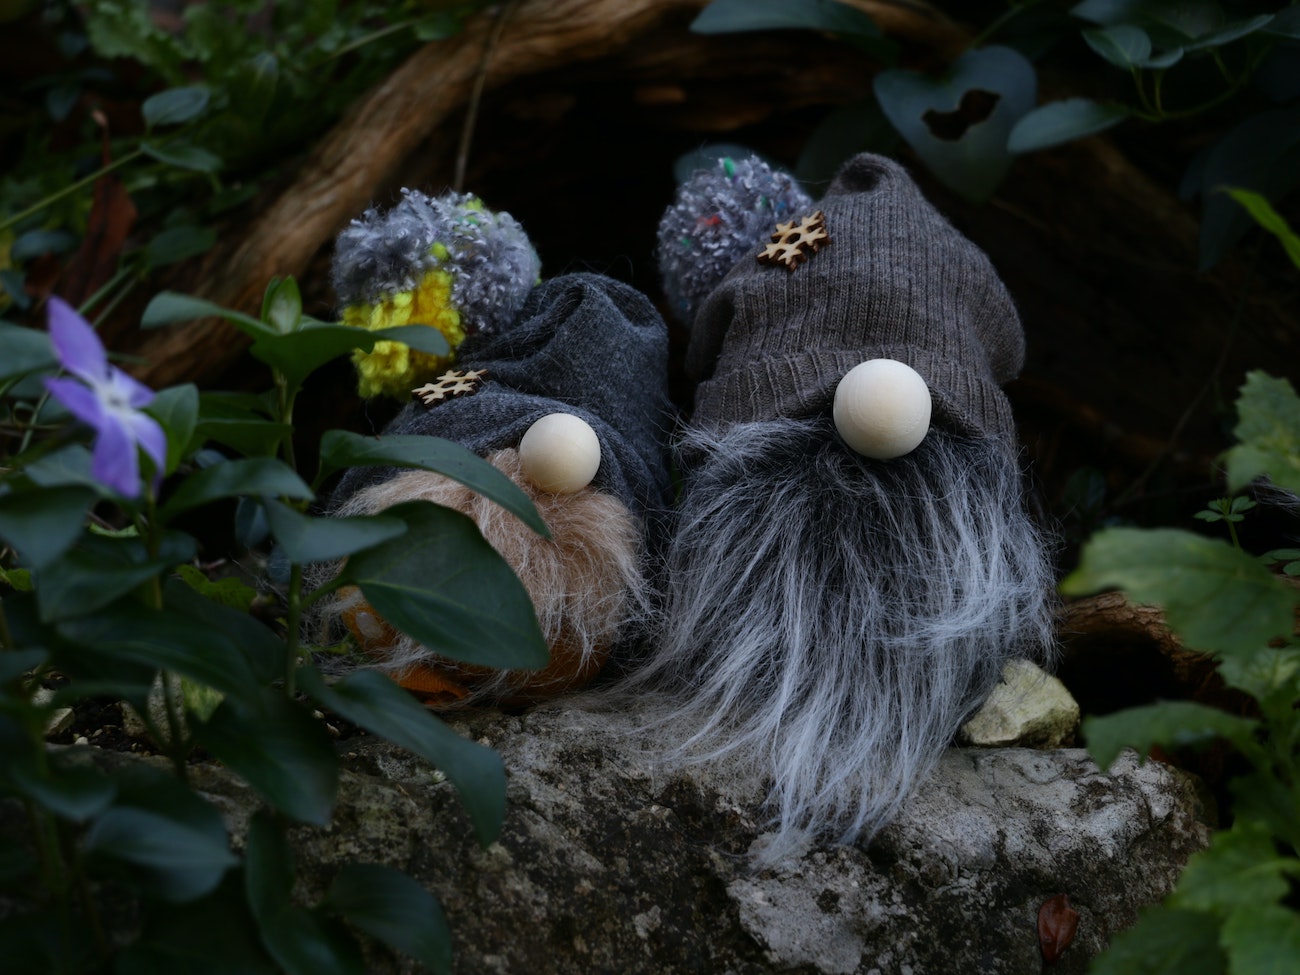
If you love gnomes as I do, I’ve also made some sock gnomes, mop gnomes, and even gnomes with mason jars. Be sure to take a look at those before you go. You don’t want to miss the Christmas Gnome Guide either. I also have a fun post about how to use old mailboxes.
Happy crafting!
~Denise