
How To Make Pine Cone Gnomes: DIY Tutorials
This post contains affiliate links which means that at no cost to you, I may earn a commission if you purchase using one of my links. For more information view my full disclosures.
~
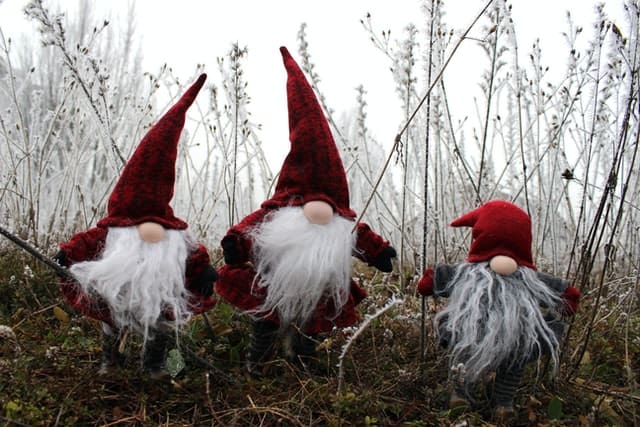
As the holiday season approaches, I always get excited about decorating my home with unique and festive ornaments. This year, I decided to make my own DIY pine cone gnomes. These adorable little creatures are made from pine cones, felt, and a few other simple materials, and they add a charming touch to any Christmas tree or holiday display.
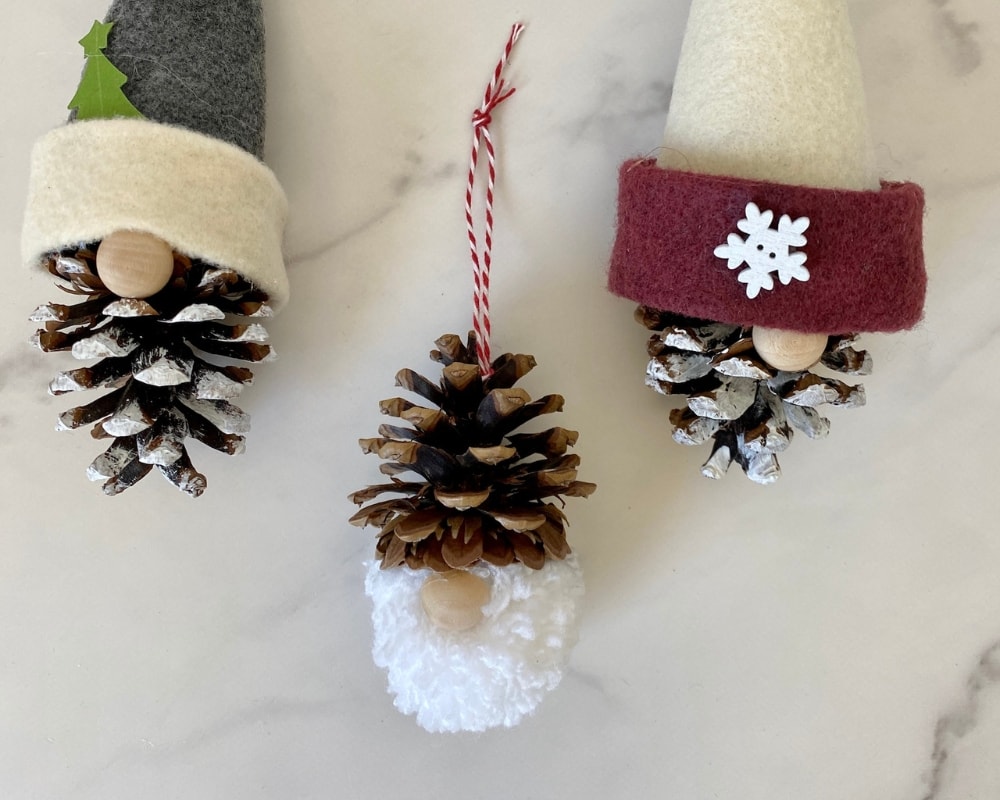
To make pine cone gnomes, you can gather some pine cones from your backyard or buy pinecones from a craft store. I used felt to make little hats for each gnome, and added a cute little nose and some festive embellishments. The process was surprisingly easy and fun!
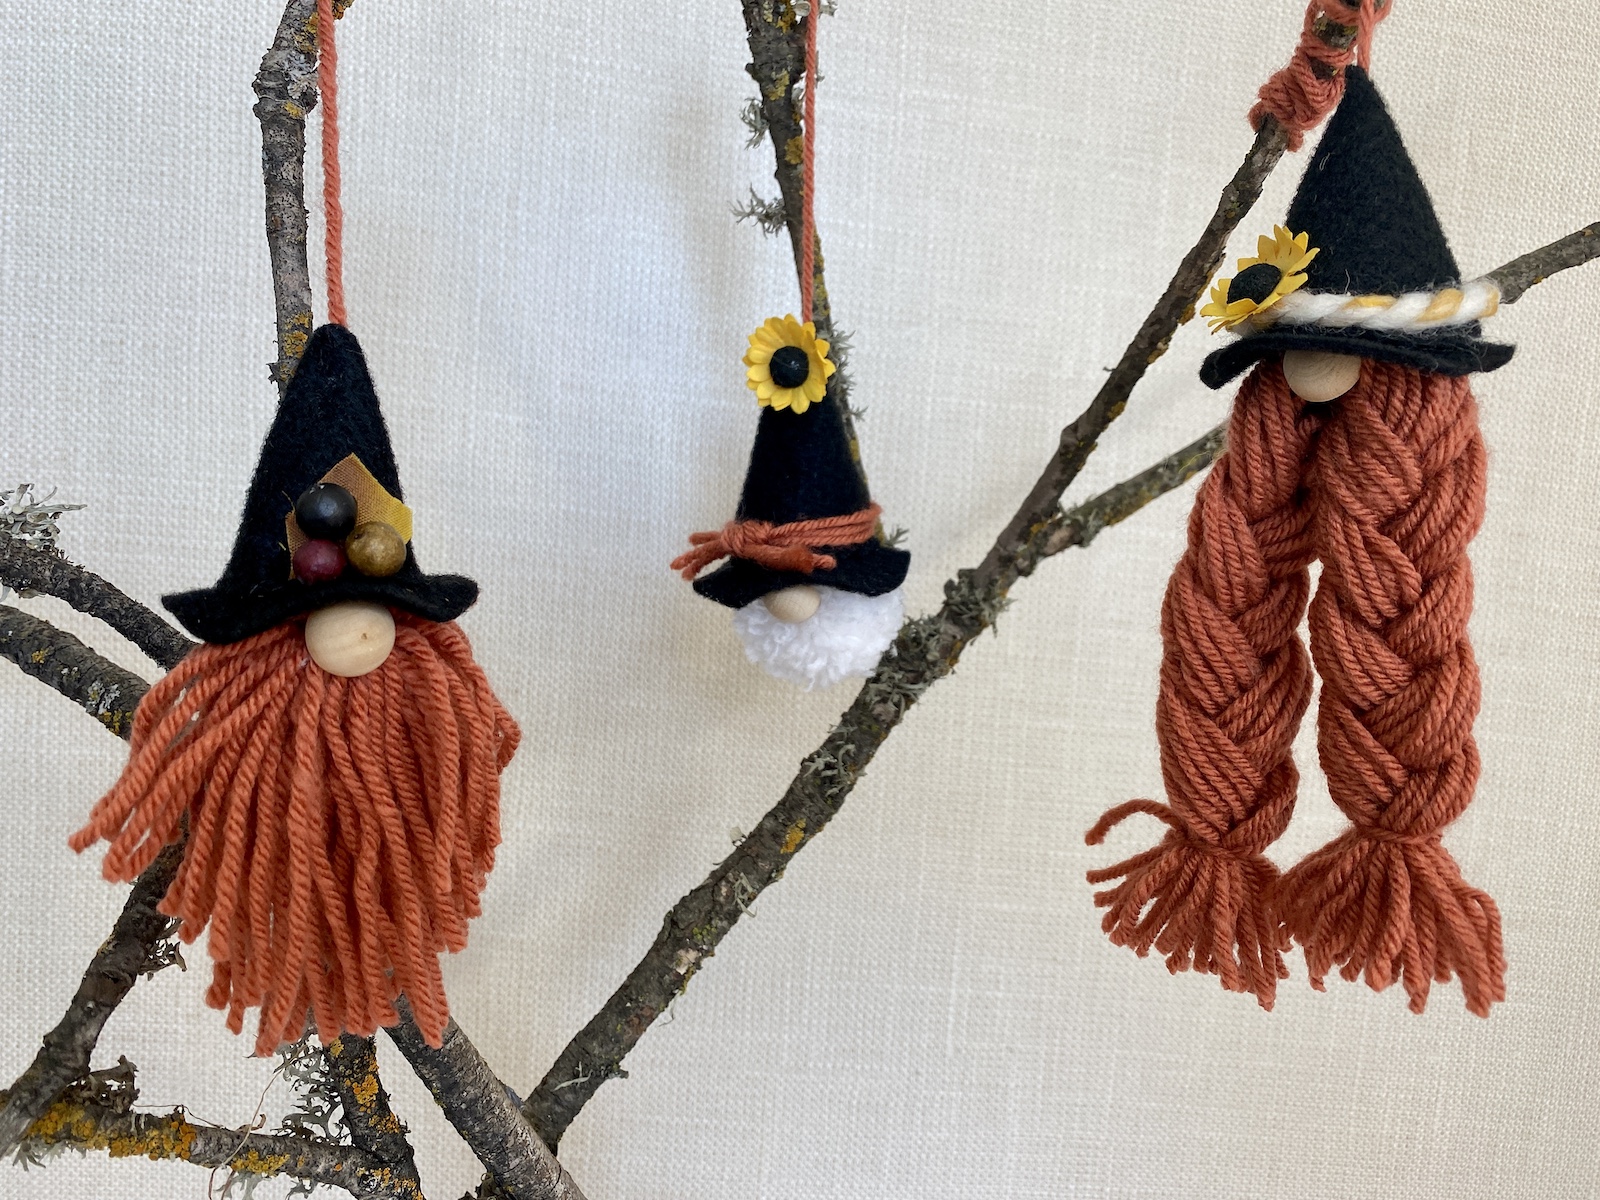
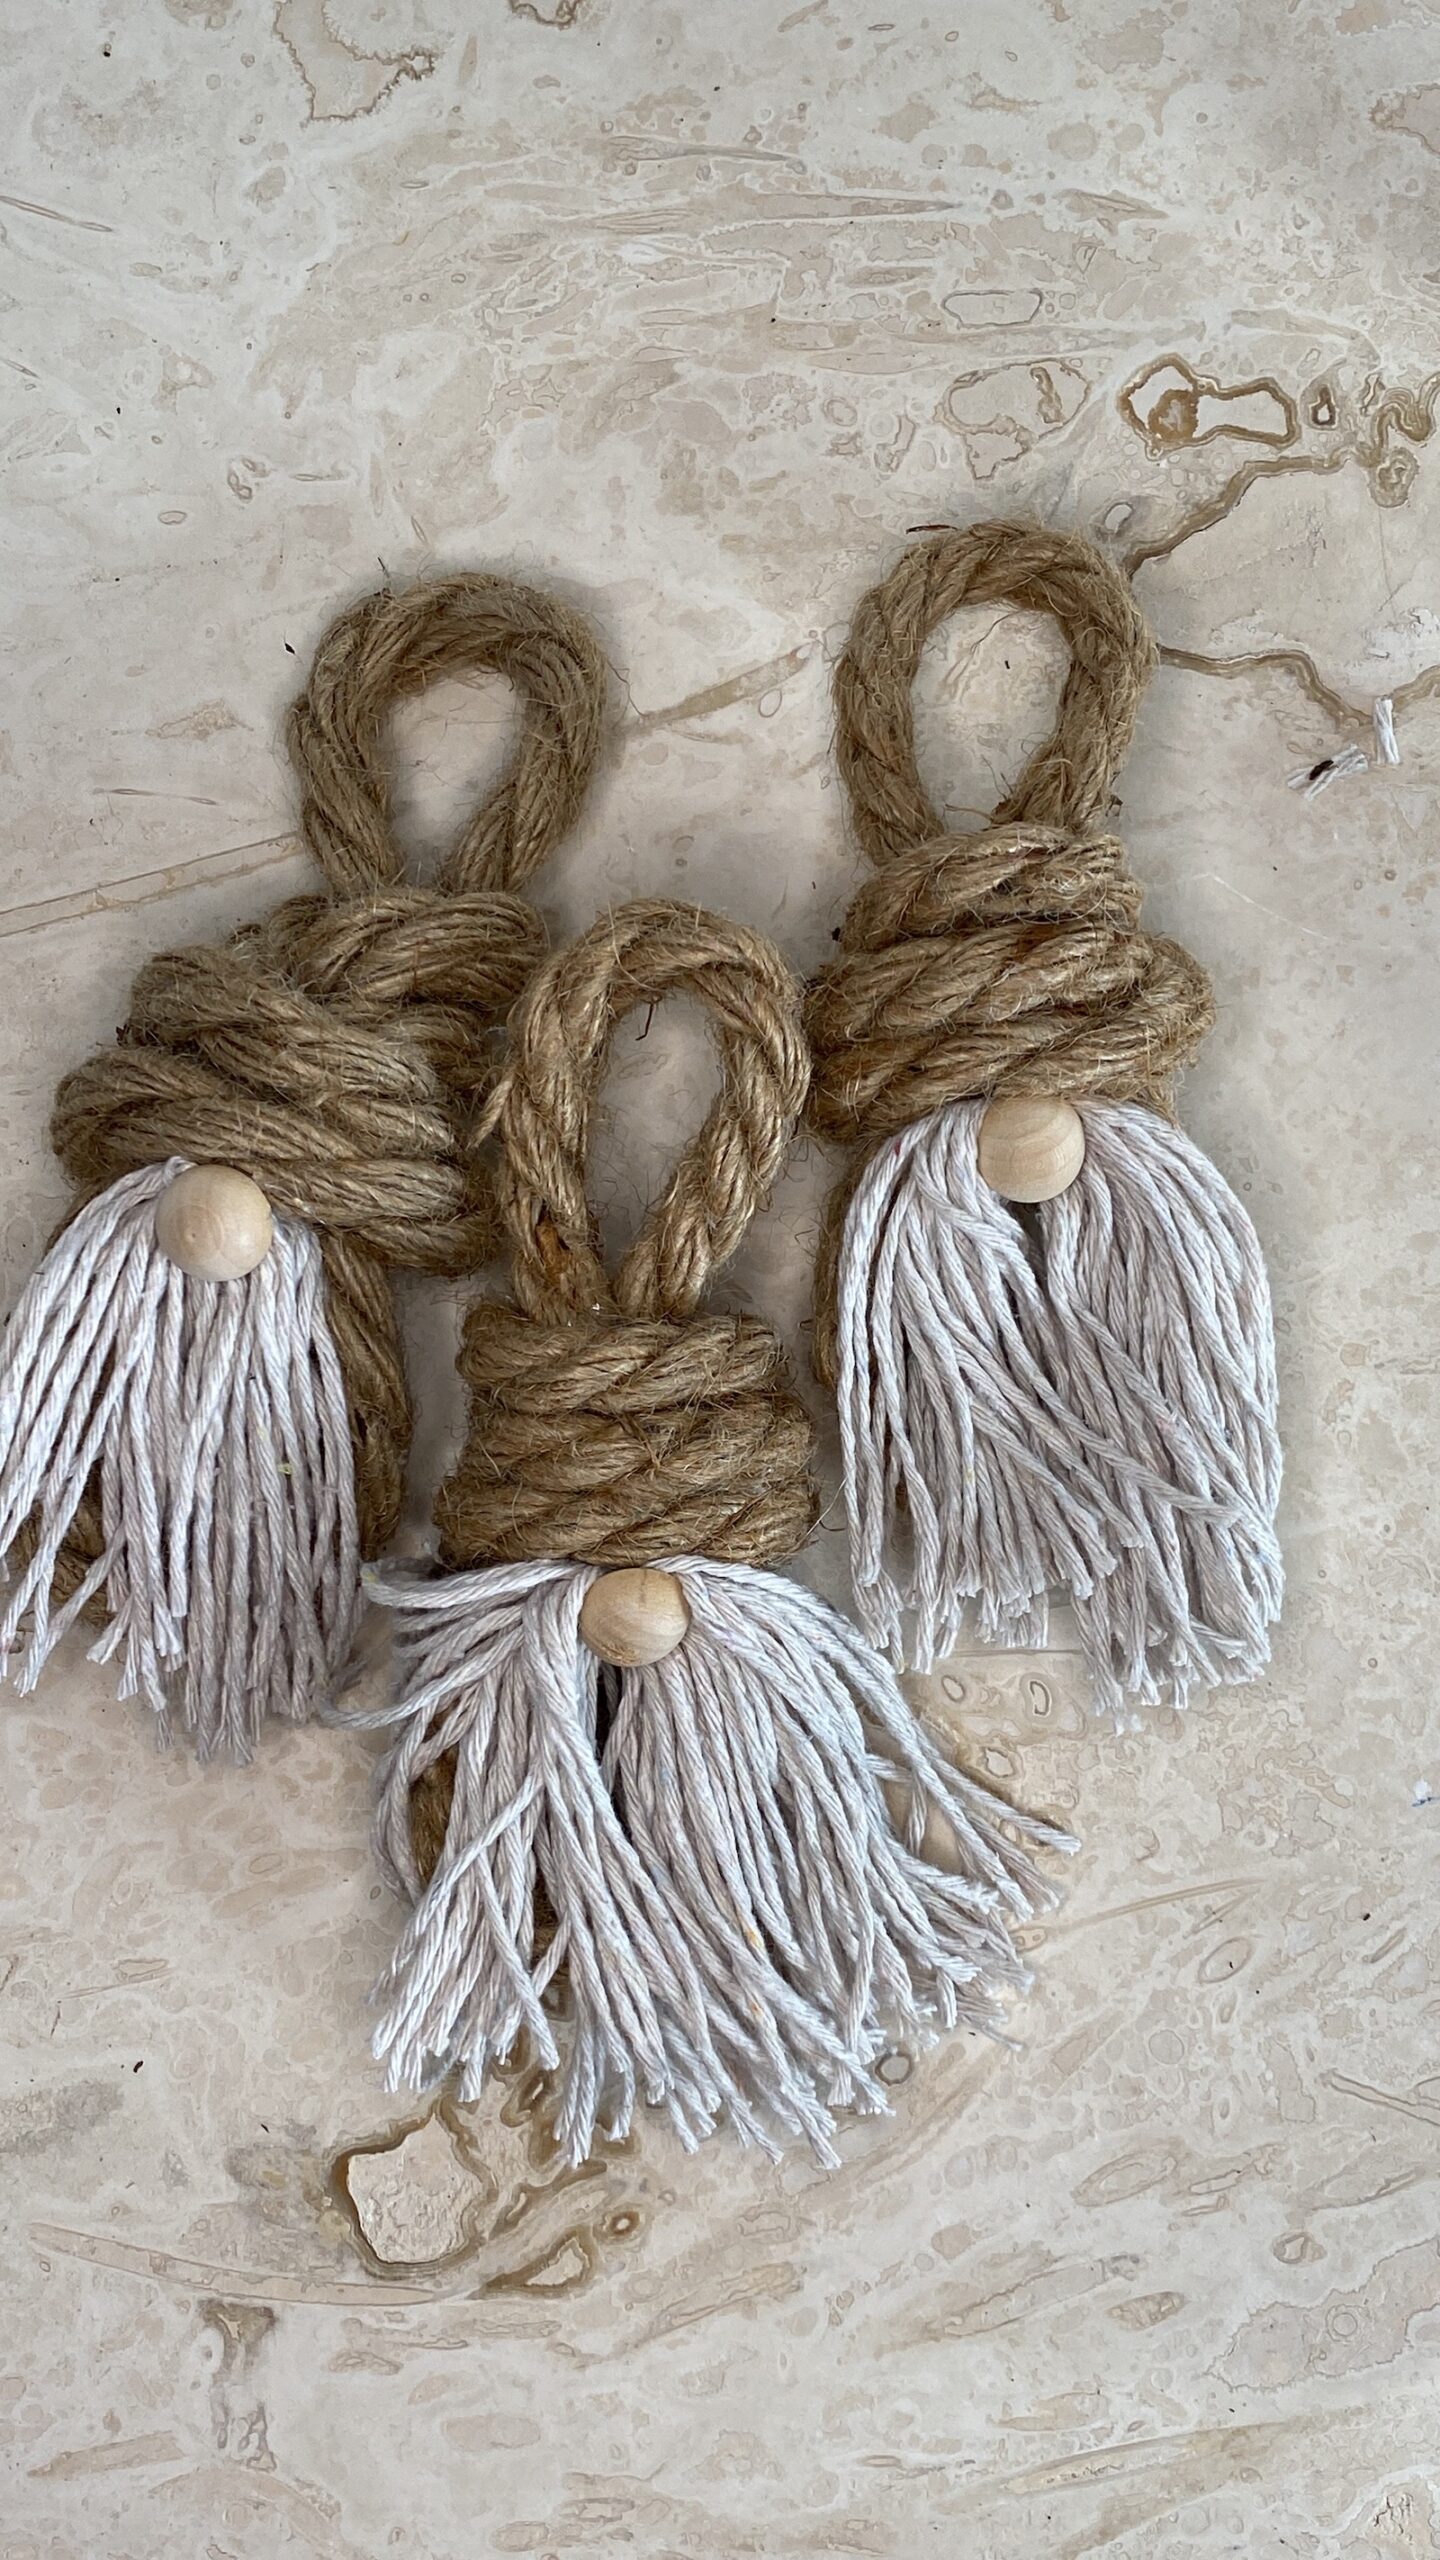
I love making pinecone gnome ornaments, but you can also make sock gnomes with pinecones as well! There are several ideas throughout this post! Be sure to check out how to make yarn gnomes as well! You’ll love adding these to your Christmas decorations this year.
❤ Be sure to check out my favorite Gnome Making Supplies!

Materials
You’ll need the following craft supplies and materials to make pine cone gnomes:
Pine cones
I love using pine cones for DIY projects because they’re readily available and they add a natural element to my crafts and decor. If you’re making ornaments, I recommend smaller pine cones that are about 3 inches tall to make this pine cone gnomes craft.
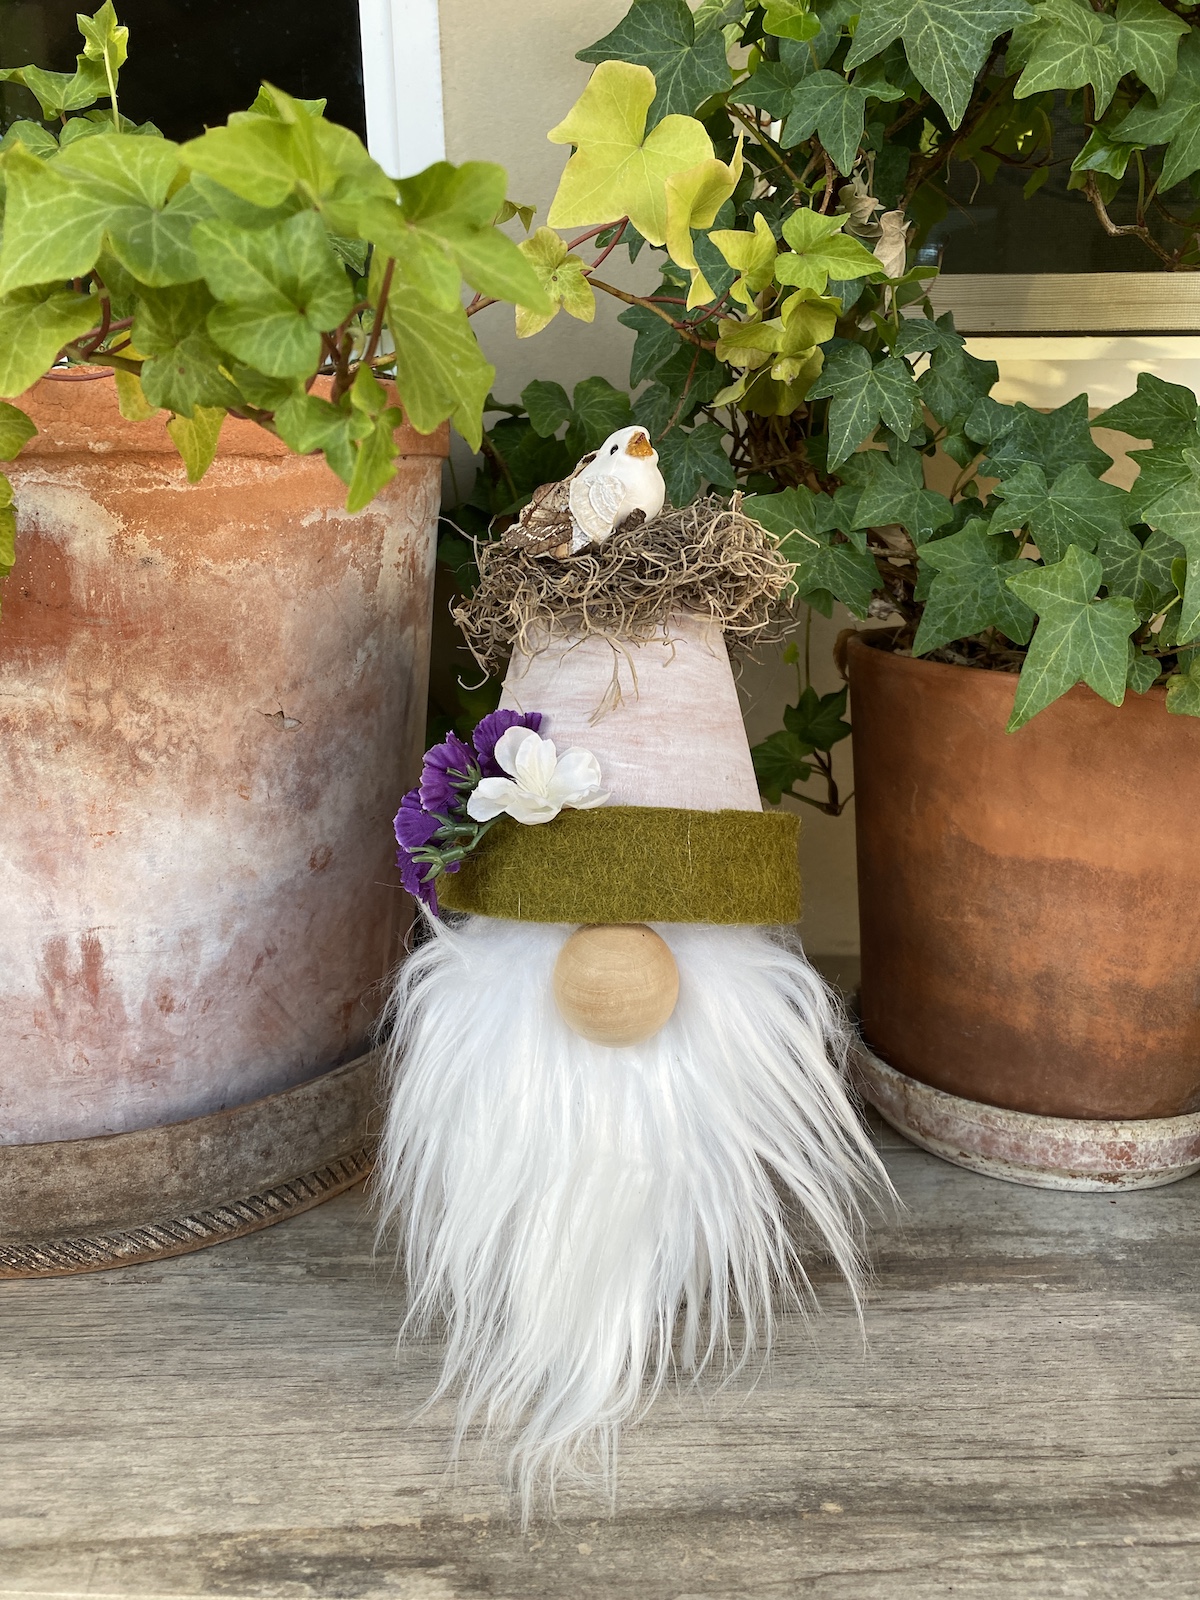
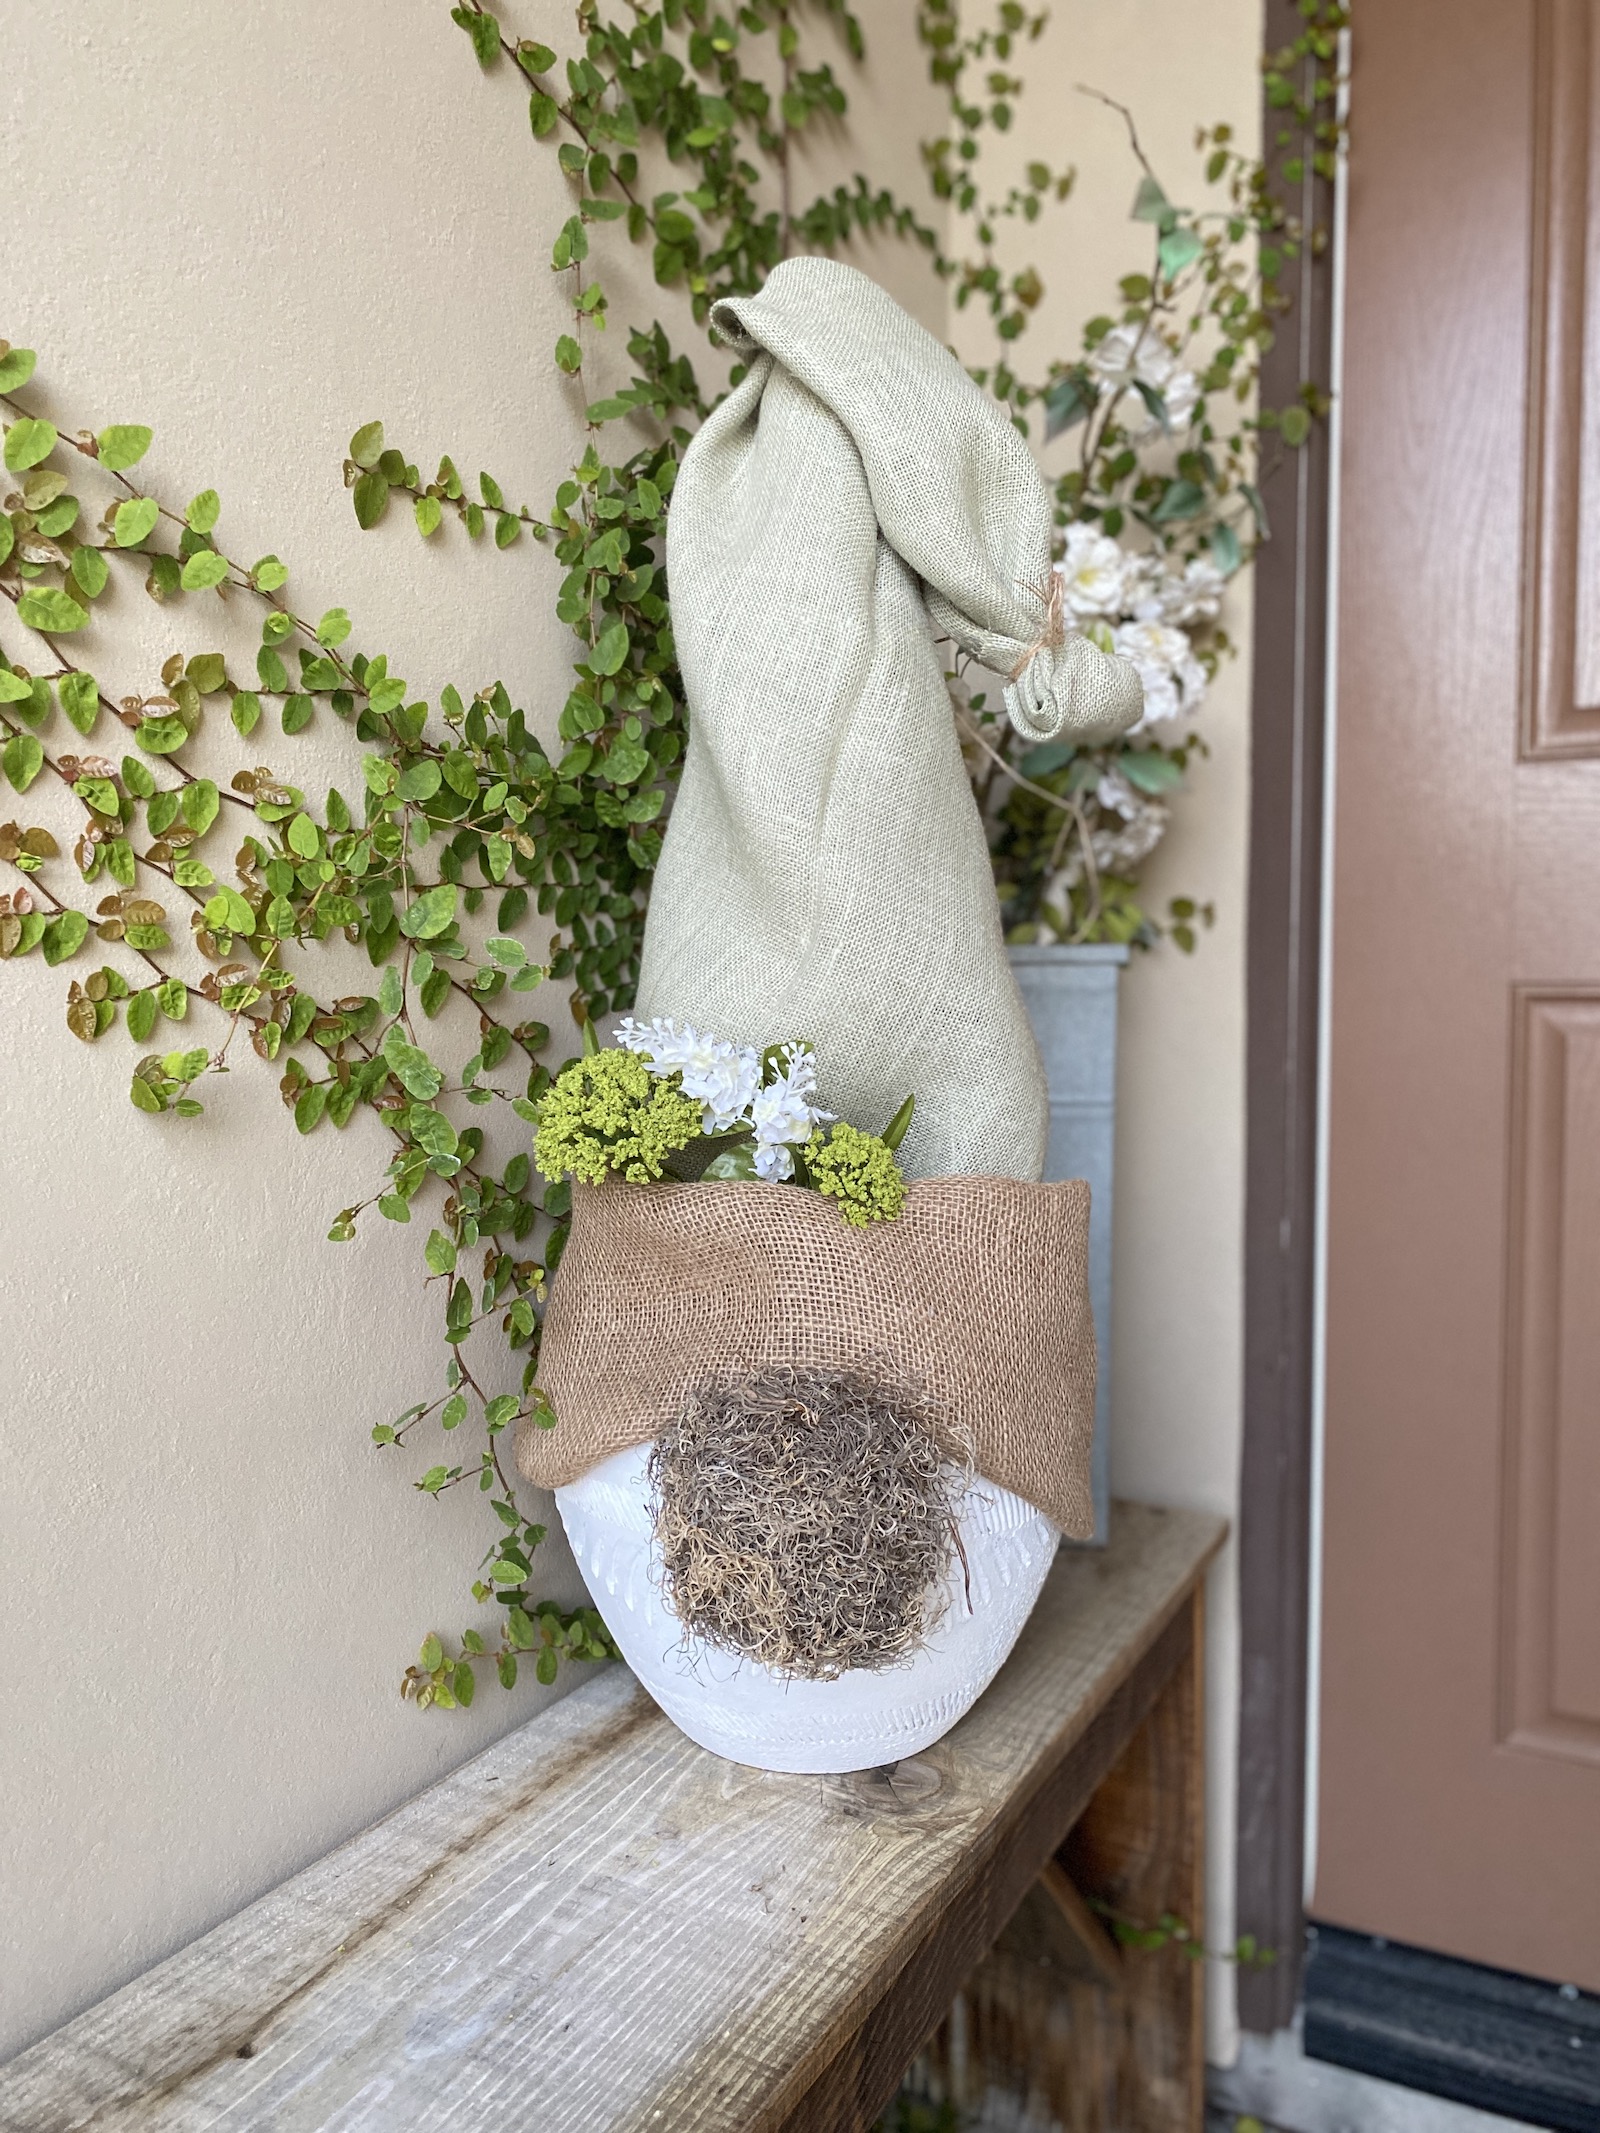
You can also use pine cones for gnome hats! See the photos below.

You can buy pinecones on Etsy, at Michael’s, Amazon, and other local craft stores.
Felt fabric
Felt fabric is perfect for making gnome hats. I have a simple felt gnome hat pattern idea that you can follow.
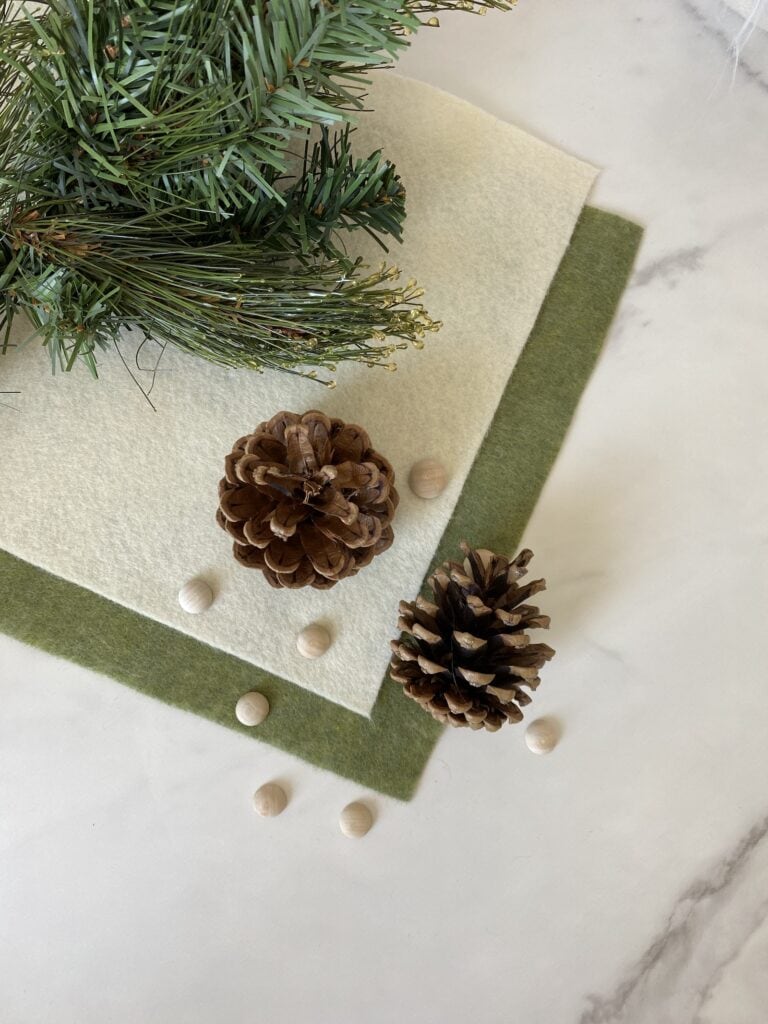
You can use any colors you like, but I like using earthy tones like brown, green, and off-white to match the natural look of the pine cones. You only need a small amount of felt for each gnome.
Wooden bead
Wooden beads are what I used for the gnome noses. You can find the wooden beads on Amazon or at your local craft stores like Hobby Lobby or Michael’s. I recommend using 12mm split wood beads for medium-sized pine cones.

The split wood beads look nicer and you don’t have to worry about covering a hole in round beads. Alternatively, you can use a small pom pom.
Hot glue gun
A hot glue gun is essential for this project. You’ll need it to attach the felt hats, noses, and decorations. I suggest using a strong, clear-drying glue.
You may be able to use regular craft glue if you have quite a bit of patience.
Scissors
Scissors are needed to cut the felt fabric for the gnome hats. Use a pair of sharp scissors that can easily cut through the felt.
Overall, these materials are easy to find and affordable. I purchase most of my craft supplies on Amazon or at Hobby Lobby. With just a few supplies, you can create adorable DIY pine cone gnomes ornaments that add a cozy touch to your holiday decor.
Steps
Here are the step-by-step instructions for how to make pine cone gnomes:
Step 1: Clean the pine cones (If you collect your own)
If you buy pine cones, you can skip this step, but if you collect your own, you’ll want to clean them and potentially bake them in the oven to remove pests.
Step 2: Make the hats
To make the hats, I traced a larger salad plate that was about 9 inches across. I cut out the circle and then cut it into equal quarters. Test this on a piece of paper first to make sure this size will fit your pine cones. Remember, mine are small.

Start with a larger circle if you’re using larger pine cones or take a look at my felt gnome hat pattern.
Glue a loop of twine for hanging into the tip of the hat and glue the top of the hat around the edges of the twine using small dots of glue.
Line up the bottom of the hat and then glue along the seam to complete the hat.
Step 3: Add the wooden beads
To make the gnome’s nose, I glued a wooden bead onto the pine cone. I like split wood beads but you can also use round wooden beads, preferably without holes in them.

I like to hold the hat in place to figure out where to glue the gnome’s nose.
Step 4: Glue the hat
Glue the hat in place by adding dots of glue to the back, sides, and around the top of the nose. Hold the hat in place until the glue dries.
Step 5: Add embellishments to the hat (optional)
You can glue a pom pom to the top of the hat and decorate it with any festive decorations. I love mini snowflakes and bells for Christmas.
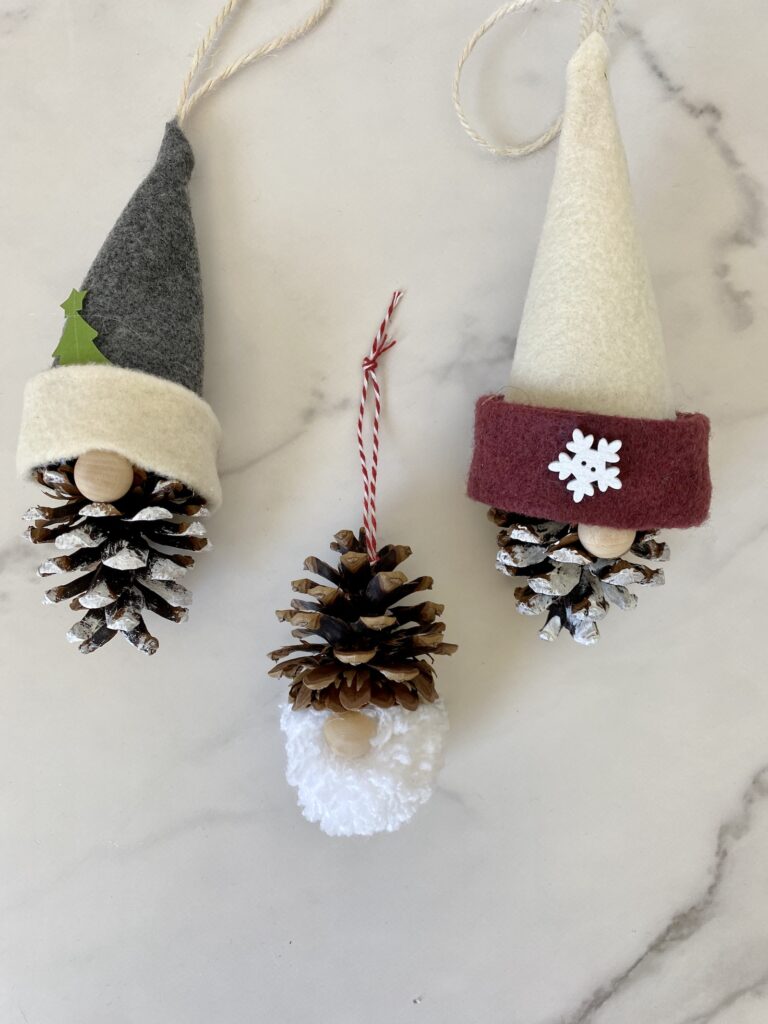
Step 6: Paint the beard
Gently brush white paint on the pine cone to create a white beard. Hang the ornaments to dry.
You can also make a pom pom and use the pine cone for a hat. Learn how to make pom poms with my Clover Pom Pom Maker Instructions.

35+ DIY Christmas Gnomes – The Ultimate Guide
Tips and Tricks
Make different sizes of pine cone gnomes
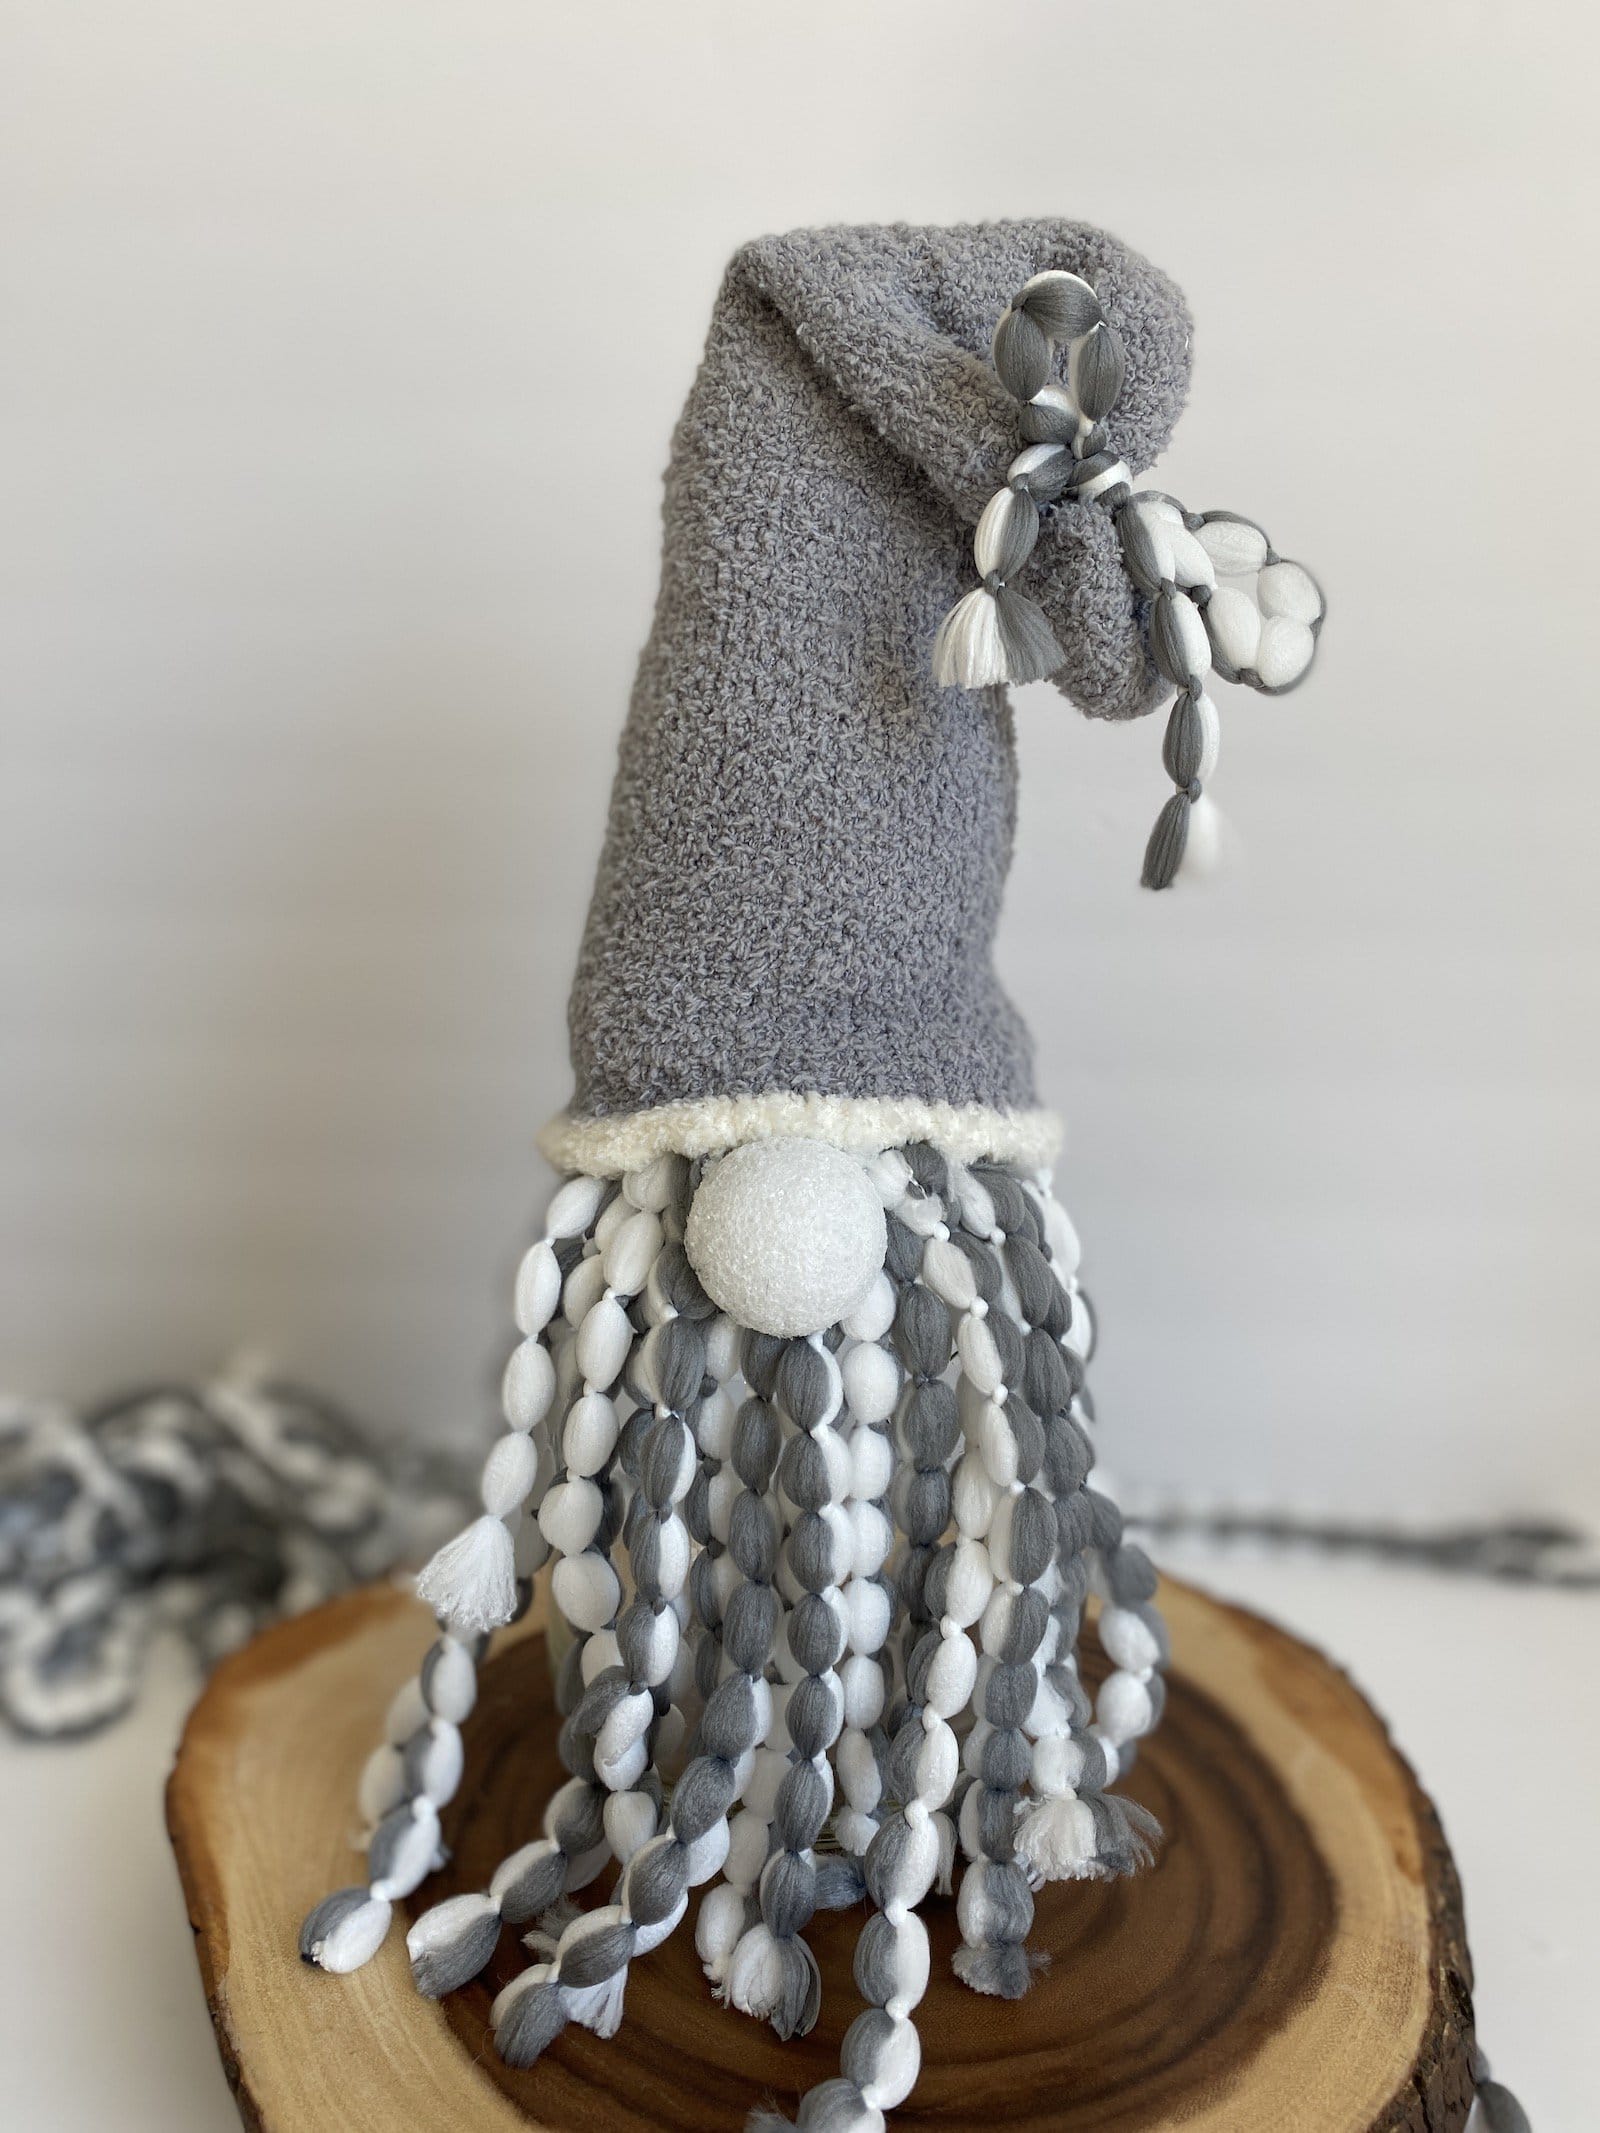
You can make pine cone gnomes in different sizes. You can use small, medium, and large pine cones to create a variety of sizes. You can also use socks as hats instead of felt. Children’s socks work well for pine cone gnome ornaments.
If you don’t need to make ornaments, you can skip adding the twine and just set the gnomes on a shelf. They make cute DIY Christmas decorations.
Here’s a plush pine cone gnome DIY with a pine cone hat. Another fun pinecone gnomes craft. He’s so cute!

Happy crafting,
Denise
I’m a gnome fanatic
Me too! I hope you find some other gnome crafts here that you like!
Your pinecone gnomes are precious.