DIY Felt Leaf Garland (Easy Tutorial!)
This post contains affiliate links which means that at no cost to you, I may earn a commission if you purchase using one of my links. For more information view my full disclosures.
~
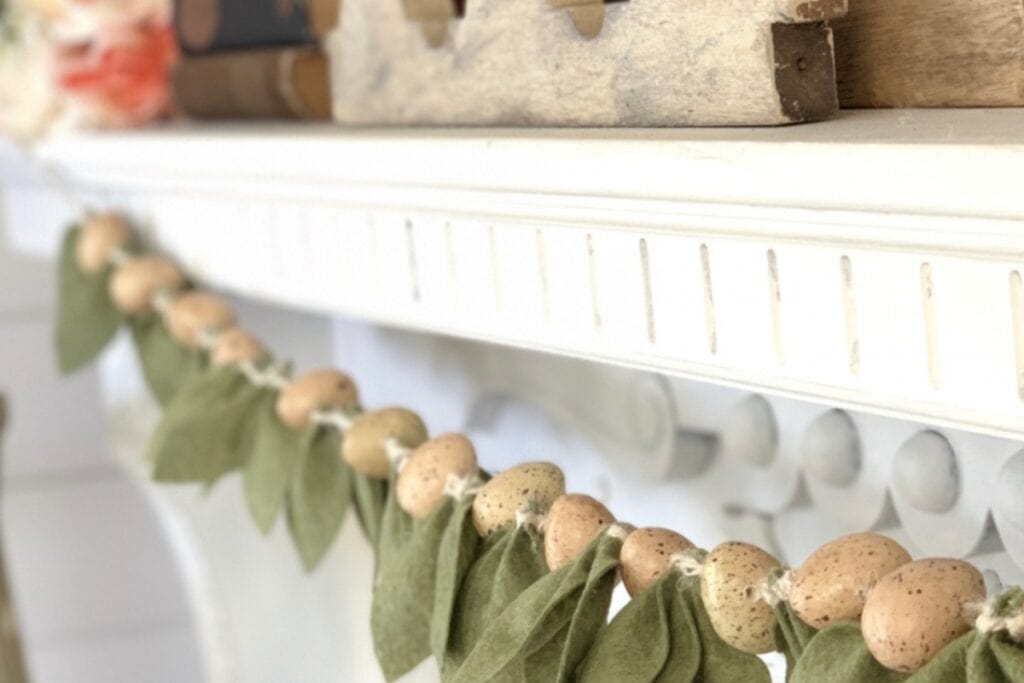
These DIY felt leaf garland projects are so easy to make and I’m excited to share this simple but beautiful DIY with you. You can make these felt garlands with a cutting machine or use a template to cut the leaves with scissors. I have a template and SVG file for you to use!
Supplies For The DIY Felt Leaf Garland
You can find all of the supplies at most craft stores like Hobby Lobby or Michael’s. I’ve also linked a few things from Amazon. Here’s what you’ll need to make a felt leaf garland DIY.
- Felt: I use standard felt sheets but you can also use felt fabric. I used this green felt for this felt leaf garland DIY. It’s my favorite green and I use it all of the time! Trees, leaves, wreaths, etc. I always have it in my craft room.
- Twine, string, or yarn for hanging: You can also make a long strip with felt pieces
- Hot glue gun
- speckled eggs or wood beads (optional) more about these below
How To A Felt Leaf Garland
- CUT THE FELT LEAVES: Use the template below to cut felt leaves. I’ve used it in my Paper Wreath DIY. You can also use real-looking leaf shapes if you’d like.
Get The Template
Please check your spam folder as sometimes downloads end up there!
I used the Cricut rotary wheel to cut the felt leaves. I get the cleanest cut with it. My garland took about 50 leaves. If you use a Cricut, be sure to read this post to learn How To Cut Felt With Cricut.
You can also cut out a leaf from the pdf and use it as a template to cut the leaves by hand. They are very simple to cut.
2. PINCH AND GLUE ONE END OF THE LEAVES: I used a glue gun to pinch and glue one end of the leaves together to give the leaves some shape. You don’t have to use leaves that are rounded on the end, any simple leaf shape will work, like the one I provided.
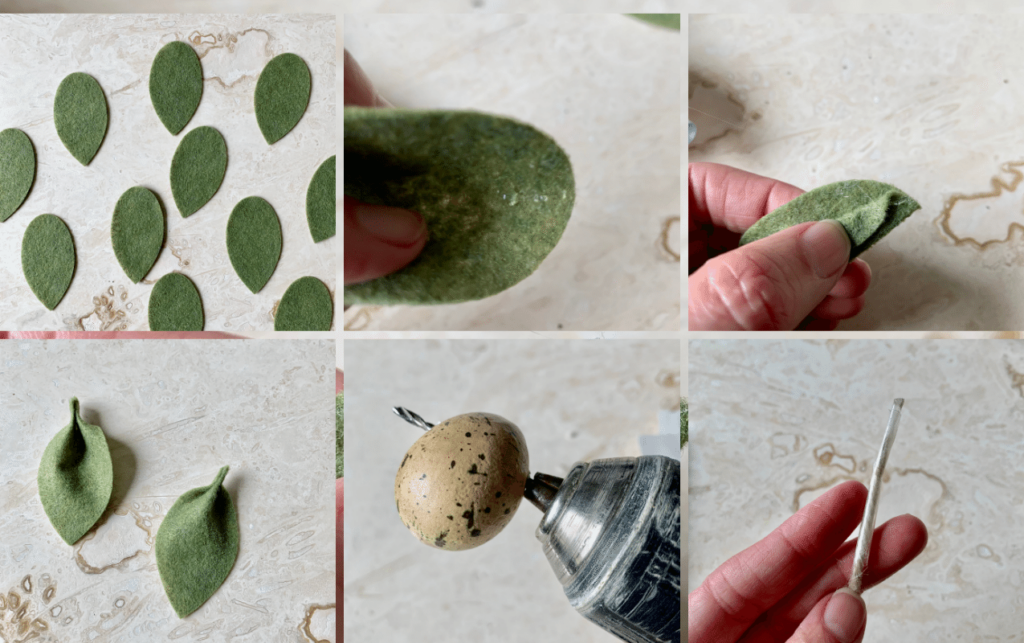
3. GLUE LEAVES IN CLUSTERS: I glued clusters of three leaves together and then glued them to the twine. After giving that a few seconds to dry, I slid an egg on the twine to create some separation.
I found the easiest way to glue the leaves to the twine is after you have the three leaves glued together in a cluster, lay the leaves face down. With a hot glue gun, draw a straight line with the glue across the back of the leaves and then lay the twine in the glue.
In some places, I folded the leaves over the top of the twine.

You can also cut thin felt strips and sew the leaves directly to the felt if you’d like, rather than using twine. This might be faster, but I’m not the best with a sewing machine so I opted to glue them.
4. HANG YOUR GARLAND: The final step is to hang your DIY felt leaf garland on your mantel or use it to decorate a Christmas tree, mirror, or buffet.
How To Make A Pretty DIY Fall Felt Leaf Garland

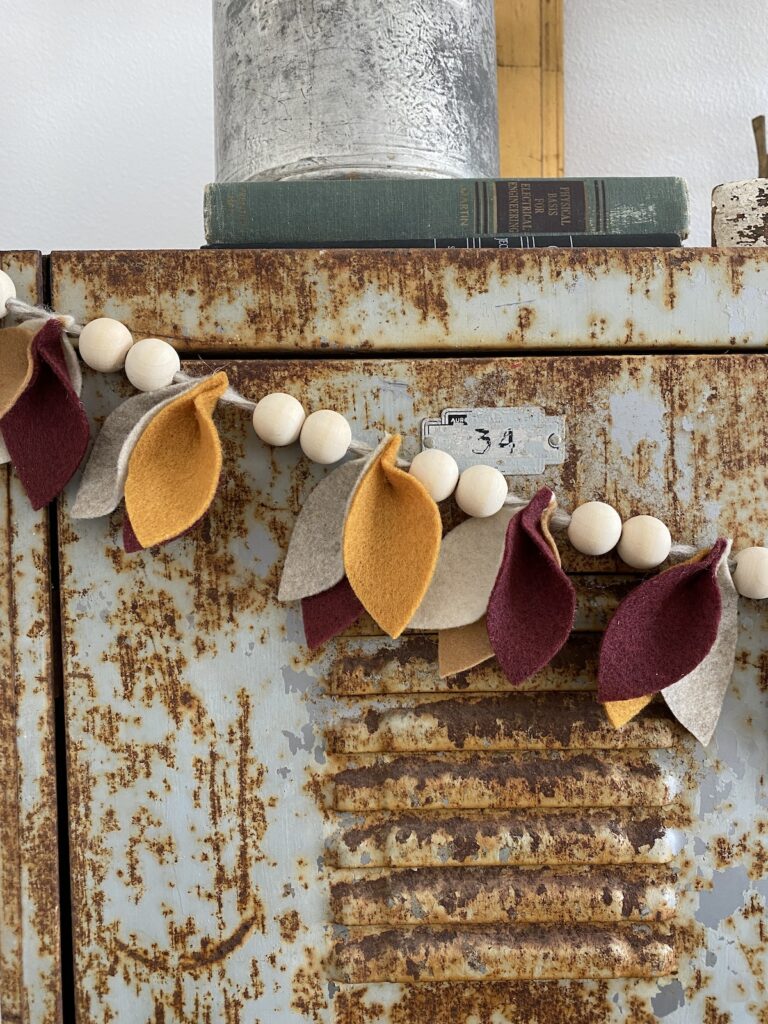
I made another felt garland for fall and I decided to add it to this post. I used fall-colored yarn instead of twine and strung wooden beads between the leaves instead of eggs. I love this Fall garland DIY. I also made a matching felt wreath.
I used standard felt sheets in the following colors: Cranapple, Tan, Sandstone, Antique White, and Goldenrod.

FAQs about this DIY Felt Leaf Garland
I hope you enjoyed this simple DIY Felt Leaf Garlan. You can use this garland for any holiday. If you’d like another Circut Maker project, be sure to check out my Bunny Garland or my Easy Paper Flower Wreath With Cricut! Thanks for stopping by!
Happy crafting,
Denise




I am unable to pull up the leaf print that you used when I click CANVA can you reshare please.
I’m sorry, they’ve made some changes. You could easily draw the shape. They are about 2 inches tall.
I updated the post with a template that you can have sent to your email. It may go to spam so be sure to check your spam folder if you decide to get the template. Thanks again for letting me know you couldn’t find it.
LOVE THIS! Thanks for sharing!
Thank you so much. I appreciate you stopping by!