Easy Felt Bats With Bendable Wings
This post contains affiliate links which means that at no cost to you, I may earn a commission if you purchase using one of my links. For more information view my full disclosures.
~
I’ve been working on some new Halloween decor crafts and I thought I’d write a quick post showing how I made a DIY Halloween garland using easy DIY felt bats with bendable wings. This won’t take long!
To make bats with bendable wings, cut two bats and layer them together with a piece of wire glued in between. Once the glue dries, the winds will bend to make them appear to be flying. Here’s more about how they’re made.
Supplies For Easy DIY Felt Bats With Bendable Wings
- Black felt
- Thick wire. I use these in several craft projects so I love having them on hand.
- Hot glue gun
- Scissors or cut felt bats with Cricut Maker, Cricut Explore Air or Silhouette cutting machines
- Bat pattern or drawing (it’s easier to pick one where the wings are the same on both sides, more about that in a bit)

Choosing the Right Bat Pattern
Since you’re going to be layering the bats, it’s easier to pick a bat that has the same shaped wings on both sides. If you chose a pattern in that the two wings are shaped differently, just remember to layer them so the wings match up. I hope that makes sense.
Bat SVG Files and Patterns
I found my flying bat SVG cut file on Canva, but you can also find them all over the internet. If you cut them with a Cricut, be sure to read how to cut felt without ruining your mat before starting. Here are a few places to find them.
- I get free cut files here and also buy some of their bundles. I love their 10 for $10 bundles. You get so many great designs. If you sign up for their newsletter, they’ll send you free cut files all of the time.
- This flying bats SVG file has two styles for only $.99 and there are several other designs available.
- You can also find free SVG bat files on Pinterest or other online sites.
Bat Patterns and Printables
If you’re cutting your bats by hand, you can draw your own, or find free bat pdf files to print and other free bat printables. Cut one out of cardstock or paper to create a pattern. Trace the pattern onto the felt with chalk or a metallic marker.
As a tip for drawing your own, draw one side, fold the paper in half, and then cut so both sides are even if that’s how you want them. This makes it easier for gluing the felt together at the end.
How To Make Felt Bats DIY
You need to cut two bats for each finished bat. I put 5 bats on my DIY Halloween pom pom garland (image at the bottom of the post) so I cut a total of 10 bats for my project. Mine were cut at 8 inches wide.
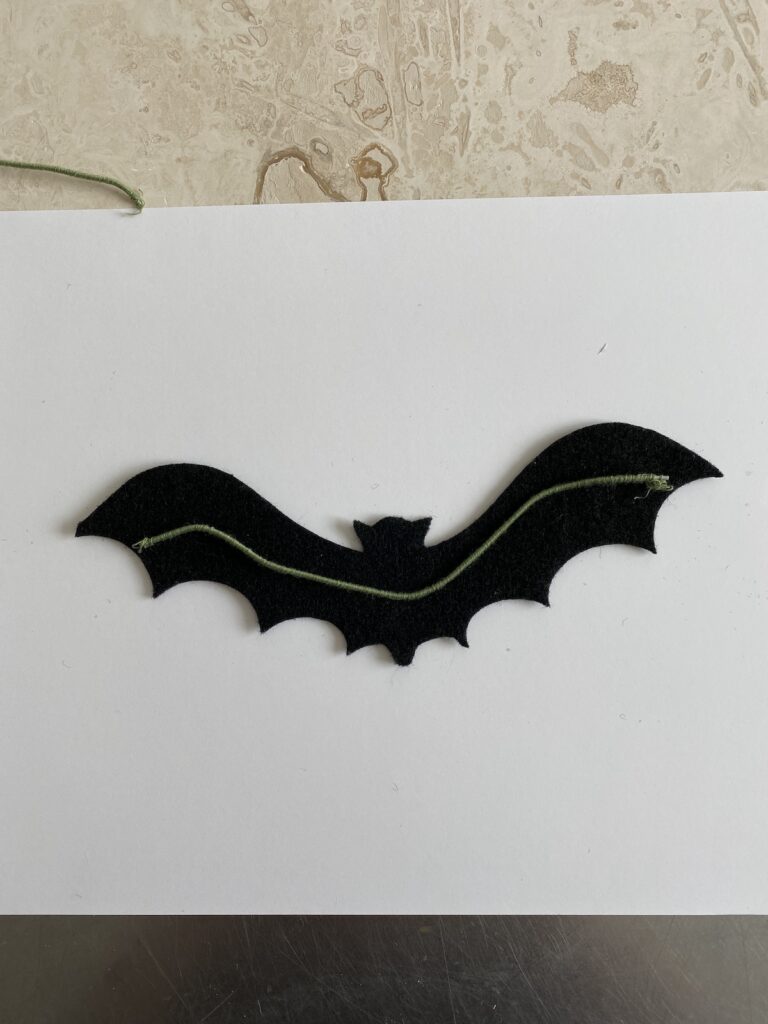
Lay the first bat down and cut a piece of the wire that is about an inch shorter than your bat. Bend the wire to fit inside the felt bat pattern. Use your glue gun to add glue along the wire and the outer edges of the bat. Don’t get too close to the edge because you don’t want the glue to squeeze out the sides.
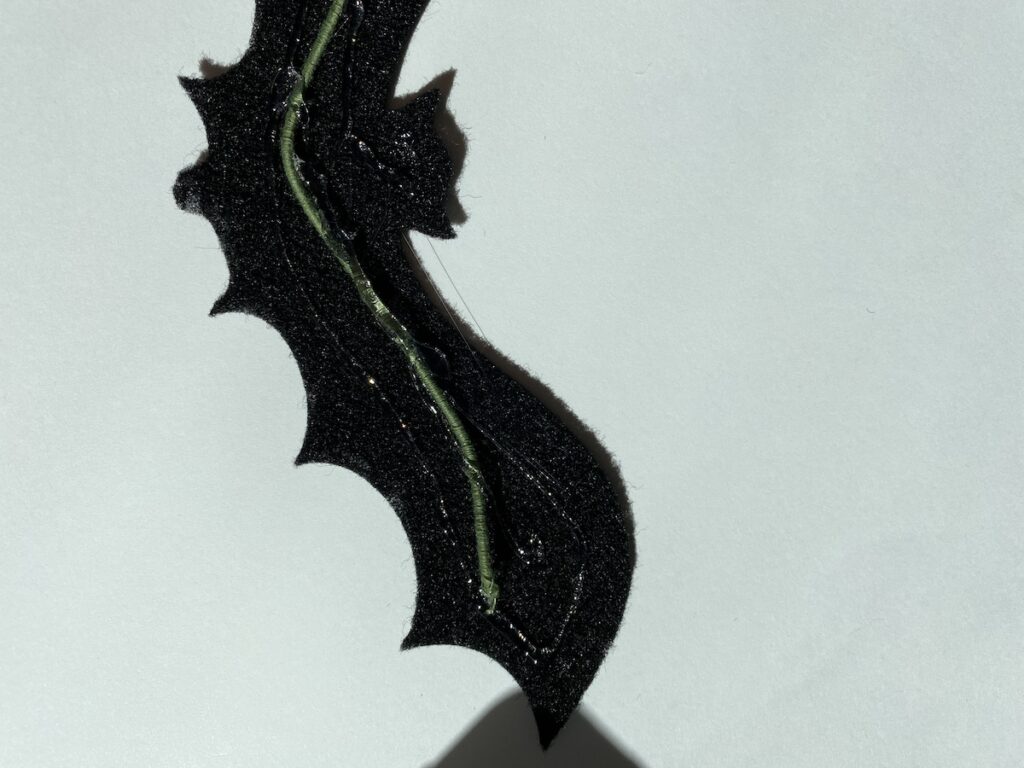
Lay another bat on top and press the two layers together. I always do this slowly to test the heat first then press. Allow them to dry for several minutes before bending the wires. Hot glue can pull apart if you don’t give it time to dry.
Craft Projects With Felt Bats
I’ve used these bats to decorate a pom pom garland. I also used them to decorate a sock gnome. A lot of people buy paper bats for projects but the felt bats last forever, so I prefer them. I also think the felt looks plusher. I’ll be making a Halloween wreath next so be sure to sign up for my newsletter.
Happy crafting!
~Denise