
Burlap Tree – A Unique DIY
This post contains affiliate links which means that at no cost to you, I may earn a commission if you purchase using one of my links. For more information view my full disclosures.
~
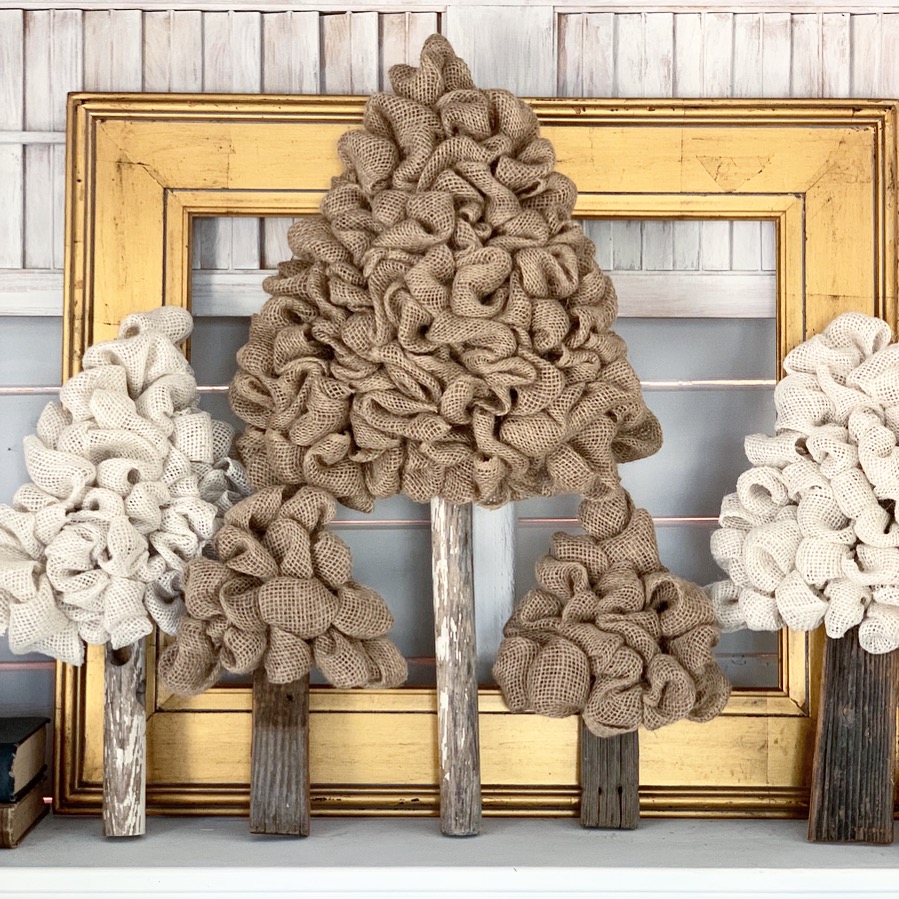
Make These Simple Burlap Trees with Burlap And Chicken Wire
My Burlap Trees are one of my favorite burlap projects. When done with neutral burlap, you can decorate the burlap tree with many seasonal items, making it the perfect home decor item.
Burlap Christmas Tree DIY
I love DIY projects with burlap. Burlap is so neutral that you can use it for Christmas or leave it out year-round. When decorating the burlap trees for Christmas, use things like pom poms or pom pom trim for easy decorations.
Year-Round Decorating Ideas:
- Clear lights and sparkly New Year’s Decorations
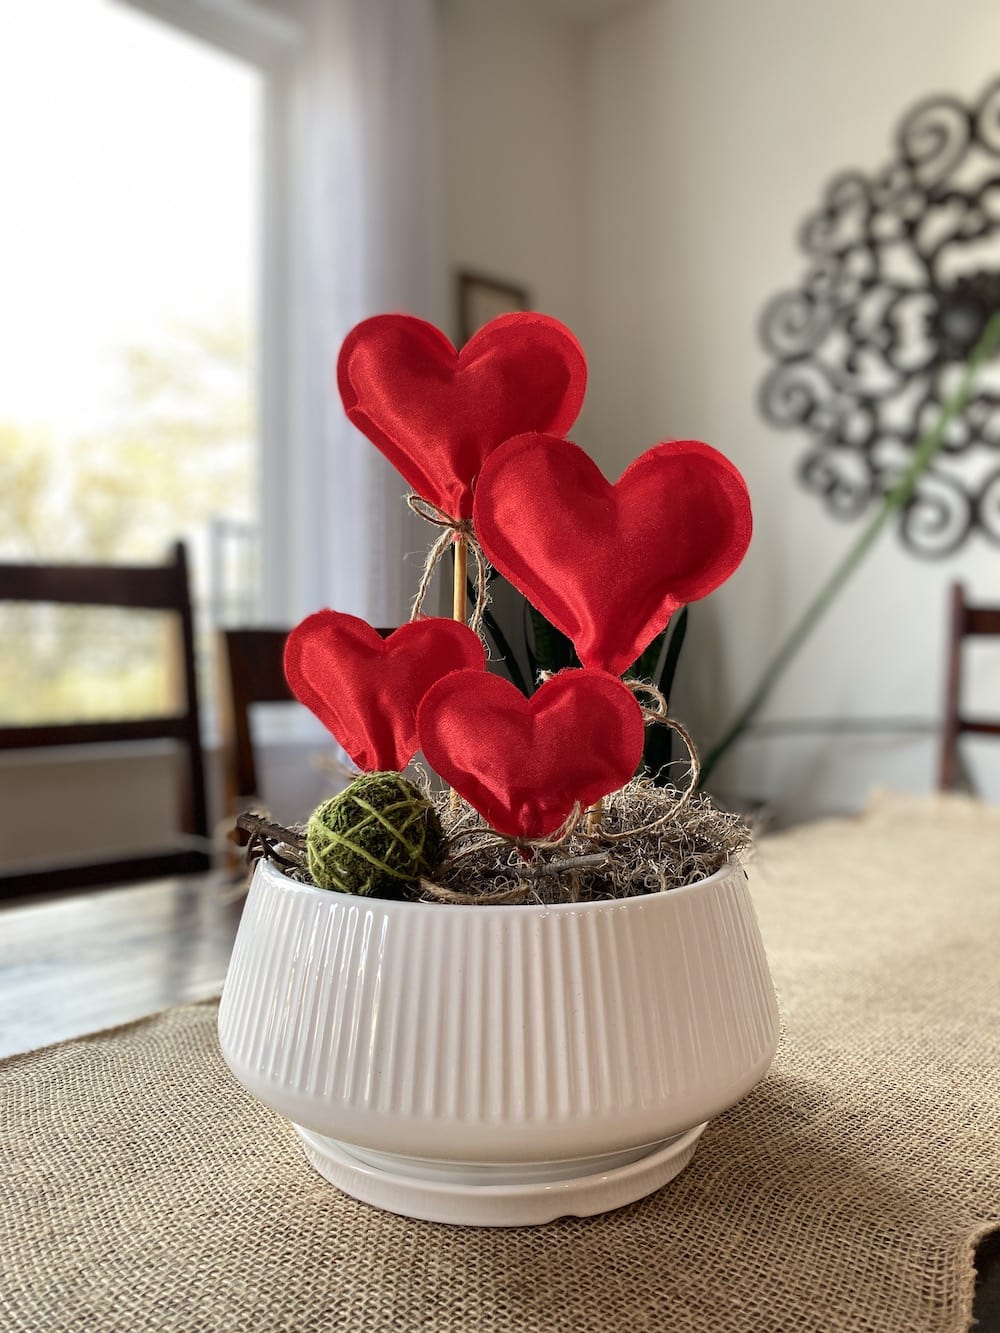
- Red pom poms or heart ribbon for Valentine’s Day
- Green ribbon or felt clovers for St. Patrick’s Day
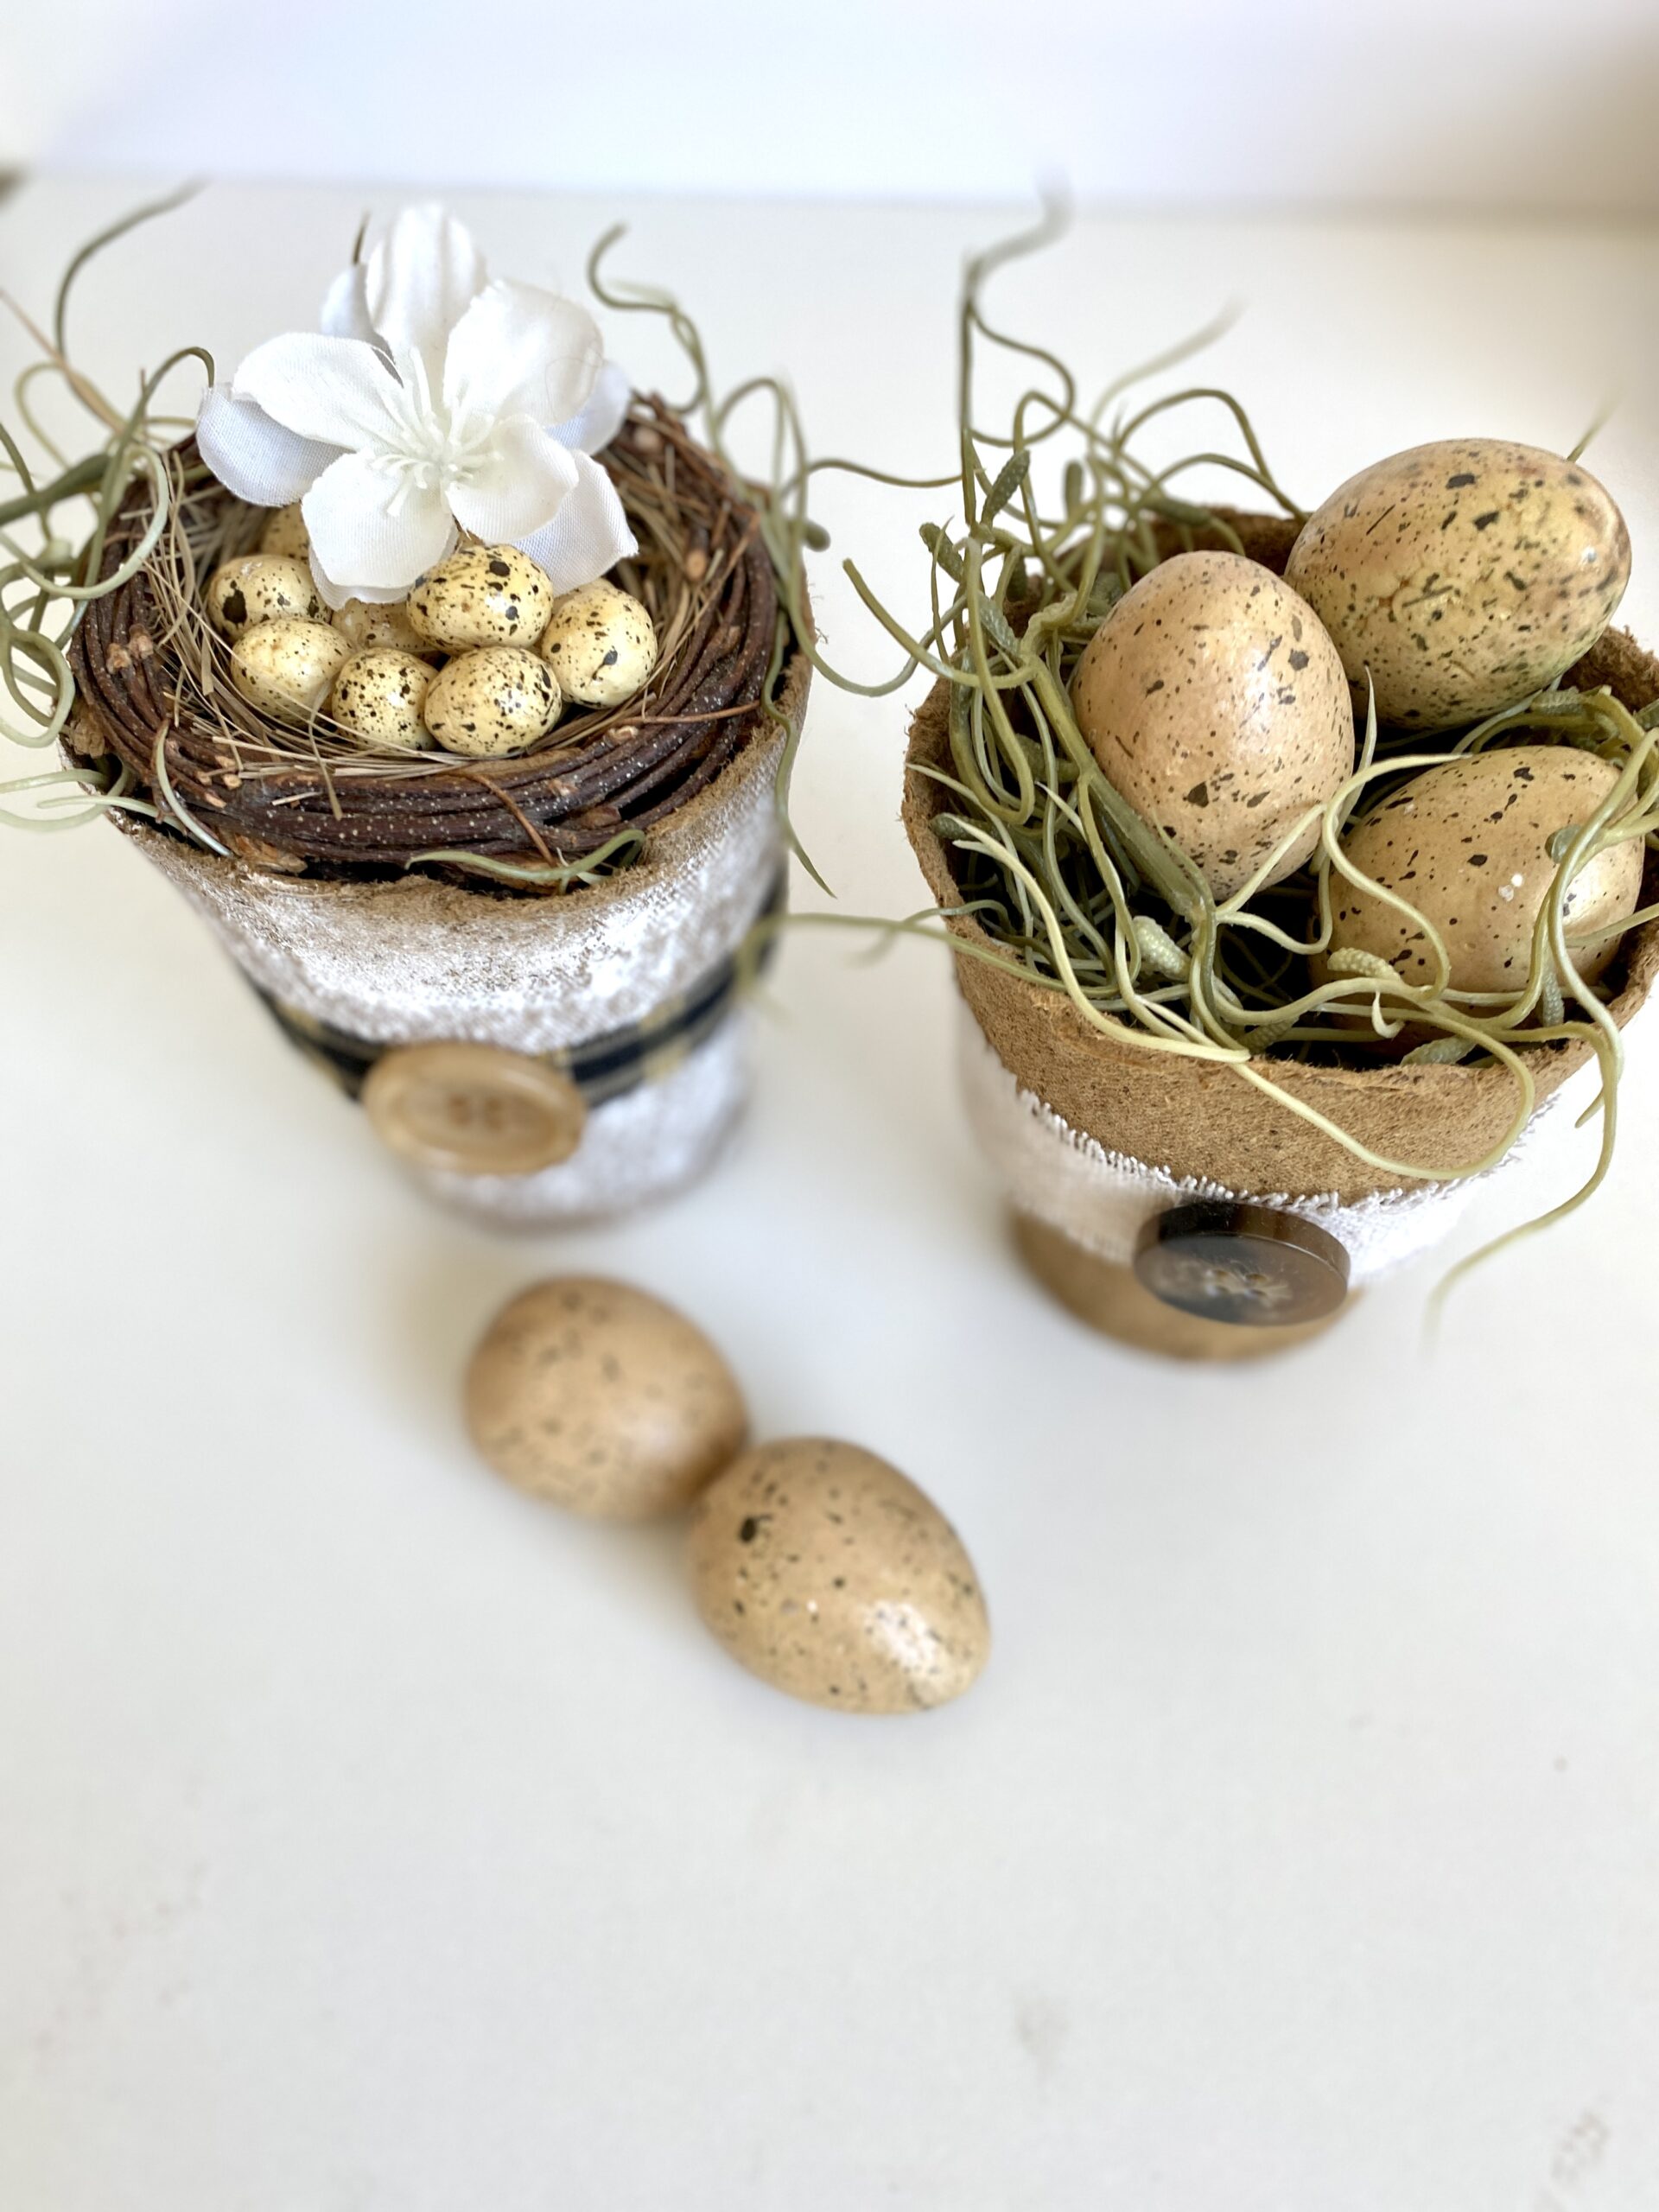
- Easter ribbon or spring colors for Spring or Easter
- Bright flowers for Mother’s Day or red, white and blue for Memorial Day
- Graduation or Father’s day shapes and colors
- Red, white and blue for 4th of July
- Rulers, pencils and apples for Back To School
- Little pigs for National Bacon Day (it’s a thing!) or red, white and blue for Labor Day
- Pumpkins, ghosts and candy corns for Halloween
- Fall leaves and ribbon for Thanksgiving
- Christmas is so fun! Pom poms, clear or colored lights, ribbons, poinsettias and so much more.
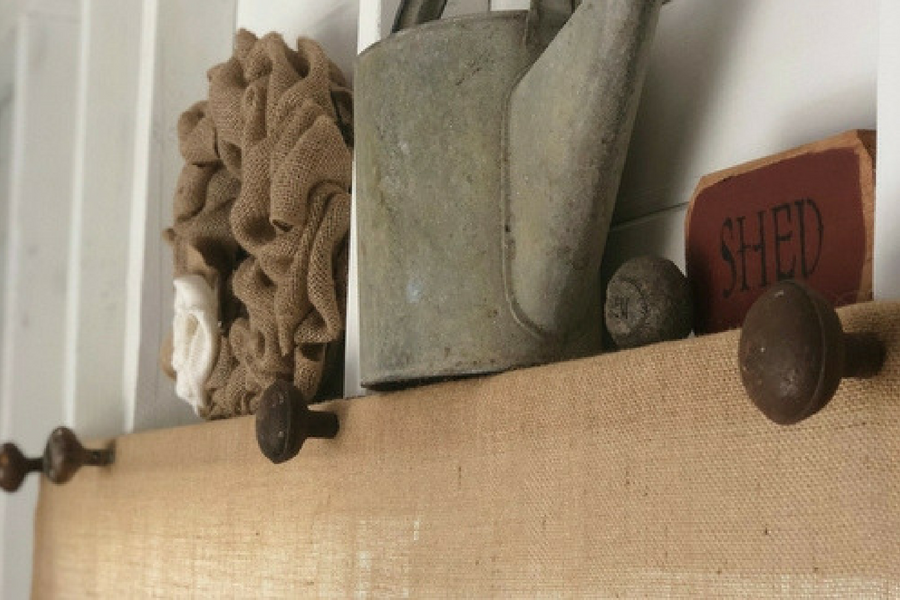
The best part about decorating the burlap tree is that you don’t usually need any glue at all. Most items can just be tucked in between folds. Pom poms just stick wherever you put them. Ribbon can be held by placing it between two folds in the burlap.
How to make a burlap tree!
You’re going to need:
- Chicken wire with 1″ openings
- Burlap ribbon
- Board, tree branch or another item for the trunk (optional)
- Cardboard, wood or other material to support the back (optional)
- Wire cutters and scissors
Please wear safety glasses so you don’t scratch your eyes! The chicken wire is very sharp on the cut ends:
- Start by cutting a rectangle of chicken wire a little larger than the size you want your tree. Never cut the tree shape first. It’s much easier and more forgiving to make your entire burlap tree just the way you want it and then cut around the edges.
- Fold the end of the ribbon over about 4 inches from the end creating your first bubble. At the tip of the tree, pull your first bubble up through the back of the wire.
- Starting on the next row, repeat this process adding an additional row. Just keep pulling bubbles up through the back adding additional bubbles with each row. You’re working towards making a tree shape.
- Once you get all the way to the bottom, cut the ribbon leaving about 3 or 4 inches to tuck into the wire or secure with glue. I don’t use glue but if it makes you feel better, you can use it.
- Cut the wire around your tree shape making sure you don’t cut a wire that is touching the burlap fabric! Leave an extra row all the way around. Now you can use pliers to bend the excess wire to the back of the tree.
- Attach your trunk if you decide you need one. I just drilled holes in a piece of pallet wood and fished a pipe cleaner through the tree and to the back of the wood and secured it in two places, at the top of the board and towards the middle.


I had a hard time getting the tree to lay flat against the wall. The trunk kept poking straight out. I finally put a double-sided sticky pad on the back of it so it would stay close to the wall. I had this problem because I didn’t run the board as far to the top of the tree as possible. If I had done that, I could have added a picture hanger to the top of the board. Oh well, you get to do it the right way!
Bonus tip: If you accidentally skip a hole in the chicken wire, just cut a square of burlap and tuck it in from the back. All fixed!

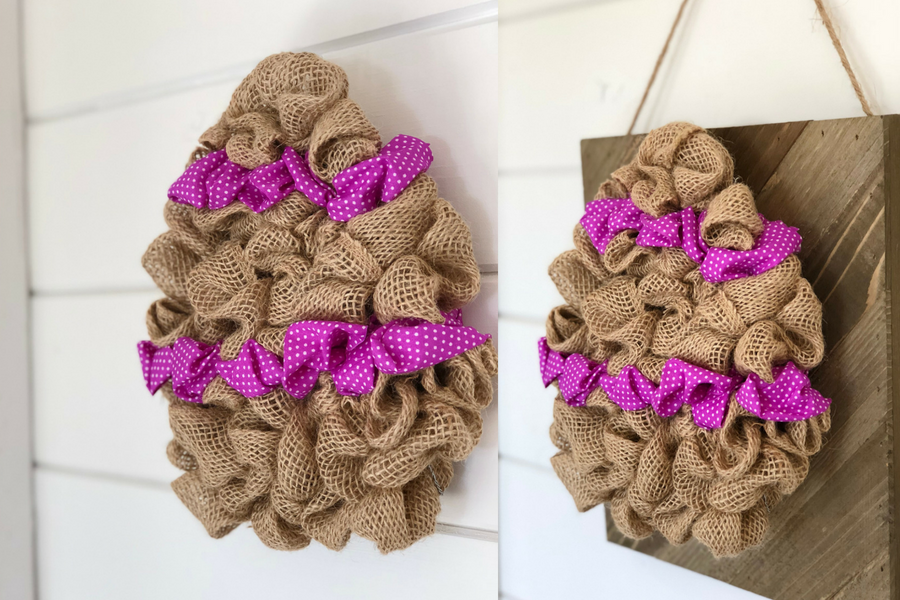
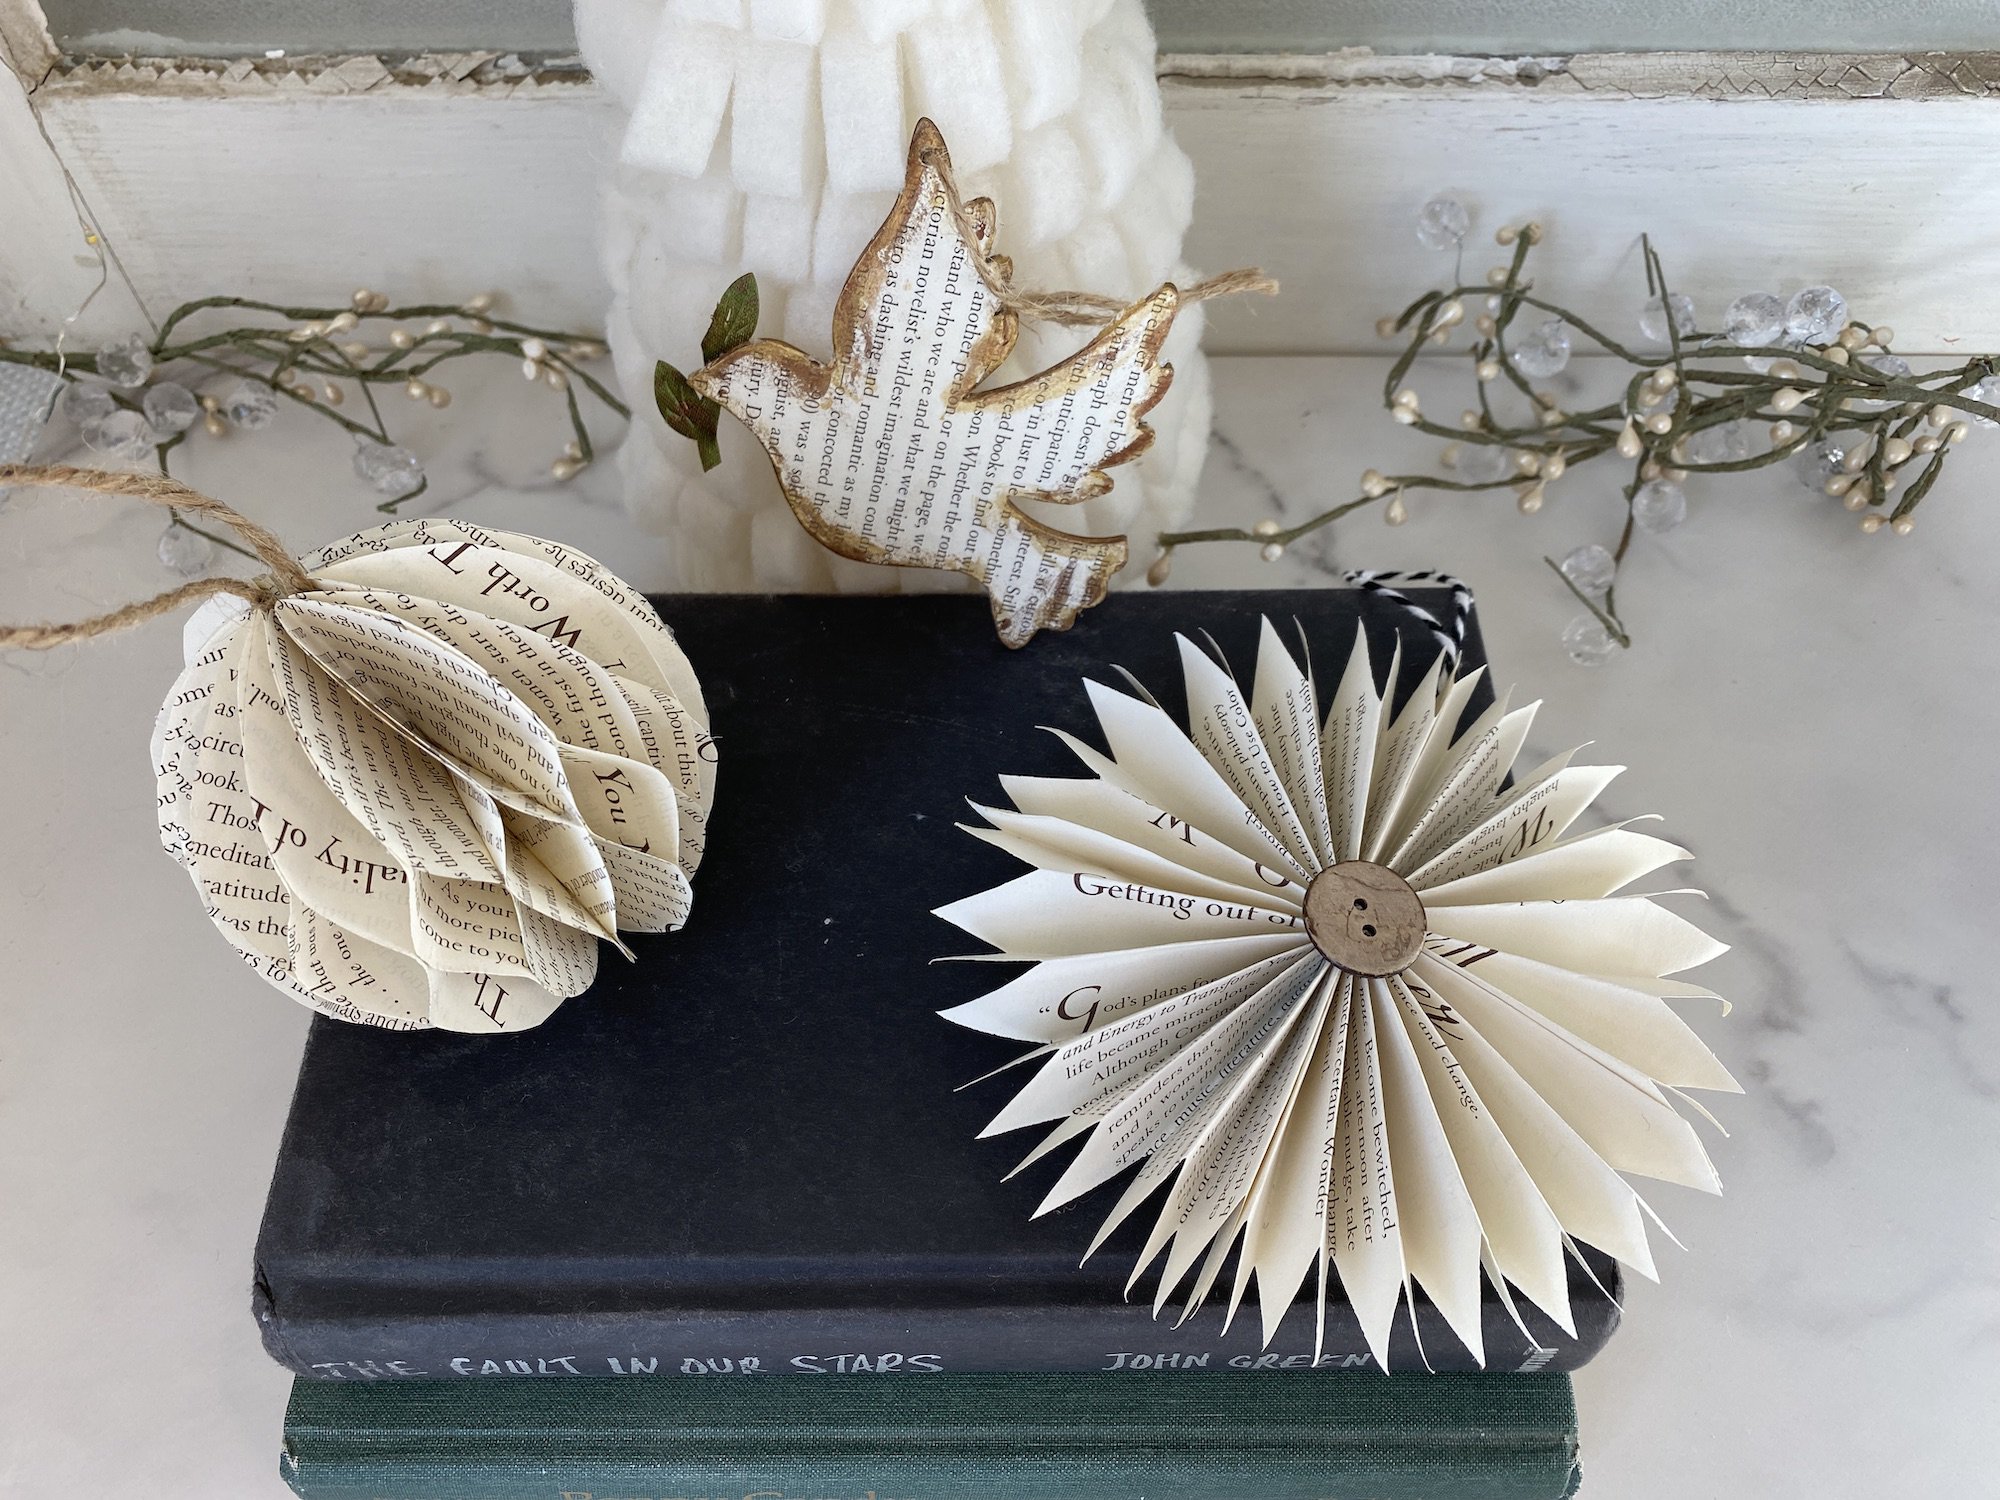
I would love to see your finished project when it’s complete and see how you decide to decorate it. Please be sure to share your photos with me and use #HootshackInspired. I’ve added a bonus picture of a burlap flower that I also made. If you’d like to watch a video, you can check out my video on IGTV here. It shows the basic concept of how I make all of my shapes using chicken wire. Warning, I’m a terrible video maker! 😉
xoxo,
Denise
Swooning. These are so great. Thanks for sharing with us at Funtastic Friday. Pinned to my Christmas board.