Easy Burlap Window Shades
This post contains affiliate links which means that at no cost to you, I may earn a commission if you purchase using one of my links. For more information view my full disclosures.
~

Easy Burlap Window Shades
I am loving these easy burlap window shades! Some of you know I’ve been working on building my she-shed and I’m finally getting to the fun part, the decorating! Today I’ve been working on the window coverings. My DIY burlap shades were pretty easy to make. I have basic sewing skills, as long someone loads the bobbin thread for me 😉 but for this project, I called in the big guns, MOM!
Here’s what to use to make burlap shades:
- Burlap Fabric – This one has thousands of customers and great reviews!
- Sewing machine, scissors, pins, and thread
- Heavy-Duty Stapler
- Thin strips of wood. 1/4” thick x 1 1/4″ wide x by the width of the window
- Hammer and nails (drill and screws work, too)
If you’re looking to make burlap roman shades, be sure to check out the link below!

After we determined the finished shade size, we added 4 inches to the width and 7 or 8 inches to the height. Here’s why:
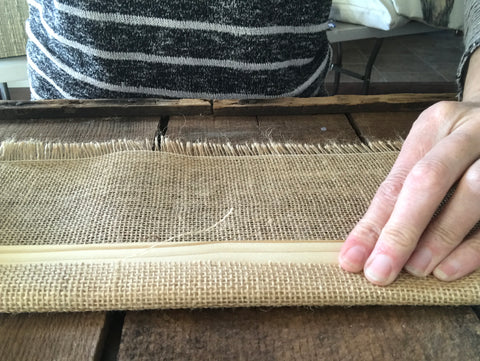
My window is 72” wide so I cut the fabric width to 76”. We turned the fabric over one inch, then we folded each edge over again and stitched them down so the edges of the burlap will be hidden and won’t unravel over time. That’s where you get the extra two inches on each side.
As a tip, my mom came up with the idea of using a piece of cardboard that was cut into a 1-inch strip to use as a guide for the side folds. She wrapped the fabric over the cardboard one inch and then folded it again and pinned the fabric in place then kept sliding the cardboard out as she worked her way down the side. I hope that makes sense.

(This is a sample of how the finished side hem looked)
The height of my window is 36” and I wanted a 3” hem. Again, we turned the fabric one inch, then three inches, and sewed the hem. You’re still going to need a few extra inches at the top to attach the shade to the board. More about that later.
Once you’ve sewn the sides and the hem, you’ll be ready to attach the shade to the thin strip of wood. We laid the shade out flat on the floor and measured from the bottom of the shade to the height that we wanted the finished window covering to be and marked it with a straight pin on both sides. Place the pre-cut piece of wood on top of the shade so that the top of the wood is aligned with the two pins.
Now gently and evenly flip the wood piece towards the top of the shade two times. You won’t pick the wood up. Just hold it down to the ground and flip it two times. Have someone help you hold the wood in place while you cut the fabric off so you have about 1” sticking out the top of the wood piece.
In the picture above, you’ll see the fold over the wood. This is where you’ll want to staple the fabric to the wood strip all the way along the strip. You may have to use a hammer to tap the staples in all the way if they don’t cooperate. You’ll want the staples flush. See the frayed fabric edge, since I didn’t take a picture of this project along the way, you’ll have to pretend that the frayed part is your finished bottom hem.
Now, roll the wood up in the fabric by flipping it back towards the bottom of the shade two times. This is when you’ll want to hold the shade up to the window to see if you got it right. Hopefully, all is good!
Now, have someone help you hold the shade up to the window frame and lift the shade over your head, and hammer nails into the wood strip. You’re doing this so you don’t nail directly through the visible part of the shade.
You can see that my shade is attached directly to the front of the wooden window frame. If you have to install yours inside the window sill, you’ll have to rethink the measurements so keep this in mind.)

Holy moly, the shed window is dirty!
I originally wanted a roman shade, but my shed is tongue and groove and I already have so many horizontal lines to deal with so that’s why I opted for this simple design. I also didn’t know if I’d have the patience for attaching the strings. (that’s the real reason!)
Instead, I attached small silver washers to the bottom corners of the shade and one in the center. I installed small white cup hooks that blend well with my white paint at the top of the window. When I want to open the shade, I just hook the washers onto the cup hooks. The second cup hook hanging out there on the side was a failed attempt. Oops.

Did you notice the old doorknobs I used in the final picture? I am in love and if you want to see how I did it, you can read this post about Door Knob Window Decor.
Have a great day friend!
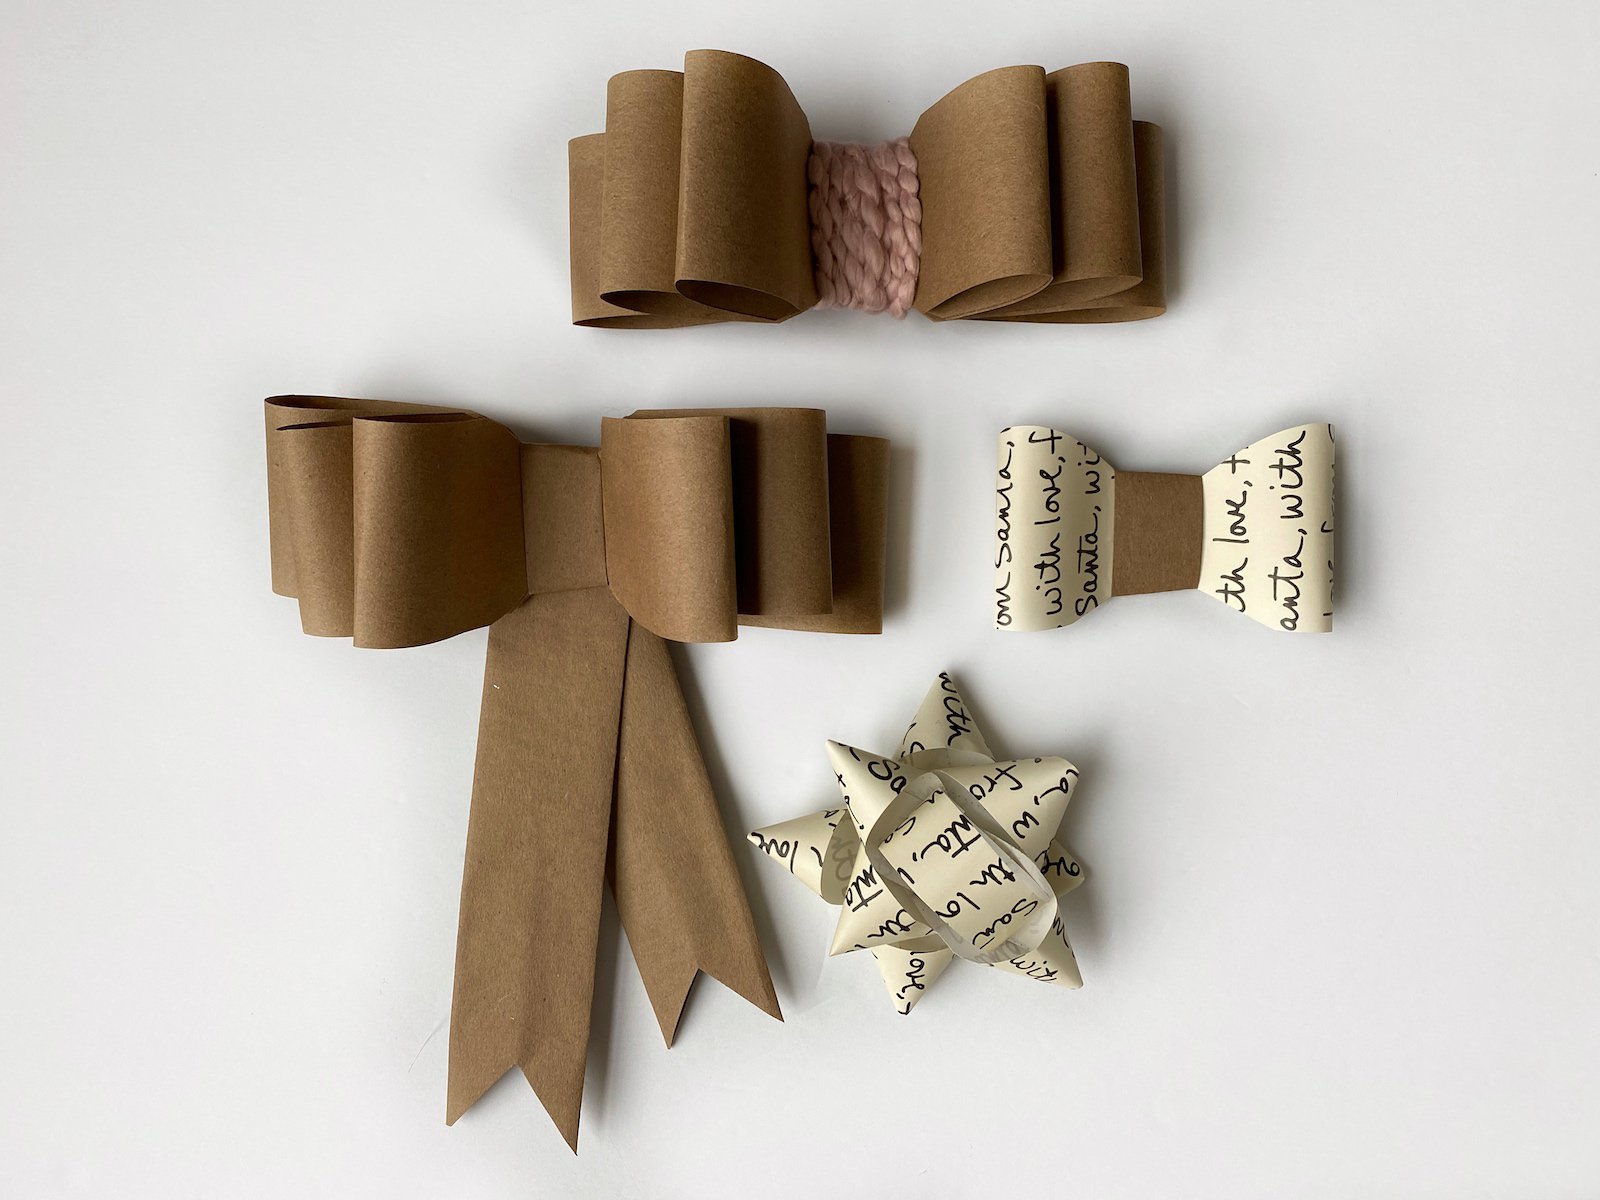
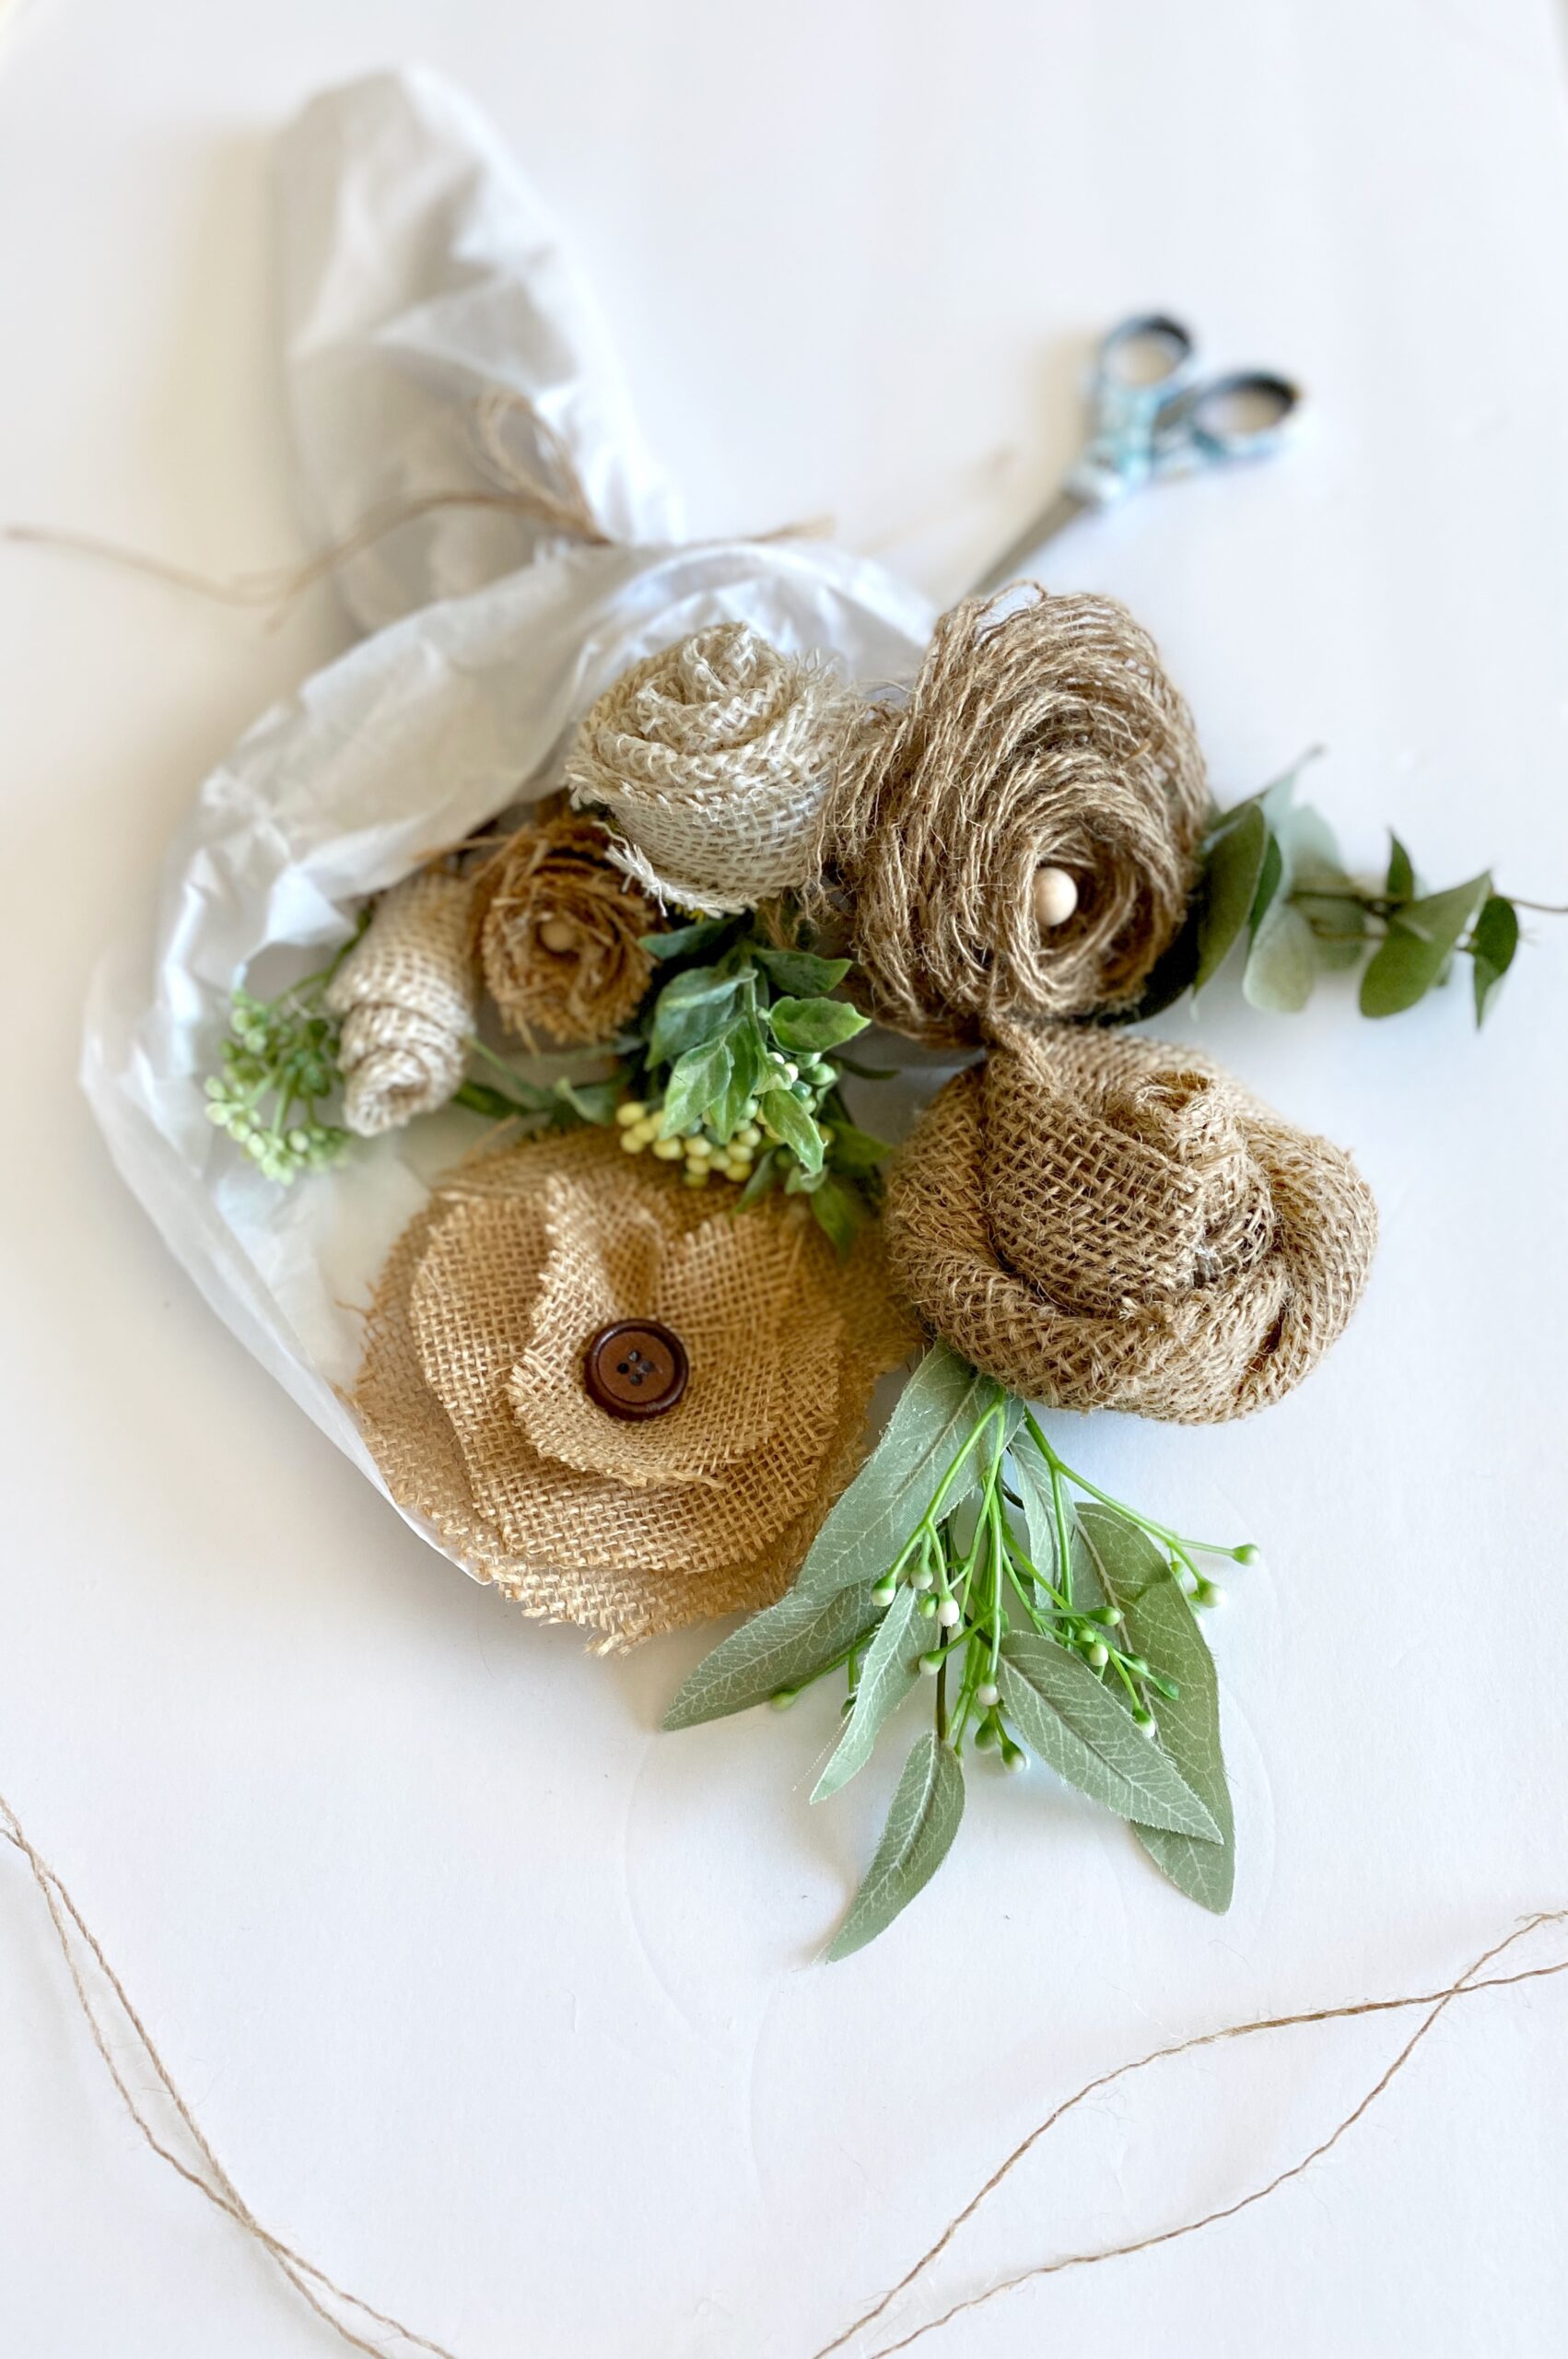
If you love DIY projects with burlap, I have a few more posts you may enjoy. I have a tutorial on making different bows, burlap flowers, a wreath made with burlap flowers and also some great burlap Christmas trees. There are standing trees and trees made with vintage items. Be sure to check them out!
xoxo,
Denise