
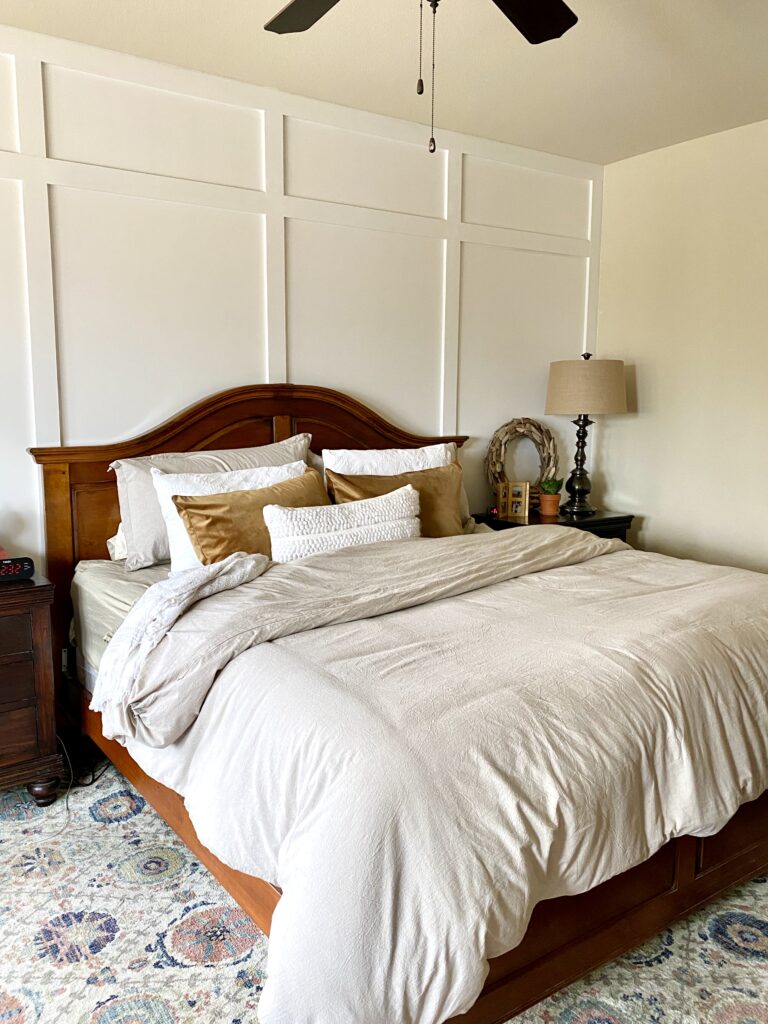
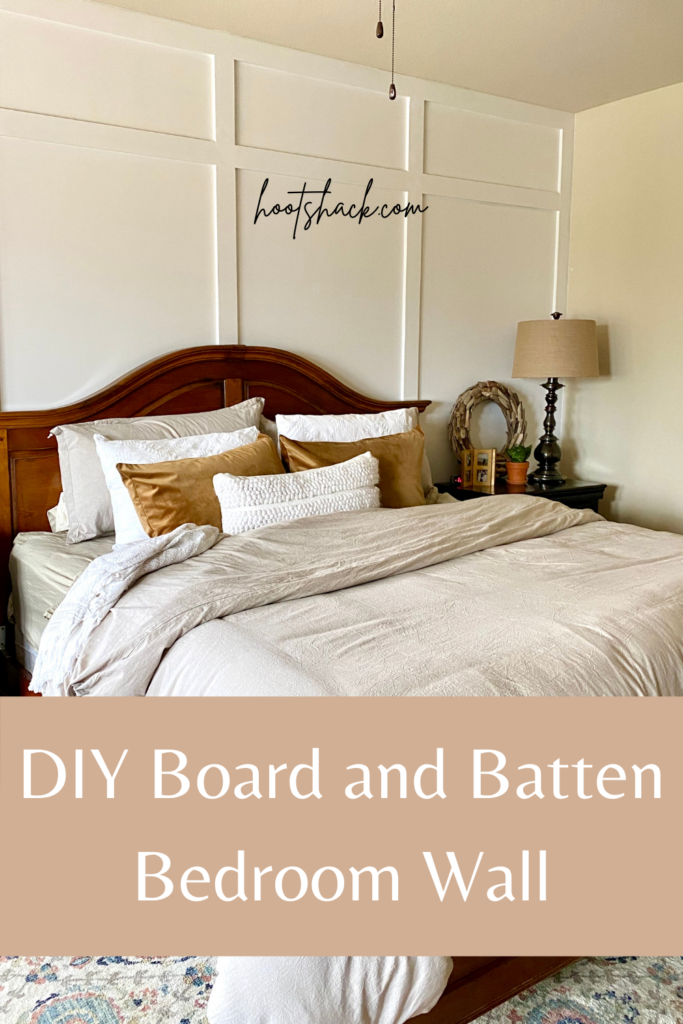
DIY Board and Batten Bedroom Wall
I’m excited to share our DIY board and batten bedroom wall that we just completed! I’ve written a bit about how to make a board and batten wall to help you create one as well!
This project is something I’ve been eyeing on Pinterest for a couple of years now. We have been in our house for almost seven years and I still have not decorated much at all.
This year I made a pact with myself to get things done and this board and batten feature wall is just what I needed to get me started.
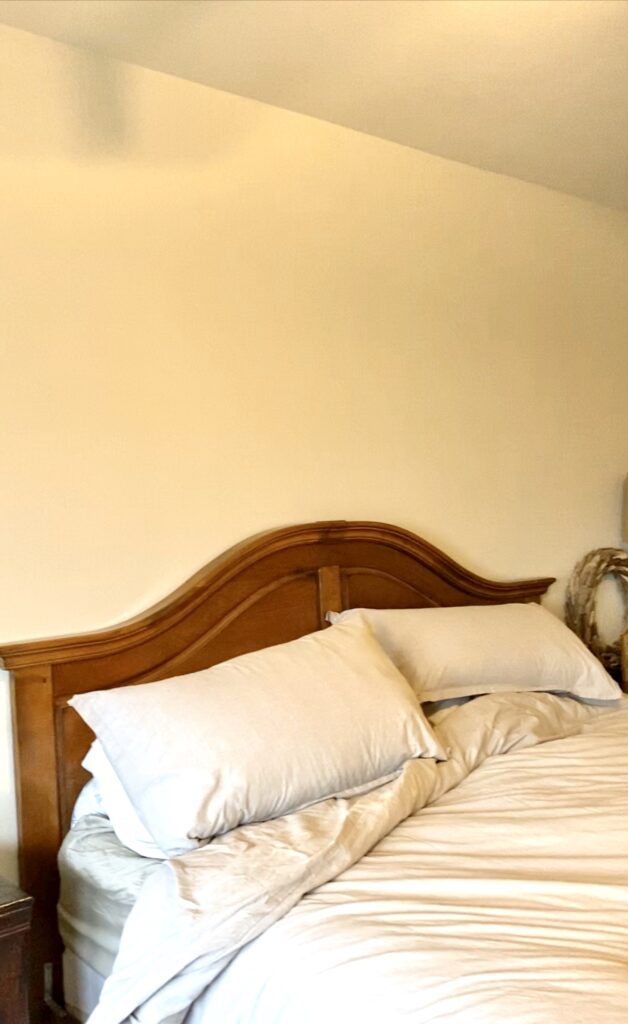
Our house is very cookie-cutter in regards to the design. It’s a basic tract (or builder-grade) house with nothing really special or custom going on inside.
Don’t get me wrong! We live in a beautiful neighborhood and although our house is on the smaller side, it’s still a pretty home and I’m super grateful. I’d love to build a custom farmhouse-style home someday, but that’s not in the cards right now.
Now let’s get to the wall board and batten in our bedroom.
As I mentioned, I looked at a lot of other pages for inspiration and there was one key element that was important to me when designing our batten and board wall design.
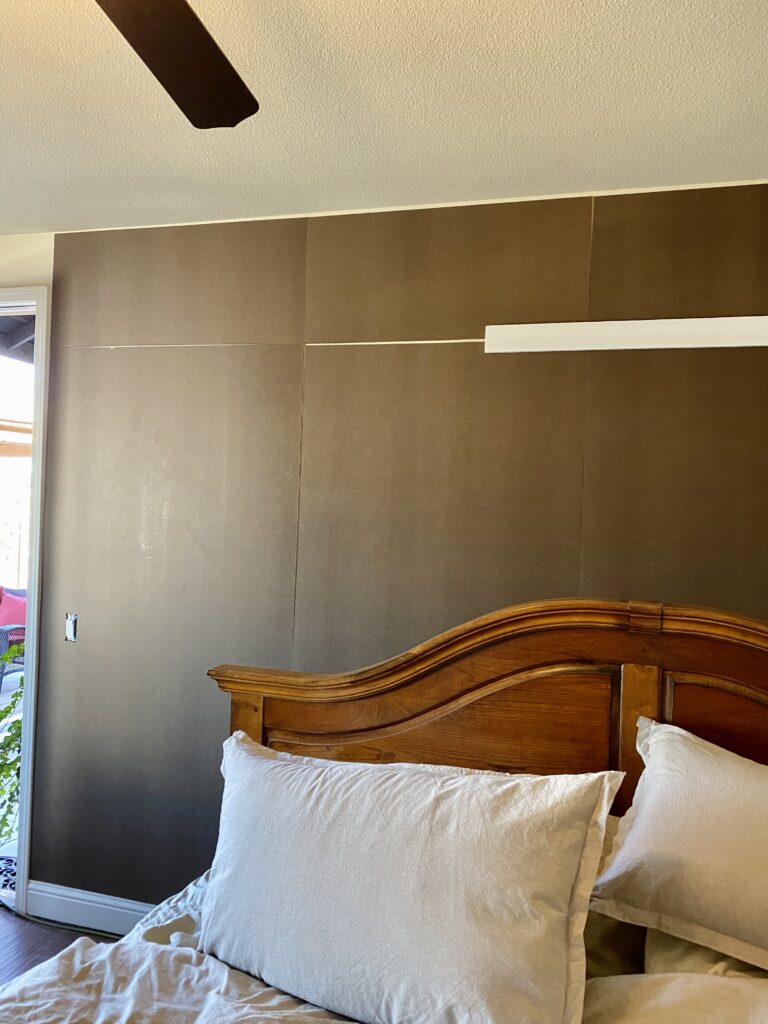
You can save money and time by skipping this step, but for me it was important. I wanted a very smooth wall in the background where the wall texture would not show.
For that reason, we put up hardboard panels first. Larger home improvement stores will cut them for you so be sure to write down all of your measurements before you go. Even with the hardboard, this entire project (not including paint) was about $150 a the time of installation.
DIY Board and Batten Bedroom Wall Supplies
- (5) Hardboard Panels
- (3) 1 x 4 x 12 trim boards – the three longest vertical pieces
- (9) 1 x 4 x 8 trim boards
- caulking
- Durham’s
- Paint – We Used Valspar Paint in Bistro White
- Brad Nailer
- Miter Saw
- Sandpaper
- Level – use a larger one
Putting Up The Hardboard
Since we have 9’ ceilings, we decided to do the long panels towards the bottom of the wall with the rectangular shapes at the top. Our wall is about 22’ wide and we have a single door on the left which made things just a bit “more fun”. It only took five 4′ x 8′ panels to get all of the pieces we needed.
We put them up with a brad nailer. I saw where people used Liquid Nails on the back of the panels and I hope we don’t regret skipping this step. I was worried that if we wanted to change the wall later, the glue would rip the sheetrock off.
We also had to cut holes in some of our panels for outlets and the light switch. We used a jigsaw for this part. Don’t cut those holes too big. It’s better to have to cut them larger later than to cut too large and have to fill around the gaps.
Because the trim pieces will cover some of the gaps, we deducted about a 1/2 inch from the actual width of the wall when cutting our hardboard.
We knew that nothing about our house was actually square and we didn’t want to get home with our cut pieces only to find we had to trim in some areas.
We had the home improvement store cut the larger pieces and the smaller rectangles that go on top. Jake pieced in the one over the door and down the left side of the door himself. We kept all the scraps that were cut at the store and had plenty to cover it all.
Things To Consider When Measuring
Make sure when you measure your hardboards for cutting that you cut them so that the trim pieces will cover the gaps. Our four pieces in the center were narrower than the four outside pieces.
This is because the trim boards can be centered over the gaps in the middle, but they can’t be centered over the gaps at the outer sides because the wall is there. I hope that makes sense. Maybe you’re not as picky as me but I wanted all of my “squares” to be the exact same size in the end.
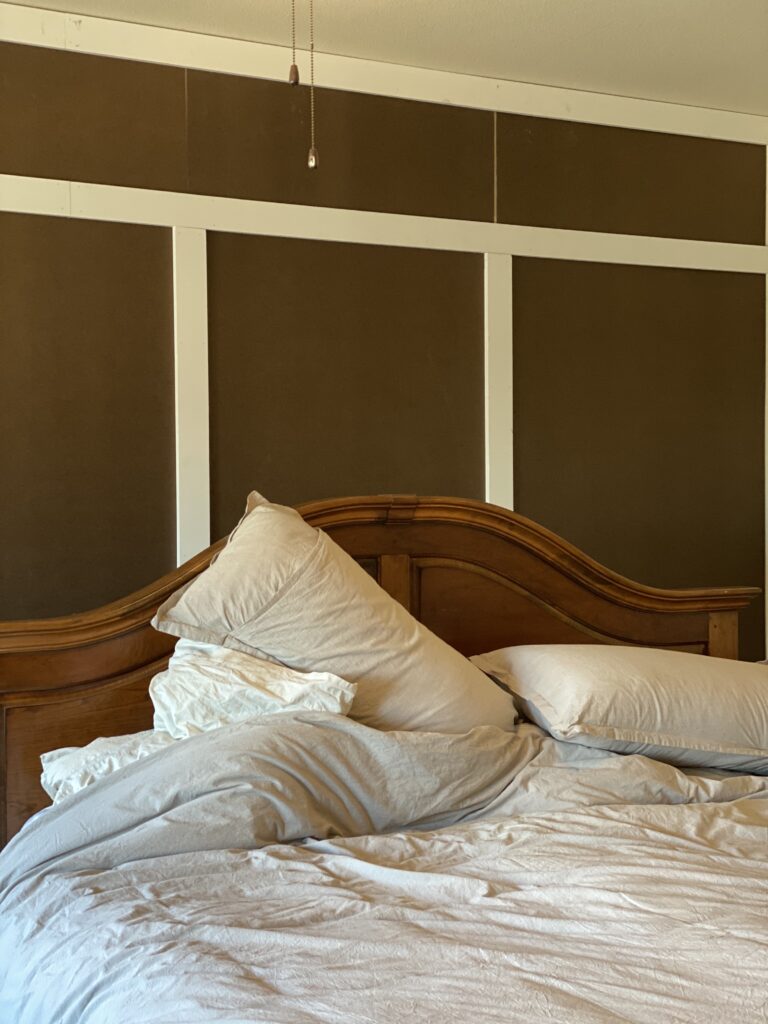
Adding The Trim Pieces
Once we got all of the hardboard up, we added the 1 x 4 strips along the ceiling.
Next, we used the 12′ pieces (cut to size) to go along the two outer edges and along the right side of the door. After that, we added the second horizontal line and then we added all of the other pieces, cutting them as we went.
Don’t try to cut them all at once. One side of our house is a full inch different than the other. Yep! A full inch! I’ve seen people using string lines and spacer boards, but we found using a level for both vertical and horizontal hanging worked perfectly.
Caulking
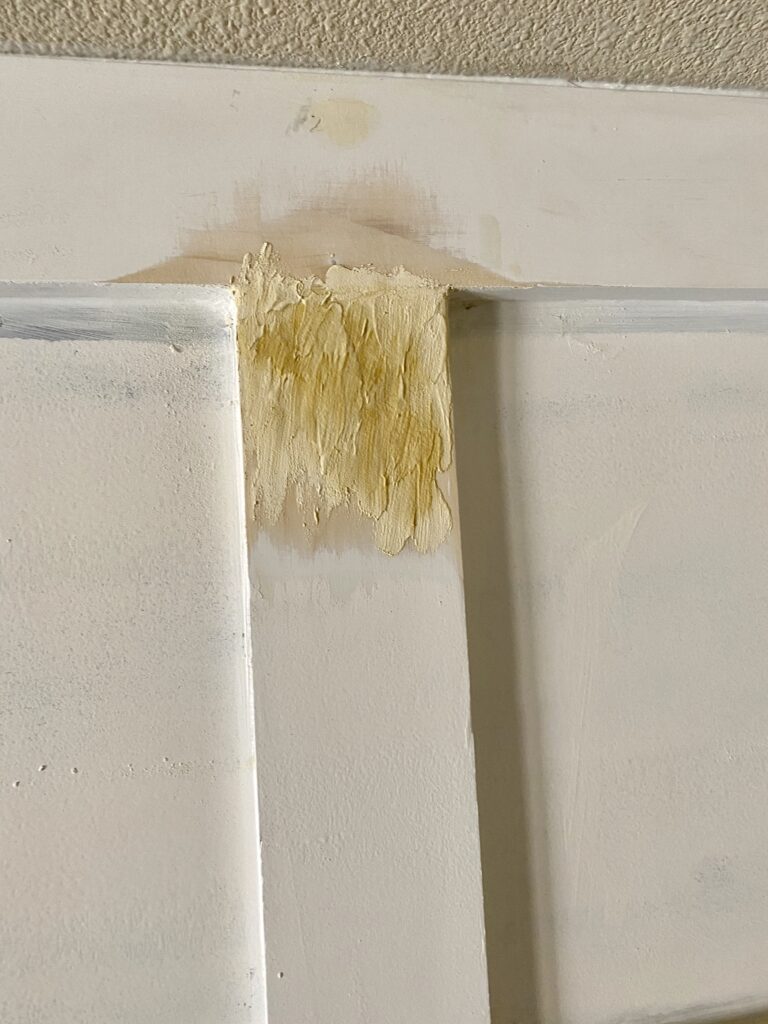
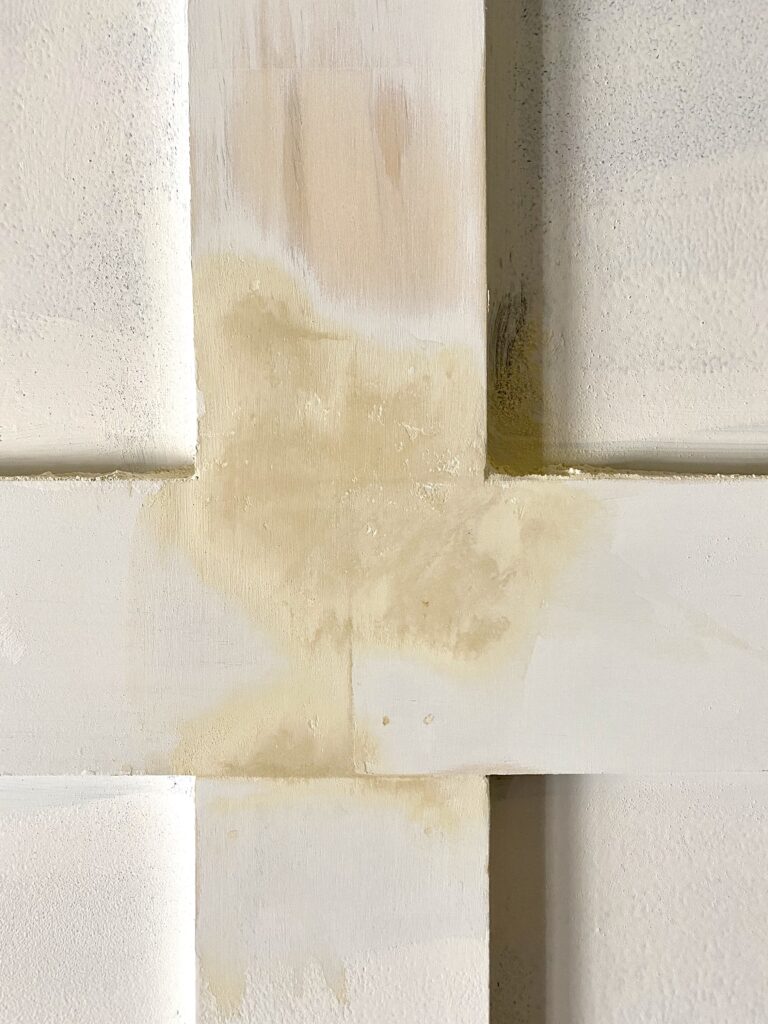
The last step before painting took the longest and, for us, it was the hardest. We filled all the nail holes and seams on the trim facing with Durham’s Water Putty. It’s a powder that you mix with water. You leave it a little on the high side when filling the holes. Once it dries, sand it smooth. You can find more information for proper use on Durham’s Water Putty website.
We kind of made a mess out of this and clearly don’t use it often. Ha! We also used caulking to caulk between the panels and the trim boards so you couldn’t see any gaps.
We also caulked at the ceiling, in the corners of the walls, and around the door frame. Make sure to use paintable caulking my friend! We made this mistake once by not paying attention and grabbing a silicone and the paint would not stick to it.
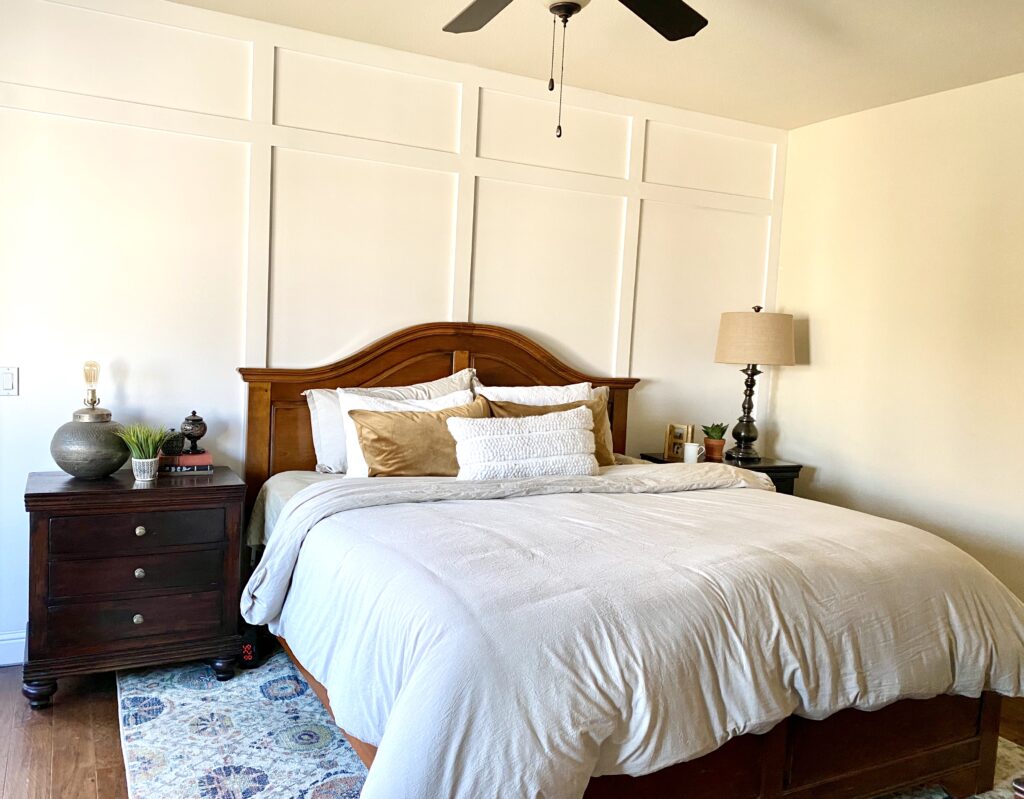
Painting the DIY Board and Batten Bedroom Wall
Last, we added a couple of layers of paint using Valspar Bistro White. We chose an eggshell finish and used paint rollers that are designed for smooth walls.
When you’re shopping for the paint rollers, they say what they’re for right on the front. Take your time and blend well and watch for drips or thick places in the paint.

The Baseboards
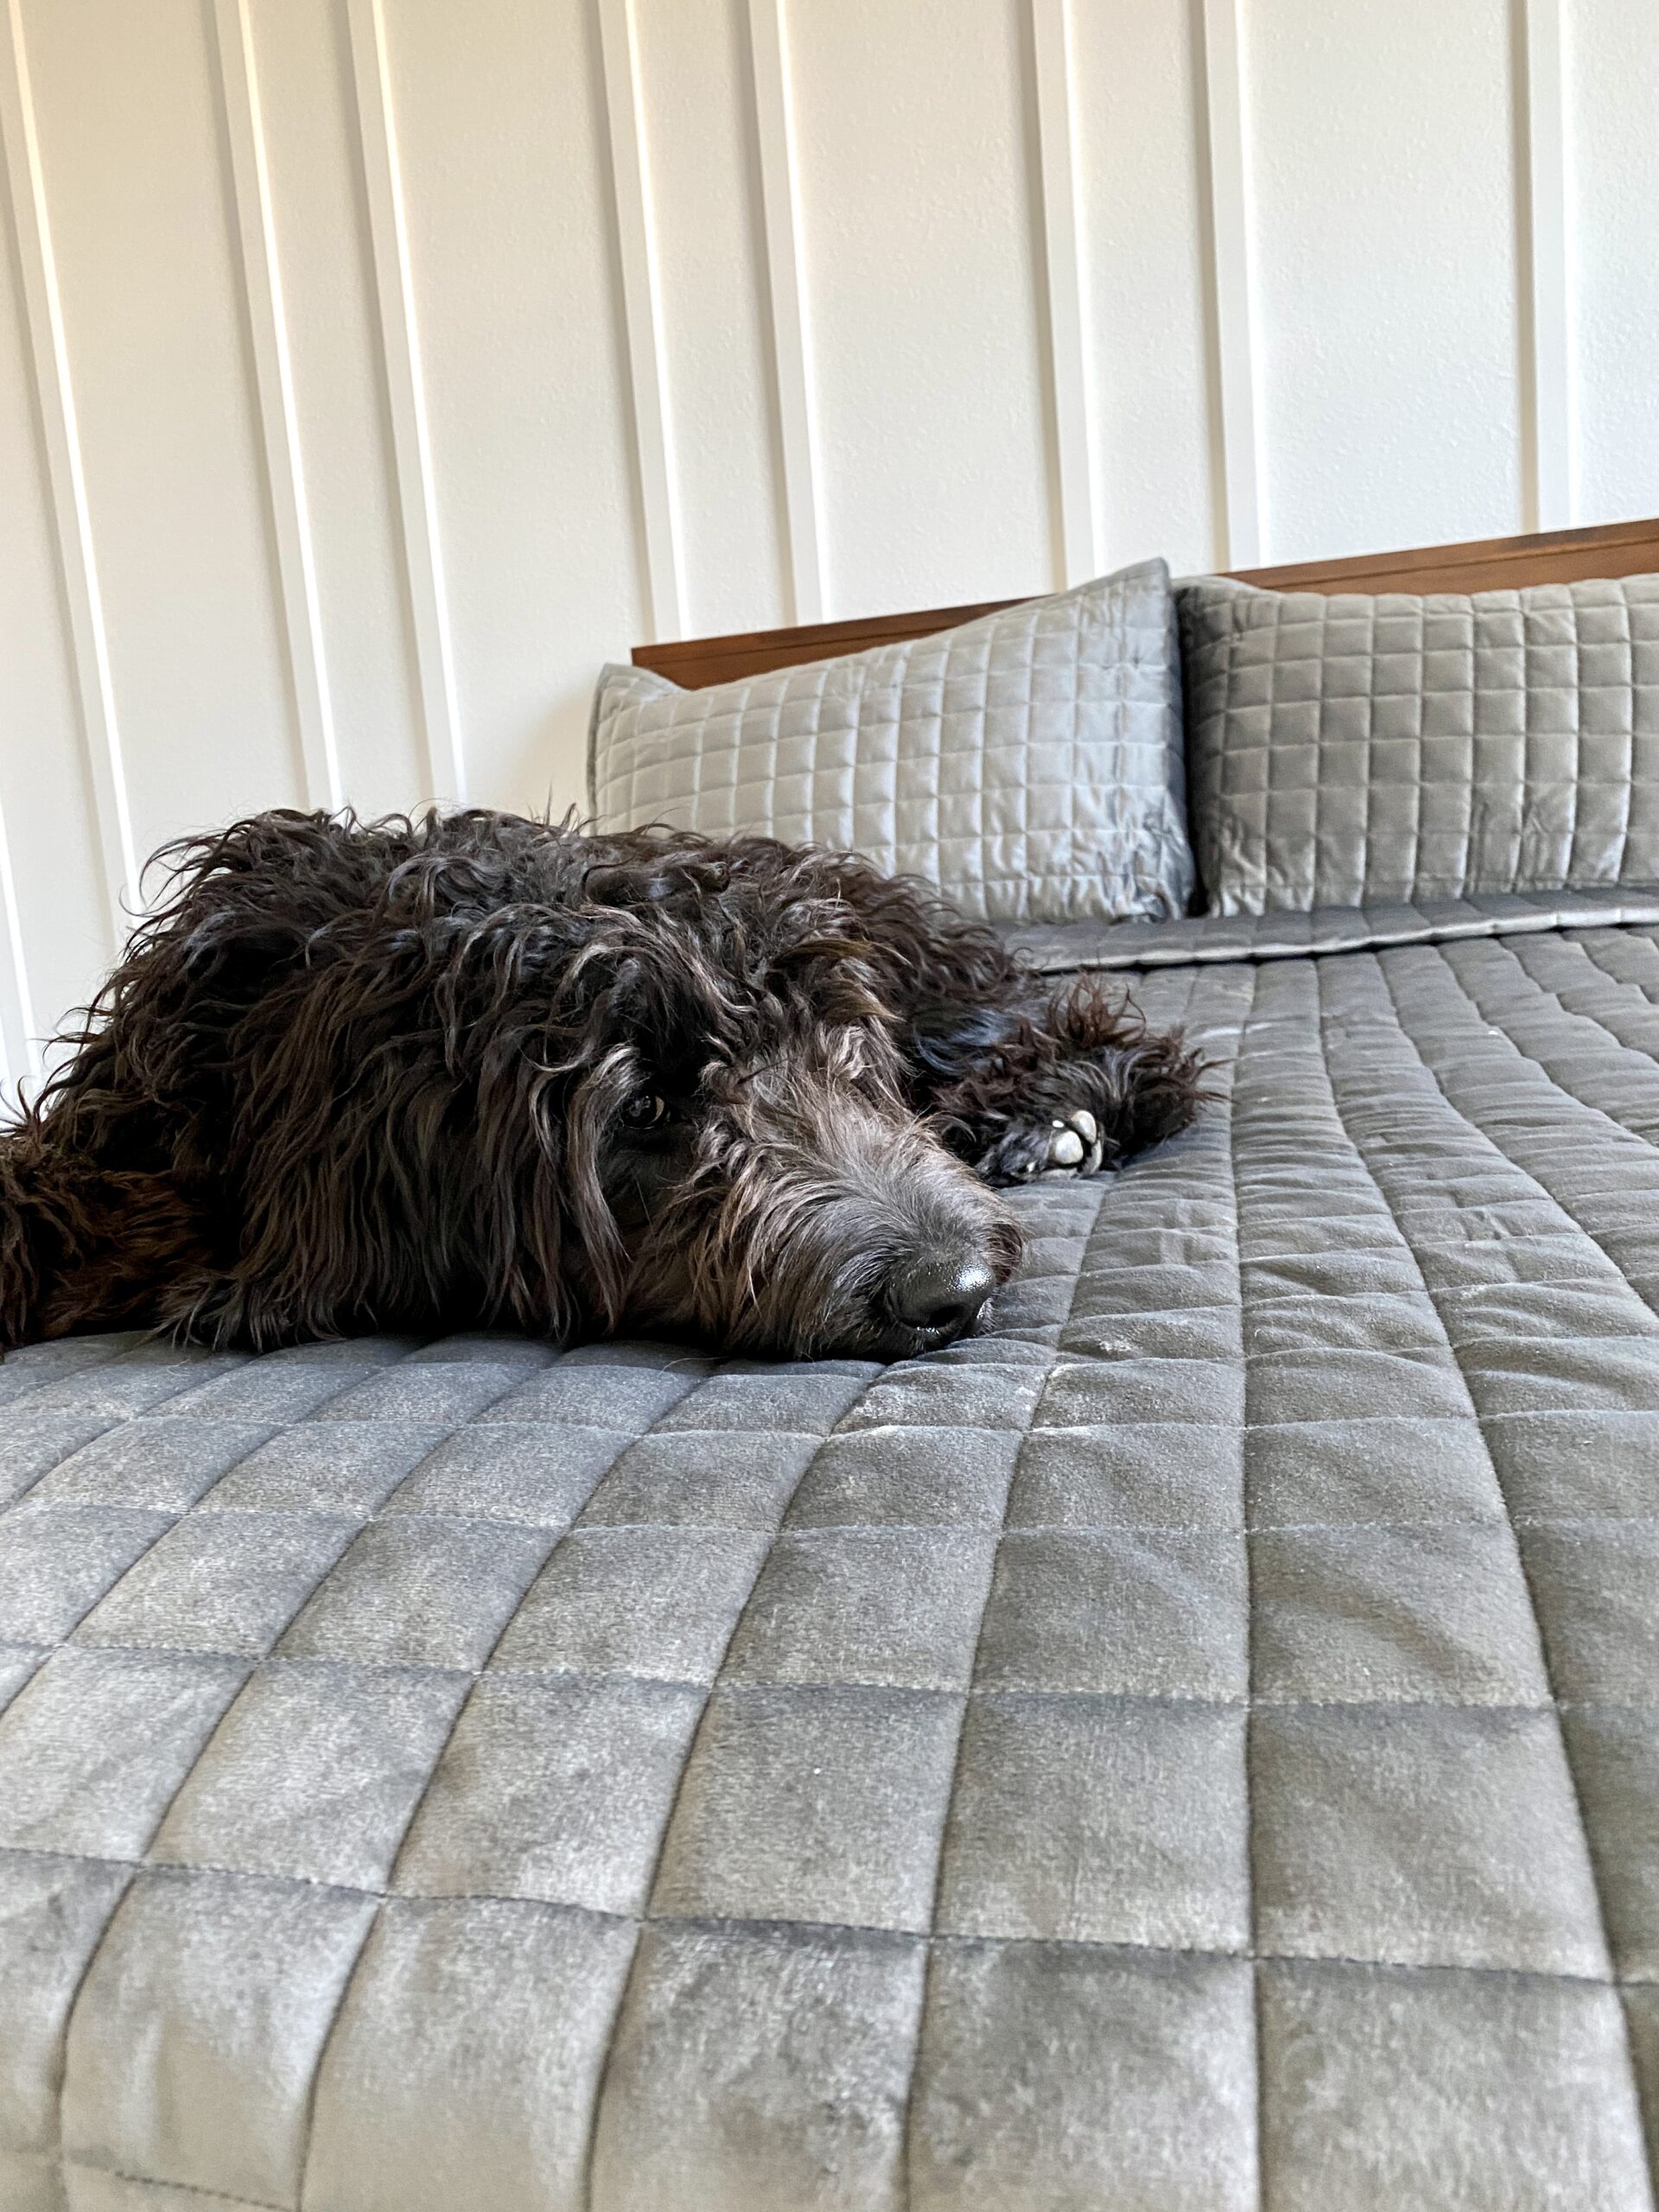
I’m updating this post with this section because I get a lot of questions about the baseboards. Our bed and nightstands cover this entire wall so I wasn’t concerned with how the trim boards looked near the baseboards. We can’t see ours at all.
If your baseboards will show, you may want to consider having the wallboard ripped to create trim boards so they won’t stick out past your baseboards. I guess this depends on what baseboards you have. Ripping just means that you’re cutting them into strips instead of using the trim boards.
If you want to take a look at another room we added a more modern style board and batten to, check out our guest room. In that room, we did not use a wallboard so the texture shows.
We also replaced our molded baseboards with 1 x 5 baseboards because the trim boards did show at the base. Batten and board walls are really not that hard. Don’t be afraid to try it!
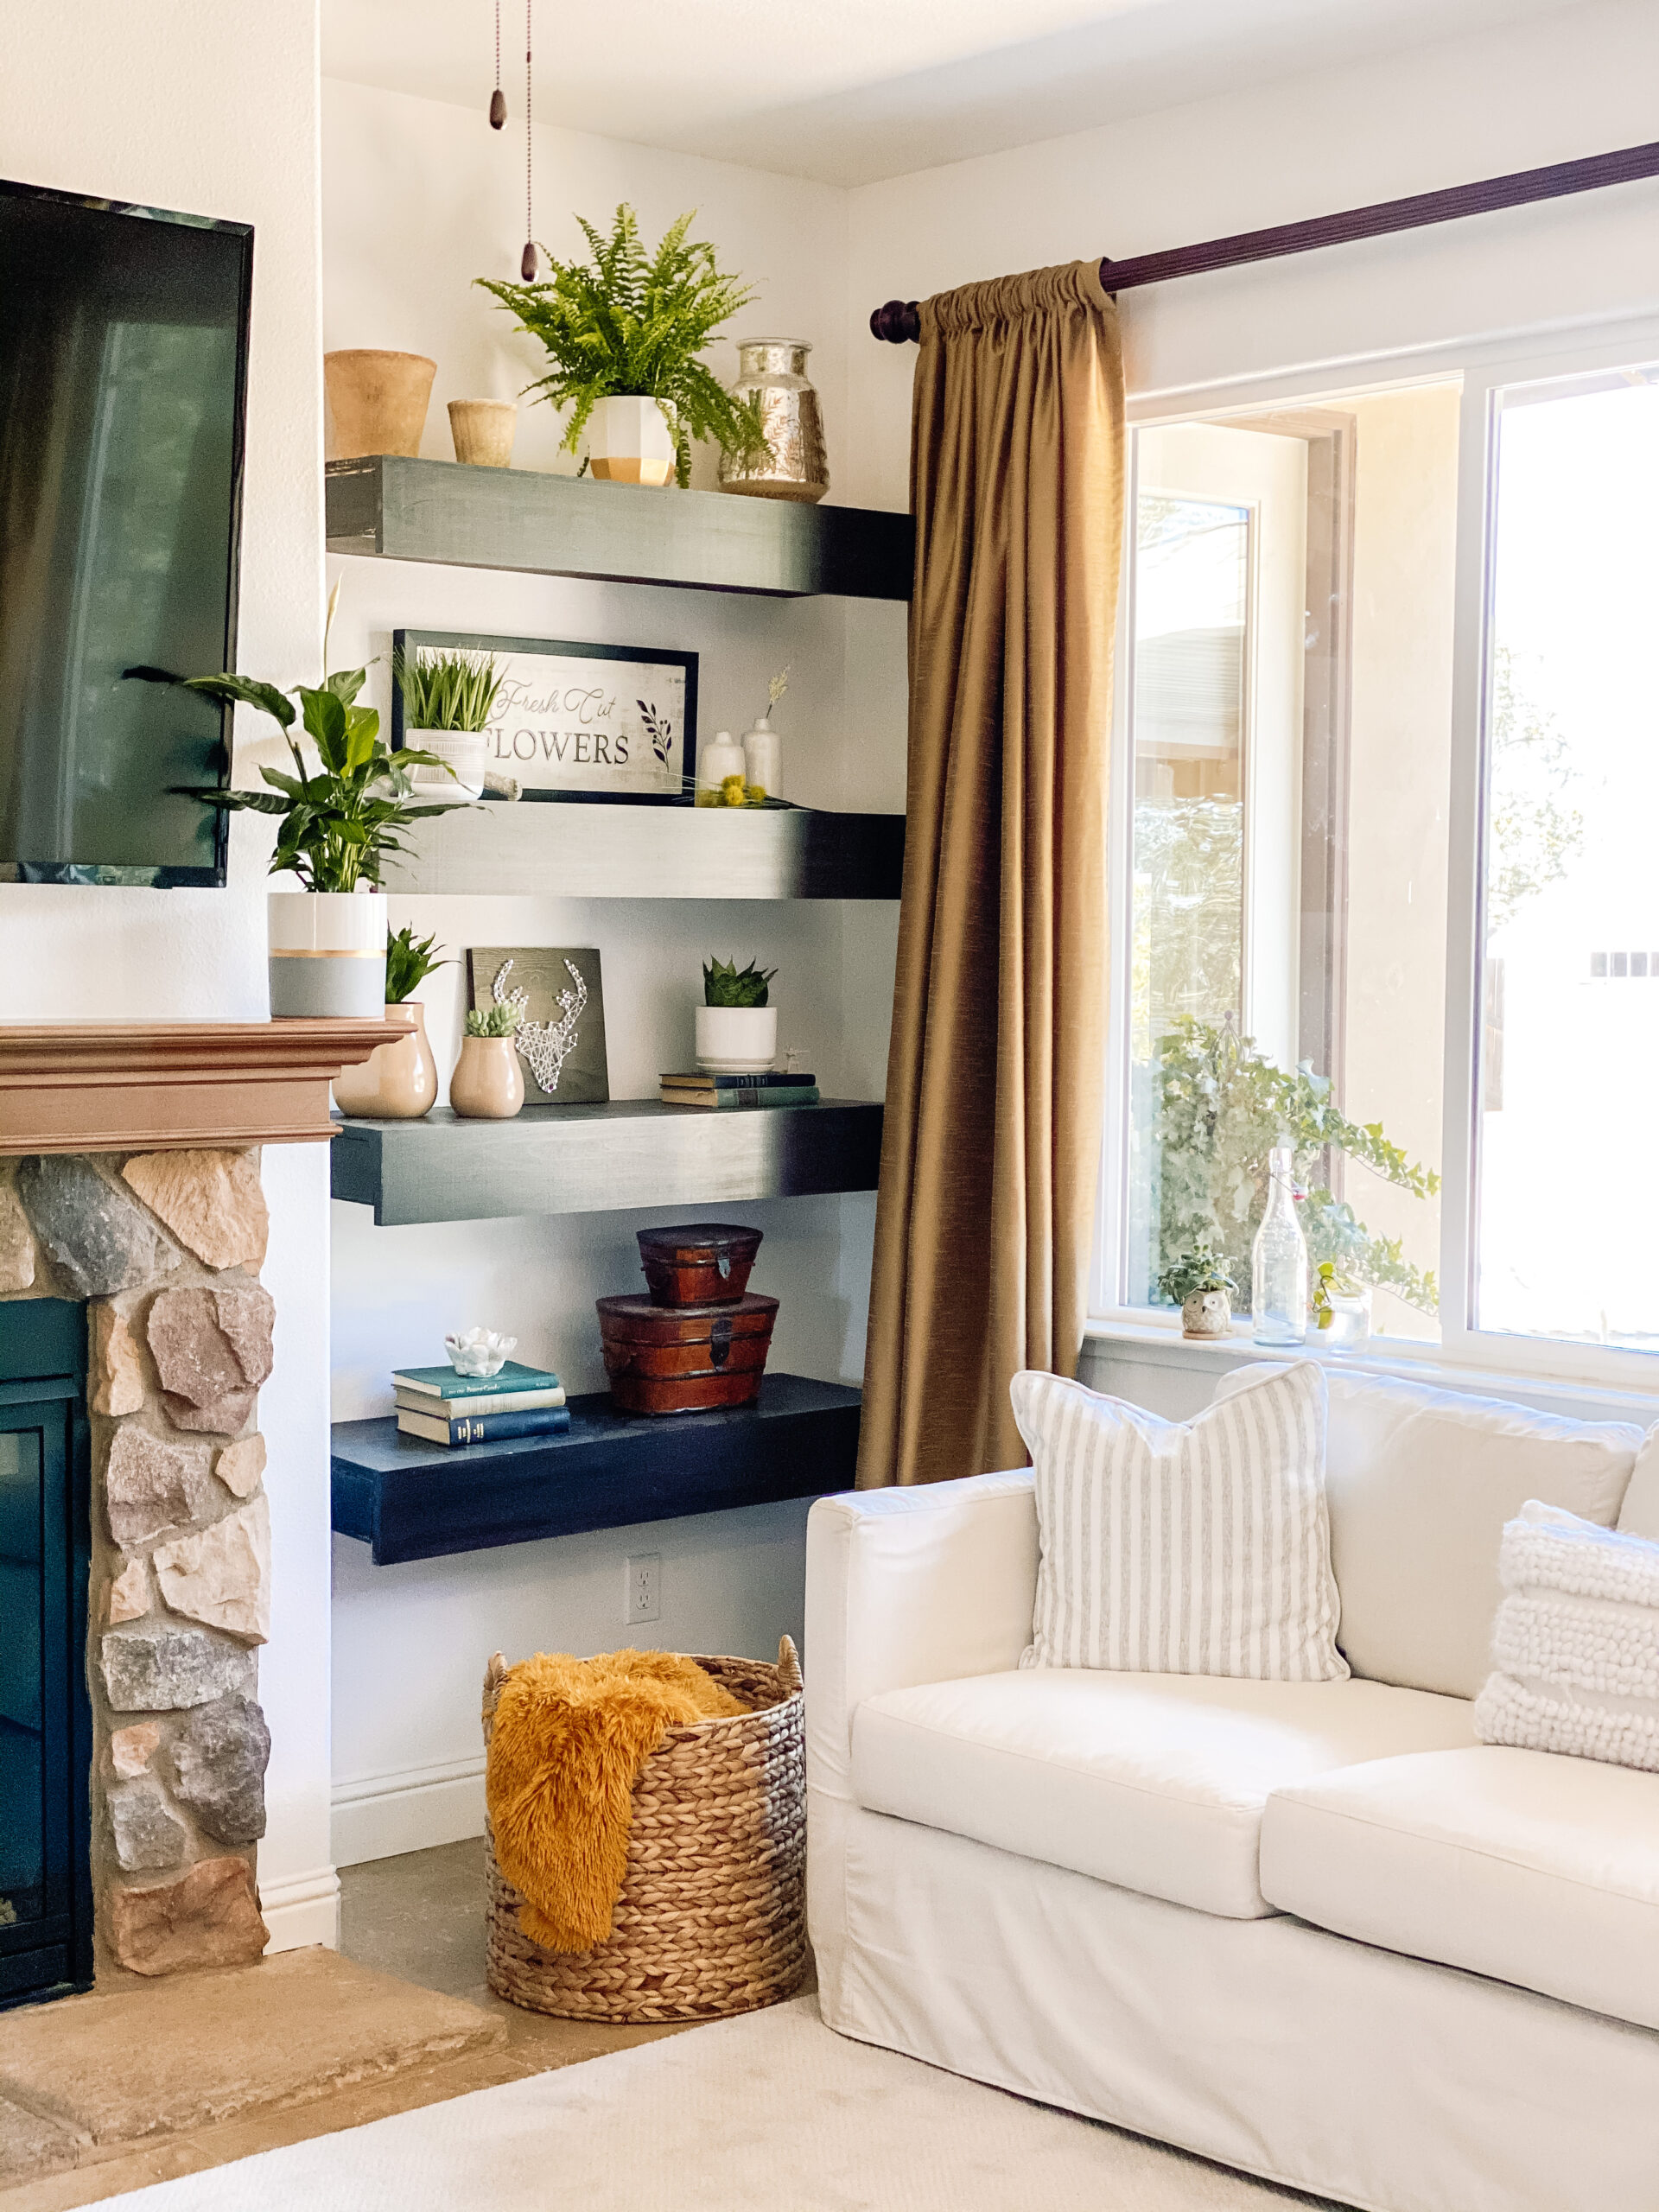
I think the DIY board and batten bedroom wall really added a nice touch to our room. I’m excited to say that I almost have this room finished and can move on to the next! A living room upgrade is next on the list!
I’ve already ordered some new leather chairs. I hope you’ll subscribe to my newsletter or follow me on Instagram or Facebook. I’d love for you to leave a comment below. Have you done a board and batten wall before? Do you think you would try one or did I scare you away? 😉
Happy crafting,
Denise
Hello,
This looks great, photos, instruction all very helpful and inspirational! We’ll try to DIY as well.
I’m glad it helped. It was a pretty easy project and made a big difference. Good luck with your project!
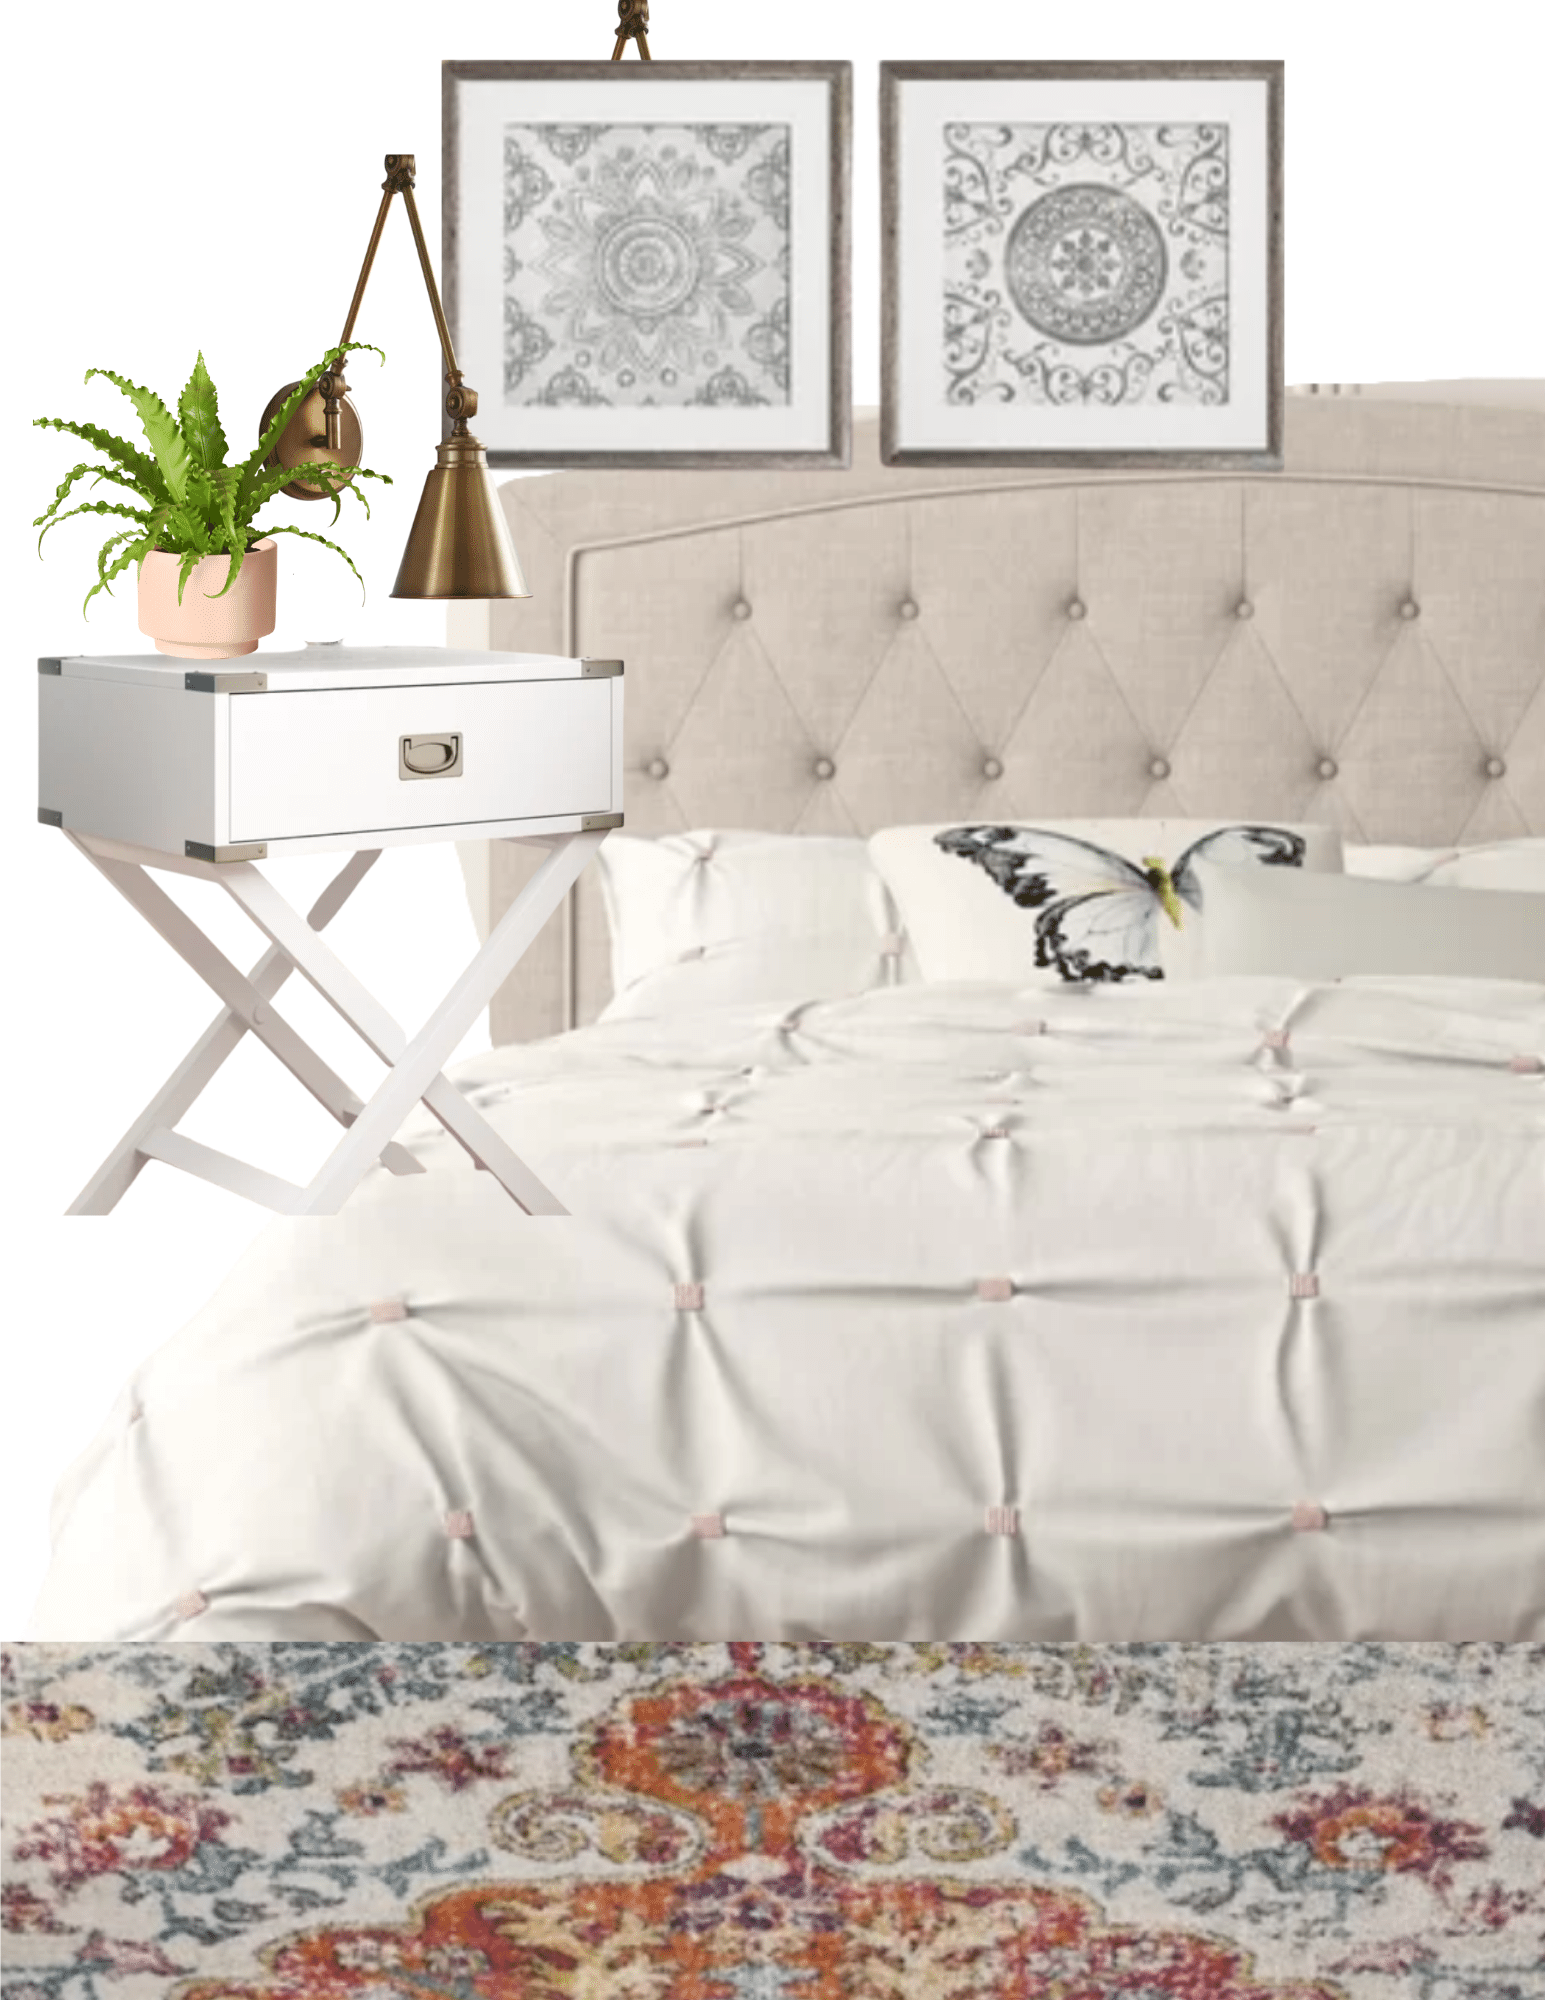
Hi! Can you share where your bed/headboard came from? I love this and looking for something like it!
I loved this bed and after I sold it, I regretted it! It was made by Lexington furniture but I’ve had it for years. Thank you so much for stopping by today 🙂
How did the bottom of the vertical boards look against the existing molding? I assume they were thicker? I want to do this in my bedroom, but I do not want to change out the base molding in the entire room
It’s definitely thicker. This would normally bother me but our entire wall is covered by bed and nightstands so we can’t see them. I’ve seen people find 1/4″ thick batten which would be a better choice. Thanks so much for stopping by.
Turned out great! I’ve been toying with doing something similar in our master bedroom. It really adds a lot of character!
Thank you. It really does make a big difference and the project was pretty inexpensive too. We’re going to add something similar to the living room next. Thank you so much for stopping by.
The wall looks great!! This is a really good tutorial. Saving this for future reference. 😊
Thank you Michelle. I appreciate you stopping by!
Love what you did with the wall and I’m looking forward to your next DIY❤️
Thank you. I’m thinking the living room will be the next area to change up.