Mod Podge DIY With Glass Bottles
This post contains affiliate links which means that at no cost to you, I may earn a commission if you purchase using one of my links. For more information view my full disclosures.
~
Learning to Mod Podge with glass bottles is extremely easy. You can use a napkin, tissue paper, greeting cards and so much more.
*This post contains affiliate links which means I could earn a small commission if you purchase something from one of the links at no cost to you.
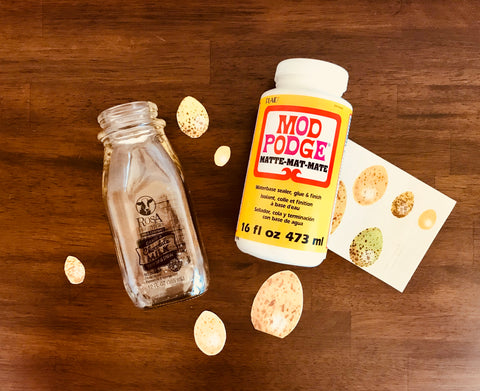
My husband and son are big fans of Rosa Brothers Milk Company’s chocolate milk. It comes in the cutest little bottles and I’ve been collecting them for quite a while. I knew they would end up being a part of a project one of these days, and today is the day! To make this project you’ll need:
- Put your game face on and down three bottles of delicious chocolate milk (or I guess you could share with your family). Seriously, any glass bottles will work
- Mod Podge
- Wrapping paper, greeting card, or paper napkin cuttings – I used a greeting card
- Paint Brush – I used a foam brush
- Rubbing alcohol and a lint-free towel
The hardest part about this project was getting the clear adhesive labels off of the milk bottles. I used hot water, adhesive remover, and some elbow grease. Once I got those off, things were clear sailing. Clean the bottles one more time with rubbing alcohol and a lint-free towel before you start adding your paper.
Starting with clean glass, spread a little Mod Podge on the back of the shapes you’re using. I used speckled eggs cut from a greeting card. Place them on the glass in the spots where you want them and begin gently pressing them on using the foam brush.
Once you’ve got them starting to adhere, dip your foam brush in more of the Mod Podge and evenly coat the entire bottle, skipping the very bottom and above the neck ring. Make sure to keep checking the edges of your shapes to make sure they stay down. You may need to keep gently patting them down until they stick.
I placed my fingers in the neck of the bottle to hold it and avoided painting the bottom so I didn’t have to touch the surface with my fingers. I have to say that using the greeting card for this project probably was a little more difficult than a thinner paper but I got a cool effect. Greeting cards are thicker card-stock so I had to work a bit longer to get the edges to stay stuck to the glass.
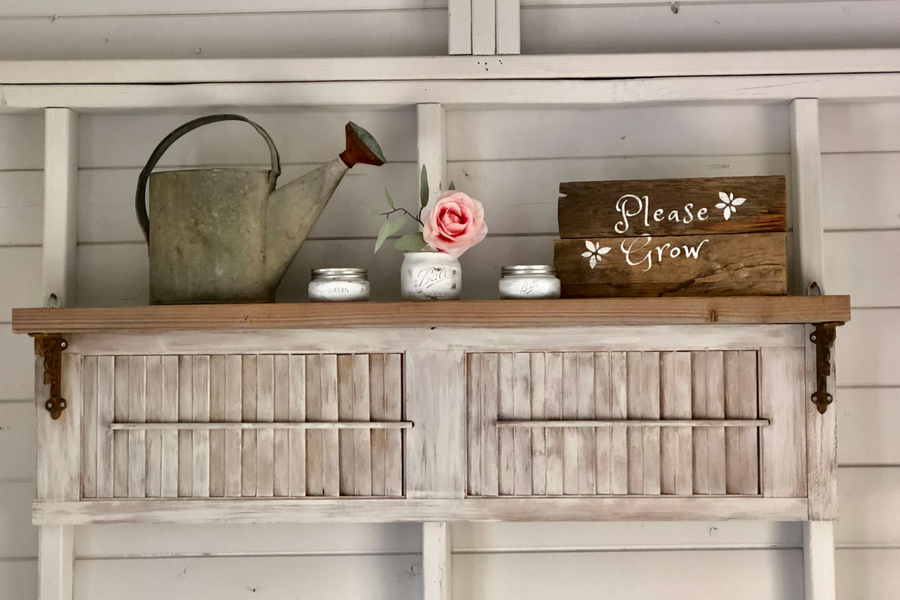
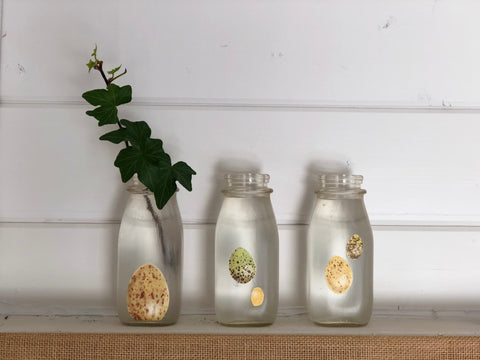
For being a crafter, I’m surprised I’ve never worked with Mod Podge before. I actually always thought that it was called Modge Podge. Who knew? The glass had a bit of a milky finish when I was done. After finishing the project, I learned Mod Podge makes a product that has a glass finish. If that’s what you’re looking for, try the glass finish Mod Podge. My shed is painted white inside so I think the matte finish still looks fine. Once everything dries, you’re done. It’s so easy and they look adorable above the window in my she-shed. If you want to read more about it, be sure to read the posts about my she-shed!
What do you use Mod Podge for? If you’re looking for another project with Mod Podge, be sure to check out this post! I’ve also created some cute crafts with Oui yogurt jars.
Happy crafting,
Denise